
How to Build a Couch (DIY)


Have you ever dreamed of having a unique couch that perfectly fits your space and style? Well, now you can make that dream a reality with just a few simple tools, some creativity, and a little patience.
Building your own couch may sound intimidating at first, but with this easy-to-follow guide, you’ll be lounging on your new creation in no time. Let’s dive in!
What You’ll Need
Before you get started, here’s a list of the materials and tools you’ll need to build your very own DIY couch:
Wood: 2x4s and plywood for the frame.
Foam: For the cushions (memory foam is a great option).
Upholstery fabric: Choose a durable fabric that suits your style.
Screws and wood glue: To assemble the frame.
Saw: A circular saw or hand saw will work.
Drill: For drilling holes to secure screws.
Staple gun: To attach the fabric to the frame.
Measuring tape: To ensure accurate measurements.
 Step 1: Build the Couch Frame
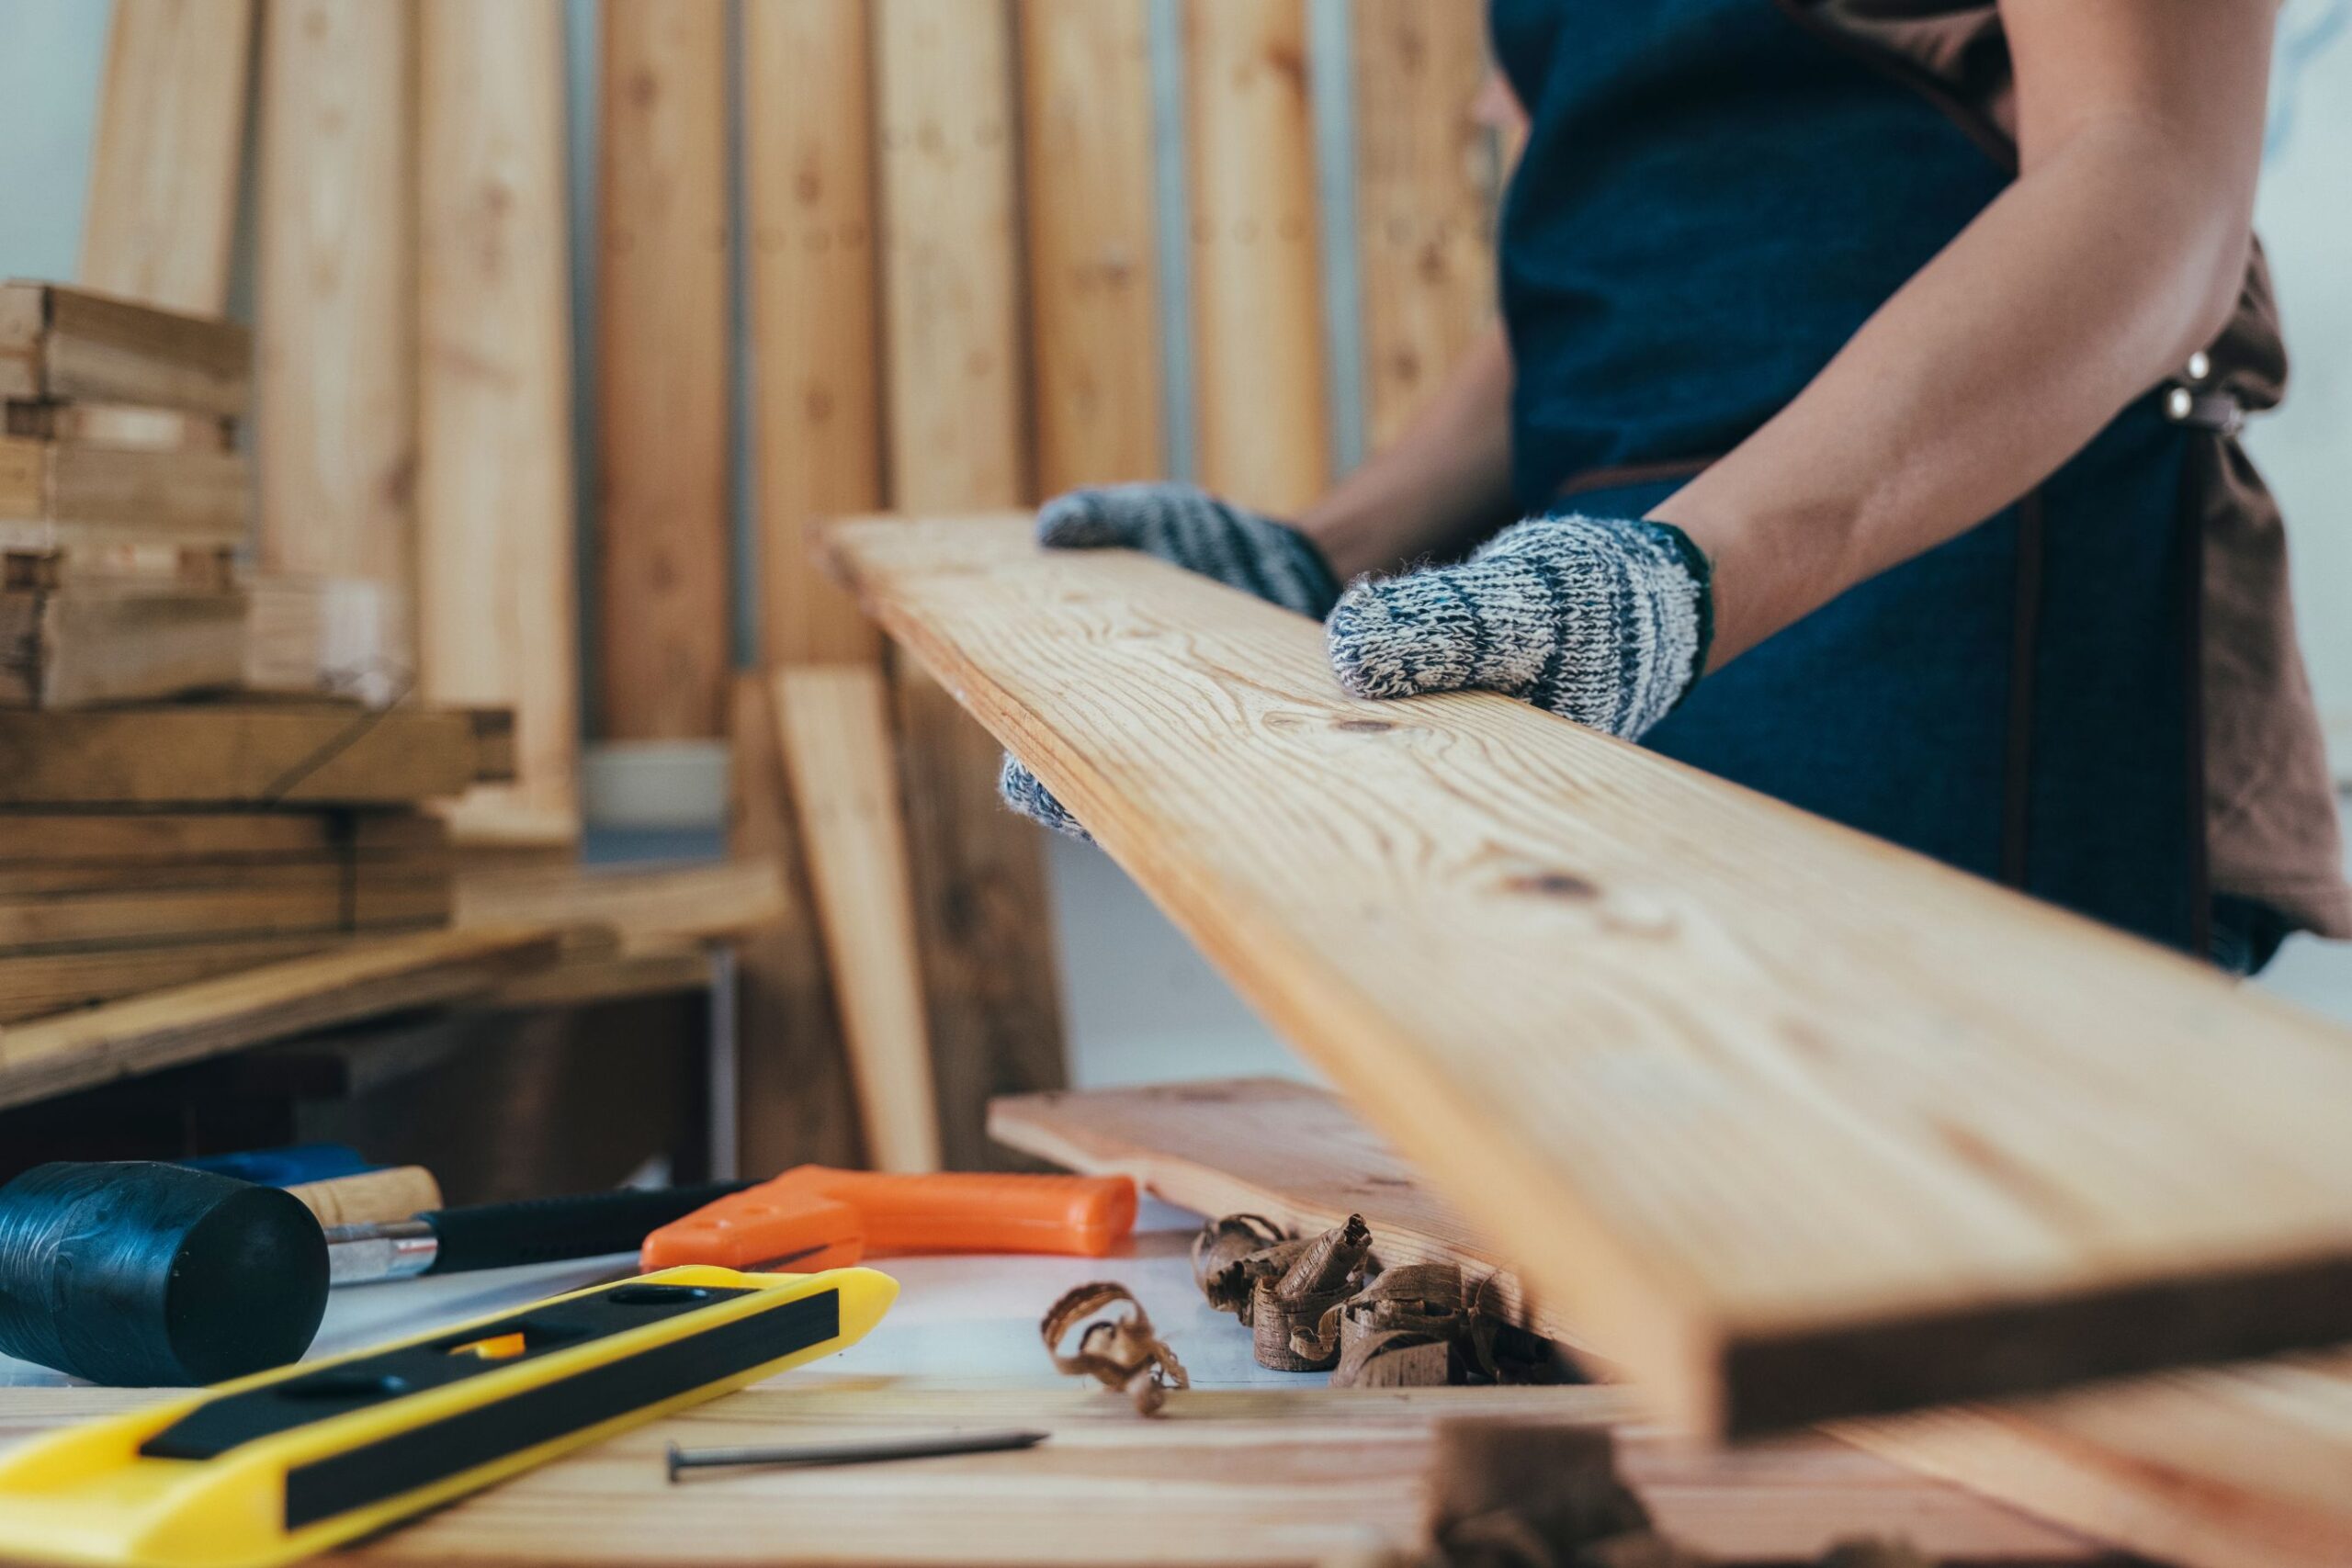
Start by constructing the frame. Use the 2x4s to create the base and armrests. Cut the wood to your desired length, making sure to measure the space where you plan to place the couch.
A typical couch length ranges from 72 to 96 inches, depending on your space.
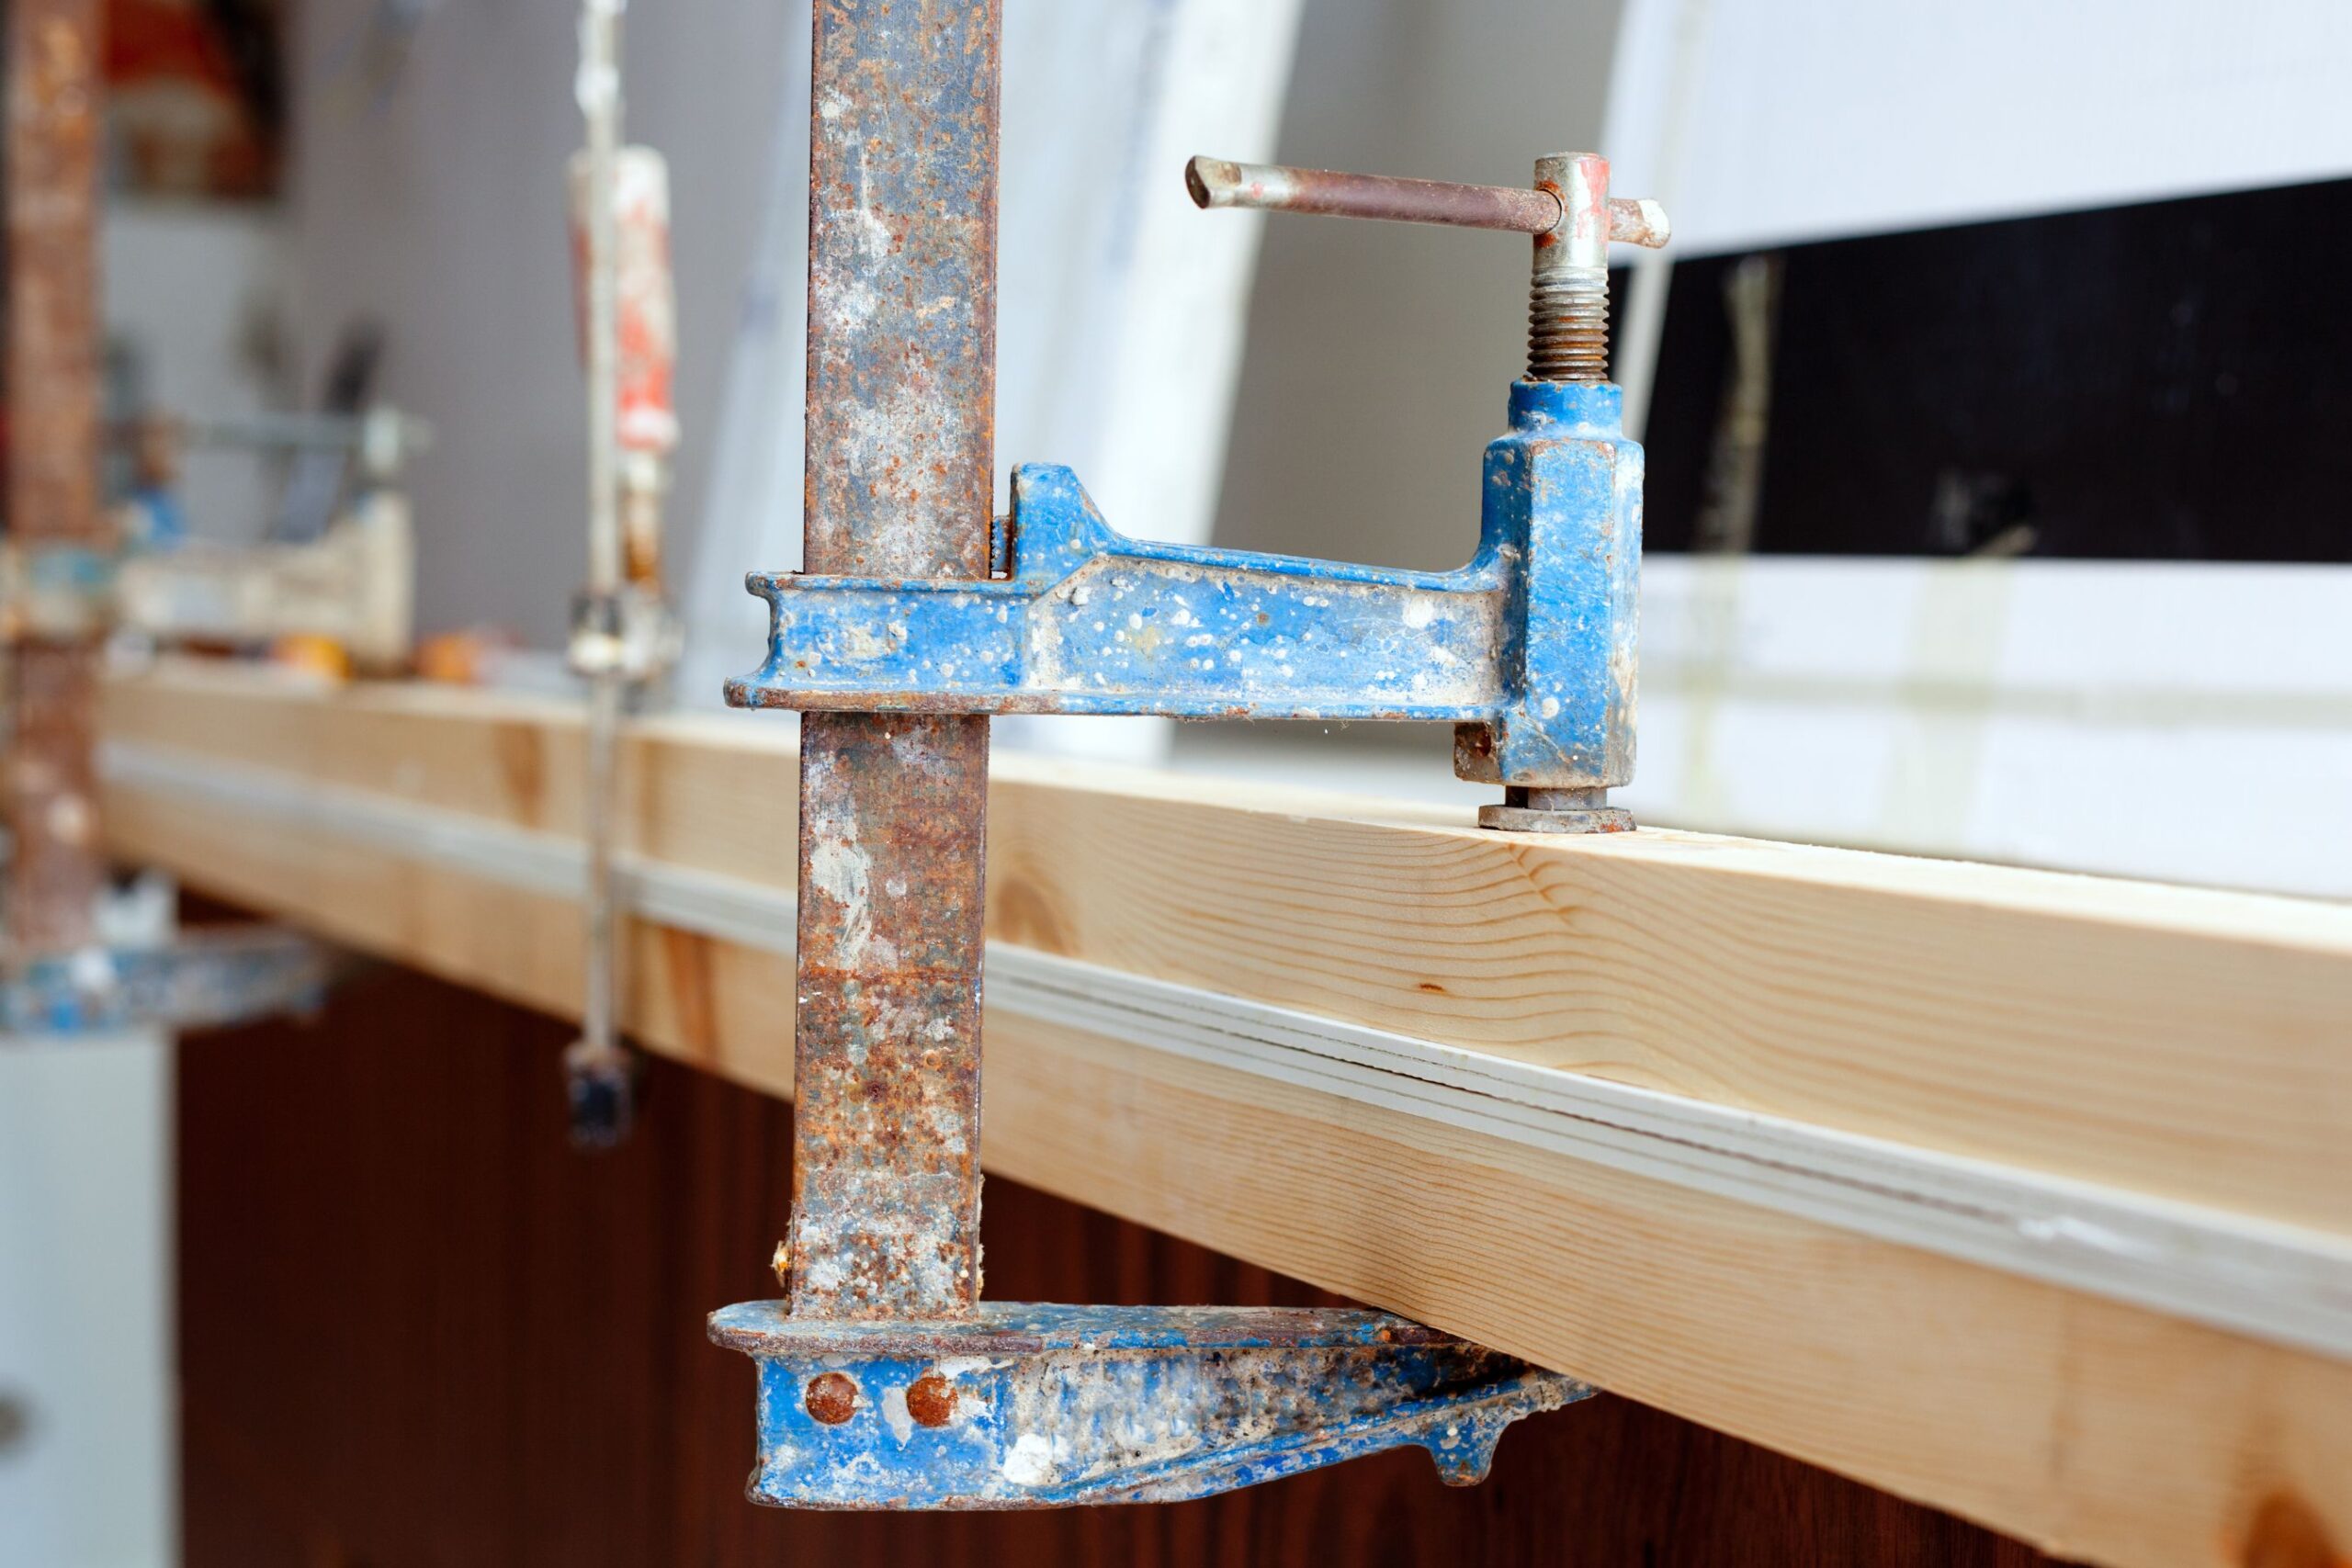
Once the wood is cut, assemble the pieces using screws and wood glue for extra stability. It’s essential to make sure the frame is square and level before moving on.
 Step 2: Add the Backrest and Seat Support
Next, cut and attach additional pieces of wood to create the backrest and seat support. This step ensures that the cushions will sit securely and comfortably.
For the backrest, you can choose to make it straight or slightly slanted for a more relaxed feel.
Keep in mind that the angle of the backrest will affect how comfortable the couch is to sit on, so take a moment to think about what feels best for you.
 Step 3: Cut and Add Foam Cushions
Now comes the fun part—making the cushions! Measure the width and length of your seat and backrest, then cut the foam to fit.
For extra comfort, you can layer the foam or use memory foam, which conforms to your body’s shape.
Once you’ve cut the foam, it’s time to attach it to the seat and backrest of the frame. Use a strong adhesive or staple the foam to the wood, making sure it’s secure and smooth.
 Step 4: Upholster the Couch
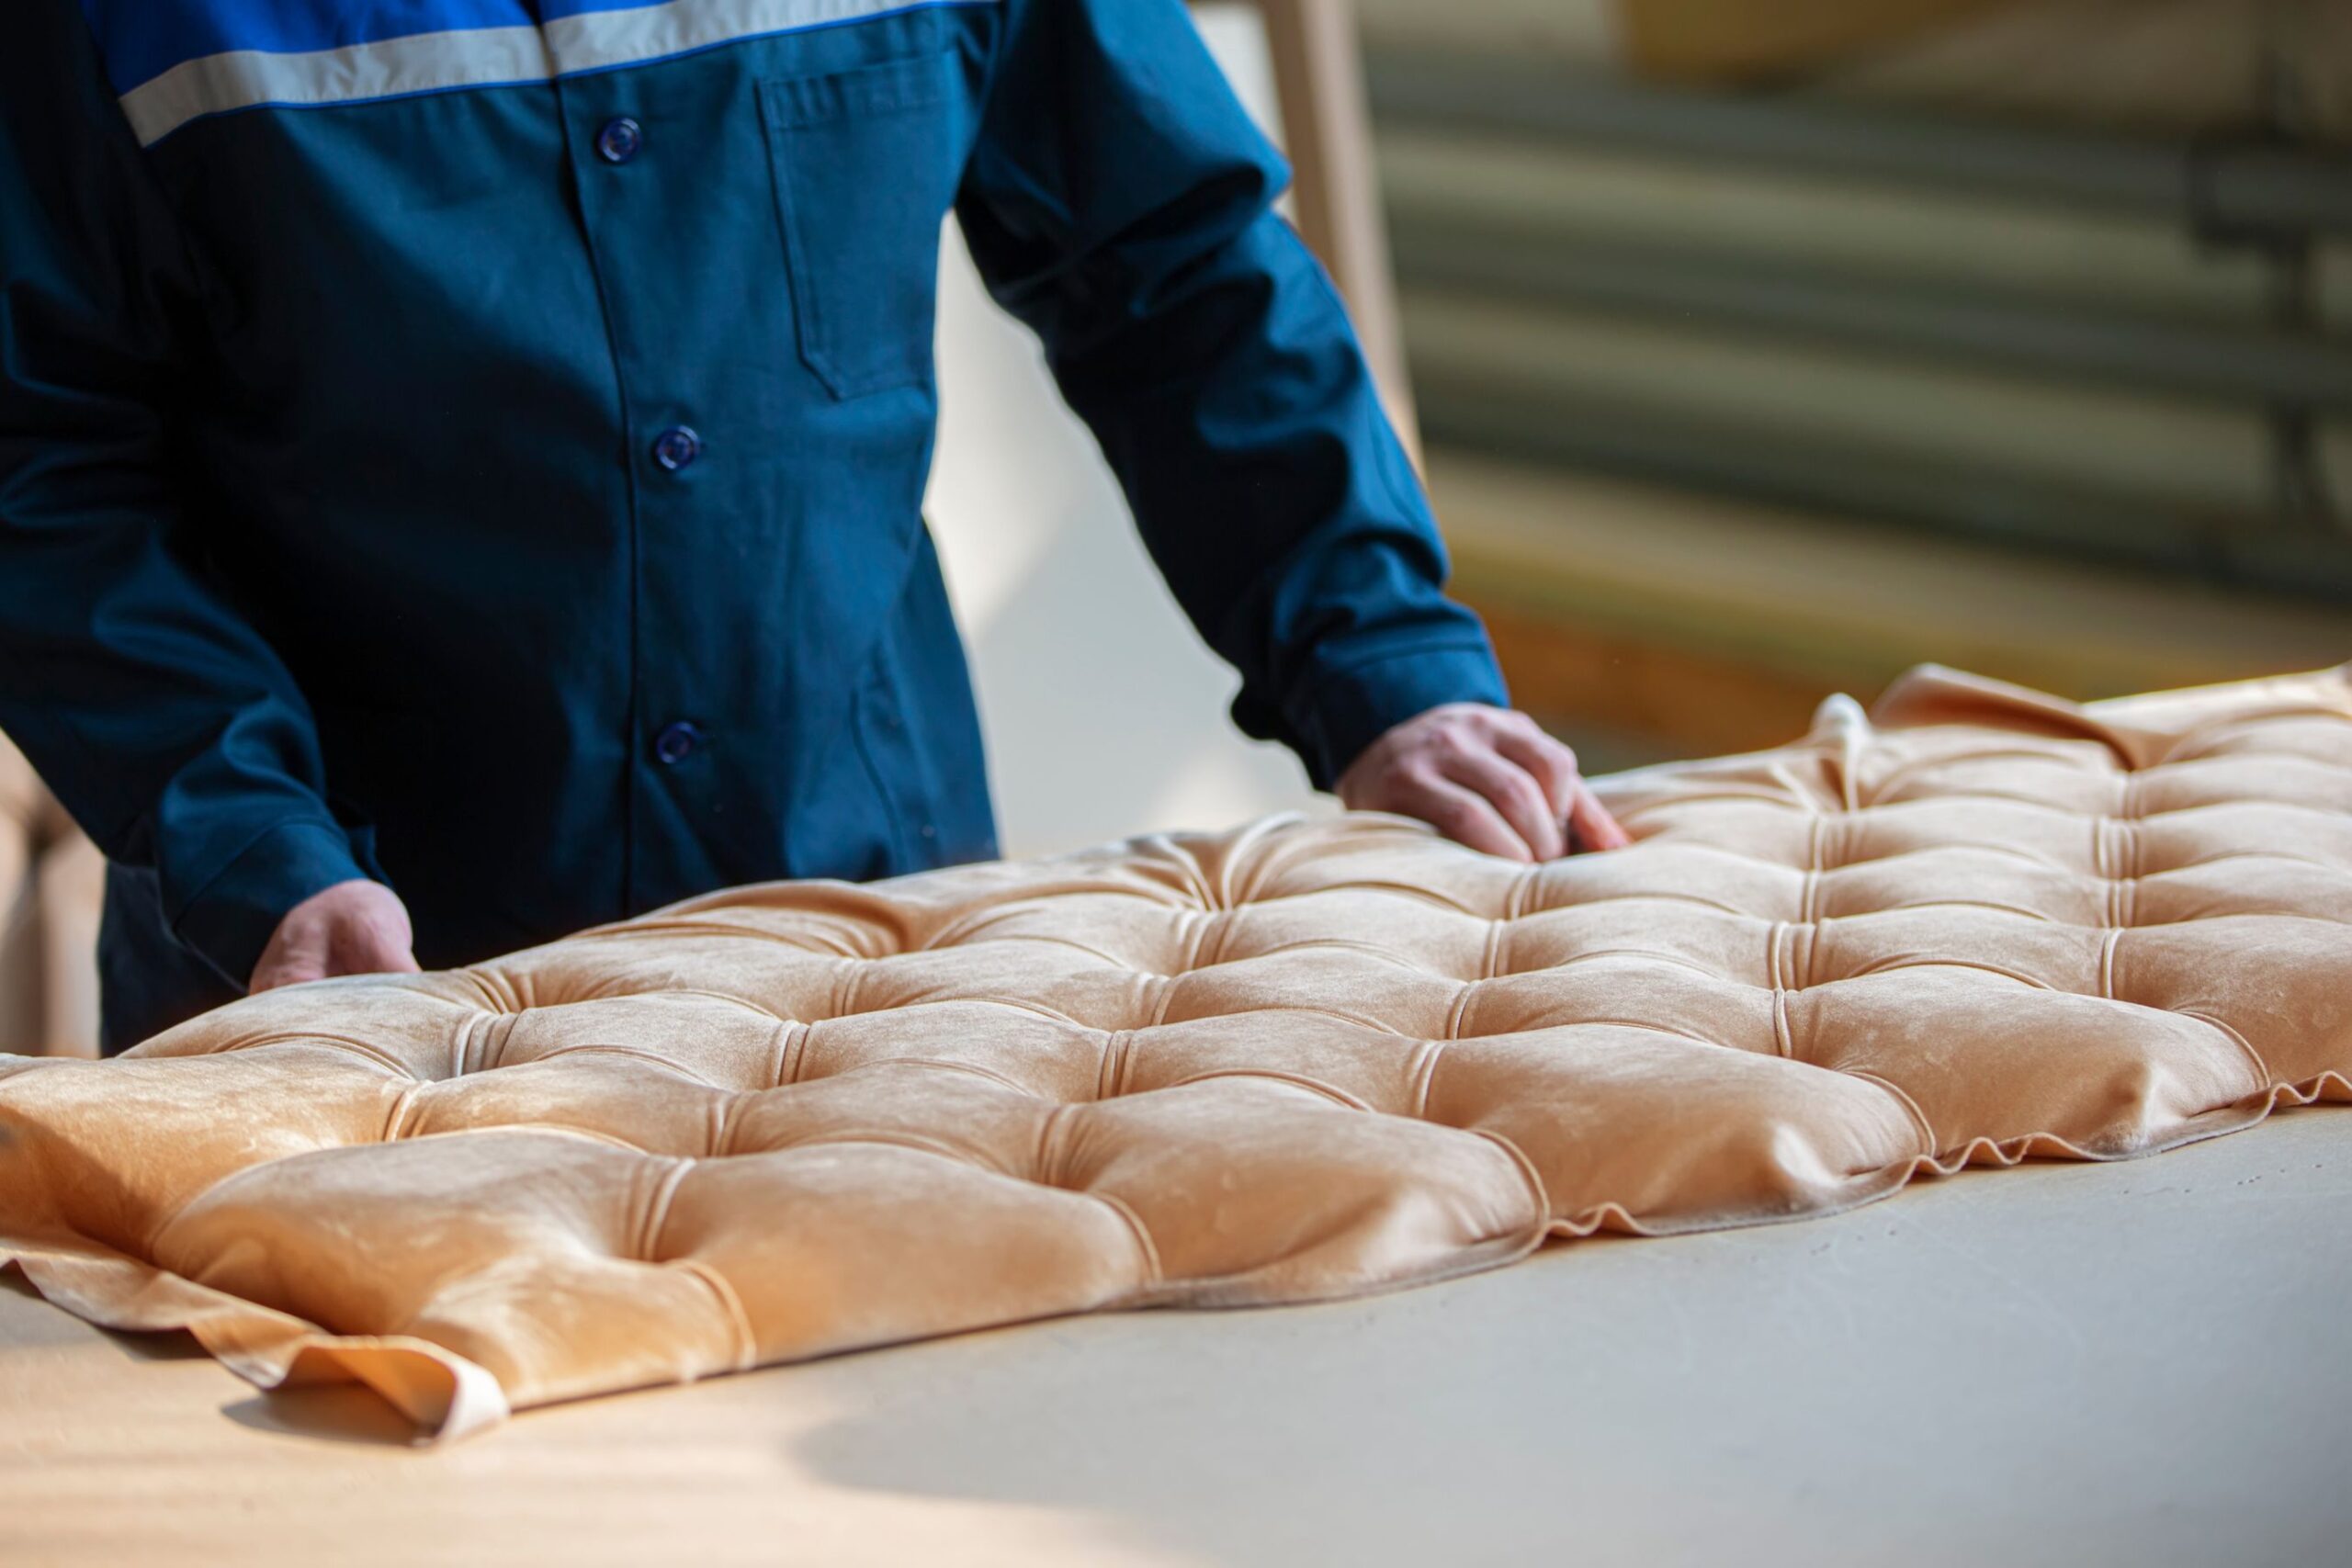
Now that the cushions are in place, it’s time to upholster the couch. Lay out your fabric, ensuring it’s enough to cover the seat, backrest, and armrests.
Start by stapling the fabric to the back of the couch, pulling it taut as you go to avoid any wrinkles.
Work your way around the frame, folding the fabric neatly at the corners. Take your time with this step to ensure a professional-looking finish.
 Step 5: Add Finishing Touches
To give your couch that polished look, add any finishing touches such as decorative nails or trim around the edges.
You can also add throw pillows for extra comfort and style. This is the perfect opportunity to personalize your couch and make it truly yours.
Tips for Customizing Your Couch
Fabric choices: The fabric you choose will greatly affect the look and feel of your couch. Consider durable fabrics like linen, cotton, or velvet, depending on your personal style.
Color options: Don’t be afraid to experiment with bold colors or patterns. A neutral color like grey or beige is versatile, but a pop of color can really make your couch stand out.
Size adjustments: If you have limited space, you can always adjust the size of the couch to fit your room. You can even create a smaller version, such as a loveseat or an armchair.
Common Mistakes to Avoid
Measuring errors: Double-check your measurements before cutting the wood and foam. Even small discrepancies can make assembly difficult and lead to an uncomfortable result.
Skipping stability checks: Always ensure that your frame is square and secure before moving on to the next steps. A wobbly couch frame can be uncomfortable and unsafe.
Rushing the upholstery: Take your time when upholstering. If the fabric isn’t pulled tight enough, it can cause wrinkles and an unfinished appearance.
Enjoy Your Custom-Made Couch!
Congratulations! You’ve just built your own custom couch. This project not only adds a personal touch to your living room, but it also saves you money compared to buying a pre-made couch.
Plus, it’s an incredibly rewarding feeling to sit on a piece of furniture you built yourself.
If you need any help with measurements or tips for customizing your couch even further, feel free to reach out.
We’d love to hear how your project turned out! Share your DIY couch success stories with us in the comments below
.
We hope you enjoy watching this video about DIY Mid-Century Modern Sofa

Source: Modern Builds
Did you find this post useful or inspiring? Save THIS PIN to your HOME Board on Pinterest! 😊

Once again, thank you for visiting our website!
We hope you've enjoyed exploring the content we've created for you.
Give yourself the chance to learn, get inspired, and have even more fun, keep browsing...
More Home Tips 👇🏼👇🏼