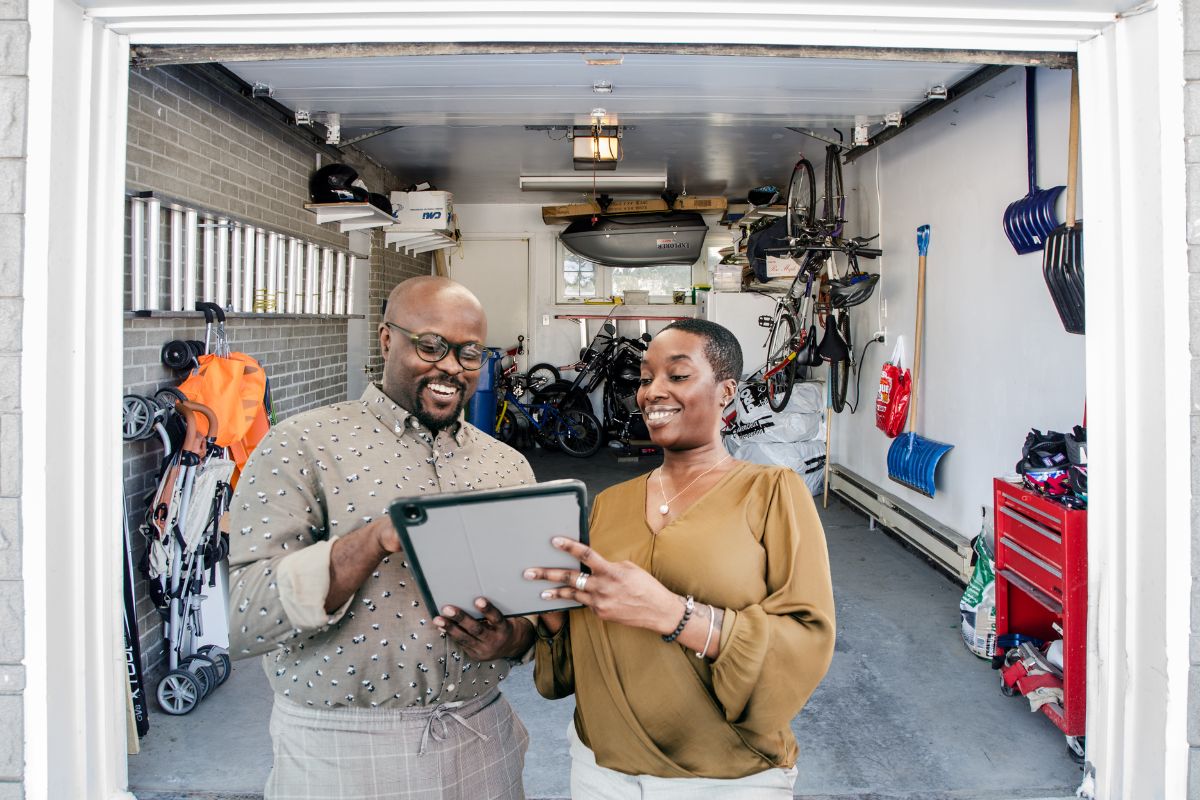
How to Build a Garage Yourself (Part 1)

Building your own garage can be a rewarding and fulfilling experience, not only giving you extra space for your vehicles but also increasing the value of your home.
Whether you're a seasoned DIYer or a beginner, this guide will walk you through everything you need to know to get started on building your dream garage.
Why Build Your Own Garage?
 A garage is not just a space for parking; it offers numerous benefits:
Increased property value: Homes with garages tend to sell faster and for higher prices.
Extra storage space: Perfect for tools, seasonal items, or as a workshop.
Enhanced security: Keeps your vehicles and belongings safe from the elements and theft.
By building your own, you gain full control over the design and cost, ensuring it fits your exact needs.
Step 1: Planning Your Garage Project
 The first step in your garage-building journey is proper planning. Take your time to think about your requirements and design. Here are some key factors to consider:
Garage size: Will it fit just your car, or do you need space for storage or a workshop?
Design style: Think about how it will blend with your home. Consider features like windows, doors, and roof types.
Building codes: Make sure to check your local zoning laws and building codes. Different areas have different regulations on garage size, placement, and other construction details.
Having clear plans and designs will make the entire process smoother and avoid any costly mistakes.
Step 2: Gathering Materials and Tools
 Building a garage requires several materials and tools. You’ll need things like:
Foundation materials: Concrete, gravel, rebar.
Framing materials: Wood or steel beams.
Roofing: Shingles, plywood, and metal.
Tools: Hammer, nails, saws, drills, a level, and a tape measure.
It’s crucial to make a list of everything you'll need before starting the project. Consider renting tools you don’t already own to save costs. You can also find deals on materials if you shop around or buy in bulk.
Step 3: Site Preparation and Foundation
 Now that your plans are ready, it's time to prepare the site and build the foundation. Follow these steps:
Clear the land: Remove any debris, trees, or old structures from the site.
Mark the foundation: Use stakes and string to outline where your garage will go.
Excavate the ground: Dig the trench for the foundation, ensuring it's deep enough for the concrete.
Pour the foundation: Pour concrete into the trench, ensuring it is level and smooth. Allow it to cure for several days.
A solid foundation is essential for the stability and durability of your garage. Don’t rush this step—it sets the tone for the entire build.
Step 4: Building the Frame
 Once the foundation has cured, you can begin building the frame of your garage. This step involves constructing the walls and roof support structure. Depending on your design, this may involve:
Setting up wall studs: Use vertical posts to create the frame of your garage.
Framing the roof: Install trusses to support the roof, ensuring they’re spaced evenly.
Installing doors and windows: Frame out the doorways and window spaces.
Be sure to check the level of each structure as you build to ensure everything is square and plumb.
Step 5: Installing the Roof and Siding
 The roof and siding are what protect your garage from the elements. Follow these steps to finish your garage structure:
Install roofing material: Whether you’re using shingles, metal, or another material, start from the bottom edge and work upwards to prevent leaks.
Siding installation: Attach your chosen siding material (e.g., wood, vinyl, or metal) to the frame, starting from the bottom.
This is the stage where your garage will start to look like a real structure!
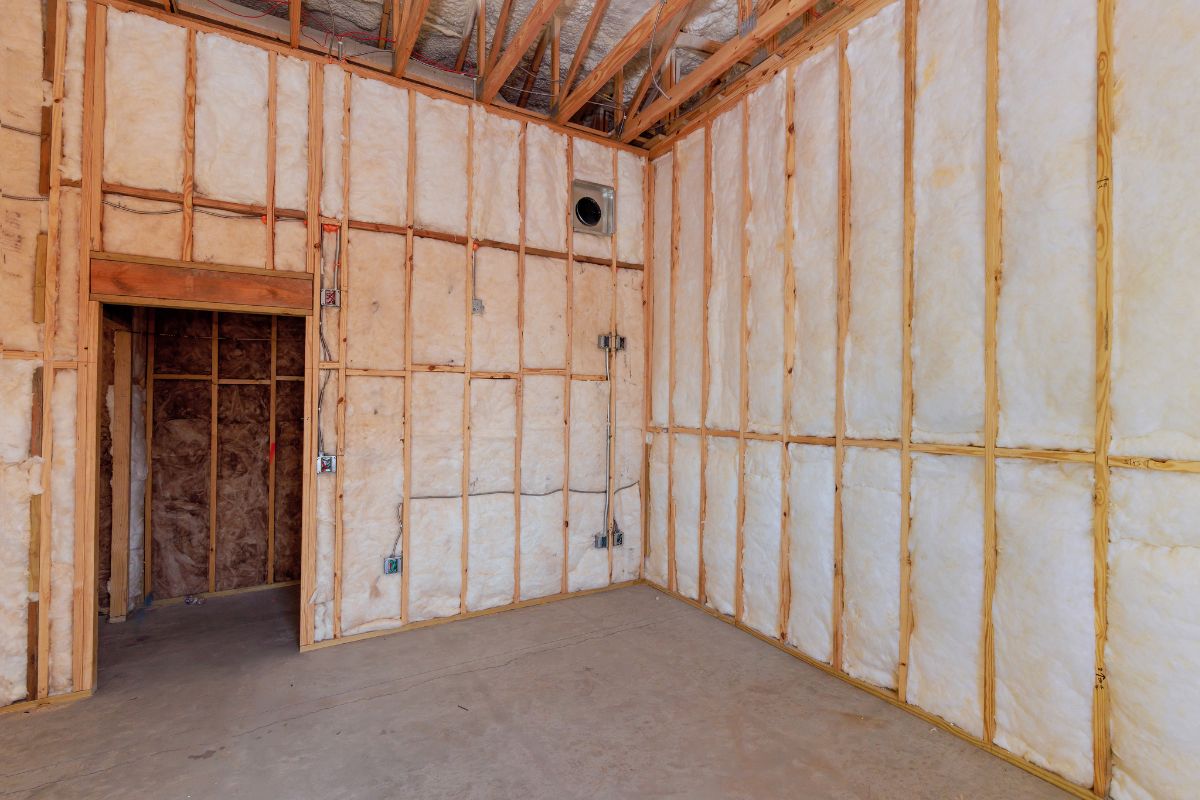
Step 6: Electrical and Final Touches
 Now that the building is structurally sound, it’s time to add finishing touches:
Electrical wiring: If you plan to have lights or outlets, you’ll need to wire the garage. It’s best to hire a licensed electrician if you’re unfamiliar with electrical work.
Insulation: If you live in an area with extreme temperatures, consider insulating the walls and roof for comfort and energy efficiency.
Finishing the interior: Install shelves, organize tools, and set up a functional workspace.
Congratulations on Your New Garage!
Building a garage yourself is no small feat, but with careful planning and the right materials, you can complete this rewarding project.
Not only will you gain additional storage or workspace, but you’ll also increase the value of your home while having the satisfaction of knowing you built it with your own hands.
In the next part of this series, we’ll explore the details of finishing touches such as painting, flooring, and interior design. Stay tuned for more tips on making your garage the best it can be!
We hope you enjoy watching this video about How to Build a Garage By Yourself (Part 1)

Source: My DIY Adventures
To discover the next steps for build a Garage DIY, please click here: How to Build a Garage Yourself (Part 2)
Did you find this post useful or inspiring? Save THIS PIN to your HOME Board on Pinterest! 😊

Once again, thank you for visiting our website!
We hope you've enjoyed exploring the content we've created for you.
Give yourself the chance to learn, get inspired, and have even more fun, keep browsing...
More Home Tips 👇🏼👇🏼