
How to Build a Garage Yourself (Part 2)


If you followed the first part of this guide, you already know that building a garage is a project that requires patience, organization, and a good plan.
In this second part, we’ll go through the remaining steps to finish your garage, focusing on details that will make it functional, safe, and visually appealing.
Don’t worry if some tasks sound complex—many of them are perfectly manageable, and others can be left to professionals if needed.
Step 7: Add the Exterior Siding for a Unified Look
 The siding is what ties your garage’s appearance to your home. Matching the garage siding to the house siding creates a cohesive design that feels intentional rather than like an add-on.
Take your time here, since the exterior is the first thing people see. If you prefer, you can hire a contractor for this step, but many siding products today are DIY-friendly.
Step 8: Install the Connecting Door
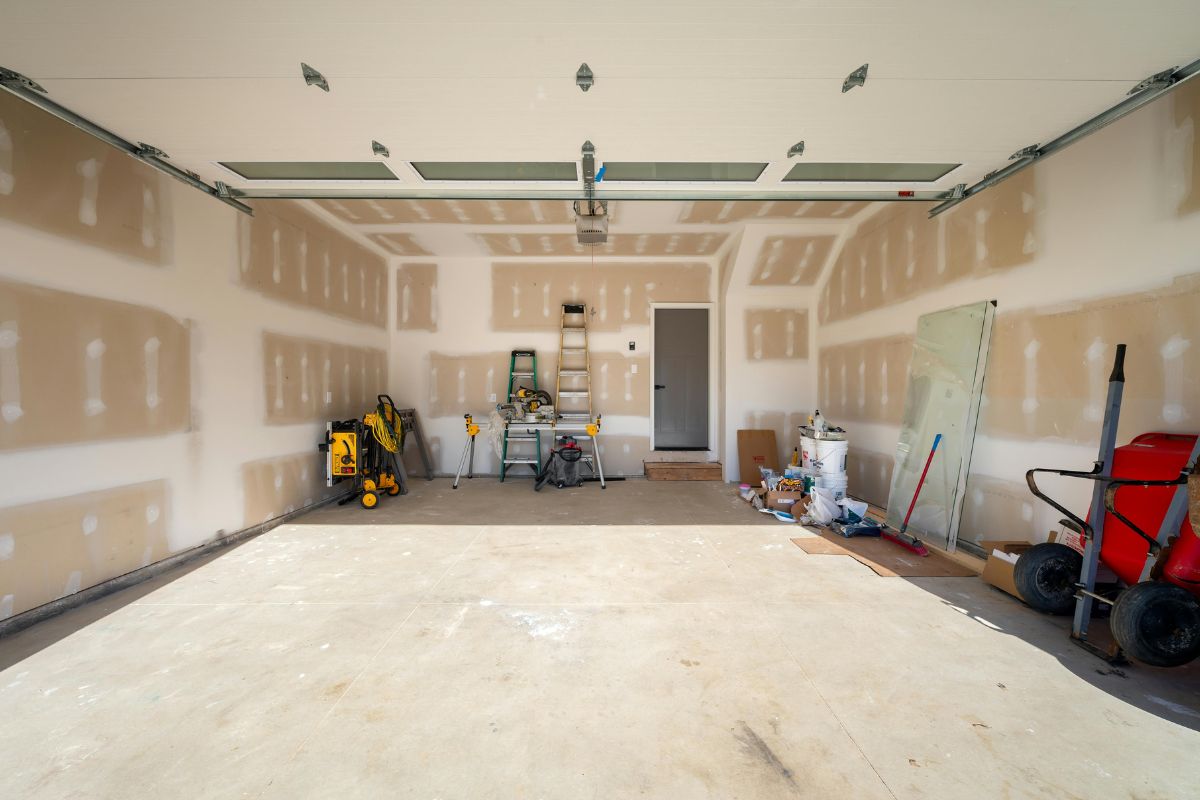 Every garage needs a door that links it to the house. Building codes often require this door to be fire-resistant for added safety.
For the exterior entry, a pre-hung door is a smart choice since it comes ready to fit into the frame, saving time and effort.
This step ensures both convenience and compliance with safety standards.
Step 9: Put in the Main Garage Doors
 This is the moment when your garage starts looking complete. Secure the rails at the top, fit the doors into place, and make sure they move smoothly along the track.
If you’re installing an automatic garage door, now is the time to integrate the motor system so that everything works seamlessly.
Step 10: Connect the Electrical System
 Electricity brings your garage to life. Depending on your needs, you can add dedicated circuits for lighting, outlets, or even a dryer or workshop tools.
If you’re not experienced with electrical work, it’s best to have a licensed electrician handle the connection to your home’s panel, while you can take care of installing the fixtures and outlets yourself.
Step 11: Set Up Plumbing if Necessary
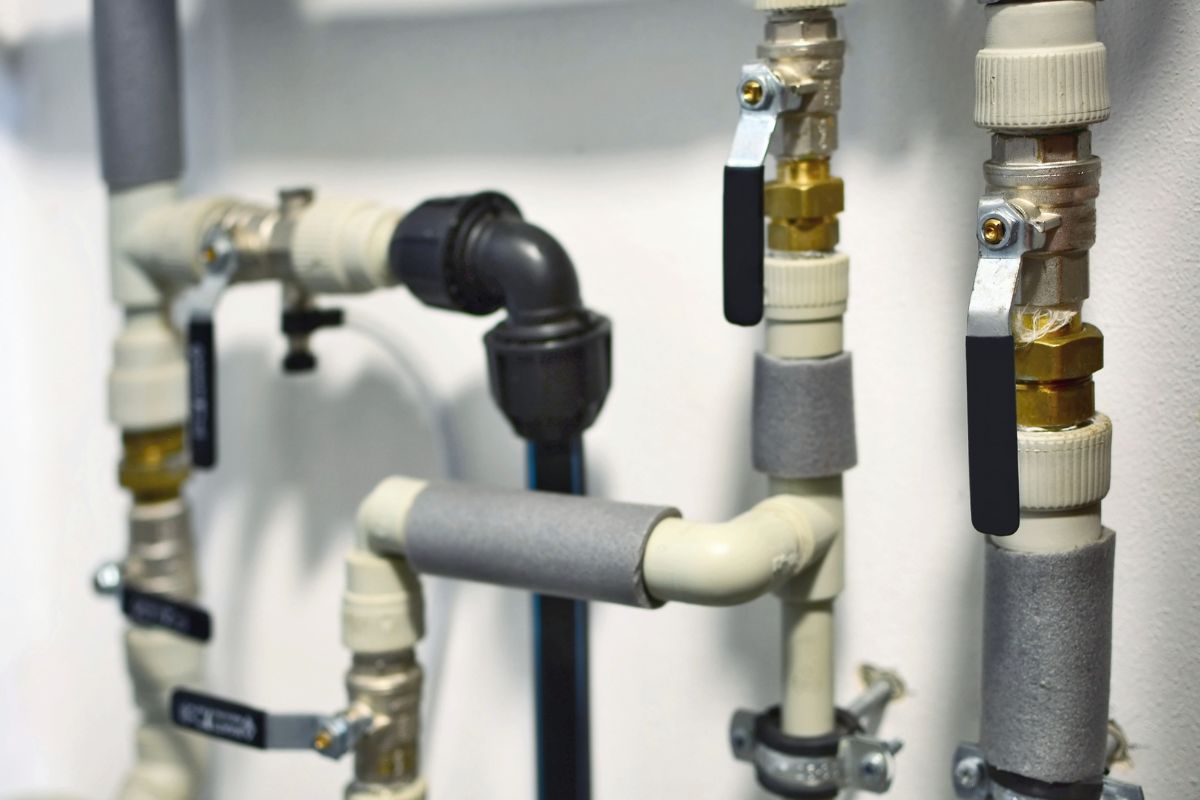 Not every garage needs plumbing, but if you plan to use the space for laundry, a workshop, or even a utility sink, it’s worth considering.
You’ll need to connect water lines (hot and cold) and a drain system to your home’s existing setup. Even a simple cold-water line for an outdoor spigot can be extremely useful for garden work or car washing.
Step 12: Finish the Interior with Drywall
 Once the structure is up, the interior needs to be covered. Install drywall panels to enclose the space and give it a clean, finished look.
On the wall that connects to your home, building codes often require fire-resistant drywall. After installation, you can tape, mud, and paint to match your preferred style.
DIY or Professional Help? Finding the Right Balance
A garage is essentially a smaller version of a house, which means it involves skills in framing, roofing, plumbing, and electrical work.
While this can sound intimidating, the key is knowing when to take on tasks yourself and when to call in professionals.
Great DIY-friendly tasks include:
Installing interior drywall and finishes
Mounting doors and windows
Adding outlets, lights, and garage door openers
Painting and small finishing touches
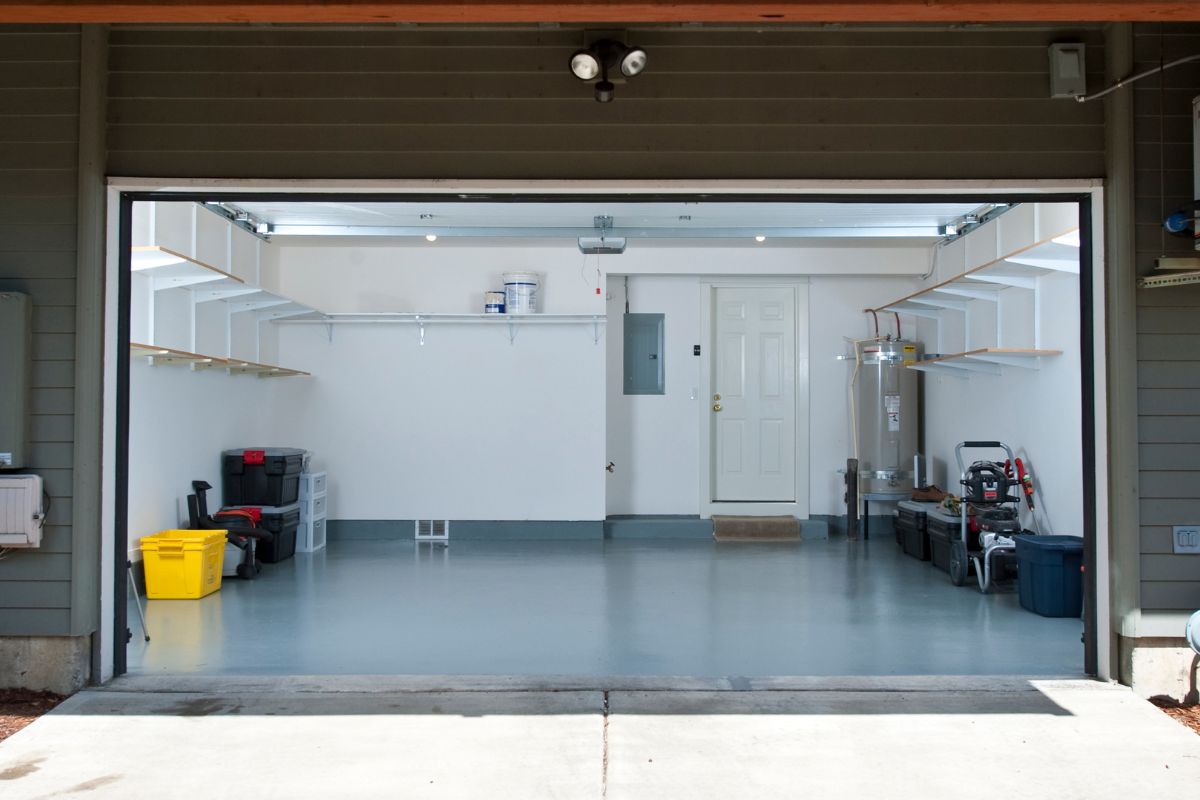 Tasks better left to professionals:
Pouring the concrete foundation
Building the structural framing and roof
Installing the main siding and roofing materials
Handling the electrical panel connection and plumbing lines
By combining DIY efforts with professional expertise, you can keep costs down while ensuring quality and safety.
Make Your Garage More Than Just Storage
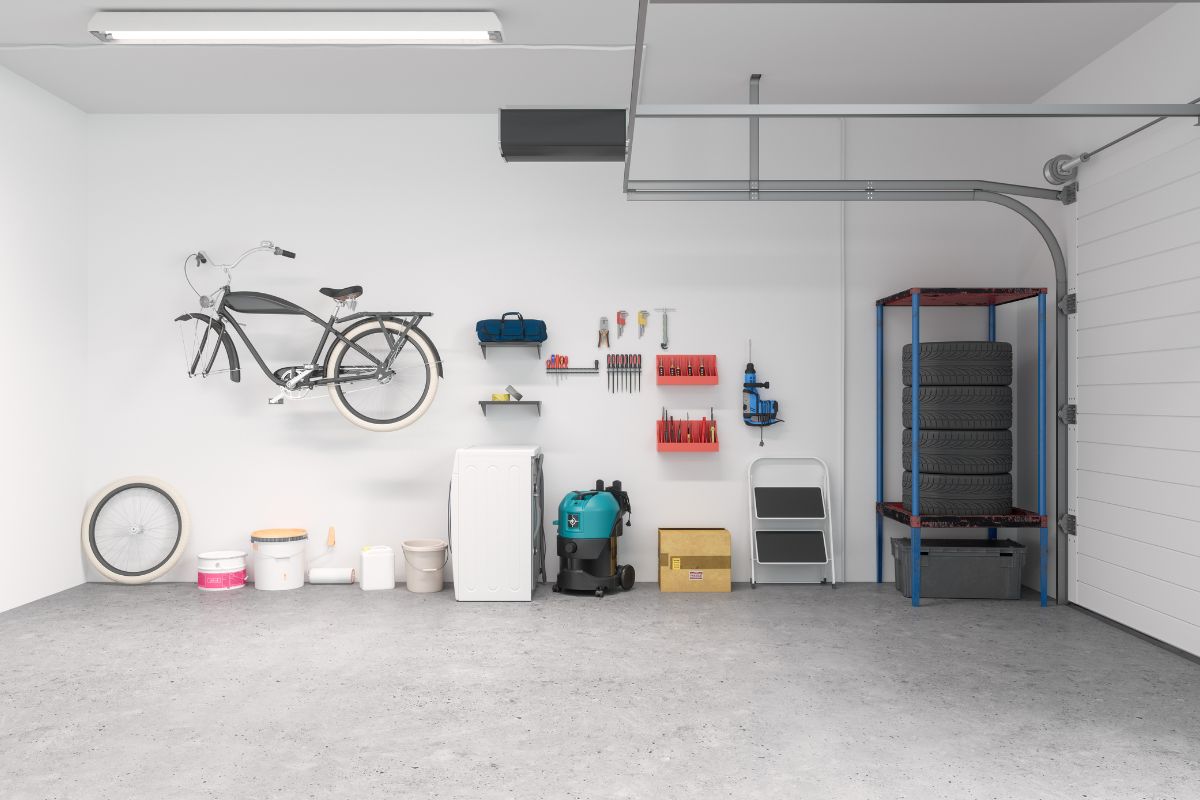 Beyond functionality, think about how this new space can serve your lifestyle.
Do you want extra storage, a small workshop, or a place to keep outdoor gear organized? Customizing your garage adds long-term value to your home and makes the effort you’ve put into the project even more rewarding.
Consider built-in shelving, overhead storage racks, or even a small workbench to maximize the potential of the space.
A Project Worth Your Effort
Building your own garage may be one of the most ambitious DIY projects you’ll take on, but it is also one of the most satisfying.
Step by step, you’re not only creating a practical structure but also a personal achievement that reflects your dedication.
Whether you handled it entirely on your own or teamed up with professionals, at the end of the day you’ll have a garage that is functional, safe, and truly yours.
We hope you enjoy watching this video about How to Build a Garage By Yourself (Part 2)

Source: My DIY Adventures
Did you find this post useful or inspiring? Save THIS PIN to your HOME Board on Pinterest! 😊

Once again, thank you for visiting our website!
We hope you've enjoyed exploring the content we've created for you.
Give yourself the chance to learn, get inspired, and have even more fun, keep browsing...
More Home Tips 👇🏼👇🏼