
- Urbaki Home
- Decor
- Interior Decorating
- How to Build a Rustic Farmhouse Mantel: DIY Inspiration
How to Build a Rustic Farmhouse Mantel: DIY Inspiration

12/01/2025 · Updated on: 09/02/2026
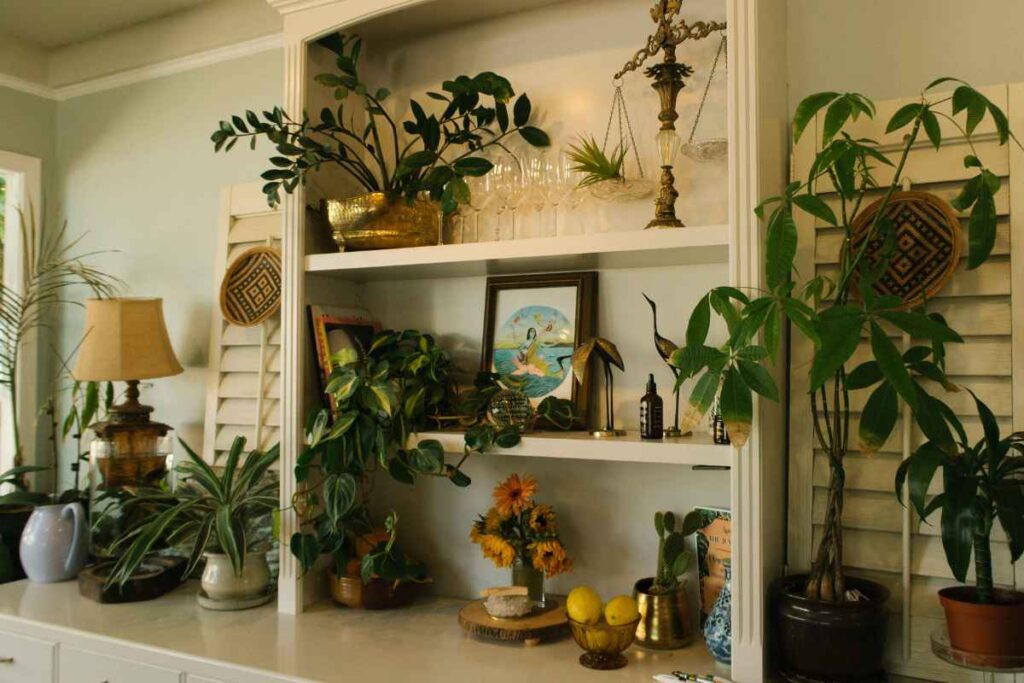
A rustic farmhouse mantel can completely transform the look of your fireplace, adding warmth, charm, and character to your living space.
The best part? You don’t need to break the bank to achieve this look. You can build a stunning mantel with the right materials, tools, and a little creativity.
This guide will walk you through everything you need to know to create a mantel that embodies the rustic farmhouse aesthetic.
What Makes a Rustic Farmhouse Mantel Special?
A rustic farmhouse mantel embraces natural materials, weathered finishes, and simple yet elegant design. These mantels often feature reclaimed wood, distressed finishes, and timeless craftsmanship. They serve as a focal point, blending functionality and beauty to elevate any room.
Step 1: Gather Your Materials and Tools
Before starting your DIY project, ensure you have all the necessary materials and tools. Here’s what you’ll need:
Materials
- Wood: Reclaimed wood, barn wood, or new wood that can distress you.
- Wood screws: For securing the mantel.
- Wood glue: To add extra stability.
- Stain or paint: Choose colors that match your desired rustic look.
- Sandpaper: For smoothing and distressing the wood.
- Sealant: To protect the finished mantel.
Tools
- Measuring tape: To ensure precise dimensions.
- Saw: A circular or hand saw will work for cutting the wood.
- Drill: For attaching screws.
- Clamps: To hold pieces together while assembling.
- Paintbrush or cloth: For applying stain or paint.
- Level: To ensure your mantel is perfectly aligned.
Step 2: Measure and Plan Your Mantel
Before cutting or assembling any wood, take accurate measurements of your fireplace. A well-fitting mantel is crucial to achieving a polished look.
Consider the Size
- Length: The mantel should extend slightly beyond the edges of your fireplace for balance.
- Depth: Aim for a depth of around 6–10 inches, depending on your preference and the size of your fireplace.
- Height: Decide how thick you want your mantel to be—usually 3–6 inches works well.
Sketch out your design and make a cut list to keep your project organized.

Step 3: Choose and Prepare the Wood
Reclaimed Wood vs. New Wood
- Reclaimed wood: Offers authentic character with natural imperfections, making it a popular choice for farmhouse mantels.
- New wood: A more affordable option, which you can distress to mimic a reclaimed look.
Preparing the Wood
- Clean the Wood: Remove dirt, debris, or old nails from reclaimed wood.
- Sand It Down: Use sandpaper to smooth rough edges while preserving the rustic texture.
- Distress New Wood: Use tools like a hammer, nails, or chains to create dings and scratches for an aged appearance.
Step 4: Assemble Your Mantel
Now it’s time to bring your mantel to life by assembling the wood pieces.
Basic Mantel Construction
- Cut the Wood: Use your saw to cut the wood to the desired length, width, and depth.
- Assemble the Frame: Create a hollow box by attaching three planks together—one for the top and two for the sides. Secure them with wood glue and screws.
- Reinforce the Structure: Add support beams inside the hollow box if needed for additional stability.
Tips for a Secure Build
- Use clamps to hold the wood in place while drilling and gluing.
- Check alignment with a level before tightening screws.
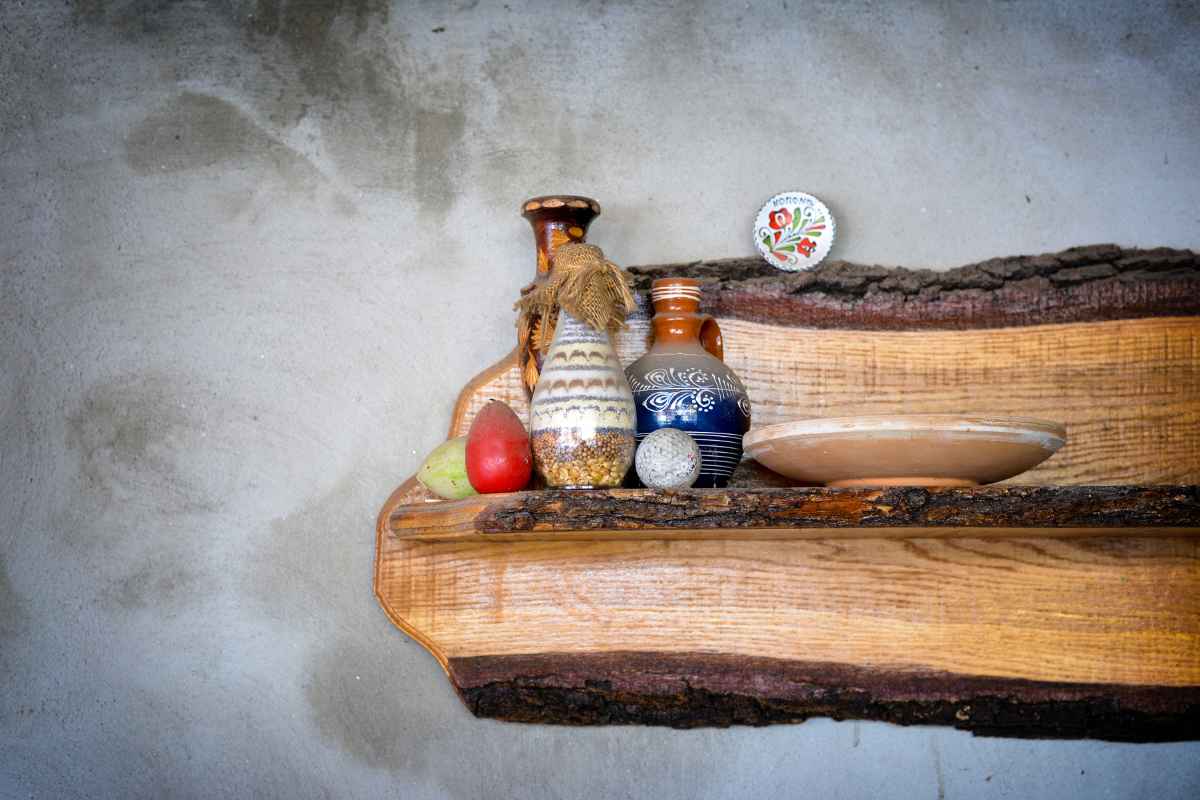
Step 5: Stain, Paint, or Finish the Mantel
Once your mantel is assembled, it’s time to add the finishing touches.
Staining the Wood
- Choose a dark stain for a rich, traditional look or a lighter stain to highlight the wood’s natural grain.
- Apply the stain with a cloth or brush, wiping off excess for an even finish.
Painting the Mantel
- Opt for white, gray, or pastel tones for a farmhouse vibe.
- For a distressed effect, lightly sand the edges after painting to reveal the wood underneath.
Sealing the Mantel
Finish with a sealant to protect the wood and enhance its durability. Use a matte or satin finish for a natural look.
Step 6: Mount the Mantel
Proper installation is key to ensuring your mantel is secure and level.
Mounting Options
- Bracket Method: Use heavy-duty brackets to attach the mantel to the wall.
- Ledger Board Method: Secure a wooden ledger board to the wall studs and slide the mantel over it.
Step-by-Step Mounting
- Locate Wall Studs: Use a stud finder to ensure your mantel is anchored securely.
- Attach the Mounting System: Install brackets or the ledger board at the desired height.
- Secure the Mantel: Slide the mantel into place and secure it with screws or bolts.
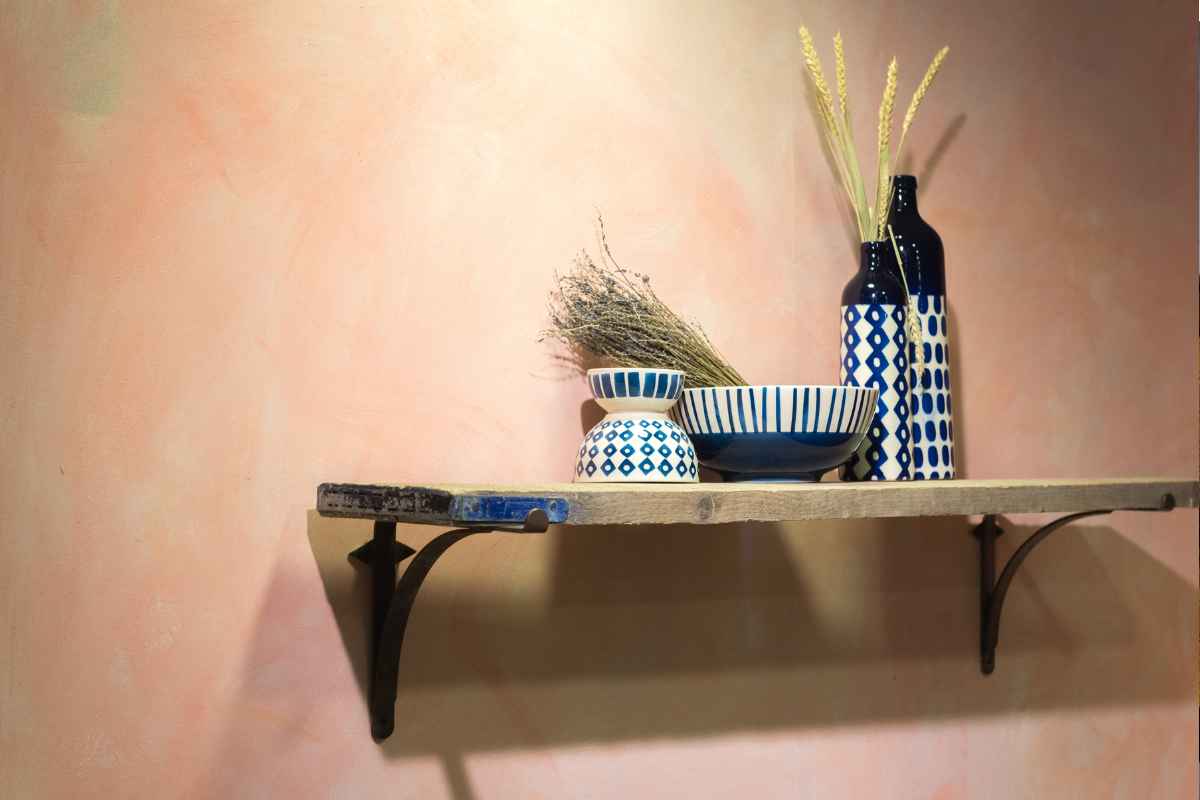
Step 7: Style Your Rustic Farmhouse Mantel
The final step is to decorate your mantel to showcase its rustic charm.
Farmhouse Mantel Styling Ideas
- Layered Decor: Combine items of varying heights, like framed prints, candlesticks, or vases.
- Seasonal Touches: Add greenery, garlands, or pumpkins for seasonal flair.
- Vintage Finds: Incorporate antique clocks, lanterns, or books to enhance the rustic look.
Keep the arrangement simple to maintain the farmhouse aesthetic.
Tips for a Successful DIY Mantel Project
- Work with Quality Materials: Choose durable wood that complements your space.
- Take Your Time: Measure carefully and follow each step to avoid mistakes.
- Stay Safe: Wear protective gear like gloves and goggles when working with tools.
- Practice Patience: Building a mantel takes time, but the result will be worth the effort.
Building a rustic farmhouse mantel is a rewarding DIY project that brings character and warmth to your home. By following these steps, you can create a mantel that perfectly reflects your style while staying on budget.
From selecting the wood to styling the finished piece, every detail contributes to a mantel that’s as functional as it is beautiful.
Get started today and enjoy the satisfaction of crafting a mantel that will become the centerpiece of your home for years to come!
Did you find this post Useful or Inspiring? Save THIS PIN to your HOME Board on Pinterest!

I’m Olivia, a firm believer that a happy home is built on the perfect balance of style and function. From DIY weekend projects and deep-cleaning hacks to finding the best decor trends on a budget, I love sharing practical ways to make your living space truly yours. My goal is to help you turn your house into a sanctuary, one organized corner at a time.
More Home Tips 👇🏼👇🏼