How to Clean Paint Rollers

If you’ve ever finished a wall and stared at a soggy, paint-soaked sleeve wondering how to clean paint rollers the right way, you’re in the perfect place.
This practical guide shows you exactly how to remove paint, protect your tools, and avoid the gunky mess that ruins finishes and wastes money.
Know Your Paint First
Before you reach for the sink, identify the paint type. Water-based (latex) paint cleans up with soap and water, while oil-based paint needs mineral spirits or paint thinner.
Using the wrong method can set stains deeper into the fibers or collapse the nap.
Check the can label for cleanup instructions. If you tossed the can, a quick test helps: dampen a rag with water and rub a small spot on the roller. If pigment lifts easily, it’s latex. If it smears without dissolving, treat it like oil-based.
Latex Cleanup: Fast, Thorough, and Gentle

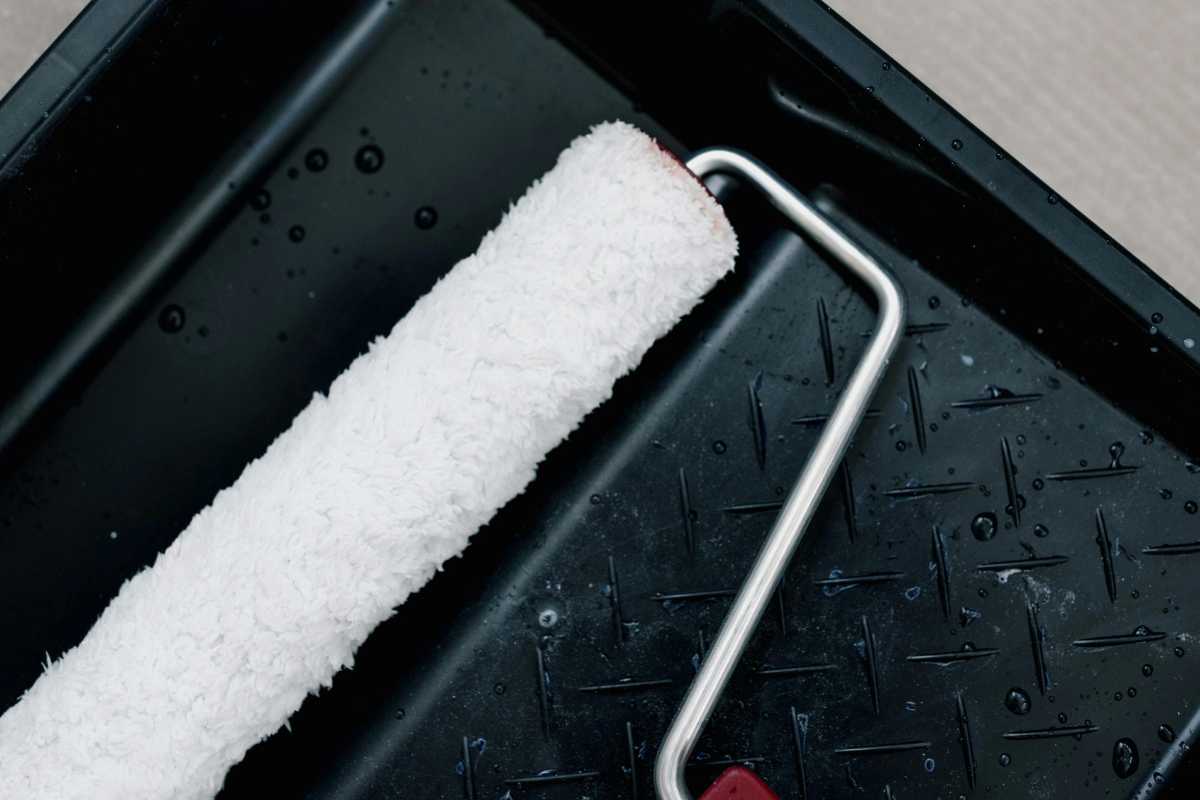
Start by scraping excess paint back into the tray with a 5-in-1 tool or the tray’s ridges. The more you remove now, the less you need to rinse later—and the fewer solids go down the drain.
Next, rinse the sleeve under warm running water while spinning it with your palm against the sink wall. Add a few drops of dish soap and massage the fibers from the core outward. Repeat until the water runs clear, then shake out the sleeve to expel hidden paint and suds.
For stubborn corners near the end caps, use a soft brush or old toothbrush. Avoid hot water, which can soften some adhesives and distort lower-quality covers.
Oil-Based Cleanup: Work Safely and Slowly

Set up in a well-ventilated area with gloves and a metal container. Pour a small amount of mineral spirits or paint thinner and roll the sleeve against the container’s wall to release pigment. Replace the solvent as it turns cloudy.
Once mostly clean, wash with a small dose of dish soap and warm water to remove residual solvents. Rinse thoroughly and pat dry with a lint-free cloth. Always follow local rules for solvent disposal—never pour used thinner down household drains.
How To Clean Paint Roller Sleeves (Deep-Clean Method)

How To Clean Paint Roller Sleeves when they’re caked after a long session? Try a two-bucket method. In bucket A, mix warm water with a grease-cutting soap (for latex) or fresh solvent (for oil).
In bucket B, keep clean rinse water (or a second batch of solvent). Agitate the sleeve in A, then spin and rinse in B. Repeat as needed.
For extra lift on latex, dissolve a tablespoon of oxygen cleaner in warm water and soak for 10 minutes, then rinse thoroughly. Finish by spinning the sleeve to fling out moisture—either by hand (outside) or with a purpose-made roller spinner.
How To Keep Paint Rollers Fresh Between Coats
When you’re pausing for lunch—or overnight—don’t wash everything out.
How To Keep Paint Rollers Fresh is simple: wrap the wet sleeve tightly in plastic wrap or a zip bag, squeeze out air, and label the bag with the paint and room. For multi-day gaps, add a rubber band around the end to seal in moisture.
For latex projects in cool rooms, you can even refrigerate the wrapped roller for 24–48 hours. Let it warm to room temperature before rolling to avoid condensation that can thin your first pass.
Handle and Frame Care

Great results depend on straight, smooth frames. After removing the sleeve, wipe the frame with a damp rag (or solvent for oil-based work). Pay attention to the cage wires and end bearings—dried paint here can cause chatter or streaks on the wall.
If the frame squeaks, add a micro drop of light machine oil to the bearing after cleaning. Keep threads on extension poles free of paint so they seat securely for ceiling passes.
How To Maintain Paint Rollers (Longevity Tips)

Think of How To Maintain Paint Rollers as a small routine that saves you from mid-project frustration.
Always pre-dampen a new sleeve (water for latex, appropriate solvent then wiped dry for oil) and spin it before the first dip to remove loose lint. This minimizes shedding on fresh coats.
Store dry sleeves upright on a clean dowel or in breathable bags so the nap doesn’t flatten. Avoid crushing them in a drawer; compressed fibers leave tracks that telegraph through satin and semi-gloss finishes.
Common Mistakes to Avoid

Over-scrubbing: Aggressive wire-brushing shreds fibers and shortens life. Use a soft brush and let soapy water or solvent do the heavy lifting.
Skipping the spin: Not spinning a sleeve after rinsing leaves water deep inside, diluting your next coat and causing spatter. A quick manual spin outside is enough.
Hot water on budget covers: High heat can loosen glues and deform cores. Stick to warm water unless the manufacturer says otherwise.
Choosing Quality to Clean Less
Higher-quality sleeves shed less, load paint evenly, and clean faster. For walls and ceilings with latex, microfiber and woven polyester covers are durable and rinse clear quickly.
For doors and trim, mohair or foam can deliver ultra-smooth results, but clean them gently to preserve the finish.
If you’re researching the best approach for different surfaces, match nap length to the texture: 1/4"–3/8" for smooth drywall, 1/2" for light orange peel, 3/4"+ for rough masonry. The closer the match, the fewer passes—and the easier cleanup.
Troubleshooting: When a Roller Is Beyond Saving
If the sleeve still sheds lint after a thorough wash and spin, it’s time to retire it to primer duty or disposal. Hardened stripes near the end caps often signal trapped paint that won’t release; this can leave tracks on your finish coats.
For oil-based residues that keep bleeding color in the rinse, you may need a fresh solvent bath. Weigh the cost of more solvent against a new sleeve—sometimes replacement is smarter and safer.
Quick Recap You Can Screenshot

Latex: Scrape excess, rinse warm with dish soap, brush end caps, spin dry.
Oil-based: Swirl in clean solvent, soap-and-water rinse, air dry.
Between coats: Wrap airtight (refrigerate for short breaks).
Storage: Dry fully and keep sleeves uncompressed.
Mastering how to clean paint rollers isn’t glamorous—but it’s the quiet skill that keeps your finishes smooth, your gear reliable, and your project budget in check.
Enjoy the Video Tutorial

Source: Expressions Painting
More Home Tips 👇🏼👇🏼