
How to Fix Cracked Glass


Accidents happen—a picture frame tips over, a cabinet door closes a little too hard, and suddenly there’s a crack.
The good news is that you can stabilize and disguise a cracked glass item at home using two-part epoxy or, for hairline lines on small decor pieces, UV resin.
This guide keeps things simple, safe, and realistic so you know exactly what to expect and when to call a professional.
What This Method Can (and Can’t) Fix
Best for: single-pane glass in picture frames, mirrors, glass tiles, small decor pieces.
Not for: double-pane (insulated) windows, tempered shower doors, oven or microwave doors, or automotive glass. These require specialized repair or full replacement for safety.
Safety First
Before you begin, protect yourself and the work area.
Wear safety glasses and nitrile gloves.
Work in good ventilation.
Keep blades low and flat when trimming cured adhesive.
If a crack is spreading, reaches the edge, or the glass bears weight (like a door lite), consult a professional.
 Tools and Materials (With Smart Alternatives)
Two-part epoxy for glass (syringe style helps maintain a 1:1 ratio)
Isopropyl alcohol or glass cleaner and lint-free cloths
Painter’s tape
Razor blade/utility knife with a fresh blade
Mixing surface (cardboard or disposable plate) and a mixing stick
Optional: plastic scraper, small clamps for separated pieces, UV resin and a UV lamp for tiny hairline cracks on small objects
Set Expectations: Cosmetic and Stabilizing, Not Magic
A good home repair stops the crack from spreading and reduces its visibility.
From some angles, the line may nearly disappear; under strong light, you may still notice a faint trace. That is normal. Think “stabilize and blend” rather than “perfectly invisible.”
 Step-by-Step: Epoxy Repair for Cracked Glass
1) Prepare the Workspace
Clear a flat surface, lay down cardboard, and gather everything within reach. Two-part epoxy has a short working time (often 5–10 minutes), so a tidy setup helps you work smoothly.
2) Clean Thoroughly
Wipe the glass around the crack with isopropyl alcohol or glass cleaner to remove oils and dust. Let it dry completely. Clean surfaces give stronger adhesion and a clearer finish.
3) Align and Stabilize
If the glass is in two pieces, dry-fit them first to learn the exact alignment. Use painter’s tape on the back side to keep the crack closed and flush, or set gentle clamps if you’re repairing a detached piece.
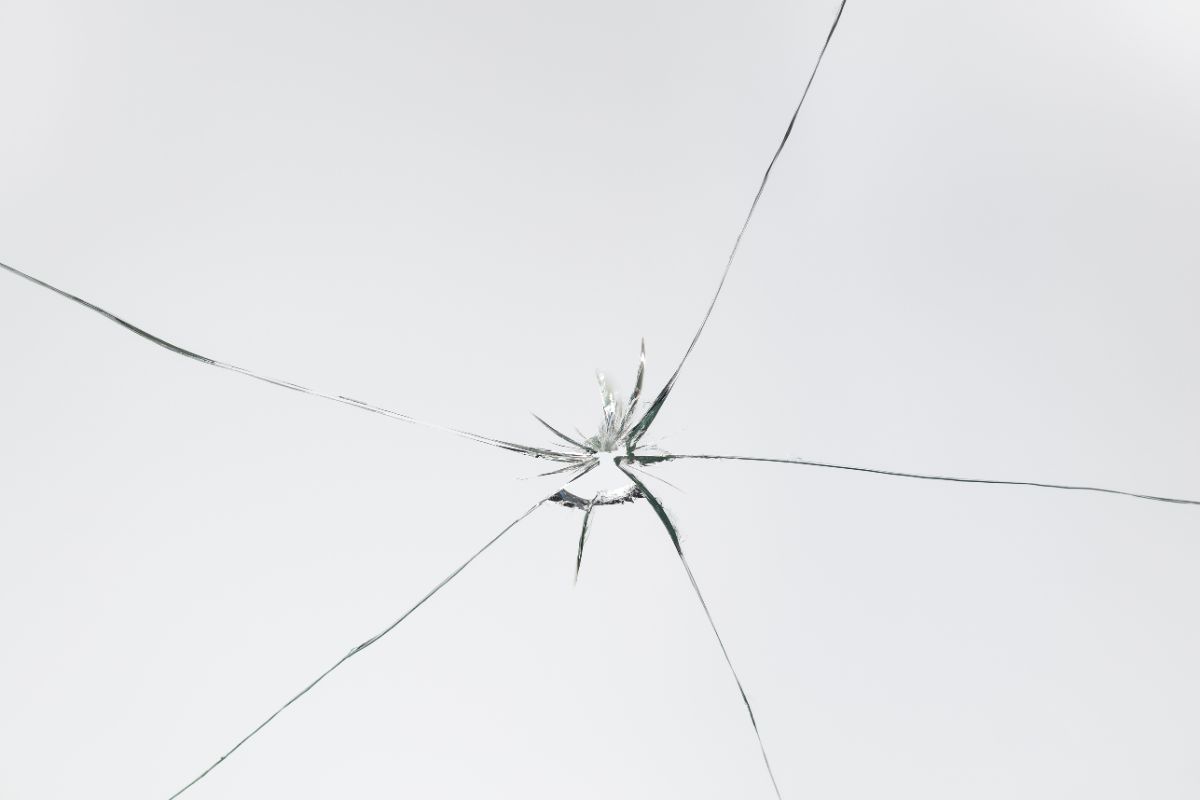 4) Mix the Epoxy
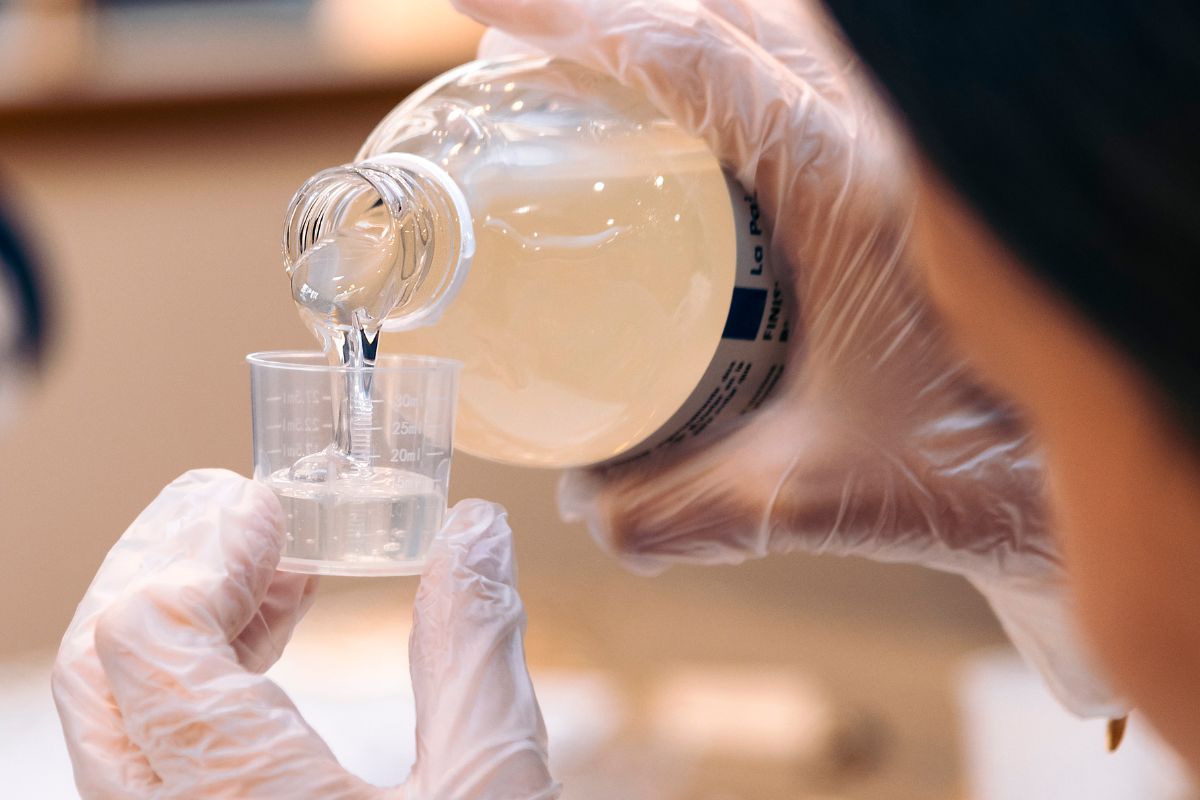
Dispense equal parts resin and hardener onto your mixing surface. Stir with a stick for 30–60 seconds until uniform. Syringe-style epoxies simplify this step for beginners.
5) Fill the Crack
If the piece is separated: Apply a thin, even layer along the broken edge, bring the pieces together, and secure with tape or clamps.
If the piece is intact: Use the mixing stick to push epoxy into the crack. A slight overfill is okay—you will trim it later. Aim for full penetration so the repair is strong.
6) Let It Cure Fully
Follow the label’s working time and full cure time. Surface hardening happens first, but full strength and clarity take longer. Do not flex or clean aggressively until fully cured.
7) Trim, Level, and Polish
Hold a fresh razor blade at roughly 15 degrees, almost parallel to the glass, and shave off cured excess with gentle, flat strokes.
Finish with a light clean using glass cleaner and a lint-free cloth. If needed, a plastic scraper is safer on delicate coatings.
 Alternative: UV Resin for Hairline Cracks (Small Items)
For very fine, superficial cracks in small decorative items (not windows or doors), UV resin can be a great option. It allows you to work slowly and cure on demand under a UV lamp for a tidy, controlled fill.
Note that UV resin is not a structural fix and should not be used on load-bearing or safety-critical glass.
When to Call a Professional
The crack is longer than about 12 inches (30 cm) or reaches the edge.
There’s fogging or moisture between panes (insulated glass failure).
The glass is tempered (e.g., shower doors) or part of an oven/microwave door.
The glass bears weight, handles impact, or lives in a door that slams.
A pro can evaluate safety, relieve frame stress, and replace panels correctly.
 Make It Last: Prevention Tips That Actually Help
Add bumpers or soft-close hardware to doors and cabinets that hit glass.
Avoid thermal shock: don’t splash hot water on cold glass or move items suddenly from sun-heated spots to cold air.
Clean gently with non-abrasive products and lint-free cloths.
Inspect frames and mounts; a twisted or tight frame can put constant stress on glass and re-open cracks.
Quick FAQs
Can I make the crack completely invisible?
Sometimes it looks close to invisible, but most repairs remain faintly visible from certain angles or under strong light.
Is super glue a good substitute?
Not really. Two-part epoxy bonds more reliably and cures clearer in cracks. Super glue can frost or leave brittle, weak fills.
How long will the repair last?
With proper cleaning, gentle use, and stable framing, a well-executed epoxy repair can last a long time. Recheck periodically, especially on items that see vibration or temperature swings.
 From “Broken” to “Back in Use”
With clear expectations, the right safety steps, and a little patience, a cracked glass item doesn’t have to be a loss.
Two-part epoxy can secure the damage and blend the flaw so your favorite mirror, frame, or decor piece looks presentable again.
Reserve specialty glass (double-pane, tempered, appliance, automotive) for the pros, and add a few prevention tweaks so you won’t be fixing the same problem twice.
We hope you enjoy watching this video about Cracked Glass Fixing:

Source: Online Training for Everyone
Did you find this post useful or inspiring? Save THIS PIN to your HOME Board on Pinterest! 

Once again, thank you for visiting our website!
We hope you've enjoyed exploring the content we've created for you.
Give yourself the chance to learn, get inspired, and have even more fun, keep browsing...
More Home Tips 👇🏼👇🏼