
How to Paint Concrete Floors


Painting a concrete floor is easier than you think—and the payoff is big.
With a free weekend, a bit of prep, and the right concrete floor paint, you can turn a dusty gray slab into a bright, durable surface that’s ready for daily life (and even hot tires).
This guide walks you through each step in plain English, anticipates the common questions, and helps you avoid the mistakes that cause peeling.
What You’ll Get From This Project
A floor that looks cleaner, traps less dust, and stands up to traffic—whether you’re refreshing a garage floor, a basement hangout, a workshop, or a covered porch.
We’ll help you decide epoxy vs acrylic, prep correctly, and apply a smooth, long-lasting finish.
Safety and Conditions First
Good airflow and basic protective gear matter. Work with ventilation, wear gloves and a respirator when cleaning, sanding, or applying coatings, and follow the label for recommended temperature and humidity.
This protects your health and improves adhesion and curing.
 Step 1: Evaluate the Floor (Moisture, Damage, Cleanliness)
Start with a quick check so you’re not painting over problems.
Moisture test: Tape a 12"×12" plastic square to the floor and seal the edges. After 24 hours, check for condensation.
If it’s foggy underneath, manage moisture (dehumidify, improve ventilation, or choose a vapor-tolerant system) before you paint. Moisture is a top cause of peeling concrete floor paint.
Surface scan: Note cracks, grease or oil spots, chalky dust, and any flaking paint. Small, stable cracks are easy to fill; wider or moving cracks need patching with hydraulic cement.
Step 2: Choose the Right Coating (Epoxy vs Acrylic)
Picking the coating that matches your space and traffic level is half the battle.
Acrylic/latex concrete floor paint
Best for light to medium traffic areas like basements, laundry rooms, and workshops. It’s low odor, easy to roll, and simple to touch up later. Clean-up is soap and water.
Water-based epoxy kits
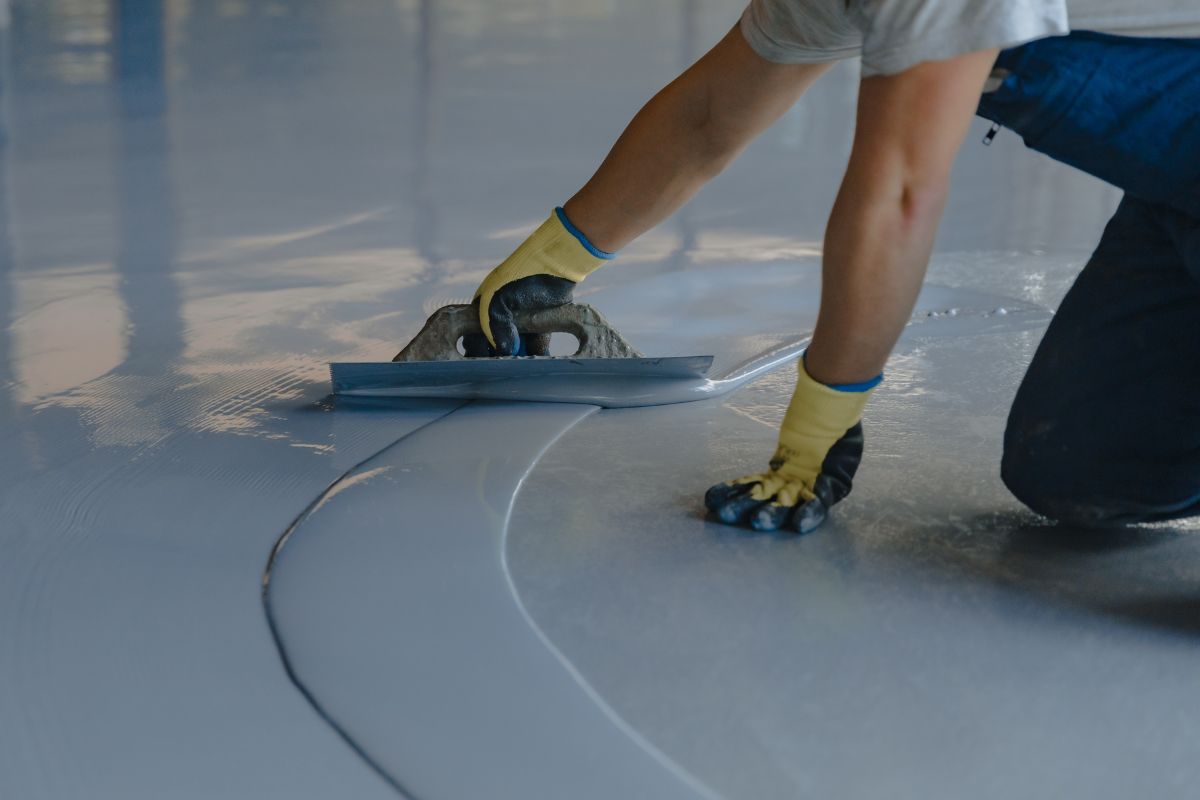
Made for high traffic and garage floors. They resist hot-tire pickup, drips, and chemicals better than acrylic. Many kits include decorative chips and accept anti-slip additives for safer footing.
Quick decision help:
– If you’ll park a car or want maximum durability, choose epoxy.
– If you need a fast refresh, low odor, and easy maintenance, choose acrylic.
– For porches or areas that get wet, plan to add an anti-slip additive to your final coat.
 Step 3: Prep for Perfect Adhesion
Great results are 90% preparation.
Degrease and deep-clean: Vacuum thoroughly, then treat oil or tire marks with a concrete-safe degreaser. Rinse well and let the slab dry completely.
Repair: Fill hairline cracks with a concrete crack sealer. For larger voids, use hydraulic cement or a fast-setting repair compound and allow the full cure time on the label.
Create a paint-friendly profile: If the concrete is very smooth—or if there’s glossy, well-adhered old paint—scuff-sand to dull the sheen, or use a manufacturer-approved etch to lightly profile the surface.
If paint is flaking, remove the loose areas down to sound substrate, then feather the edges by sanding so your new coating lays flat.
Step 4: Prime (Only If Your Product Needs It)
Some systems are self-priming, while others call for a dedicated primer or a thinned first coat. Follow your product’s instructions closely.
If the floor still feels cool or damp, pause; painting over moisture is the fastest route to failure.
 Step 5: Smart Application (So You Don’t Paint Yourself Into a Corner)
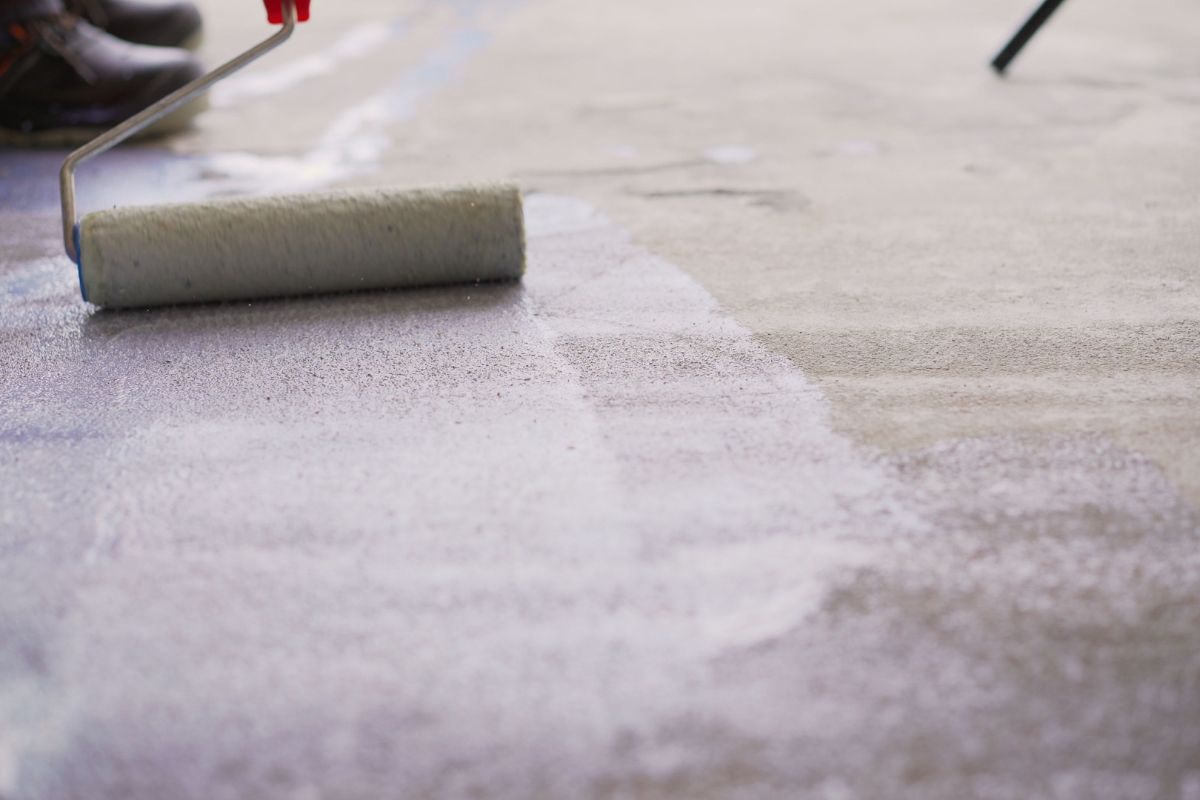
Stir your coating thoroughly. Start at the wall farthest from the exit and work your way toward the door.
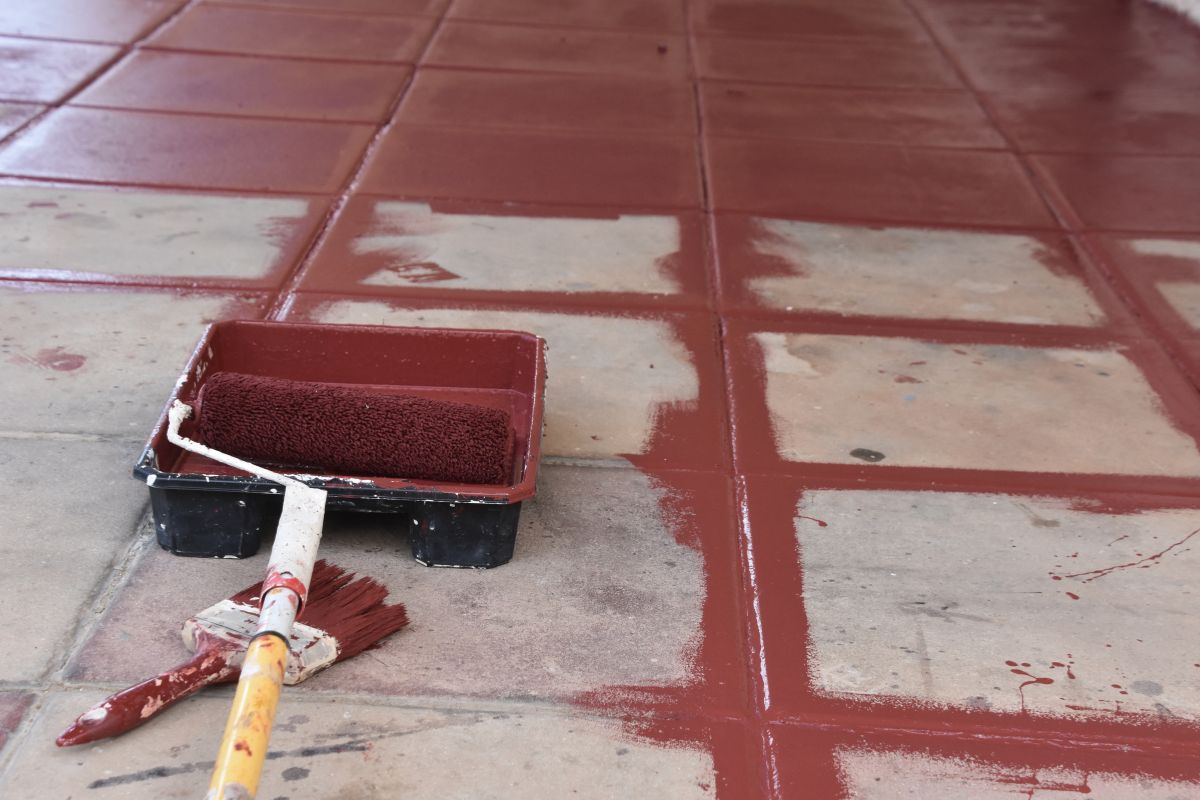
Cut in edges, posts, and drains with a 2.5" angled brush to keep borders clean.
Then roll in manageable sections (about 3–4 feet wide), overlapping slightly to maintain a wet-edge and avoid roller lap marks. Maintain even pressure and reload the roller before it starts to drag.
Anti-slip and chips: If you’re adding anti-slip aggregate, mix it into the final coat or broadcast as directed.
Decorative chips should be sprinkled while the coat is wet, then locked in with the next layer (or a clear topcoat if your system uses one).
Step 6: Recoat and Cure With Patience
Respect the label’s timing—it protects your work.
Recoat window: Often 4–24 hours between coats (check your product).
Light foot traffic: Typically 24–48 hours.
Vehicle traffic: Often 5–7 days for epoxy systems; some acrylics need less, but waiting longer reduces the risk of hot-tire pickup.
Keep the space dust-free while it cures. Don’t drag heavy items; lift or use sliders. Add felt pads to furniture feet and place a doormat to trap grit.
 Step 7: Easy Maintenance That Extends Life
Sweep or vacuum regularly and mop with mild detergent and warm water.
Avoid harsh solvents unless your coating specifically allows them. If a spot wears thin, lightly sand, clean, and touch up the area; small maintenance saves full repaints later.
Troubleshooting: Quick Fixes for Common Issues
Peeling patches: Usually moisture or contamination. Remove the failed area to sound concrete, degrease, let it dry completely, then prime (if required) and recoat.
Roller marks or uneven sheen: Caused by working too slowly or letting edges dry. Lightly sand to level, then apply a thin, even coat maintaining a wet-edge.
Slippery surface: Add anti-slip additive to a new final coat or apply a clear, textured topcoat recommended by your system.
 Tools and Materials Checklist
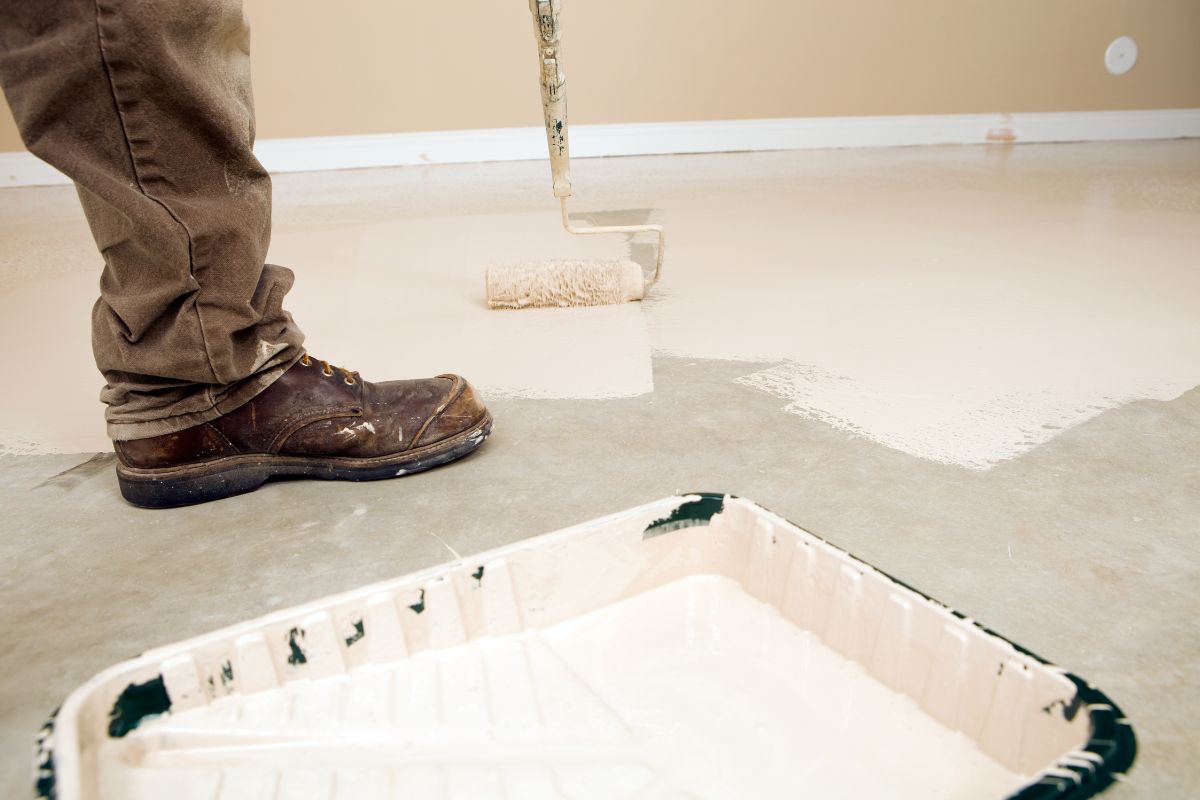
Concrete floor paint or epoxy kit, degreaser, crack filler/hydraulic cement, painter’s tape, 2.5" angled brush, roller and tray with appropriate nap.
Sanding tools or etch, respirator and gloves, anti-slip additive (optional), decorative chips (optional), and drop cloths. Having everything on hand keeps the project moving smoothly.
FAQs (Short and Straightforward)
Can I paint over old paint? Yes—if it’s well-adhered and de-glossed. Remove all loose or flaking areas, scuff-sand the rest, clean, then follow your system’s directions.
Will paint stick if there are oil stains? Only if you fully degrease and rinse. Any residue can block adhesion.
Is this okay outdoors? Use coatings rated for exterior and avoid direct, constant sun or standing water unless your product allows it. Covered porches do well with the right prep and anti-slip.
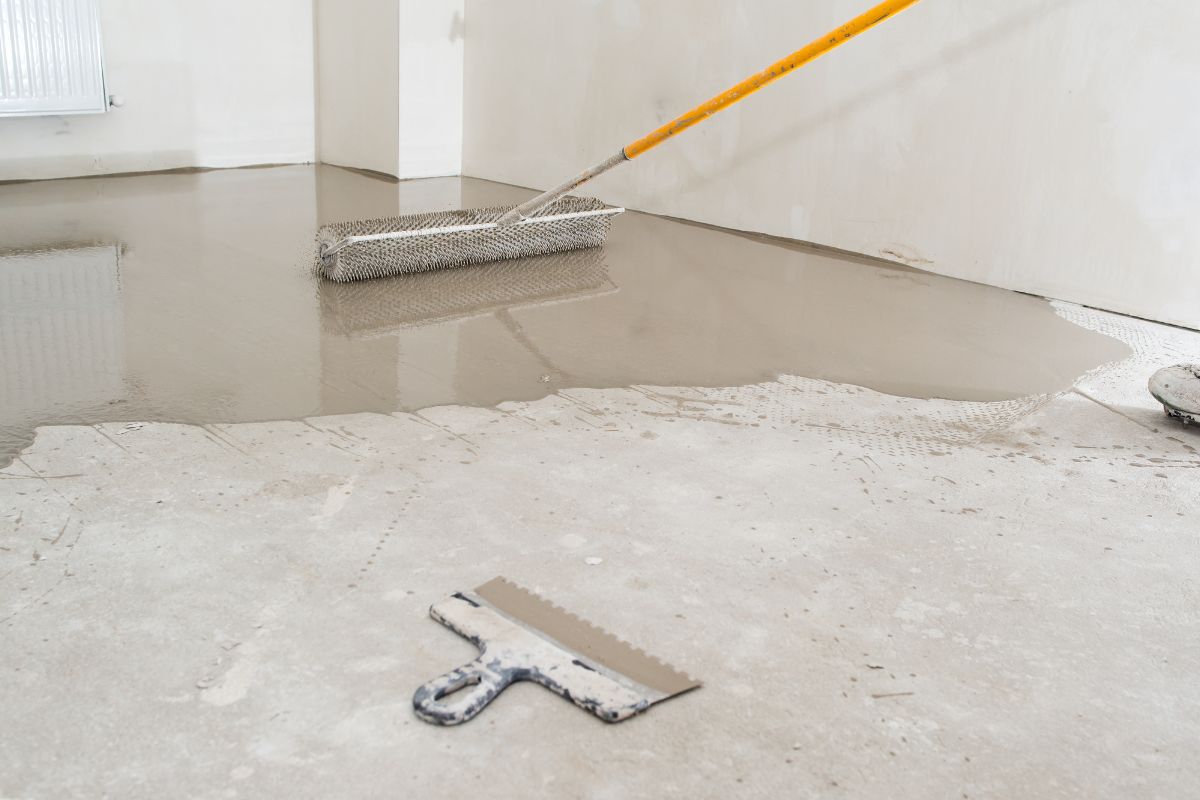 Final Coat: Your Concrete Floor, Upgraded
With smart prep, the right garage floor paint or water-based epoxy, and a little patience during curing, your space will look brighter, feel cleaner, and hold up better to daily life.
Start with the moisture check, pick the coating that matches your traffic, and work steadily from the far wall toward the door.
Follow these steps once, and you’ll enjoy a durable, beautiful concrete floor for years—no second guessing, no peeling surprises.
We hope you enjoy watching this video about how to paint a concrete floor, step by step guide

Source: howtopaintinfo
Did you find this post useful or inspiring? Save THIS PIN to your HOME Board on Pinterest! 😊

Once again, thank you for visiting our website!
We hope you've enjoyed exploring the content we've created for you.
Give yourself the chance to learn, get inspired, and have even more fun, keep browsing...
More Home Tips 👇🏼👇🏼