- Urbaki Home
- Home Repair
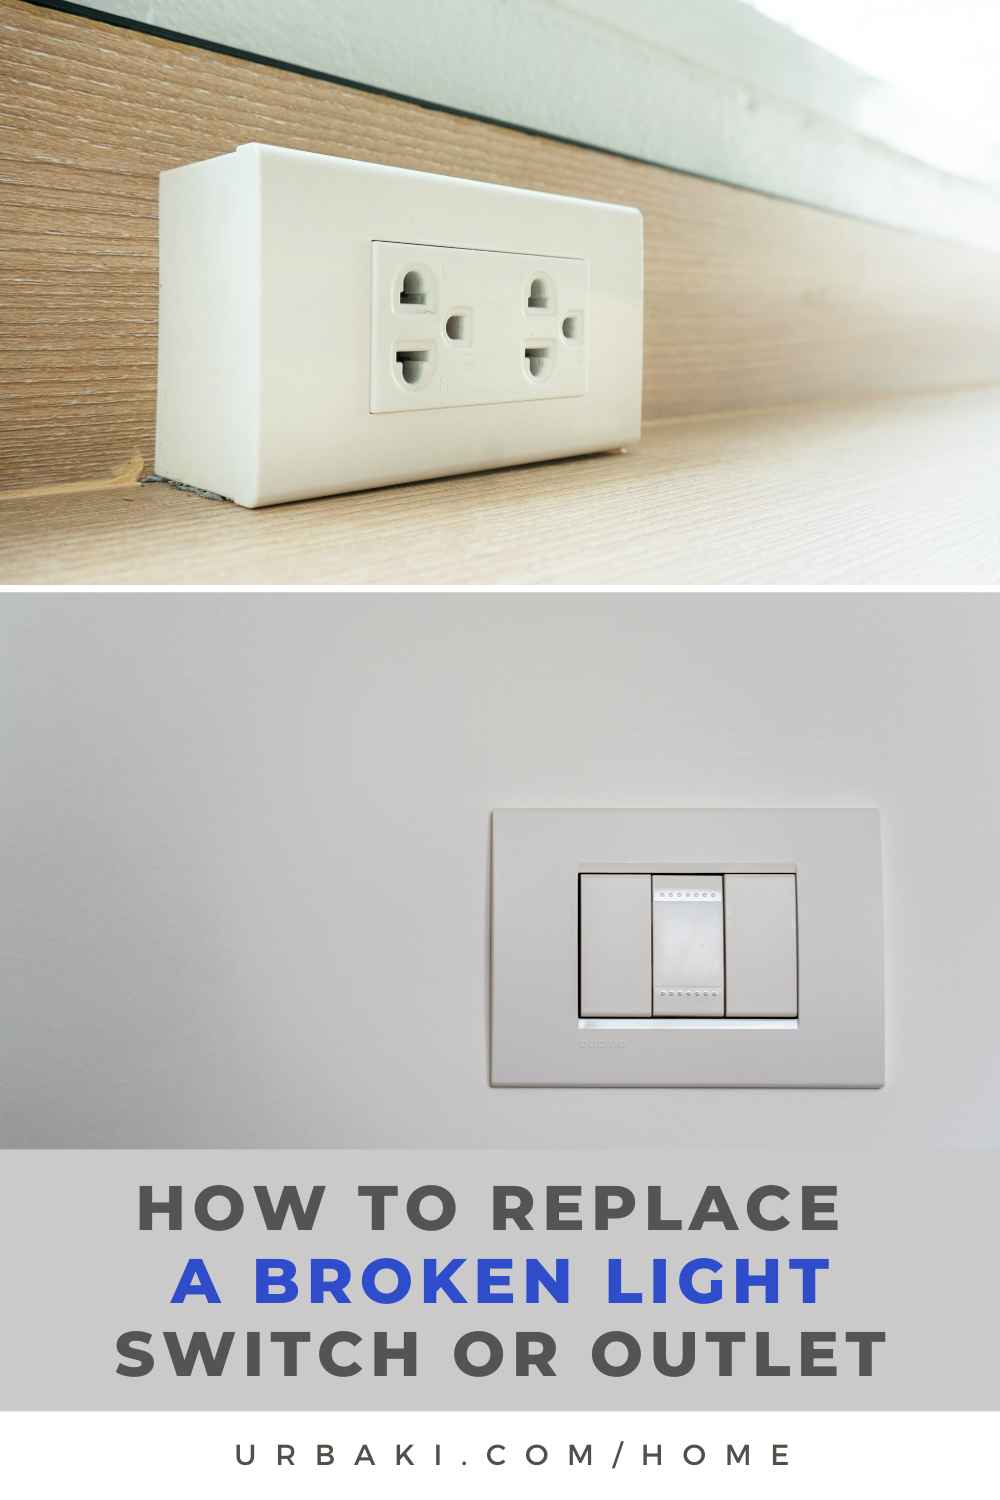
- How to Replace a Broken Light Switch or Outlet
How to Replace a Broken Light Switch or Outlet
17/01/2025 · Updated on: 09/02/2026

Replacing a broken light switch or outlet might seem intimidating, but it’s a straightforward DIY task that many homeowners can handle with a bit of patience and the right tools.
Whether you’re fixing a faulty switch or upgrading an old outlet, this guide will walk you through the process safely and efficiently.
Safety First: What You Need to Know Before You Start
Working with electricity can be dangerous if not handled properly, so it’s essential to take the necessary precautions. Follow these steps to ensure safety:
- Turn Off the Power: Locate your home’s circuit breaker and turn off the power to the switch or outlet you’re replacing. Use a voltage tester to confirm that no electricity is running to the fixture.
- Gather Your Tools: You’ll need:
- Screwdrivers (flathead and Phillips)
- Voltage tester
- Wire strippers
- Replacement switch or outlet
- Electrical tape
- Needle-nose pliers
- Understand the Wiring: Familiarize yourself with the wiring system. Typically, there will be black (hot), white (neutral), and green or bare (ground) wires.
Pro Tip: Take a picture of the existing wiring before you start to help with reassembly later.
How to Replace a Light Switch
Replacing a broken light switch is a common household repair. Here’s how to do it step by step:
1. Remove the Old Switch
- Unscrew the Cover Plate: Use a screwdriver to remove the screws holding the switch cover plate in place.
- Disconnect the Switch: Unscrew the light switch from the electrical box and gently pull it out.
- Test the Wires: Use a voltage tester to confirm there’s no power running through the wires.
- Detach the Wires: Loosen the screws on the sides of the switch and detach the wires. Remember their placement for later.
2. Install the New Switch
- Connect the Wires: Attach the wires to the corresponding terminals on the new switch:
- Black (hot) wire: Connect to the brass terminal.
- White (neutral) wire: If applicable, connect to the silver terminal.
- Ground wire: Attach to the green terminal or grounding screw.
- Secure the Switch: Push the wires neatly back into the electrical box and screw the new switch into place.
- Replace the Cover Plate: Reattach the cover plate and tighten the screws.
3. Test the Switch
- Turn the circuit breaker back on.
- Flip the switch to test if it’s working properly. If it doesn’t, double-check the wiring.
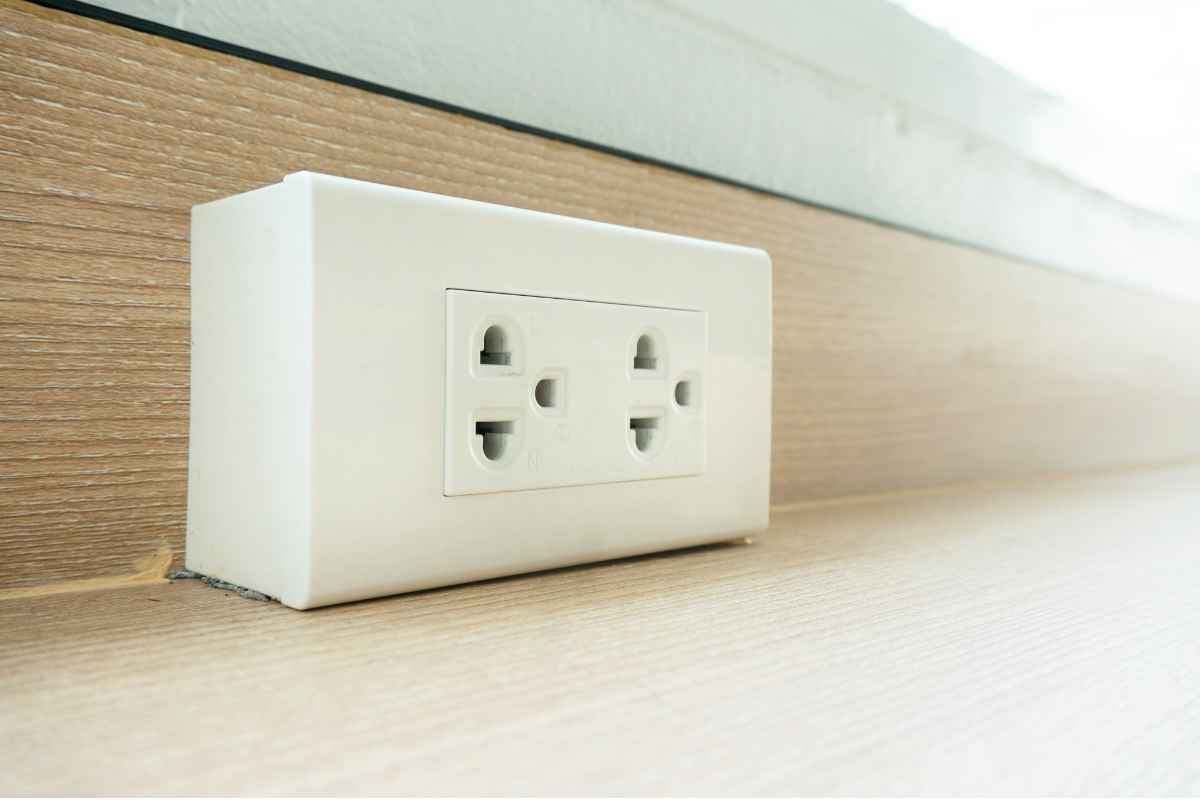
How to Replace a Broken Outlet
Replacing an outlet is slightly more complex than swapping out a switch, but it’s still manageable with the right guidance.
1. Remove the Old Outlet
- Unscrew the Cover Plate: Remove the screws and take off the outlet cover.
- Detach the Outlet: Unscrew the outlet from the electrical box and pull it out gently.
- Test for Power: Use a voltage tester to confirm the power is off.
- Label the Wires: Take note of where each wire is connected. Typically:
- Black (hot) wires connect to brass screws.
- White (neutral) wires connect to silver screws.
- Ground wires connect to green screws.
2. Install the New Outlet
- Attach the Wires:
- Strip about ½ inch of insulation from the wires if needed.
- Connect each wire to its corresponding terminal on the new outlet. Make sure the screws are tightened securely.
- Secure the Outlet: Push the wires neatly into the electrical box and screw the new outlet into place.
- Replace the Cover Plate: Attach the outlet cover and tighten the screws.
3. Test the Outlet
- Restore power at the circuit breaker.
- Plug a small appliance or use a tester to ensure the outlet is functioning correctly.
Common Troubleshooting Tips
If the switch or outlet doesn’t work after replacement, here are some things to check:
- Loose Connections: Double-check that all wires are securely connected to their terminals.
- Tripped Breaker: Ensure the circuit breaker is fully reset.
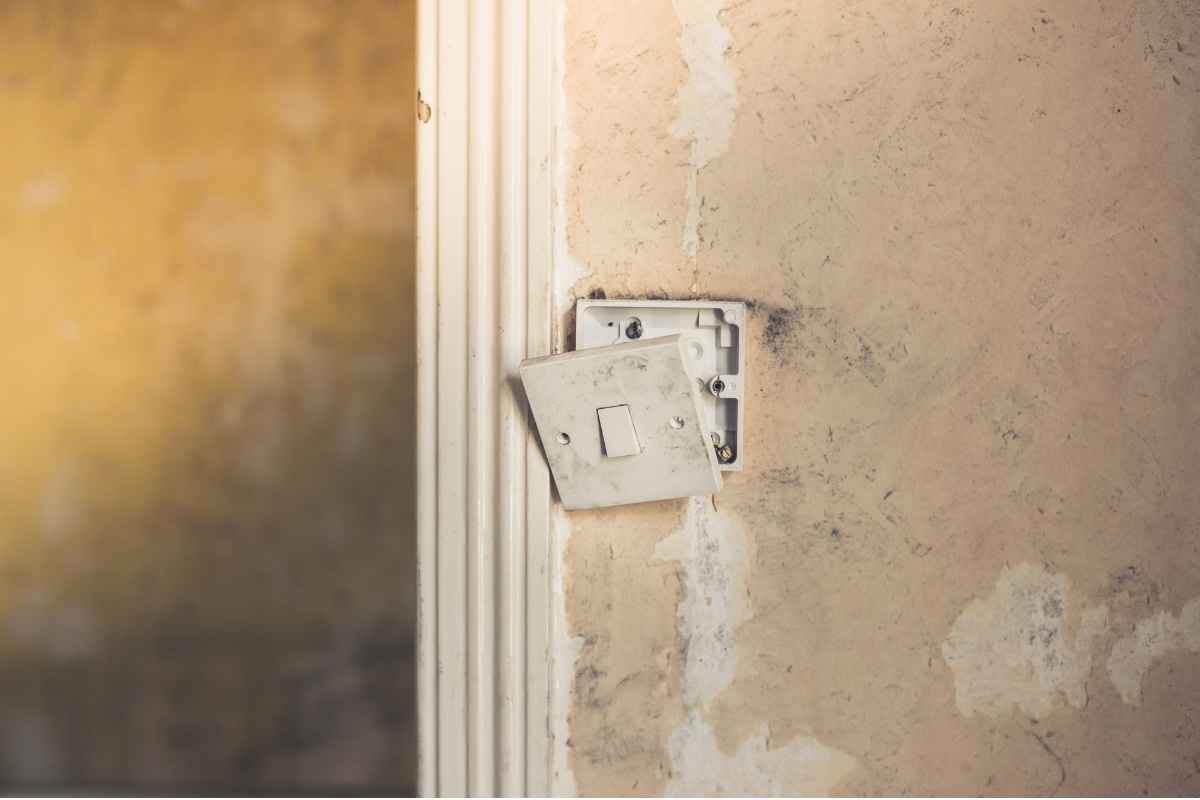
- Damaged Wires: Inspect for frayed or broken wires that may need additional repairs.
Note: If you’re still experiencing issues, it may be best to consult a licensed electrician.
When to Call a Professional
While replacing a light switch or outlet is a DIY-friendly task, there are times when calling a professional is the safer option:
- If the wiring looks complex or outdated.
- If you’re uncomfortable working with electricity.
- If the repair involves GFCI (Ground Fault Circuit Interrupter) outlets, which have additional wiring requirements.
Tips for Maintaining Electrical Fixtures
To avoid future issues, take these steps to maintain your home’s electrical fixtures:
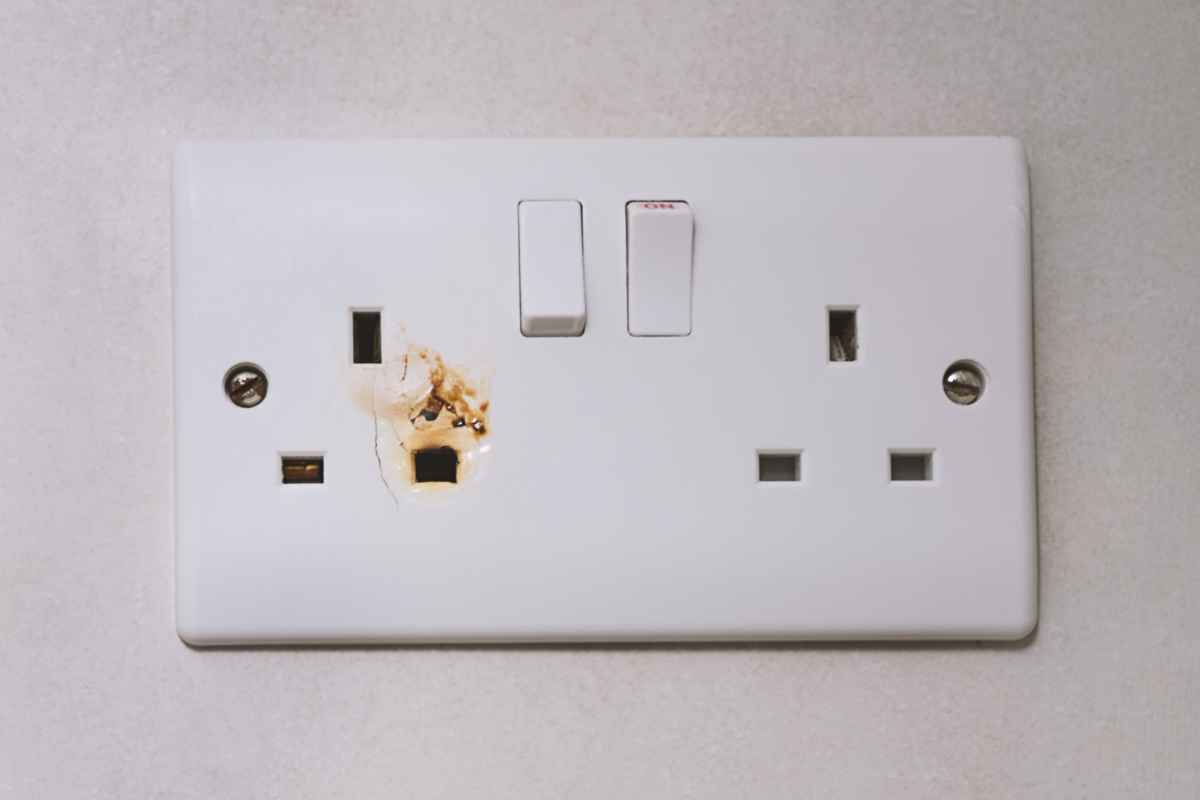
- Inspect Regularly: Check outlets and switches for signs of wear, such as cracks, discoloration, or loose connections.
- Avoid Overloading Circuits: Use power strips and surge protectors to prevent overloading a single outlet.
- Upgrade When Needed: Replace older outlets with modern GFCI models in areas near water, like kitchens and bathrooms.
Replacing a broken light switch or outlet is a manageable DIY project that can save you time and money. By following these steps and taking proper safety precautions, you can confidently restore functionality to your home’s electrical fixtures.
If at any point you feel unsure or encounter unexpected issues, don’t hesitate to seek professional help.
With a little patience and care, you’ll have your light switch or outlet replaced and working in no time!
Did you find this post Useful or Inspiring? Save THIS PIN to your HOME Board on Pinterest!
I’m Olivia, a firm believer that a happy home is built on the perfect balance of style and function. From DIY weekend projects and deep-cleaning hacks to finding the best decor trends on a budget, I love sharing practical ways to make your living space truly yours. My goal is to help you turn your house into a sanctuary, one organized corner at a time.
More Home Tips 👇🏼👇🏼