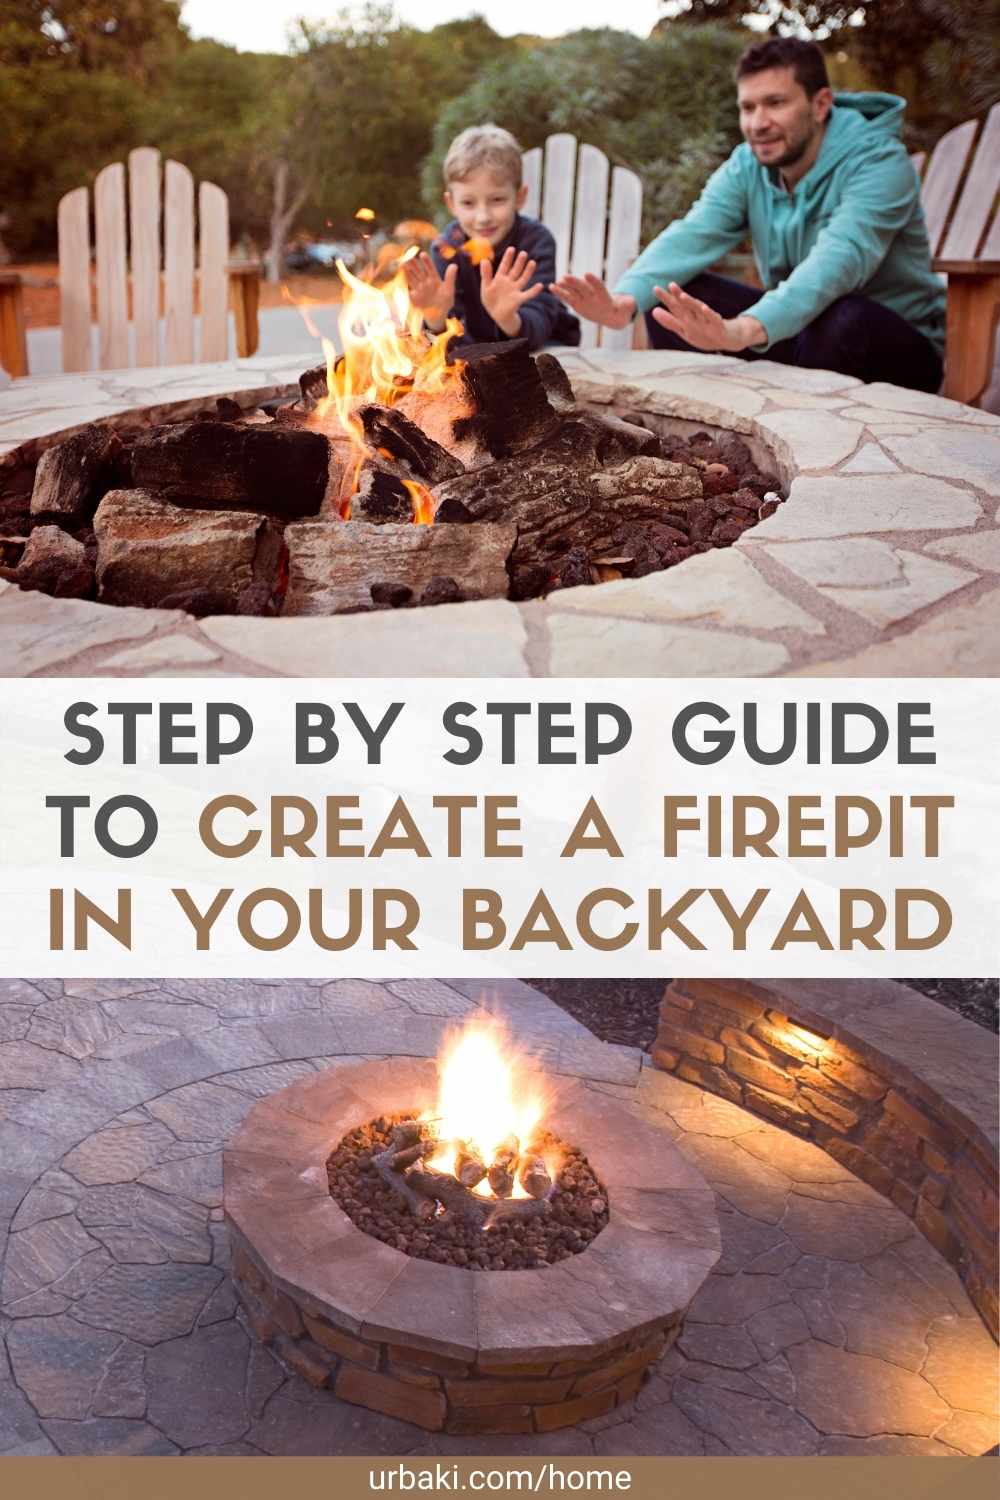
Step by Step Guide to Create a Firepit in Your Backyard
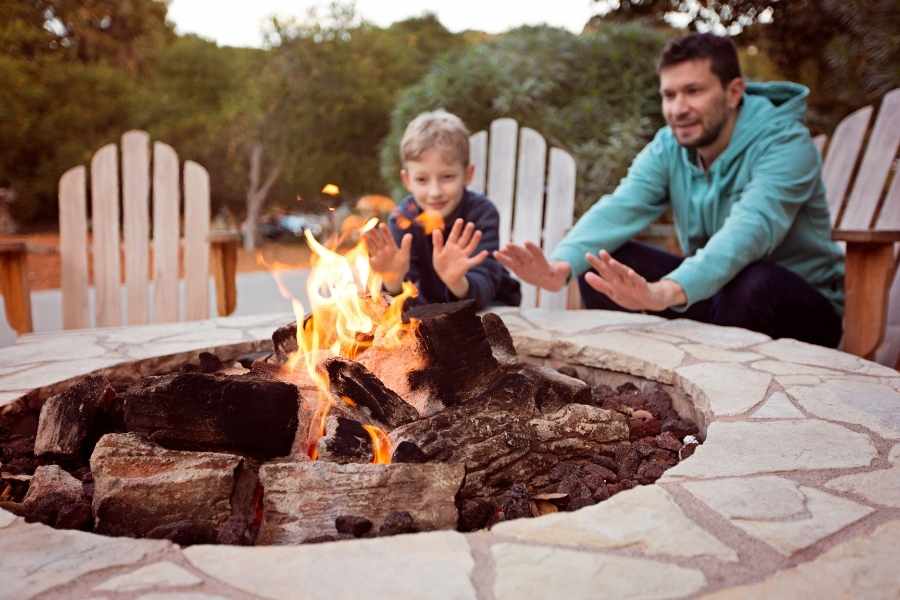
Imagine gathering with friends and family around a cozy, roaring fire pit built on your own backyard fire pit. What could be more welcoming? At 51 inches (outside diameter) and 16 inches tall, this DIY backyard fire pit can be built in less than half a day.
The outer ring is large enough for up to six guests to grab a chair and chat, and the 32-inch diameter inner moat area offers ample space for a fireplace. Since this backyard project uses inexpensive masonry materials, costs are in check. No special skills are required.
The hardest part is transporting heavy materials home and putting them in place. But with in-store delivery straight to your home and with the help of one or two partners, the hard work is reduced to a minimum.
Check local restrictions
Before building, check your local licensing requirements. Some municipalities require a building permit, even for simple fires of this type, which are not supplied by pipelines.
If your home is in a homeowners association (HOA), you may need to get permission from the HOA board before lighting the fire. Also check the restrictions on open fires in your area, as well as the necessary permits around a campfire.

What are you going to need?
Equipment tools:
- Caulking gun
- Shovel
- Hand tamp
- Bubble level
- Measuring tape
- Twine
- Stake (any piece of wood)
Materials:
- 72 retaining wall blocks (each 4 "high, 8-1 / 2" wide, and 8 "deep)
- 3 cubic feet of 1/4 "granite drain gravel
- Firepit ring insert
- Landscape Block Sticker
- Spray paint
Instructions:
1. Find a suitable place
Locate the fire away from the house or from any combustible material such as fences and trees. Also stay away from windows that are opened frequently, as well as any type of fan outlets and air conditioning units.
2. Mark the area
To trace its perimeter, find what the center will be, drive a stake into the ground, and attach a rope the length of the radius. At the end of the rope, hold the spray paint can and paint a circle around the center point. The interior section will be your excavation area.
3. Dig the foundation
With your shovel, dig this area about two inches deep. Removing the grass itself is deep enough, as the grass extends about 5 inches into the ground.
Use the bubble level to verify that the excavated surface is level and adjust by adding or removing more dirt.
4. Add drainage gravel
Place the ¼ ”drainage gravel in the garden cart or wheelbarrow and pour it into the excavated area. Spread evenly and make sure it is level again. Adjust as needed with more gravel and tighten with a hand compactor.
5. Define the first level of blocks
Part of 18 of the retaining wall blocks to use for the first layer. Place the ring insert and place the first 18 blocks around the insert. Lift the insert up and set it aside to continue the block seating process.
6. Define the second layer of blocks
Place the second layer of blocks on top of the first layer. Scale the blocks so that each block on the second level spans two blocks on the first level. This is a common method of organizing blocks that provides added strength to the unit.
7. Glue blocks
To keep its shape, take 2 blocks at a time, apply the glue, put the 2 blocks back, and continue. Cut the end of the garden adhesive tube and use the piercing device built into the caulking gun to pierce the end of the tube (through the nozzle).
Put landscape adhesive into the caulking gun and pump several times to apply adhesive to the nozzle.
Wrap a thick layer of adhesive around the top of the block in the first row. Don't overdo it so no glue comes off the sides. You don't need as much as you think.
8. Define the third and fourth levels
Place a drop of landscape adhesive on the second layer. Lay the third and fourth layers of blocks on top of a similar staggering shape. Do not add adhesive to the top of the fourth coat.
9. Insert ring
Lastly, place the insert ring in the center of the fire pit. Allow the adhesive to dry completely for approximately 7 days before using the pyre.
We hope you enjoy watching this video about an easy DIY fire pit:

Source: The Home Depot
Did you find this post useful or inspiring? Save THIS PIN to your HOME Board on Pinterest! 
Once again, thank you for visiting our website!
We hope you've enjoyed exploring the content we've created for you.
Give yourself the chance to learn, get inspired, and have even more fun, keep browsing...
More Home Tips 👇🏼👇🏼