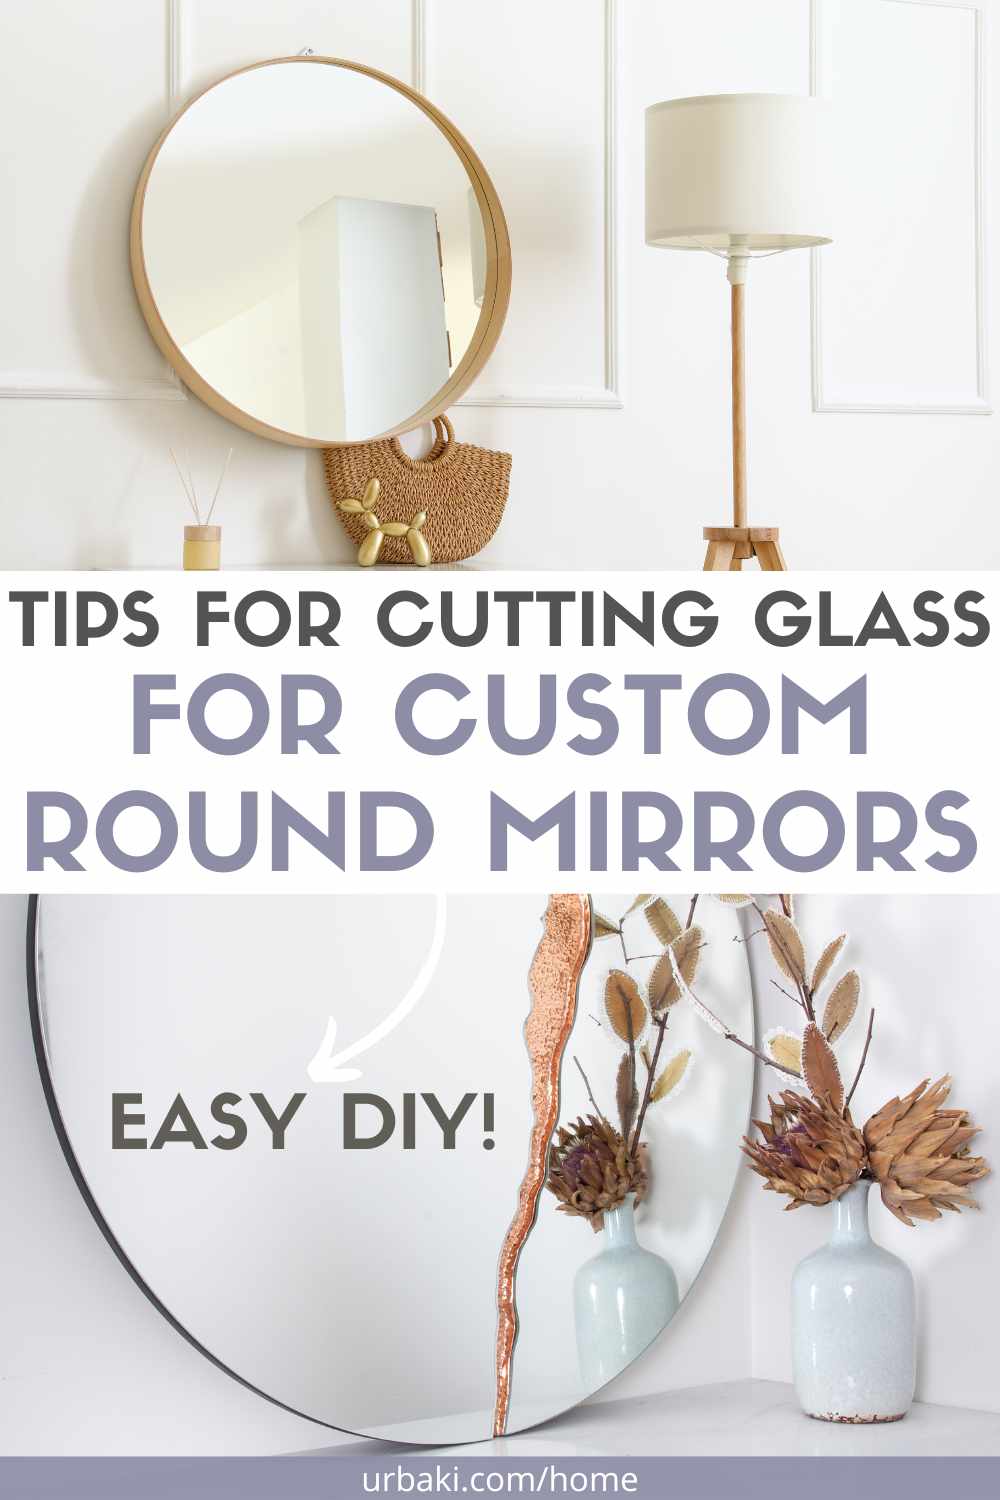
Tips for Cutting Glass for Custom Round Mirrors

Cutting glass might seem daunting, but armed with the right tools, techniques, and a splash of courage, you're poised to embark on a creative journey that shares the enchanting world of crafting exquisite round mirrors.
These mirrors, personalized to your taste, are destined to become graceful adornments within your living space.
So, with determination as your guide and creativity as your compass, let's delve into the art of transforming ordinary glass into captivating decorative accents that infuse your home with both style and ingenuity.
Find Perfect Pieces to Complete Your Interior Style!

- SPACE-SAVING CORNER DESIGN: This corner shelf features a...
- 5 TIER MULTIPURPOSE SHELVES: This corner bookshelf is...
- WEIGHT CAPACITY: Each shelf of this 5-tier display shelf...

- What You Get: You will get more quantity and more multiple...
- Why Choose Us?: Mckanti is committed to making better...
- No More Fear of Spills: Mckanti drink coasters are...

- BUILDABLE PLANT DECOR – Enjoy a mindful, nature-inspired...
- AUTHENTIC DETAILS – The artificial plant has realistic...
- LUCKY PLANT – Representing the season of summer in...
Materials You'll Need
Before we delve into the step-by-step guide, gather the following materials:
- Round mirror
- Glass cutter
- Straightedge or ruler
- Masking tape
- Safety goggles
- Gloves
- Lubricant (kerosene or glass-cutting oil)
- Sandpaper (various grits)
- Felt or foam backing
- Adhesive
Step-by-Step Guide: Crafting Custom Round Mirrors
1. Design Your Mirror: Start by envisioning the size and design of your round mirror. Sketch the dimensions on a piece of paper for reference.
2. Measure and Mark: Place the mirror on a flat surface and use a straightedge or ruler to measure and mark the desired diameter. Make small dots along the edge of the mirror, ensuring they're evenly spaced.
3. Create a Guide: Using masking tape, connect the marked dots, forming a guide for your glass cutter. This will help maintain a straight-cutting line.

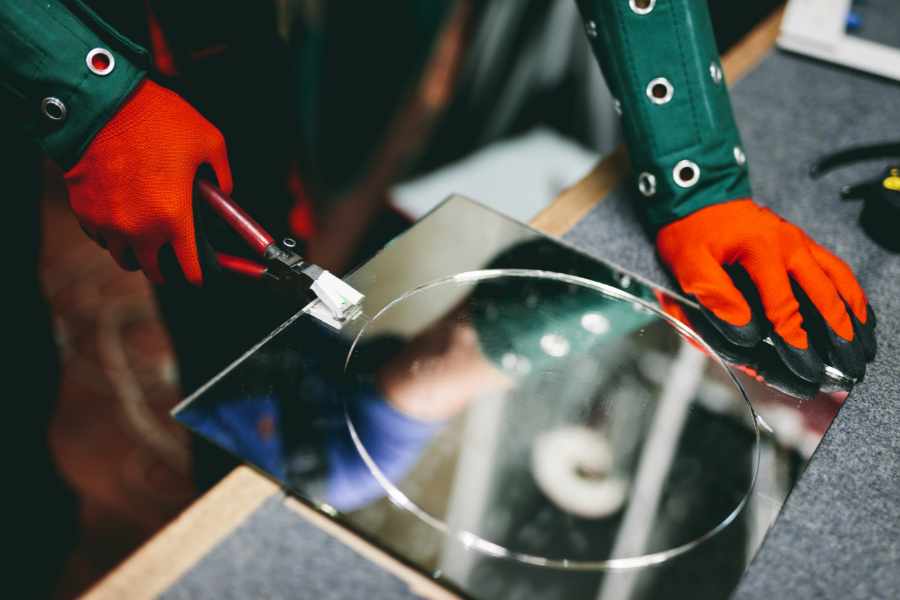
4. Cutting Technique: Wear safety goggles and gloves for protection. Apply lubricant to the glass cutter's wheel. Hold the cutter at a 90-degree angle to the glass, apply moderate pressure, and score along the tape guide in one continuous motion.
5. Gentle Snap: Place the glass on the edge of a flat surface, aligning the scored line with the edge. Gently press down on the excess side of the glass to snap it along the scored line. Use sandpaper to smooth any rough edges.
6. Add Backing: Cut a piece of felt or foam slightly smaller than the mirror's dimensions. Apply adhesive to the back of the mirror, then affix the backing for a polished finish.
7. Mount and Admire: Hang your custom round mirror using appropriate hardware, stand back, and admire your DIY creation that beautifully complements your decor.

And there you have it—an empowering journey of crafting personalized round mirrors through the art of cutting glass at home.
As you marvel at your reflection in these bespoke creations, you'll experience the satisfaction of having not only transformed glass but also transformed your living space.
We hope you enjoy watching this video about Creating Your Own Round Mirrors
 | WITHWENDY")
Source: withwendy

Did you find this post useful or inspiring? Save THIS PIN to your HOME Board on Pinterest! 
Once again, thank you for visiting our website!
We hope you've enjoyed exploring the content we've created for you.
Give yourself the chance to learn, get inspired, and have even more fun, keep browsing...
More Home Tips 👇🏼👇🏼