Tips to Remove Rust From Different Surfaces
If you’ve been searching how to remove rust without wrecking the finish, you’re in the right place.
This guide breaks down practical methods for common materials—what works, what to skip, and how to stay safe—so you can tackle small spots fast and plan bigger fixes with confidence.
Rust 101: Why It Forms and What That Means

Rust happens when iron or steel reacts with oxygen and moisture, creating iron oxide. Once it starts, corrosion accelerates unless you interrupt the cycle.
That’s why quick action matters: dry the area, block oxygen and water, and seal the surface after treatment.
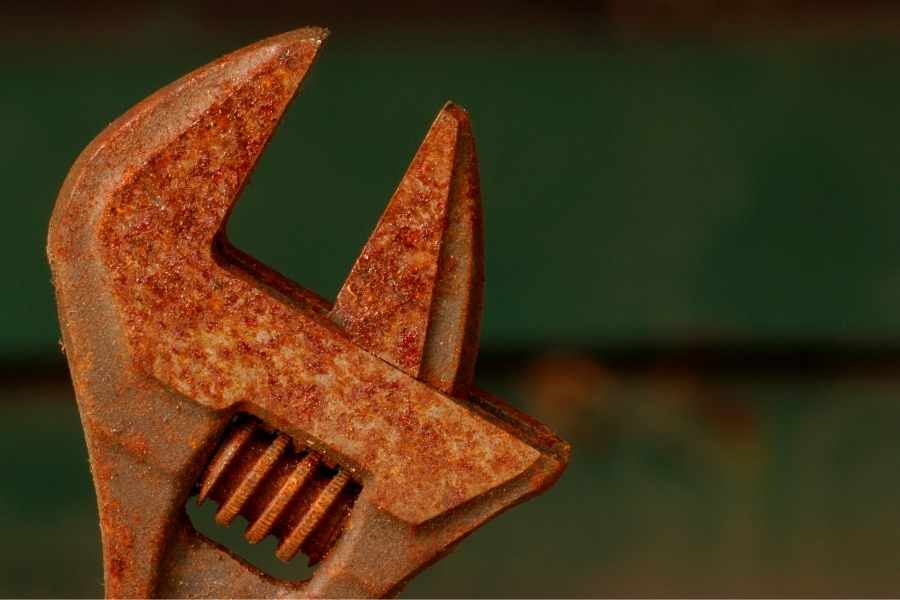
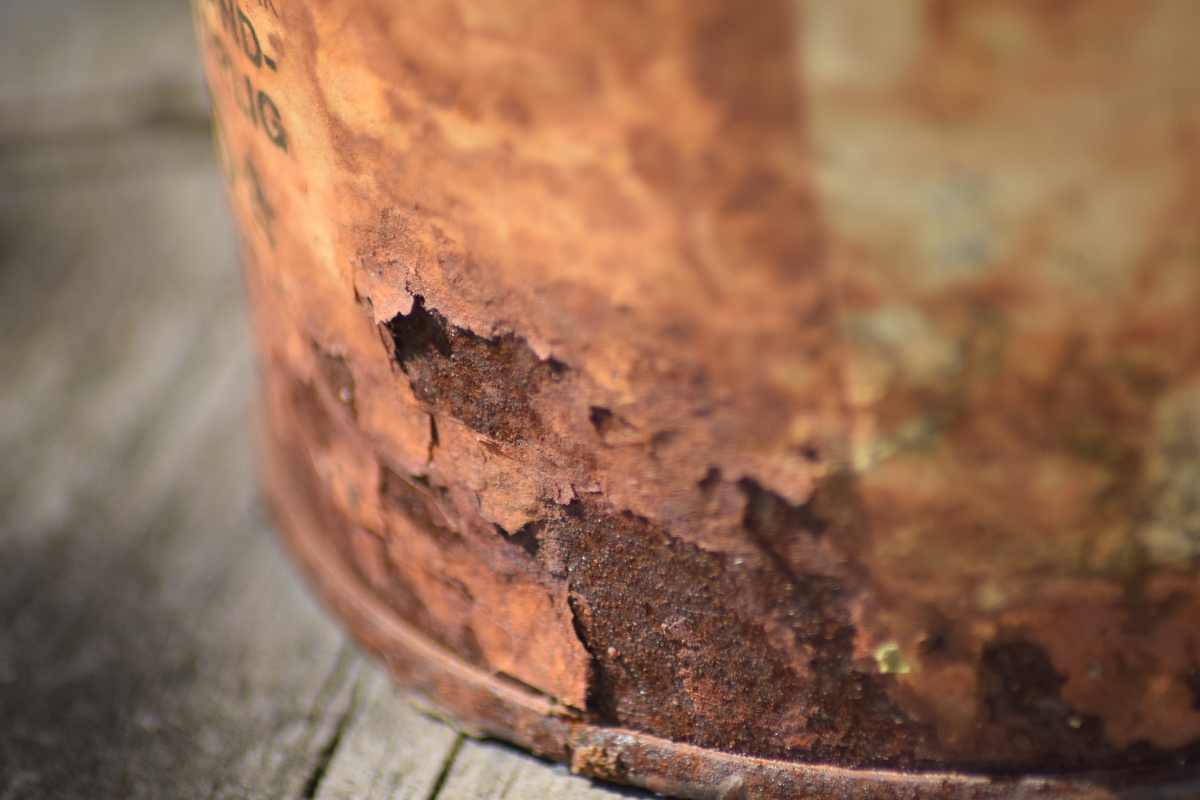
Not all stains are equal. Light orange bloom is mostly surface-level and easy to lift. Dark, flaky scale signals deeper pitting that needs stronger action and possibly replacement parts.
Understanding the difference helps you decide whether a simple scrub or a specialty product will remove rust effectively.
Before any fix, ask yourself: do I need a cosmetic clean-up or structural repair? Cosmetic problems are perfect for the methods below. If a part is thinning, bent, or cracked, replacement is the safer call.
How To Clean Rust: Safe Prep and Tools
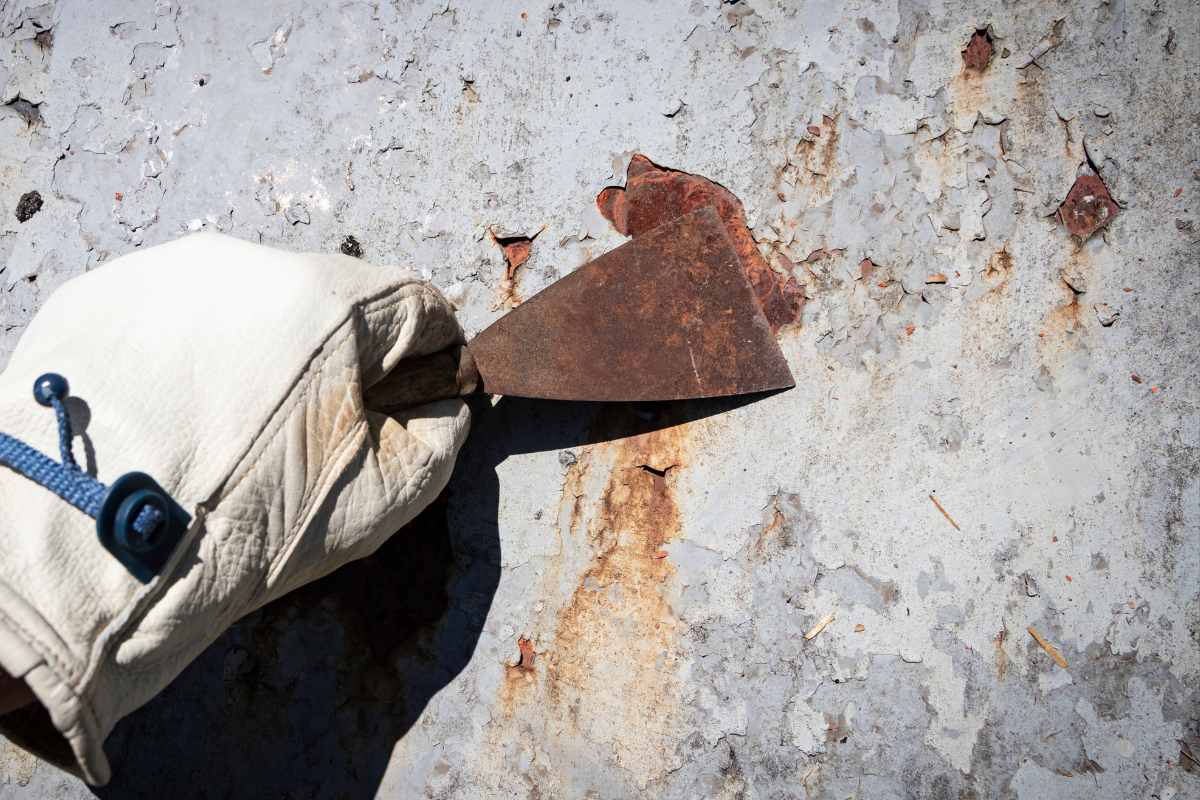
Prep is half the job. Wear gloves and eye protection, ventilate the area, and protect nearby surfaces with drop cloths.
Start by washing away dirt and salts with mild soap and water; debris can interfere with products and scrubbing. Dry thoroughly—moisture keeps corrosion active.
For light stains, a nylon brush and non-scratch pad are surprisingly effective. For heavier scale, step up to fine steel wool or a brass brush.
When you’re considering liquids, look at three families of Rust Removers: chelators (gentle and great for delicate items), acids (fast but require care), and converters (turn rust inert so you can prime and paint). Always follow label directions.
Still wondering how to remove rust with items you already have? Lemon juice, white vinegar, and baking soda can handle small jobs. They work slowly, so patience—and a second pass—often pays off.
Metal Matters: Pick the Right Method by Surface
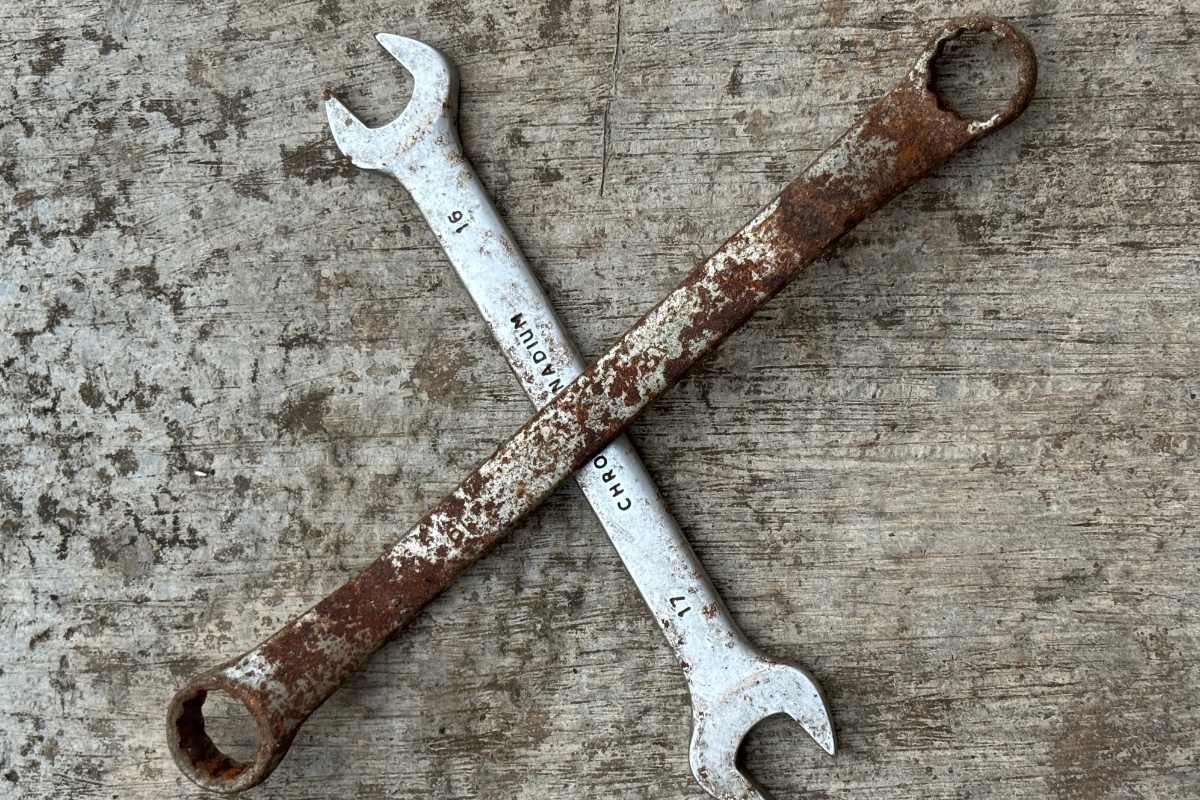
How to Remove Rust From Metal (General Steel & Iron)
For tools, railings, or bike parts, begin with mechanical removal. Scrape loose scale, then sand with 120–220 grit until bright metal peeks through.
Apply a chelating gel for remaining orange stains and rinse. If you’ll repaint, follow with a rust-inhibiting primer and a topcoat to lock out moisture.
Stubborn spots respond to phosphoric-acid–based products that convert rust into a paintable compound. Keep contact time short, neutralize as directed, and avoid skin or plant exposure. This is the most direct approach when you need to remove rust quickly before coating.
Stainless Steel (Appliances, Railings)
“Tea staining” on stainless is usually surface contamination. Use a non-chlorine cleaner and a microfiber cloth, wiping with the grain.
For tiny pits, apply a stainless-safe polish or a chelating remover; avoid steel wool, which can seed new rust. Finish with a protective oil to slow future spots.
If you’re near the coast, rinse appliances more often; salt accelerates corrosion even on high-grade stainless.
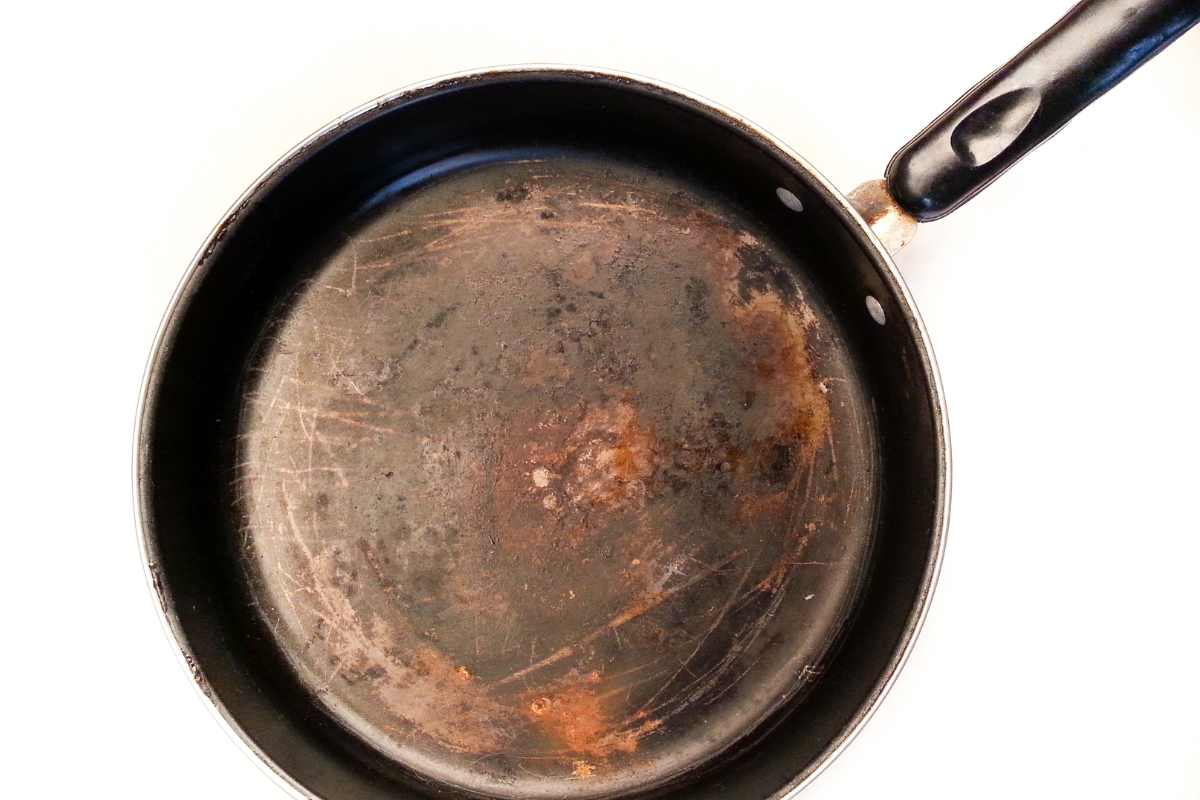
Cast Iron (Cookware & Outdoor Furniture)
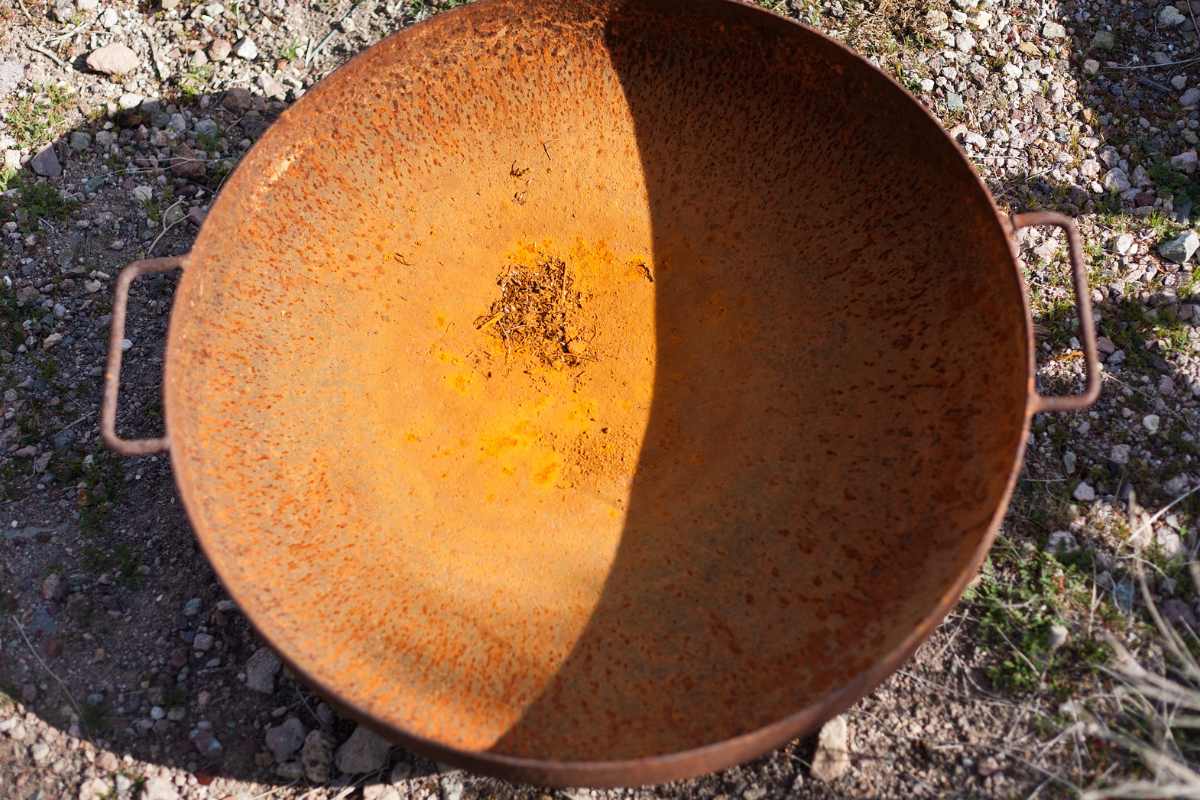
For cookware, scrub with coarse salt and a splash of hot water, then dry over low heat and re-season with a thin film of oil. Outdoor furniture responds well to wire-brushing, followed by a converter primer and an enamel topcoat.
This two-step system can remove rust appearance and stop it from spreading.
Avoid soaking cast iron in vinegar for long periods—prolonged acid can soften the surface and strip seasoning too aggressively.
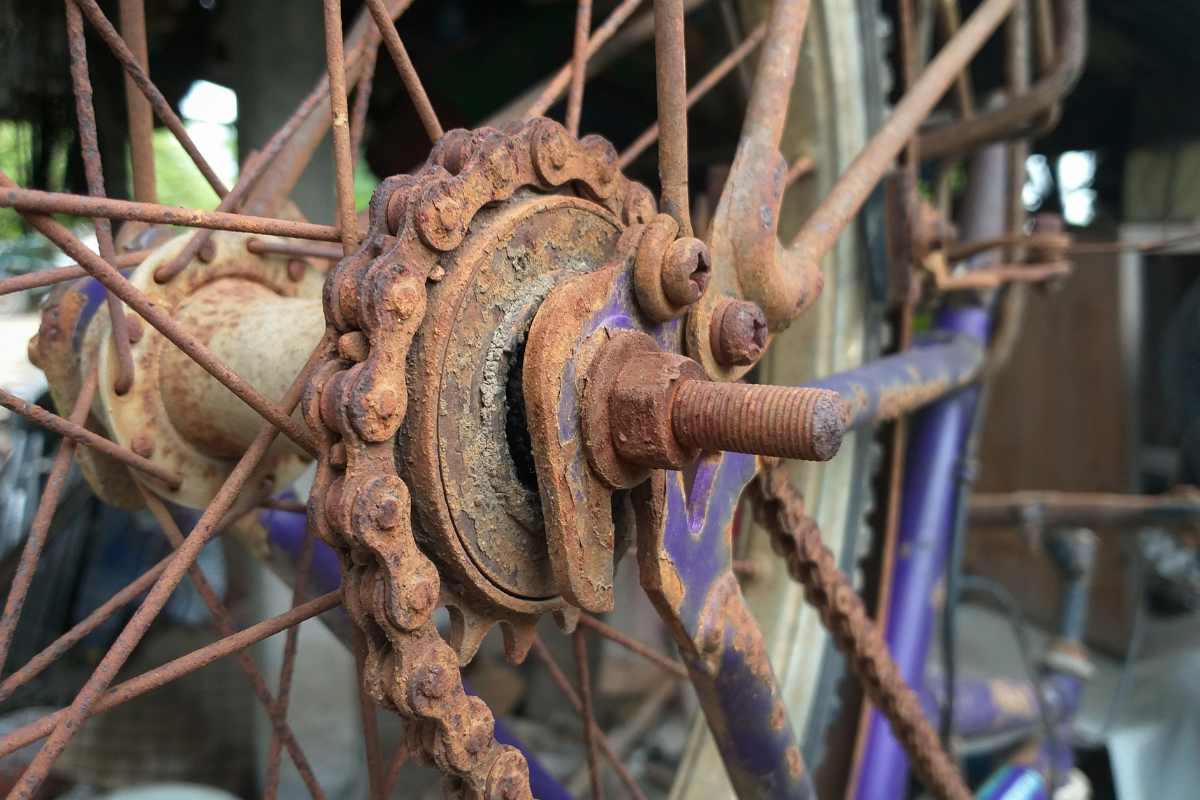
Automotive Parts & Bike Components
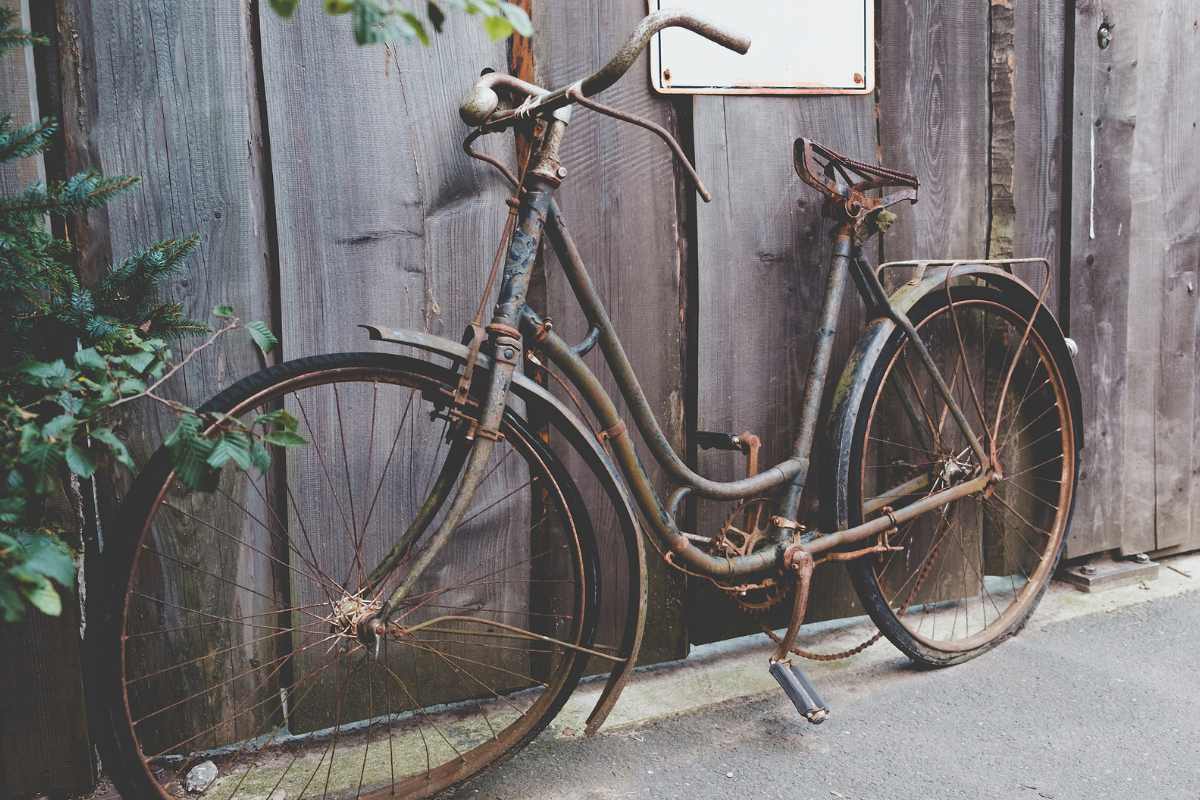
Disassemble when possible and label hardware. Soak small parts in a chelating bath; it’s safer for threads and plating than strong acids. Rinse, dry with compressed air, then apply a light machine oil.
For frames, sand to solid metal, treat, and seal with an appropriate primer and paint system.
When fasteners are too far gone, replacing them is often cheaper than restoring—and safer on the road.
Beyond Metal: Concrete, Tile, Fabric, and Wood
Concrete & pavers: Try a dedicated rust-stain remover formulated for masonry. Apply, agitate lightly, and rinse thoroughly. Skip wire brushes that can scar the surface; a stiff nylon brush is enough.
Porcelain tile & natural stone: Use stone-safe products only. Acidic cleaners can etch polished finishes. Test in a hidden area, keep dwell times short, and neutralize per directions.
Fabric: Treat fresh stains quickly. Blot (don’t rub), then use a laundry rust remover compatible with your fabric. Rinse well before washing to avoid setting the stain. Always check care labels first.
Finished wood: Remove hardware first, then address the metal separately. For the wood, lightly sand the stain and refinish. Avoid watery cleaners that can raise grain and spread discoloration.
Prevention: Keep Corrosion From Coming Back
After you remove rust, seal the win. On bare metal, apply a zinc-rich or rust-inhibiting primer and a compatible topcoat. For tools, a thin coat of paste wax or light oil creates a moisture barrier without mess.
Control the environment where you can: add desiccant packs to tool chests, keep bikes and grills covered, and improve airflow in damp garages. Routine wipe-downs catch early orange bloom before it spreads.
Choose finishes wisely. Galvanized, powder-coated, or stainless options cost more upfront but save time and effort later—especially outdoors or near salt and pool chemicals.
Quick Reference: What to Use and When
Light surface bloom: soap and water, non-scratch pad, then dry—often enough for railings, appliances, and fixtures.
Moderate stains: chelating gels or liquid Rust Removers for safe, controlled action on mixed materials and intricate shapes.
Heavy scale: mechanical removal (scraper, sanding) plus converter primer before repainting; fastest path when you must remove rust and refinish in one workflow.
Plan Your Next Fix
Whether you’re exploring how to remove rust from metal parts or cleaning patio stains, the right prep and product choice make the difference.
Start with the least aggressive method, escalate only as needed, and protect the surface when you’re done.
Ready for deeper dives on tools, finishes, and storage? Browse more hands-on guides on Urbaki to keep every surface looking its best—and rust at bay.
Enjoy Watching this Video

Source: BRIGHT SIDE
More Home Tips 👇🏼👇🏼