
Tips to Repair Concrete Steps

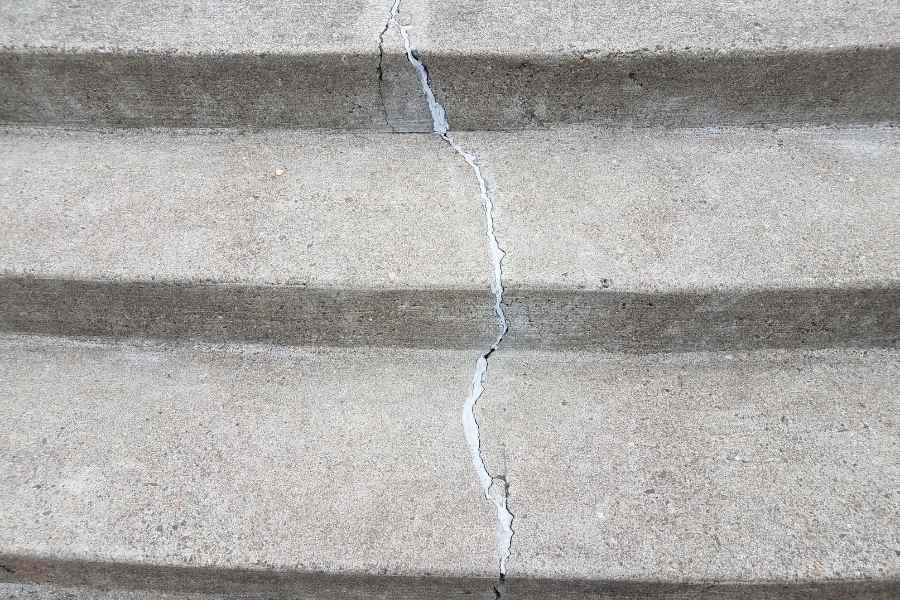
Concrete steps are a functional and sturdy part of your home’s exterior, but over time, they can become cracked, chipped, or worn out.
Whether it’s from years of use, weather conditions, or just general aging, don’t worry – repairing concrete steps is easier than you think! With a few basic materials and a bit of elbow grease, you can restore your steps to their former glory.
What You’ll Need:
High-strength repair mortar
Trowel or putty knife
Stiff-bristled brush
Water
Safety gloves and goggles
Step 1: Clean the Surface Thoroughly
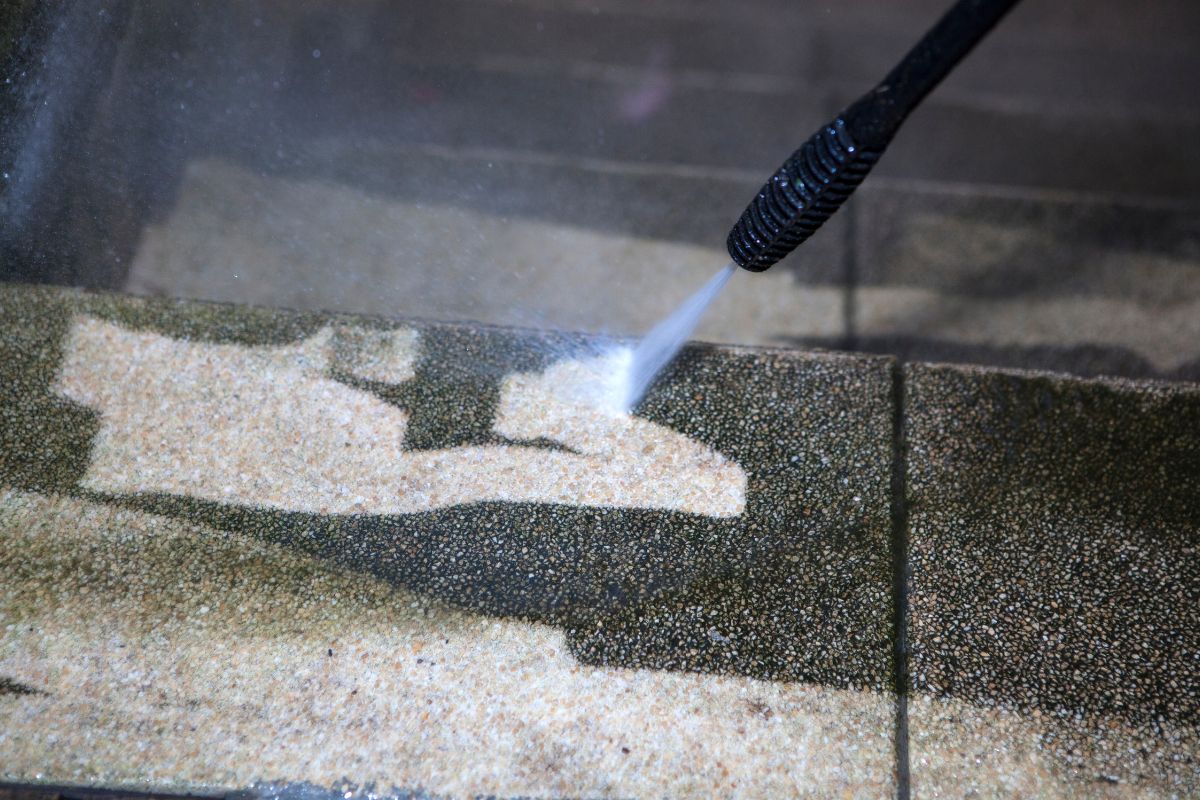 Before you begin the repair process, it’s crucial to clean the surface of your concrete steps. Use a stiff-bristled brush to remove any dirt, debris, or moss that may have built up over time.
If there are cracks or holes, clean them out with water and let the surface dry completely. A clean surface will allow the repair material to adhere better and provide a smoother finish.
Step 2: Mix the Repair Mortar
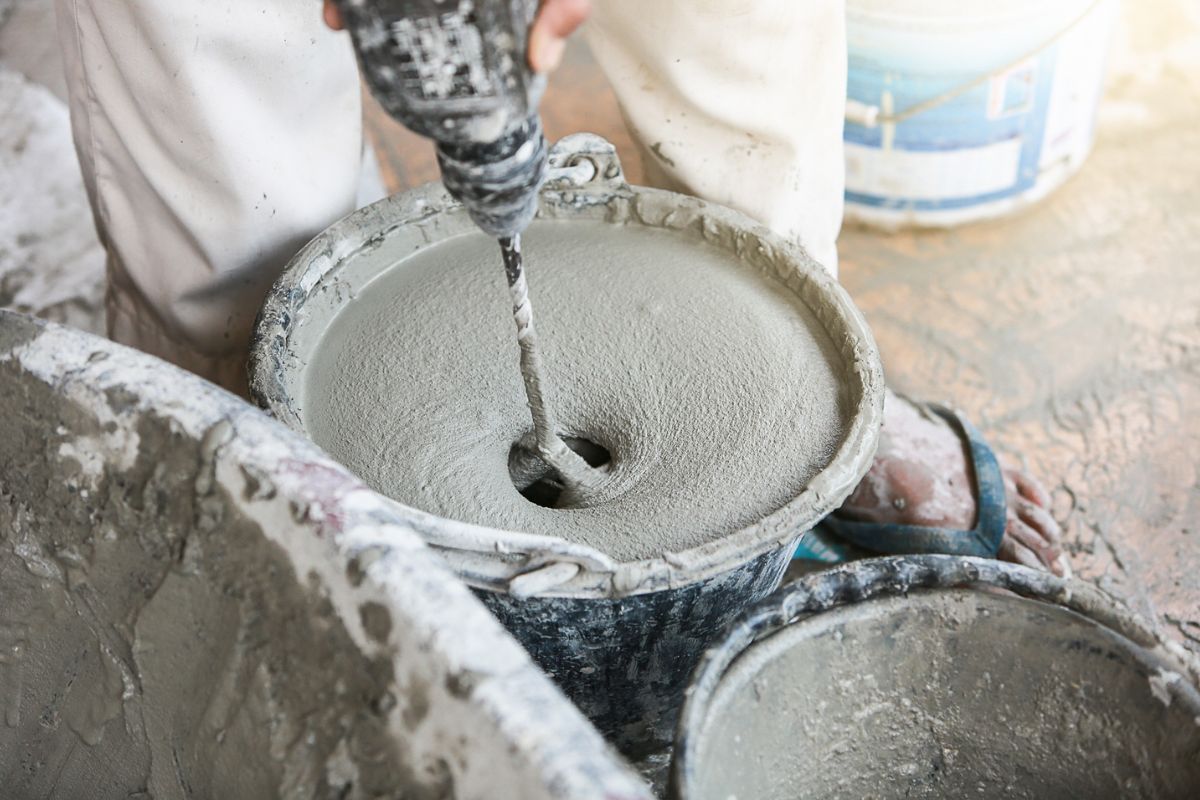 Follow the instructions on your repair mortar package to mix the mortar properly. It’s important to get the consistency just right — not too runny and not too dry.
You want it thick enough to fill in the cracks without dripping. Once mixed, let it sit for a minute to set.
Step 3: Apply the Mortar
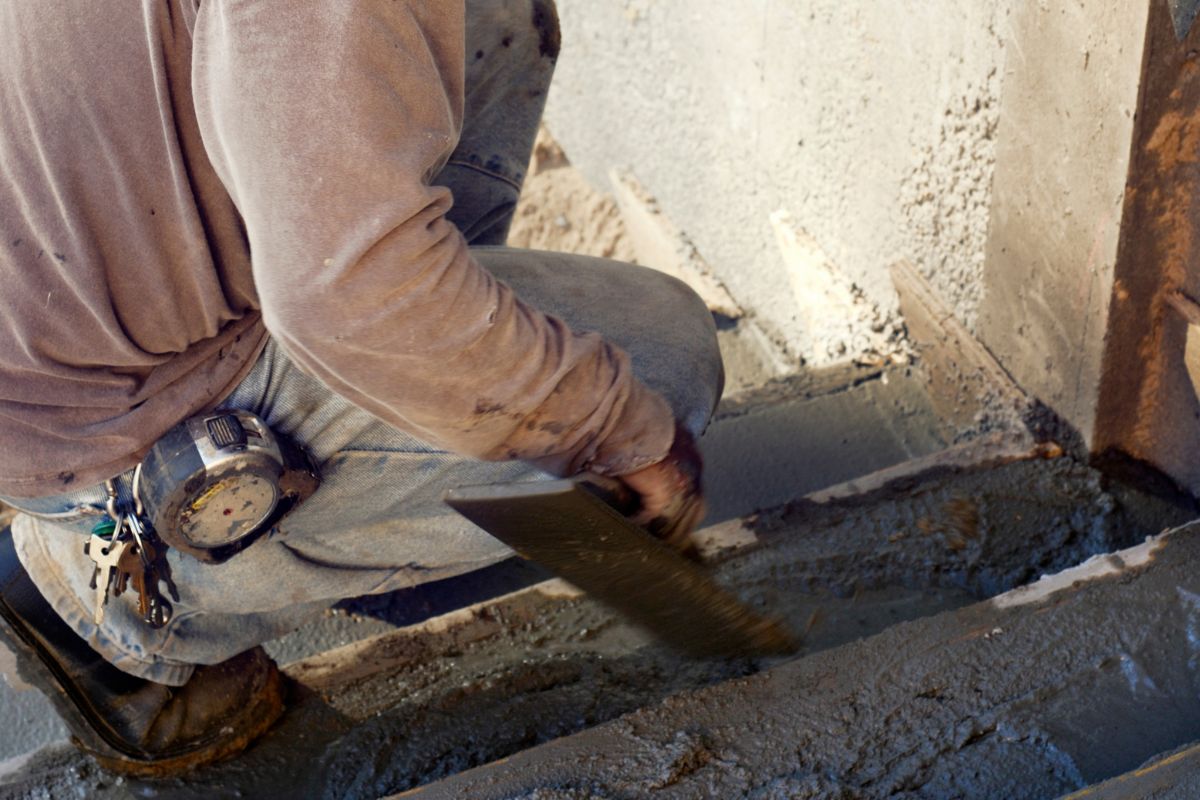 Now, it’s time to repair those cracks or holes! Using a trowel or putty knife, apply a layer of the mixed mortar into the damaged area. Press the mortar firmly into the cracks to ensure that it bonds well.
Smooth the surface to match the rest of the step, making sure there are no rough edges. For larger cracks, you may need to apply the mortar in layers, letting each layer dry before applying the next.
Step 4: Let it Dry
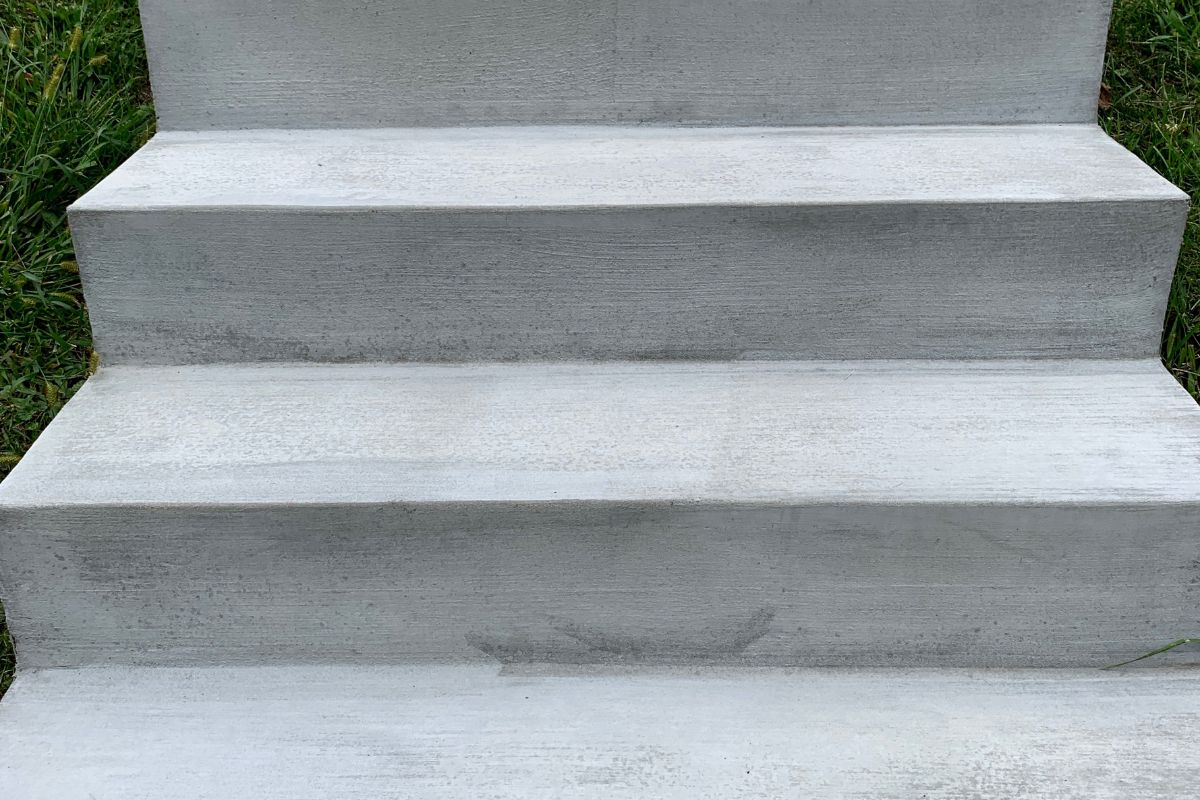 Allow the mortar to dry according to the manufacturer’s instructions. Depending on the weather, this could take a few hours to a day.
Once dried, you can go over it with a trowel to smooth out any imperfections, ensuring a seamless finish.
Step 5: Seal and Protect (Optional)
 To give your newly repaired steps extra protection and to help prevent future damage, consider applying a sealant over the surface.
This will not only improve the appearance but also extend the life of your repair.
A good sealant will help protect the concrete from water damage, dirt, and stains.
Tips for a Successful Repair:
Choose the right time: Make sure the weather is dry and warm, as repairing concrete steps in cold or wet conditions can lead to poor results.
Work carefully: Take your time to press the mortar in firmly and smooth it out to get the best possible finish.
Safety first: Always wear gloves and goggles to protect yourself from the chemicals in the repair mortar.
Restoring Your Concrete Steps Made Simple
Repairing your concrete steps doesn’t have to be a daunting task. With the right materials, a little patience, and some basic tools, you can easily fix those cracks and give your steps a fresh look.
Not only will this make your outdoor space safer, but it will also enhance the overall curb appeal of your home.
Ready to give your steps a makeover? Start your repair today and enjoy the results!
We hope you enjoy watching this video about Easily Repair Concrete Steps

Source: Dependable Concrete Contractor
Did you find this post useful or inspiring? Save THIS PIN to your HOME Board on Pinterest! 😊
Once again, thank you for visiting our website!
We hope you've enjoyed exploring the content we've created for you.
Give yourself the chance to learn, get inspired, and have even more fun, keep browsing...
More Home Tips 👇🏼👇🏼