
Transform Your Kitchen with Beadboard Backsplash: A Budget-Friendly Upgrade


If you're looking for an affordable and stylish way to update your kitchen, a beadboard backsplash is the perfect solution. This simple yet elegant design element can add character, texture, and charm to your space while keeping costs low. Whether you're aiming for a classic farmhouse vibe or a sleek modern touch, beadboard is a versatile option that works with various kitchen styles.
What is Beadboard?
Beadboard is a type of decorative paneling made from narrow planks with distinctive grooves, or "beads," running vertically. Traditionally made from wood, today’s beadboard options include MDF, PVC, and composite materials, making it a practical choice for high-moisture areas like the kitchen.
Why Choose a Beadboard Backsplash?
1. Budget-Friendly and Cost-Effective
One of the biggest advantages of beadboard is its affordability. Unlike expensive tile or stone backsplashes, beadboard is a low-cost alternative that provides a high-end look without the hefty price tag. Plus, it’s available at most home improvement stores, making it easy to find and purchase.
2. Easy to Install
Even if you're not a seasoned DIYer, installing a beadboard backsplash is a simple project that requires minimal tools. With just a few cuts, some adhesive, and finishing nails, you can transform your kitchen in just a weekend.
3. Versatile Design Appeal
Beadboard complements a variety of kitchen styles, from rustic farmhouse to modern minimalist. You can paint it any color to match your cabinetry or leave it white for a clean, classic look. The vertical lines add visual interest, making even small kitchens feel more spacious.
4. Low Maintenance and Durable
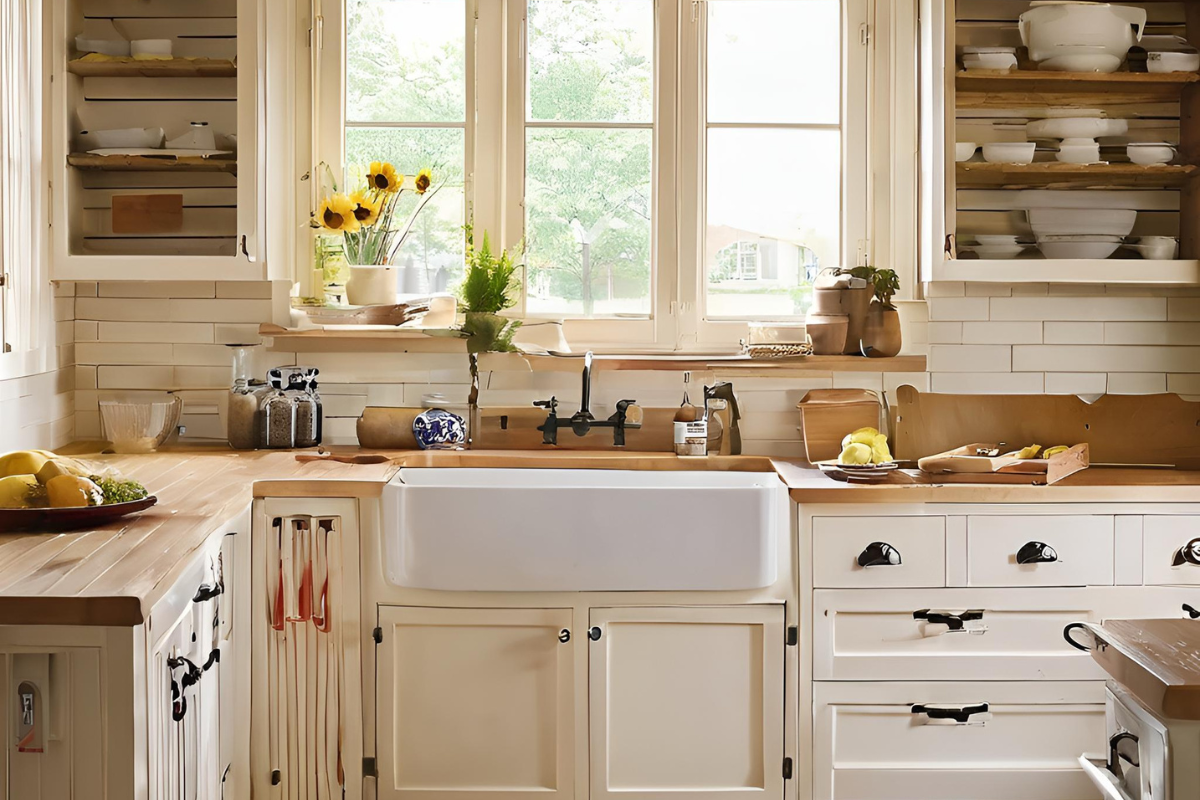
Unlike grout-lined tile that requires constant scrubbing, beadboard is easy to clean. A simple wipe-down with a damp cloth keeps it looking fresh. When sealed properly with semi-gloss or satin paint, it becomes moisture-resistant, making it a durable choice for kitchen use.
How to Install a Beadboard Backsplash
Step 1: Measure and Cut
Measure your backsplash area carefully and cut the beadboard panels to size using a table saw or circular saw.
Step 2: Attach to the Wall
Apply construction adhesive to the back of the panels and press them firmly against the wall. For extra security, use finishing nails or a nail gun to hold the beadboard in place.
Step 3: Seal the Seams
Use caulk or wood filler to seal any gaps between panels and along the edges. This gives you a smooth, polished look.
Step 4: Paint and Protect
Choose a high-quality paint that’s moisture-resistant, such as semi-gloss or satin finish, to protect your beadboard from splashes and stains.
Style Ideas for a Beadboard Backsplash
Classic White Elegance
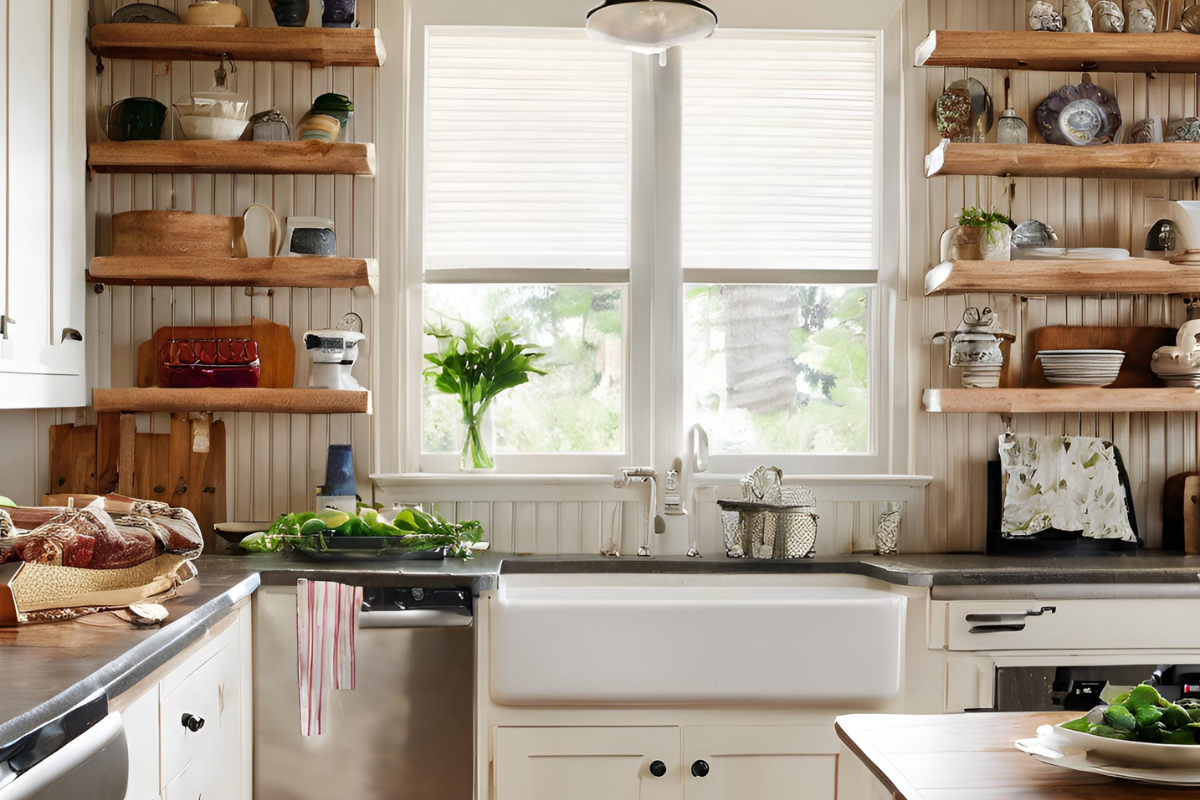
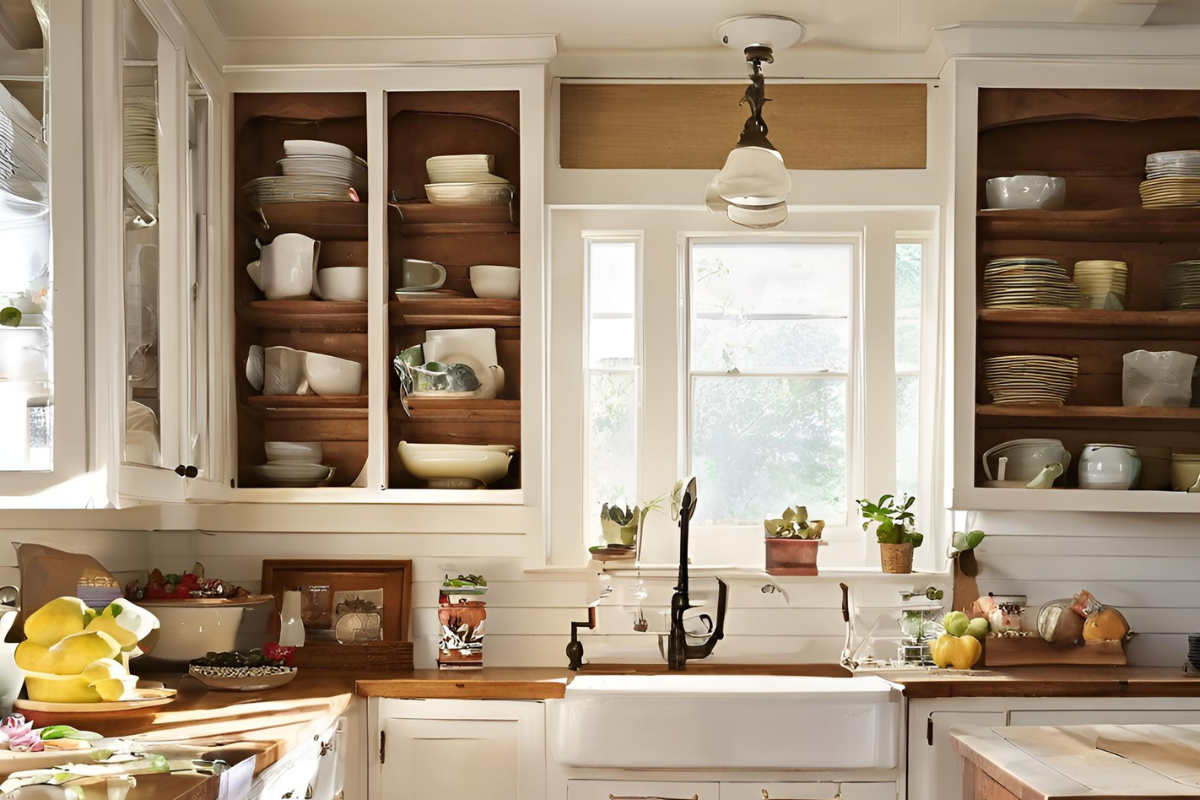
For a timeless and bright kitchen, opt for a crisp white beadboard backsplash. This works beautifully in farmhouse and cottage-style kitchens.
Bold and Colorful
If you love a pop of color, consider painting your beadboard in navy blue, forest green, or deep gray to add personality and depth to your space.
Natural Wood Finish
For a warm, rustic touch, leave the beadboard in its natural wood state and simply seal it with a clear protective finish.
Final Thoughts
A beadboard backsplash is an affordable, stylish, and easy-to-install way to transform your kitchen. Whether you're doing a full kitchen renovation or just looking for a small weekend project, this budget-friendly upgrade can make a big impact. With its classic appeal, durability, and versatility, beadboard is a design choice that stands the test of time!
Did you find this post Useful or Inspiring? Save THIS PIN to your HOME Board on Pinterest!
More Home Tips 👇🏼👇🏼