
Easy V-Neck Vest on a Sentro Knitting Machine: Beginner-Friendly Guide

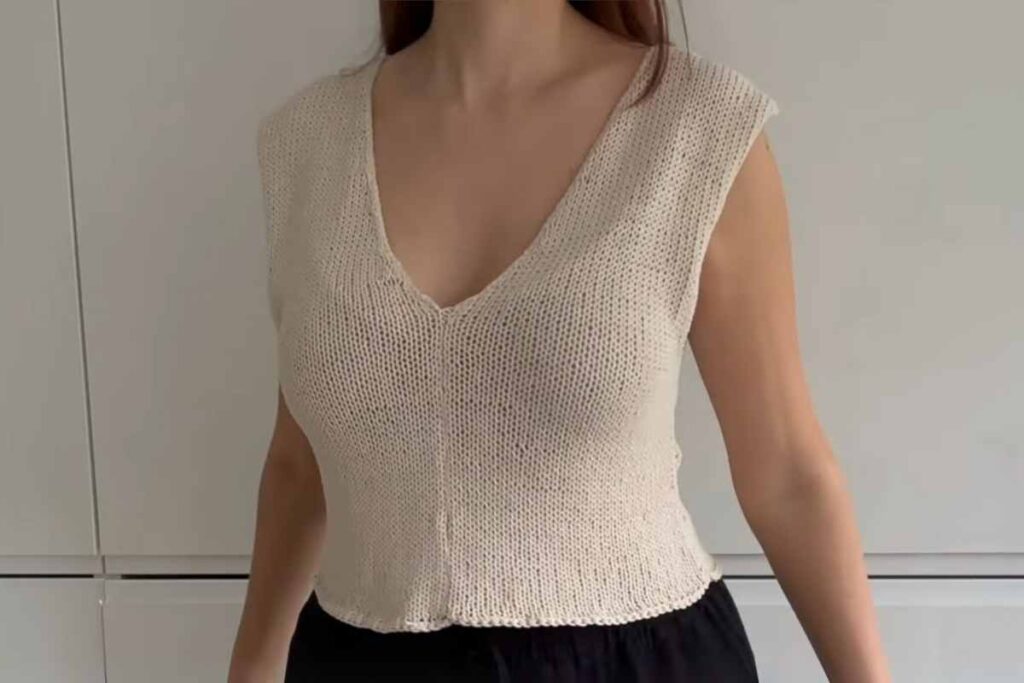
Knitting a V-neck vest top on a Sentro knitting machine is a great way to create a stylish and cozy garment with minimal effort. This method speeds up the knitting process while allowing for customization in size, color, and texture.
Whether you're making a lightweight vest for layering or a thicker version for warmth, using a knitting machine makes the project both efficient and enjoyable.
This tutorial focuses on the techniques and key elements involved in crafting a V-neck vest, ensuring that the final piece is both well-shaped and comfortable to wear.
Why Use a Sentro Knitting Machine for This Project?
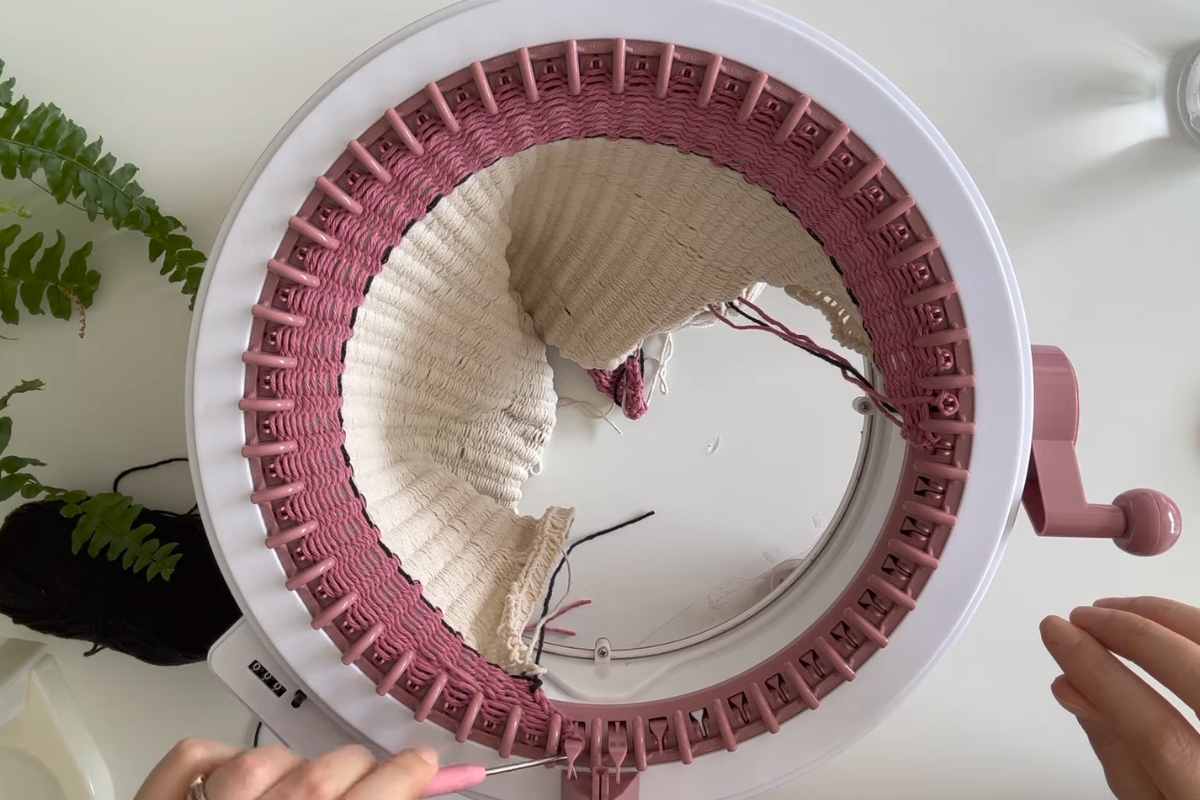
Hand knitting a vest can be time-consuming, but a Sentro knitting machine makes the process fast and efficient. The machine’s circular motion allows for consistent stitches, giving the fabric a polished and professional look.
Some benefits of using the Sentro knitting machine for a V-neck vest top include:
Speed – Knitting the main fabric takes a fraction of the time compared to hand knitting.
Even tension – The stitches remain uniform, preventing uneven areas in the fabric.
Ease of customization – Adjusting the width, length, and neckline shape is simple.
With a few adjustments, this method produces a fitted yet comfortable vest, perfect for layering over shirts or wearing on its own.
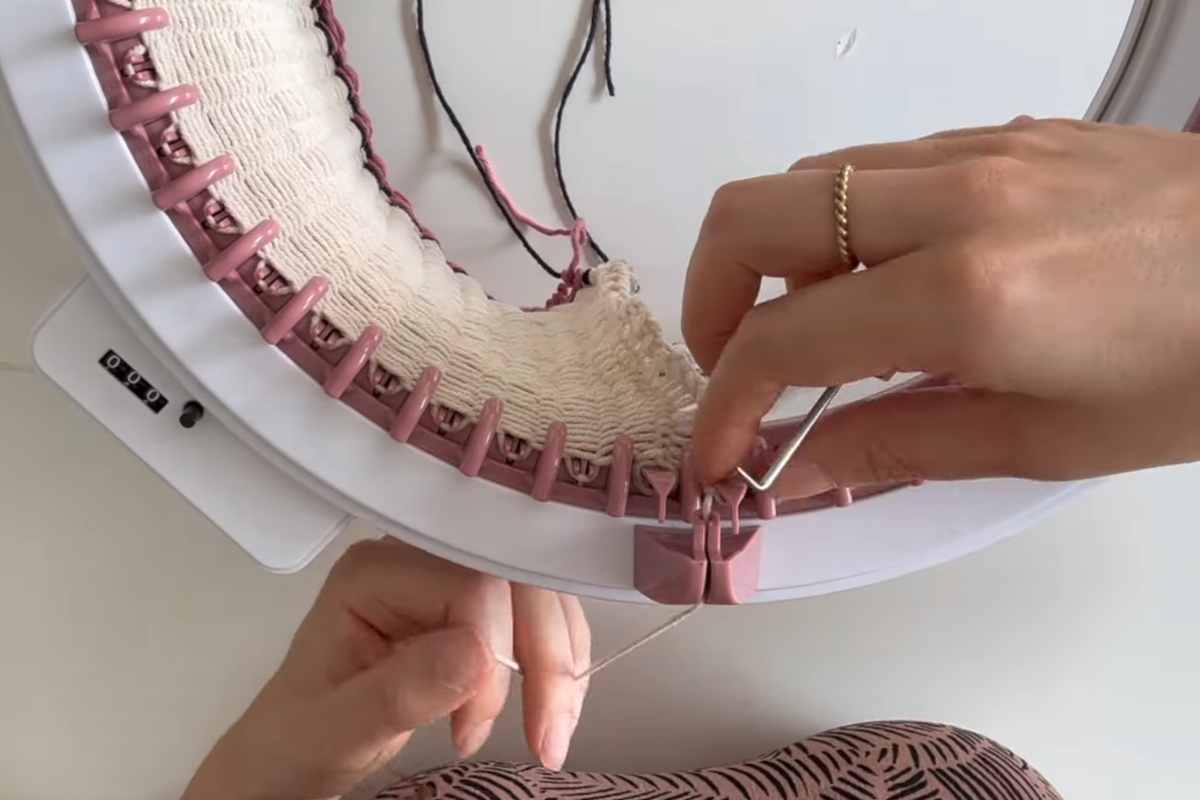
Choosing the Right Yarn and Machine Settings
Selecting the right yarn ensures that the vest has the desired stretch, drape, and comfort. Medium-weight yarns such as acrylic blends or soft wool work well, as they provide enough structure while remaining flexible.
The number of stitches cast on depends on the machine size and desired vest dimensions. Checking the gauge before starting helps in adjusting the fit to ensure the final piece sits well on the body.
Shaping the V-Neckline and Shoulders
The most important feature of a V-neck vest is the neckline shaping. Unlike a straight-edged garment, the V-neck requires strategic decreases to create the signature sharp and flattering cut.
By adjusting stitch counts and creating gradual decreases in the front panels, the vest takes on a clean, well-defined V shape. The shoulders also require careful shaping to ensure that the armholes and upper section fit naturally without excess bulk.

Joining and Finishing for a Professional Look
Once the panels are complete, assembling the vest involves seaming the sides and shoulders neatly. Using a seamless or invisible stitch method ensures that the joins remain smooth, enhancing the overall appearance of the vest.
The neckline and armholes can be finished with ribbing or decorative edging, adding a polished look to the design. A stretchy bind-off prevents tight edges, keeping the vest comfortable to wear.
Creating a Versatile and Stylish Vest
This V-neck vest top is not only easy to make but also highly versatile. Depending on the yarn choice and styling, it can be worn casually or dressed up for a more polished look.
By experimenting with different colors, textures, and edging techniques, this project becomes a customizable wardrobe staple that can be adapted for any season. With the Sentro knitting machine, creating a high-quality, handmade vest has never been easier.
Images and pattern courtesy of Cat Kemble
Enjoy The Video Tutorial

Source: Cat Kemble
You may also like