
How to Knit a Beautiful Top


Are you ready to take your knitting skills to the next level and create a stunning top that you can proudly wear?
Knitting a top may sound like a daunting task, but with the right guidance and a step-by-step tutorial, it's entirely achievable and immensely rewarding.
In this article, we'll guide you through the process of knitting a beautiful top, from selecting materials to finishing touches. Let's get started on your knitting journey!
Deciding on a Style and Pattern
The next step is choosing the style of top you want to knit. From fitted tops to oversized tees, the design options are endless. If you're new to knitting garments, start with a simple, sleeveless top or a basic tee.
These designs are easier to manage and provide a great foundation for learning the techniques needed to knit more complex tops later on.
For more advanced knitters, you can experiment with lace panels, cables, or textured stitches to add interest and dimension to your top.
Patterns that feature raglan sleeves or seamless construction are also popular choices for those who want to try more challenging techniques.

Knitting the Front and Back Panels
Most tops are constructed by knitting two separate pieces: the front panel and the back panel. These are later joined at the shoulders and sides.
Start by casting on the required number of stitches for the front panel and knitting the hem. You can choose a ribbed hem for a stretchy edge or a garter stitch hem for a more structured look.
Joining the Pieces
After completing both the front and back panels, it’s time to join the pieces together. This is usually done by seaming the sides and shoulders.
You can use a mattress stitch to create nearly invisible seams that look neat and professional. For shoulder seams, you might also consider using a three-needle bind-off, which is a great method for creating a strong, seamless join.
If your pattern includes sleeves, now is the time to pick up stitches along the armholes and knit the sleeves in the round. Alternatively, sleeves may be knitted separately and sewn on afterward.
Adding the Finishing Touches
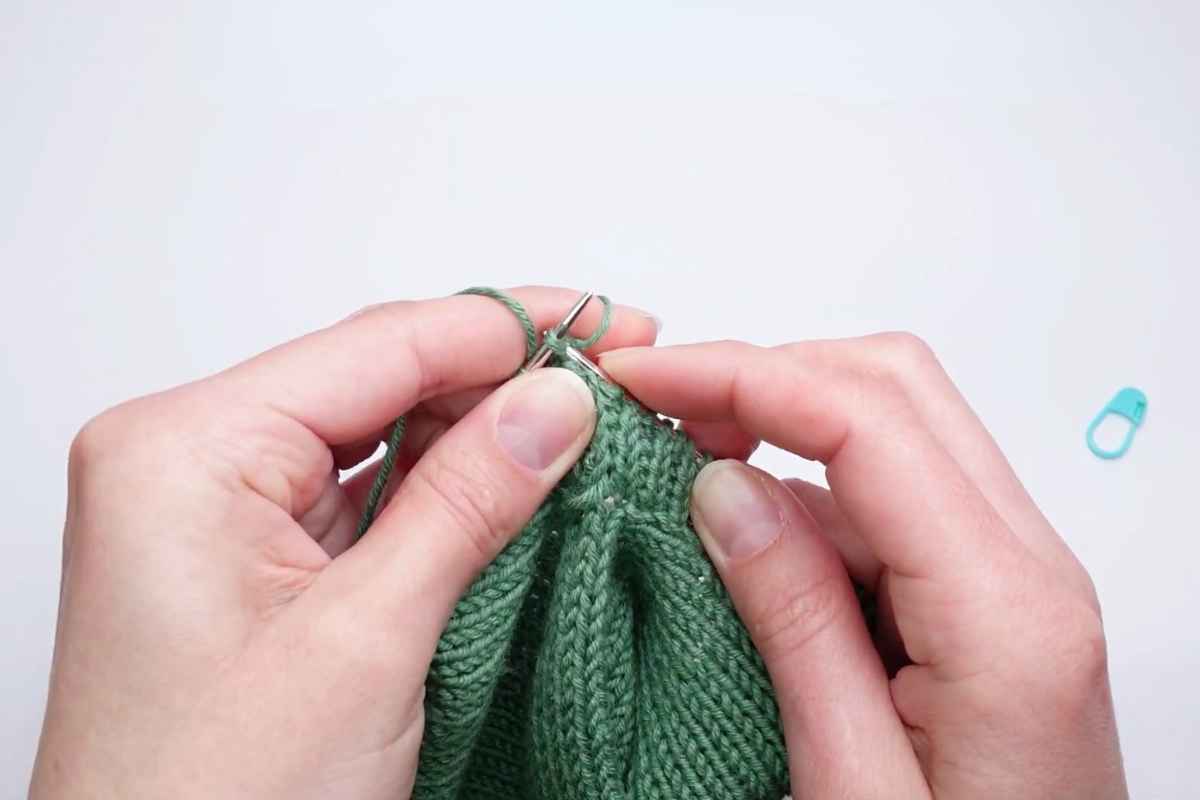
Once your top is assembled, the final step is adding any finishing details. This could include edging the neckline and armholes, which is usually done with ribbing, garter stitch, or a simple crochet border to prevent the edges from curling.
You can also block your finished top to help even out the stitches and set the shape. Simply wet your top and lay it flat to dry, gently stretching it to the correct measurements.
Blocking is especially important for lace or textured tops, as it helps the design open up and look its best.
Wear it proudly and show off your knitting skills. Handmade garments are not only stylish but also infused with the love and craftsmanship that make them truly special.
With each knitting project, you'll gain more confidence and expertise, making it easier to tackle more complex designs in the future. So, grab your knitting needles, select a lovely pattern, and start creating your one-of-a-kind top today! Happy knitting!
Images and pattern courtesy of Handmade by Aura
Enjoy This Video Tutorial

Source: Handmade by Aura
Did you find this post useful or inspiring? Save THIS PIN to your Knitting Board on Pinterest! 😊
You may also like