
How to Knit Legwarmers Quickly and Easily: Step-by-Step Tutorial

Leg warmers have made a comeback in recent years, offering both style and warmth for your legs. Whether you're adding a cozy touch to your winter outfit or simply looking for a fun knitting project, knitted leg warmers are the perfect accessory.
In this article, we’ll explore how to knit simple leg warmers using a basic knit-two, purl-two pattern. You’ll learn about the materials, technique, and process involved in creating your own leg warmers.
Materials for Knitted Legwarmers
When it comes to knitting leg warmers, the first step is selecting the right materials. The type of yarn and needles you choose will greatly affect the finished result.
For these easy and quick leg warmers, a worsted weight yarn is recommended. This type of yarn strikes the right balance between thickness and softness, making it perfect for leg warmers.
Yarn Choice
The yarn used for this project is worsted weight, which is a medium-thick yarn that works up quickly and provides the right amount of warmth and comfort.
It’s important to select a yarn that feels soft against the skin since the leg warmers will be worn around your legs for extended periods.
If you’re looking for a soft, durable, and warm option, consider acrylic, wool, or cotton-blend yarns. These yarns are widely available and come in a variety of colors to match your personal style.
Needle Selection
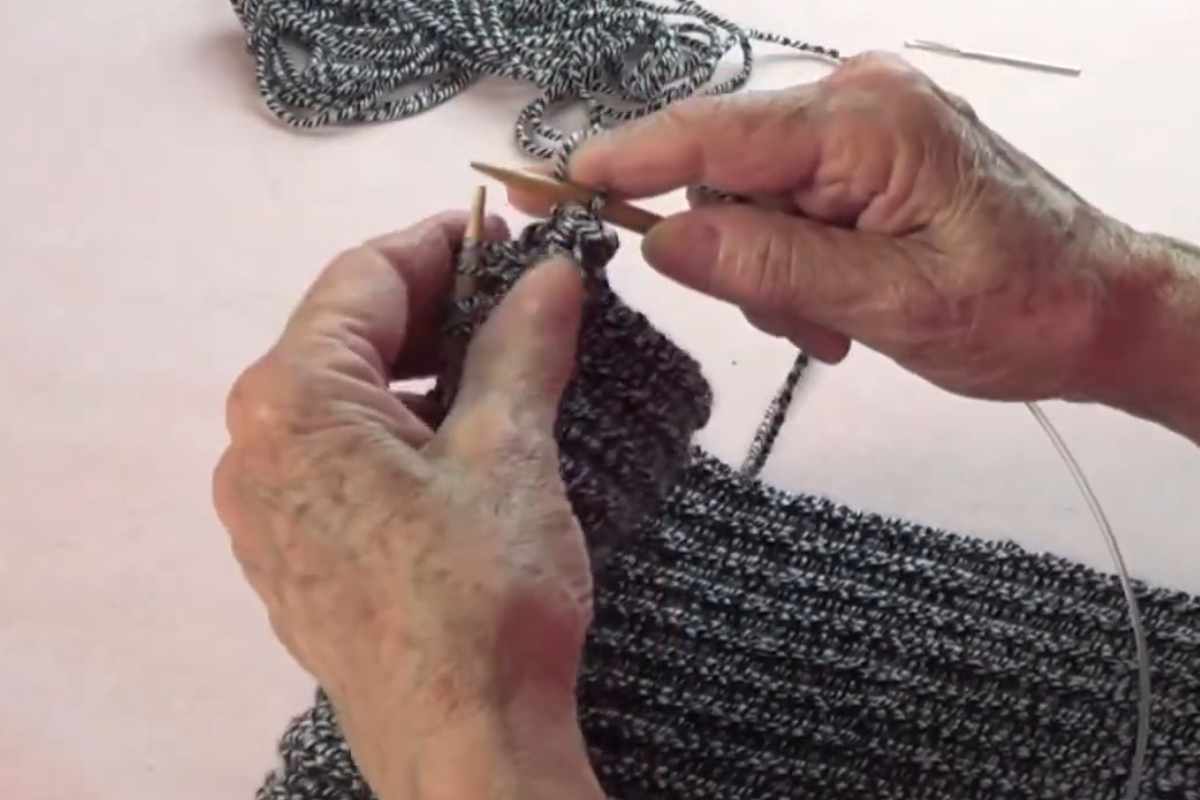
For knitting these leg warmers, you’ll need size 9 circular needles. Circular needles are ideal for knitting in the round, allowing you to knit the entire leg warmer without having to seam up the sides.
They are also comfortable to use and help avoid any sagging, which is particularly important for leg warmers that need to stay securely in place.

The Basic Knit-Two, Purl-Two Pattern
The knit-two, purl-two pattern is a simple, easy-to-learn stitch that creates a stretchy, textured fabric perfect for leg warmers. This pattern is a variation of ribbing, which is commonly used in knitwear for its elasticity.
The pattern creates a balanced and comfortable fit, allowing the leg warmers to hug your legs while still maintaining flexibility and stretch.
Why Knit-Two, Purl-Two?
This stitch pattern has several advantages:
Stretch: The ribbed pattern stretches easily, making it a perfect fit for various leg sizes.
Texture: The alternating knit and purl stitches create a visually appealing texture that adds dimension and depth to the fabric.
Comfort: The pattern’s elasticity helps the leg warmers stay in place without being too tight or uncomfortable.
With its simplicity and effectiveness, the knit-two, purl-two stitch is ideal for beginners and experienced knitters alike.
Creating Your Legwarmers
Once you’ve gathered your materials and are familiar with the basic pattern, the process of creating your leg warmers is straightforward and enjoyable. The video tutorial demonstrates the entire process, making it easy for you to follow along and create a set of comfortable leg warmers.
Casting On
To begin, you’ll cast on 45 stitches using your circular needles. This will give you the right width for the leg warmers, and you can adjust the number of stitches depending on the size you want. The cast-on is simple and will set the foundation for the ribbing pattern.
Knitting the Body
The next step is to knit the body of the leg warmer, which is done by alternating between knit two stitches and purl two stitches. This is repeated across the row until the entire piece is knitted.
You will continue this stitch pattern for a total of 100 rows, creating a long, stretchy, and comfortable fabric for your leg warmers.
As you progress, you’ll notice the texture of the knit-two, purl-two pattern developing, with each row contributing to the overall stretch and fit of the leg warmer.
Binding Off
Once you’ve knitted the desired length, the next step is to bind off your work. Binding off secures the stitches and ensures the top of the leg warmer remains neat and doesn’t unravel. The video tutorial walks you through the best method for binding off so you get a clean and tidy edge.
Finishing the Legwarmers
After binding off, you’ll need to sew the ends of the leg warmer together to complete the circle. The sewing process is quick and simple, ensuring a seamless finish. Depending on your preferences, you can also add embellishments like buttons or ribbons for a personalized touch.
Why Knitted Legwarmers Are a Great Choice
Knitted leg warmers are not just functional, they are also a stylish addition to any wardrobe. Here are a few reasons why you should consider knitting your own pair:
1. Quick and Easy Project
If you're looking for a knitting project that doesn’t take up too much time but still delivers impressive results, leg warmers are a perfect choice. The knit-two, purl-two pattern is simple and fast to learn, making it a great option for beginners.
2. Comfort and Warmth
Leg warmers offer both style and comfort. They provide warmth to your legs during colder months, without the bulk of full-length pants. The knitted fabric also has the perfect amount of stretch to keep the leg warmers snug but not constricting.
3. Customization
One of the best things about knitting your own leg warmers is the ability to customize them. Choose colors, patterns, and finishes that suit your personal style. You can even experiment with different yarn textures to create a more unique and personalized design.
4. Sustainable and Handmade
Knitting your own leg warmers is an environmentally friendly option that allows you to create something with your own hands. Plus, handmade accessories always carry a special personal touch. You can also gift them to a loved one, making them an excellent handmade present.

Conclusion
Knitted leg warmers are a classic and cozy accessory that has made a comeback in recent years. By using the knit-two, purl-two stitch and simple materials, you can create your own stylish leg warmers in no time.
The easy-to-follow video tutorial shows you how to knit and finish these leg warmers, and once you’ve mastered the technique, you can create your own unique patterns and designs.
Whether you’re a seasoned knitter or just getting started, this project is both fun and functional, offering warmth and style throughout the colder months. Happy knitting!
Images and patterns courtesy of JoannesWeb
Enjoy The Video Tutorial

Source: JoannesWeb

You may also like