
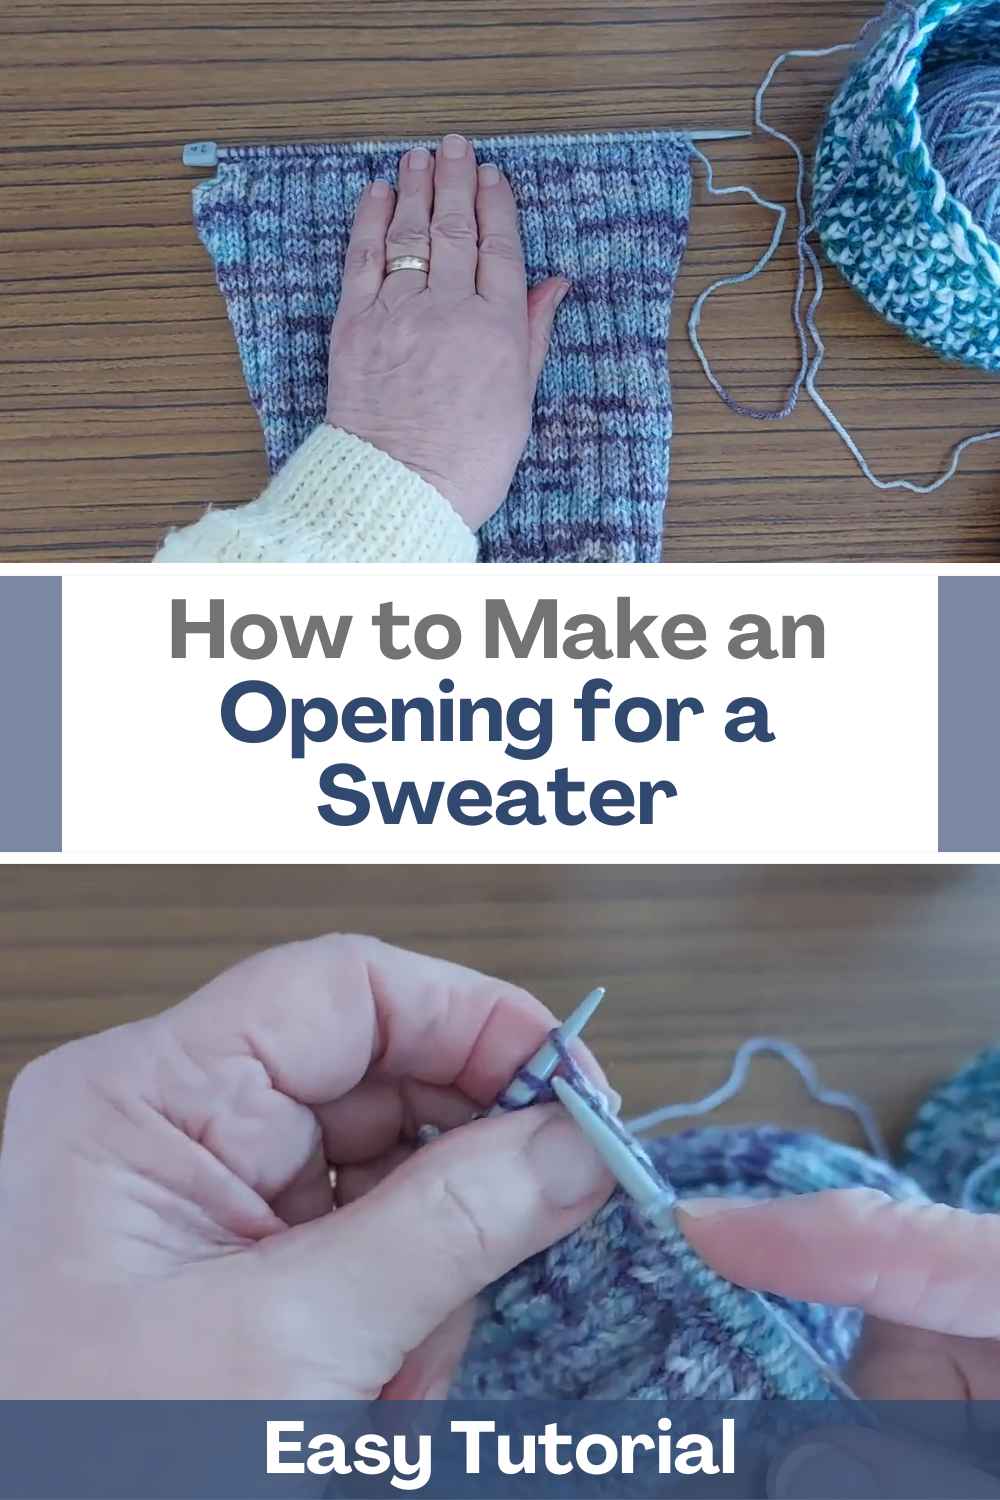
How to Make an Opening for a Sweater

Creating an opening for a sweater, whether it’s for a neckline, armholes, or a buttoned front, can be a fun and rewarding process. This guide will walk you through the basics of making openings for a knitted or crocheted sweater.
Tools and Materials Needed
Before getting started, gather the following materials:
- Yarn (appropriate for your sweater pattern)
- Knitting needles or crochet hook (matching your yarn’s size recommendation)
- Scissors
- Measuring tape
- Stitch markers
- Tapestry needle (for finishing)
Making a Neckline Opening
The neckline is usually created by binding off or decreasing stitches to form the desired shape. Here’s how to do it.
For Knitted Sweaters
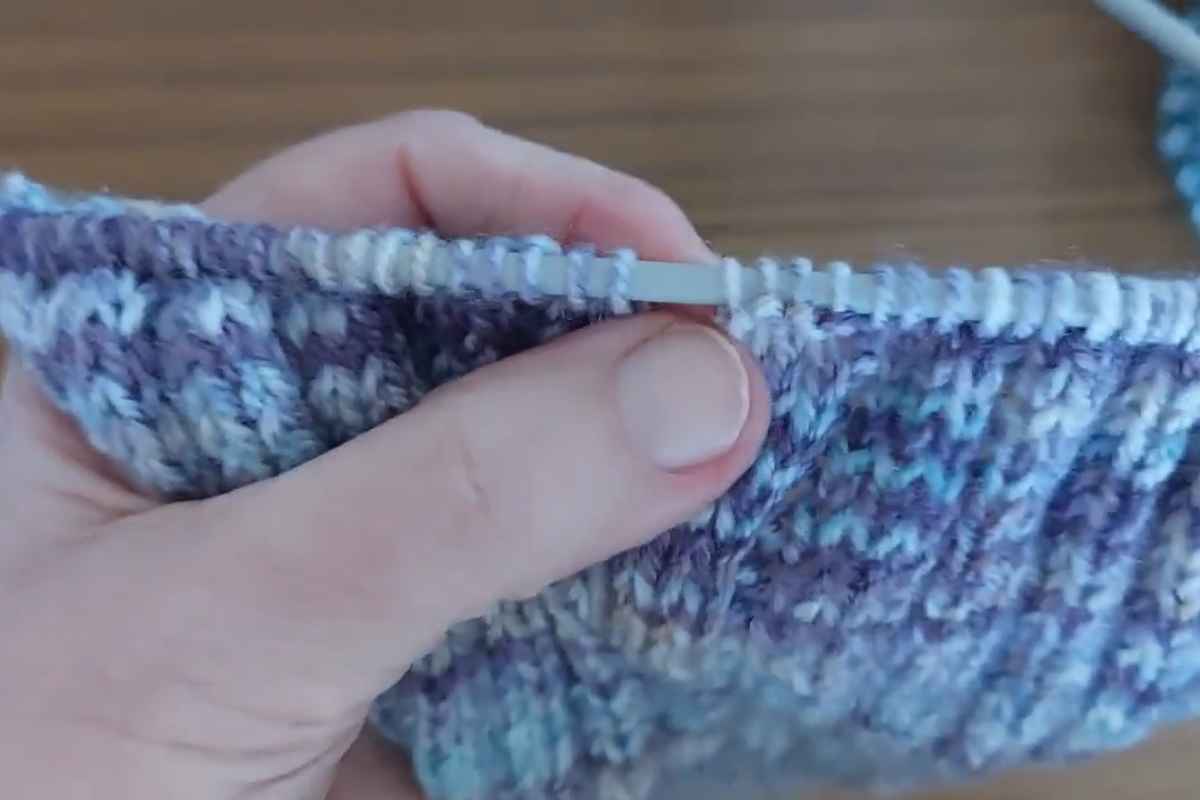
- Mark the Center: Use stitch markers to mark the central stitches where the neckline will be.
- Divide Stitches: Work up to the marked point and bind off the central stitches.
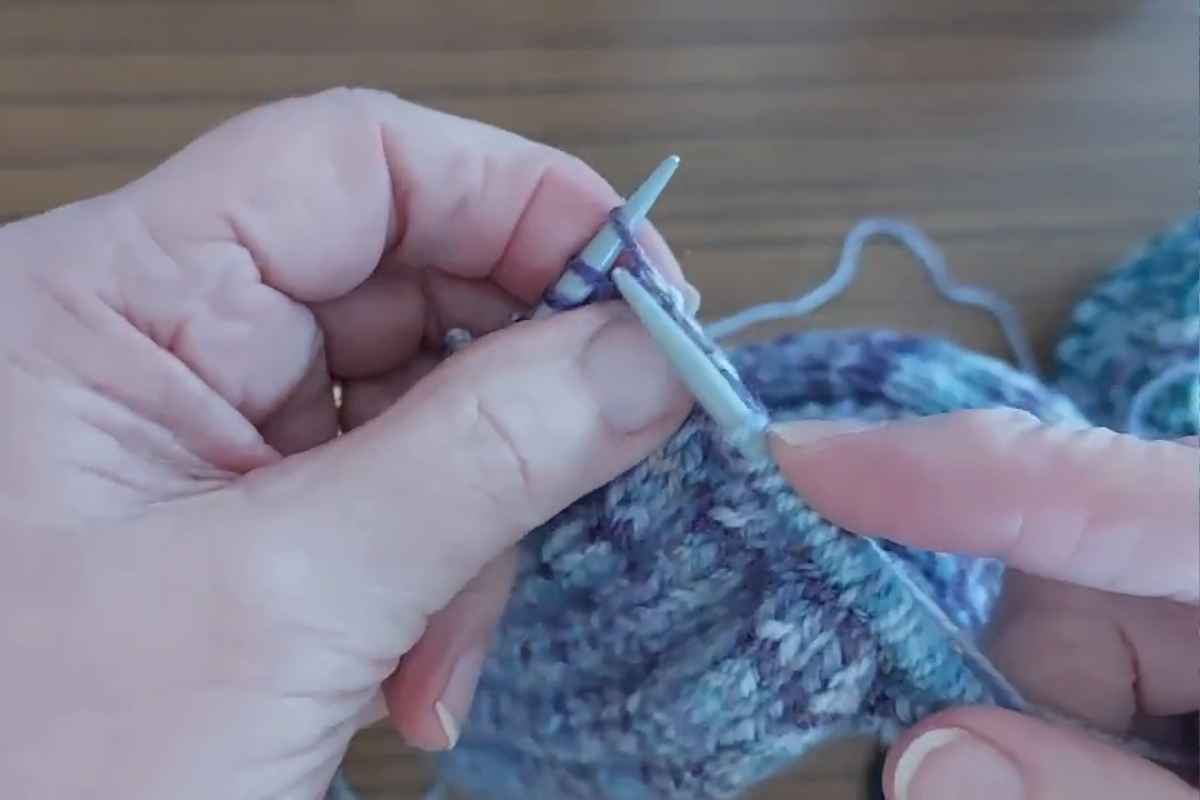
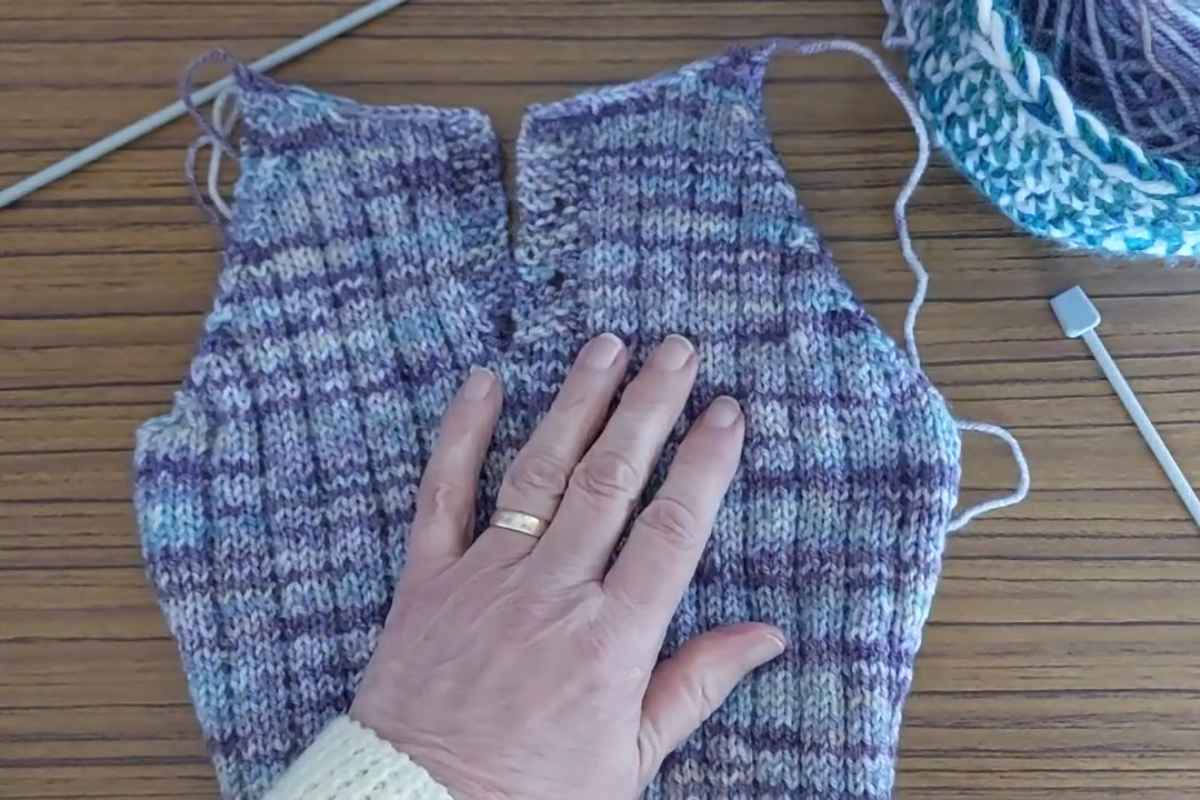
- Work Each Side Separately: Continue knitting each side independently, shaping the neckline by gradually decreasing stitches at the edges.
- Join Shoulders: Once the neckline is shaped, you can sew the shoulder seams together or use a three-needle bind-off for a seamless look.
For Crocheted Sweaters
- Mark the Neckline Area: Use stitch markers to outline the desired neckline.
- Leave Gaps: When crocheting, skip stitches where the opening will be, chaining over them if necessary.
- Shape the Neckline: Adjust the number of stitches to create a rounded or V-shaped neckline.
Creating Armhole Openings
Properly shaped armholes are essential for a comfortable fit.
Knitted Sweaters
- Bind Off Stitches: When you reach the armhole area, bind off a set number of stitches.
- Shape the Armhole: Continue working and decrease stitches gradually along the edges to shape the armhole.
Crocheted Sweaters
- Skip Stitches: To create armholes, simply skip stitches over the desired length.
- Continue Crocheting: Work back and forth to shape the armhole, adjusting the pattern as needed.
Adding Button or Zipper Openings
If you want to add a front opening to your sweater, such as for a cardigan, follow these steps:
Knitting
- Divide the Front Panel: Work two separate panels instead of knitting in the round.
- Create Edges: Knit ribbing or garter stitch edges along each side for structure.
- Add Buttonholes: Space them evenly along one edge and knit buttonholes using yarn-overs or by binding off stitches.
Crochet
- Work in Panels: Crochet two separate panels for the front.
- Add Edging: Create a sturdy edge using single crochet or ribbing techniques.
- Incorporate Buttonholes: Simply skip stitches where the buttons will go.
Finishing Touches
After creating the openings, take time to finish your sweater properly:
- Weave in loose ends using a tapestry needle.
- Block the sweater to shape it correctly and even out stitches.
- Attach buttons or zippers if applicable.
Making openings for a sweater can seem daunting at first, but with careful planning and practice, it becomes second nature.
Whether you’re working with knit or crochet, remember to measure carefully and follow your pattern for the best results. Happy crafting!
Enjoy The Video Tutorial

Source: Sheila's Just Knitting
Did you find this post useful or inspiring? Save THIS PIN to your Knitting Board on Pinterest! 😊
You may also like