
Knit Hat-Hood with Ties: Free Pattern and Video Tutorial

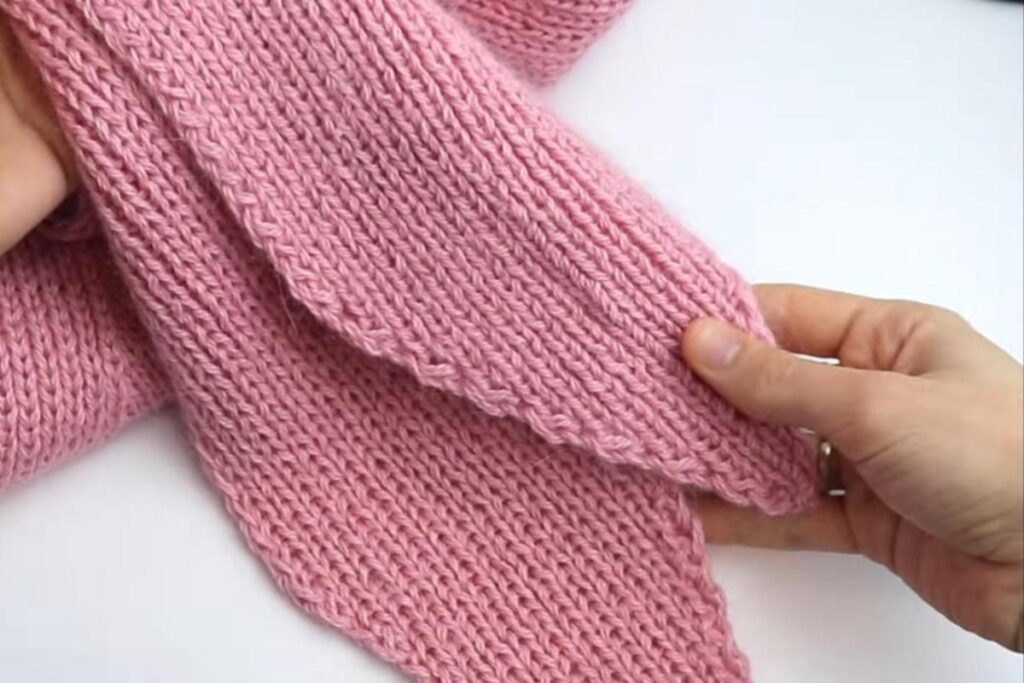
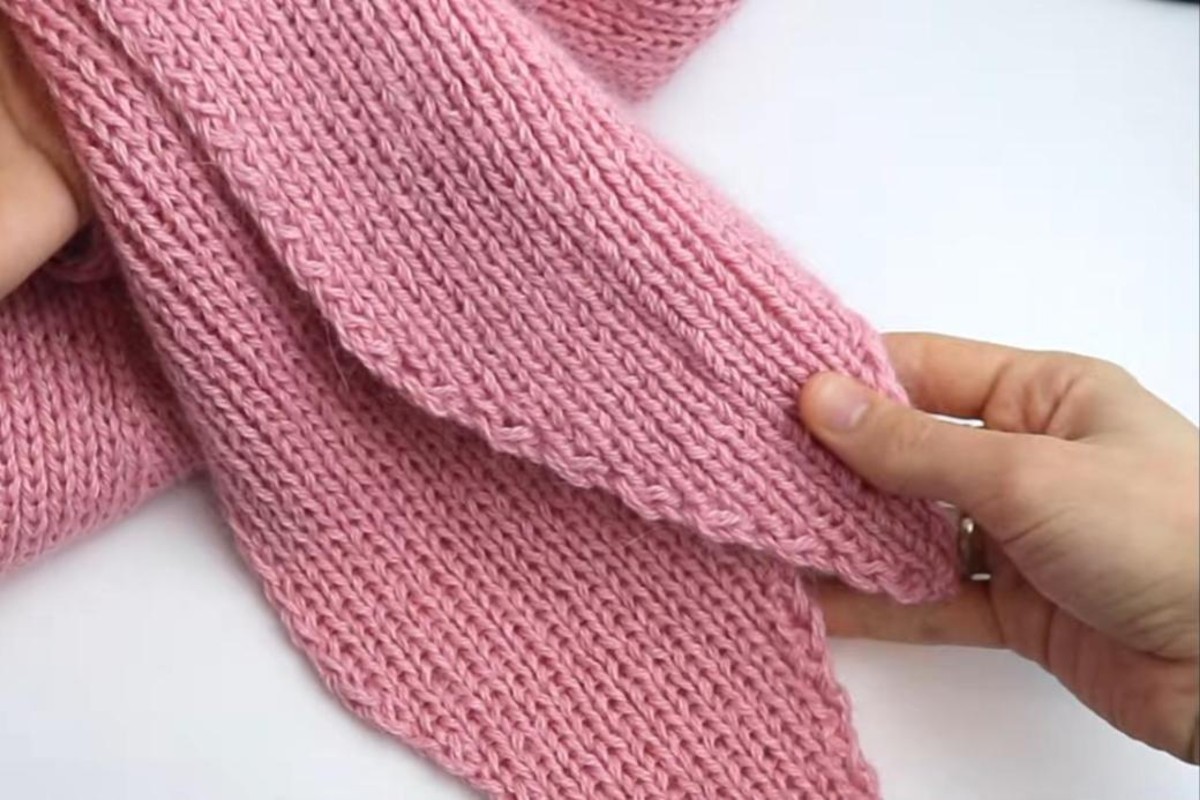
A hat-hood with ties sits somewhere between a hood, a bonnet and a scarf. It covers your head and ears, frames your face, and the two long ribbed ties wrap around your neck like a small scarf, so one piece does the work of two on a cold day.
This version from Crazy Hands Knitting & Crochet is knitted flat in one piece on a circular needle. You start at the pointed tip of one tie, grow it into a ribbed band, shape the hood with increases, short rows and decreases, then finish with the second tie. There is no seaming at all. The video tutorial runs about 46 minutes and follows every stage, and the written pattern is free on the designer's website.
If you are planning handmade winter gifts, this is a lovely one to put on the list: it is soft, practical, and needs only a single circular needle.
Knit Hat-Hood with Ties at a Glance
- Designer: Crazy Hands Knitting & Crochet
- Size: about 40 cm (16 in) across the widest part of the hood; each tie is worked to 85-90 cm (about 35 in)
- Yarn: imitation long mink wool, 75% wool and 25% nylon (50 g / 340 m per ball), held as 2 strands plus 1 strand of reinforcing yarn; about 185 g in total
- Needles: 4.5 mm (US 7) circular needle, 80 cm (32 in) long
- Gauge: 21-22 stitches = 10 cm (4 in) in stockinette
- Techniques: k1, p1 ribbing, yarn overs, lifted increases, short rows and simple decreases
- Construction: worked flat in one piece, from the tip of one tie to the tip of the other
- Video length: 46 minutes
What You'll Need
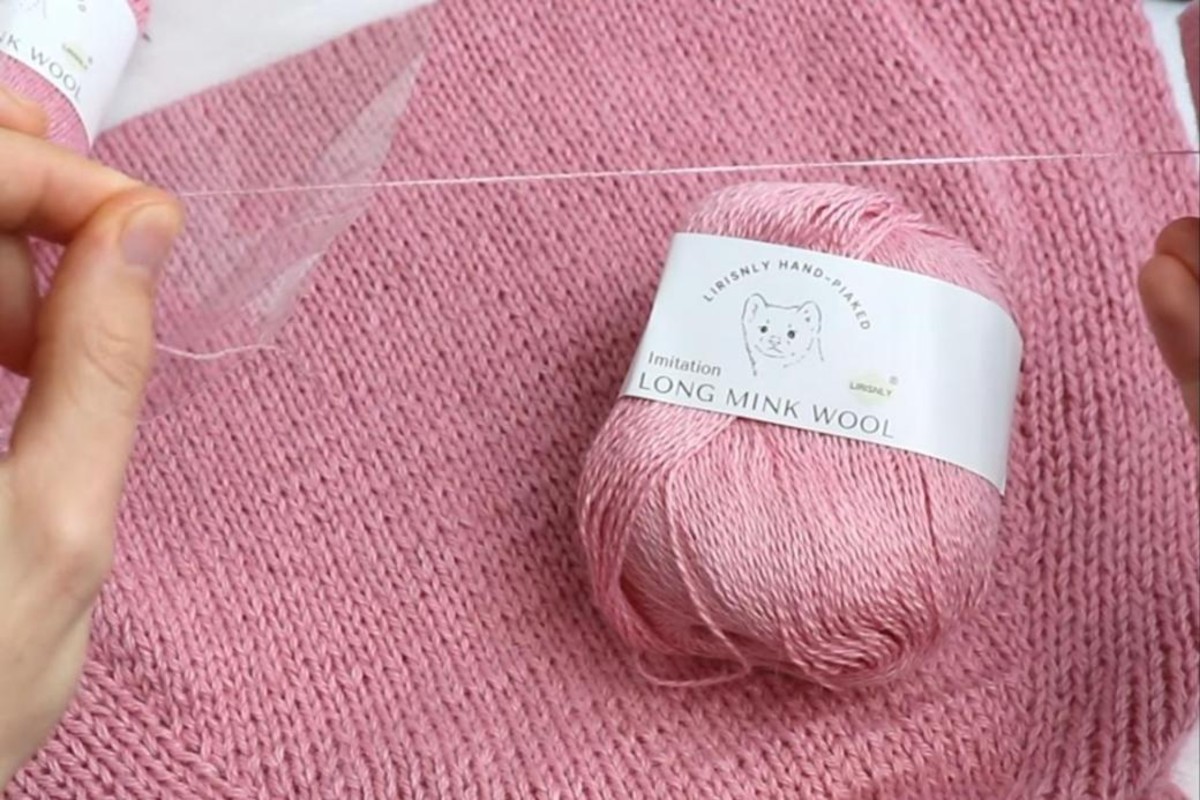
- About 185 g of fine wool-blend yarn. The sample uses an imitation long mink wool (75% wool, 25% nylon) with 340 m in each 50 g ball.
- A thin reinforcing (partner) yarn to hold together with the main yarn. In the pattern, two strands of the main yarn and one strand of the reinforcing yarn are knitted together.
- A 4.5 mm (US 7) circular needle, 80 cm (32 in) long. You knit back and forth on it, so the long cable simply holds the wide hood stitches.
- One stitch marker for the center of the hood.
- Scissors and a yarn needle for weaving in the ends.
How the Hat-Hood Is Made
The video is split into chapters, so you can jump straight to the part you are working on.
- Introduction and materials (0:00). A close look at the finished hood, the yarn and the needle.
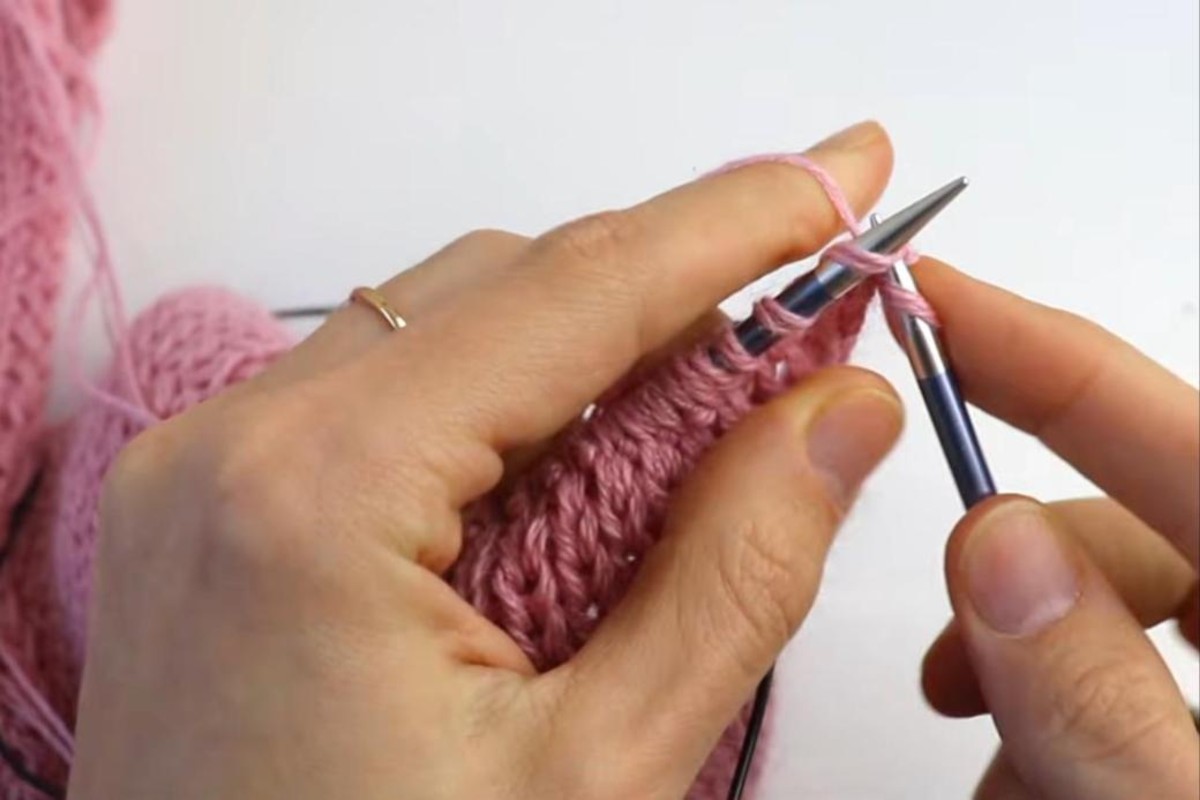
- Casting on (2:44). The piece starts with just a few stitches at the point of the first tie. Yarn overs at both edges widen it row by row while the center stays in k1, p1 ribbing.
- The first tie (10:45). Once the tie is wide enough, you stop increasing and work plain ribbing until it reaches the length you want.
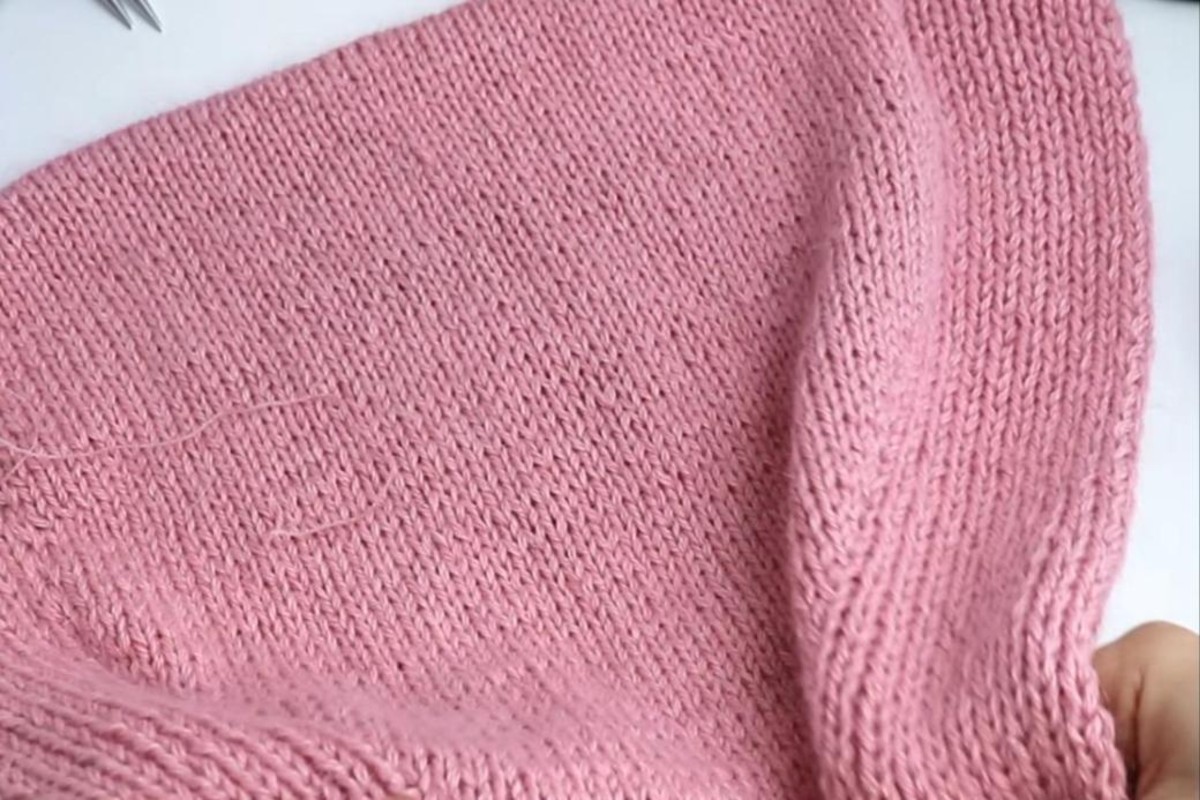
- Increasing for the hood (11:47). A stockinette panel opens up in the middle of the ribbing and grows with lifted increases on each side. This panel becomes the back of the hood, while the ribbed sections continue on either side.
- Short rows for shaping (23:22). Short rows add extra length to the back so the hood curves around the head instead of sitting flat.
- Decreasing (30:18). The center panel is narrowed again with decreases until only the ribbing is left.
- The second tie (37:52). You work the same length of ribbing as the first tie, then taper it to a point.
- Finishing touches (43:21). Bind off, weave in the ends, then wash the hood and let it dry flat in shape.
Tips for a Neat Hat-Hood
- Watch the note at 9:45. The designer points out in the video description that she says "decreases" at that moment when she means "increases."
- Measure the first tie. Write down the length or the number of rows of your first tie, so the second one comes out exactly the same.
- Use the stitch counts as a guide. The pattern gives target stitch counts and measurements for the hood. If your yarn is a little thicker or thinner, follow the measurements and do not worry about hitting the exact number.
- Keep the edges tidy. A slipped selvage stitch at the start of each row gives smooth edges on the ties and around the face.
- Don't skip the wash. Washing and drying the hood flat relaxes the stitches and helps the curved back keep its shape.
- Swap the yarn with care. If you use a different yarn, knit a gauge swatch first and aim for 21-22 stitches over 10 cm in stockinette.
Images and patterns courtesy of Crazy Hands Knitting & Crochet
Enjoy the Video Tutorial

Source: Crazy Hands Knitting & Crochet on YouTube
Frequently Asked Questions
Is the hat-hood knitted in the round?
No. It is knitted flat, back and forth, in one piece. The circular needle is only there to hold the many stitches of the hood section.
How big is the finished hood?
The hood measures about 40 cm (16 in) across its widest part, and each tie is worked to 85-90 cm (about 35 in), long enough to wrap around the neck.
Is the written pattern free?
Yes. Crazy Hands Knitting & Crochet shares the full written pattern for free on the designer's website, linked in the credit above, and the video follows the same steps.
More from Crazy Hands Knitting & Crochet
- How to Knit a Reversible Two Color Hat: A Step by Step Tutorial
- Add Elegance to Your Wardrobe: Learn to Knit a Turban Hat
- Easy and Pretty! Learn to Knit this Flat Slouchy Hat
- Super Pretty! Learn to Knit this Slouchy Beanie
You may also like