
Knit a Super Chunky Santa Hat: Easy Video Tutorial for the Whole Family

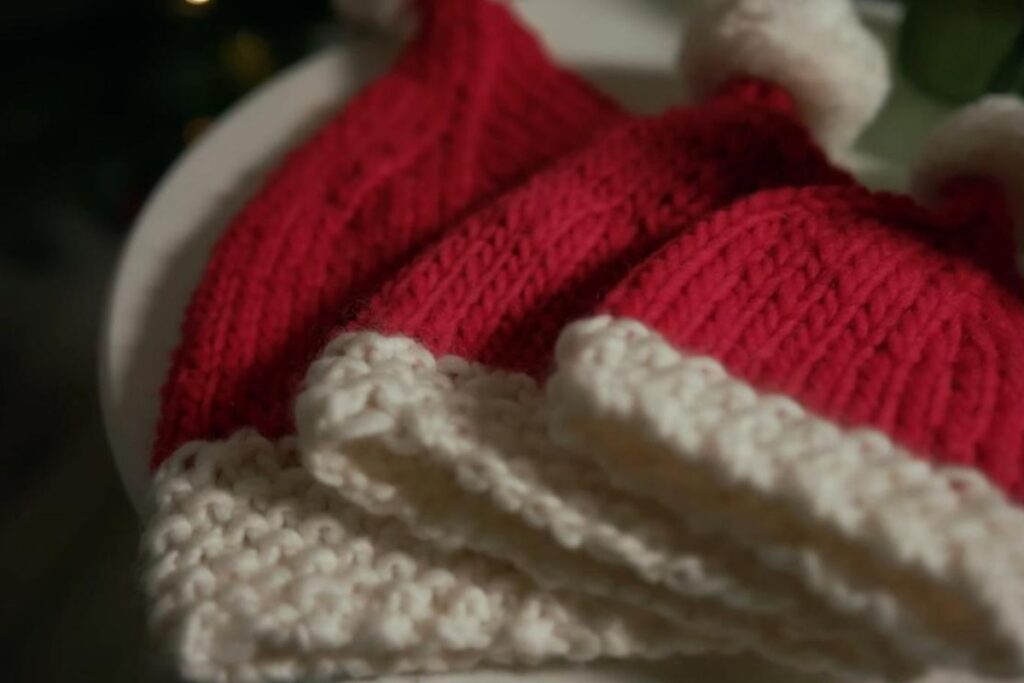
A knitted Santa hat is one of those projects that feels like Christmas the moment it comes off the needles. This one from Flock & Fern is worked in super chunky yarn, so it grows quickly, feels soft and squishy, and has the classic Santa look: a red body, a cream textured brim and a big fluffy pompom on the tip.
The pattern comes in sizes from premature baby all the way up to adult XXL, so you can knit matching hats for the whole family, from the newest arrival to the grandparents. In the video tutorial the designer knits the 6-12 month size and goes through every stage: casting on, the moss stitch brim, the red body, shaping the pointed top, closing it up and adding the pompom.
If you want a quick handmade gift or something festive to wear on Christmas morning, this is a lovely project to cast on now.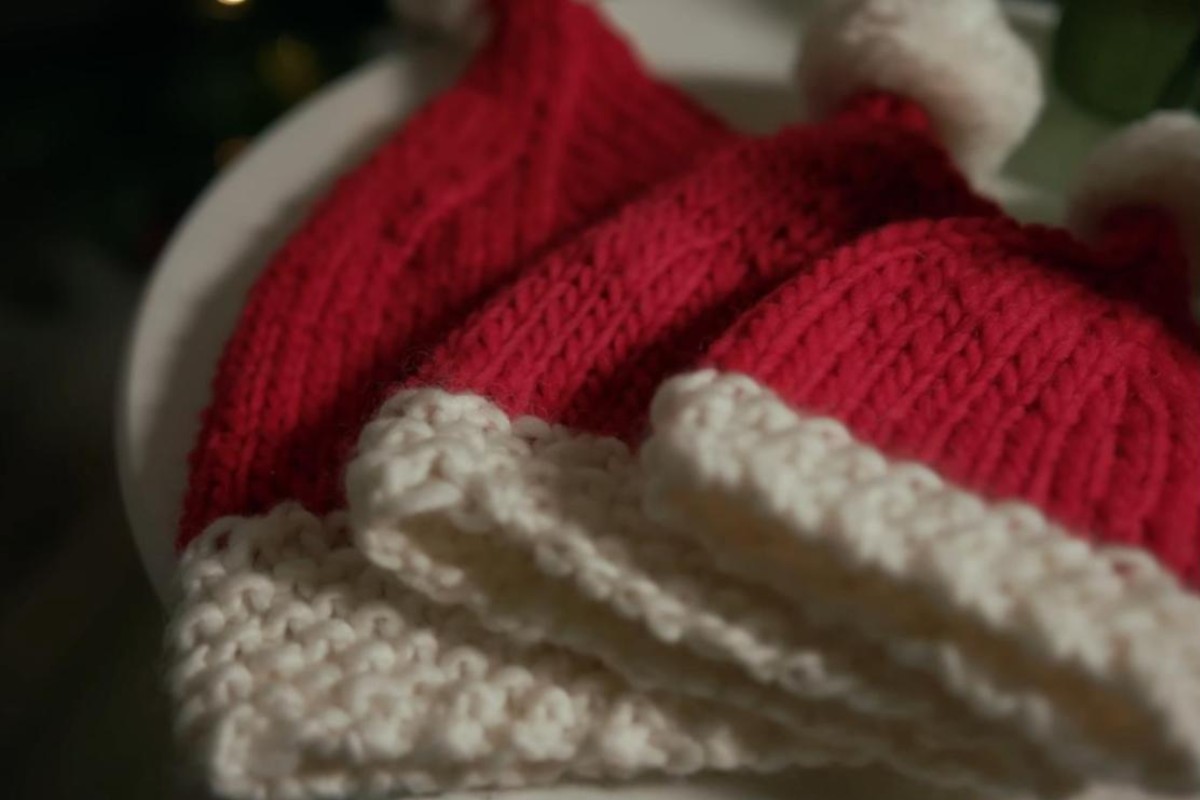
Knitted Santa Hat at a Glance
- Designer: Flock & Fern
- Level: easy, described by the designer as an easy-to-follow festive project
- Sizes: premature baby to adult XXL (the video shows the 6-12 month size)
- Yarn: super chunky (super bulky) yarn in red and off-white; the sample uses Drops Snow in Christmas Red and Off White
- Needles: 9 mm (US 13) circular knitting needles, 40 cm long
- Construction: knitted in the round from the brim up, with a moss stitch brim and a stockinette body
- Video length: about 24 minutes, with chapters for every step
What You'll Need
- Super chunky yarn in red for the body of the hat
- Super chunky yarn in off-white or ecru for the brim and the pompom
- 9 mm (US 13) circular knitting needles, 40 cm length
- A stitch marker
- A pompom maker (the size depends on the size of hat you are knitting)
- A darning needle with an eye big enough for super chunky yarn
- Scissors
How the Santa Hat Is Knitted
1. Cast On (0:59)
The hat starts with the off-white yarn, because the brim is worked first. The stitches go on with the long-tail cast on, so leave a generous tail before you make your slip knot. The video shows every movement of the long-tail method slowly and close up, which helps if you are still getting comfortable with it.
2. Moss Stitch Brim (4:09)
Once the stitches are on, join them in the round and place your stitch marker so you can see where each round begins. The brim is worked in moss stitch: on every new round you purl the stitches that look like knits and knit the ones that look like purls. That creates the bumpy, snowy texture that looks so much like the fluffy trim on a real Santa hat. In the sample size the brim is eight rounds deep.
3. The Red Body (6:35)
Now the red yarn comes in and you simply knit every stitch, round after round, for smooth stockinette. Pay attention to the colour change: the designer slips the first stitch of the second red round purlwise and then knits it through the back loop on the next round, a small trick that gives a neater join between the cream and the red.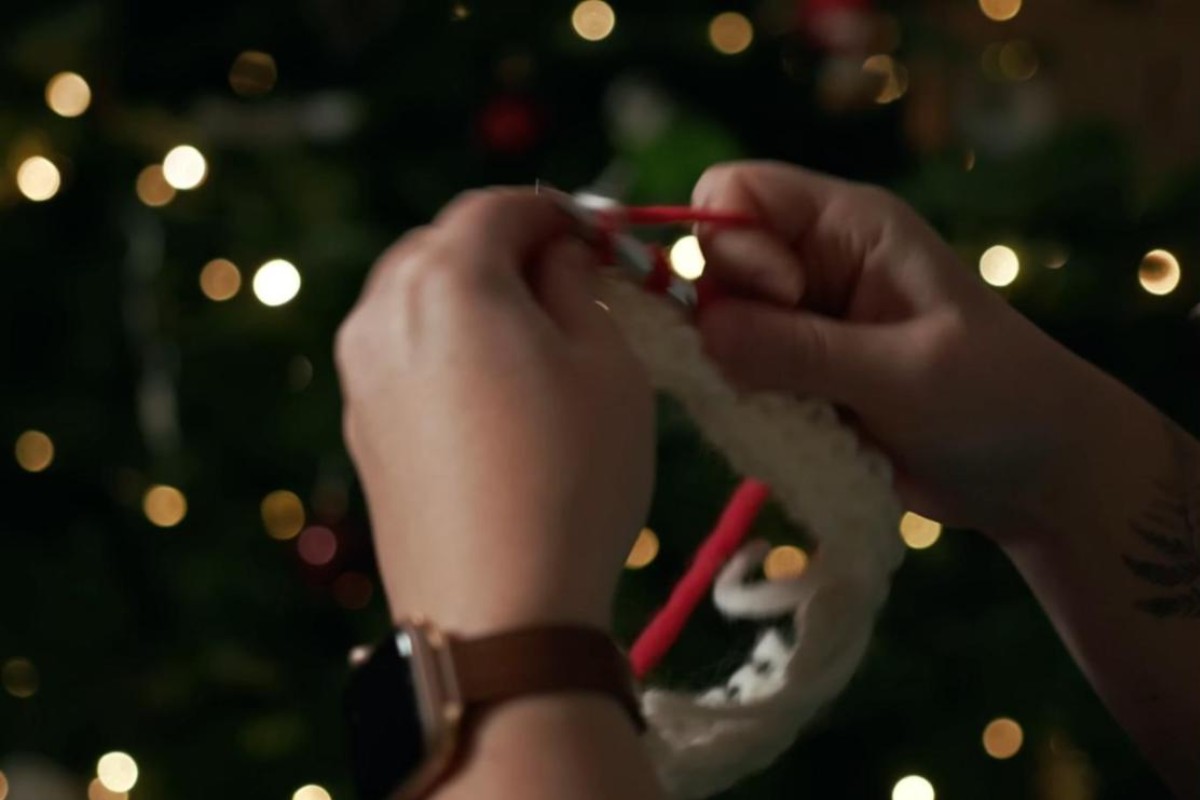
4. Shaping the Top (10:39)
This is the part that turns a plain beanie into a Santa hat. Decrease rounds, where you knit two stitches together at regular intervals around the hat, alternate with plain knit rounds. Each decrease round has fewer stitches between the decreases than the one before, so the top narrows gradually into that iconic long, pointed shape.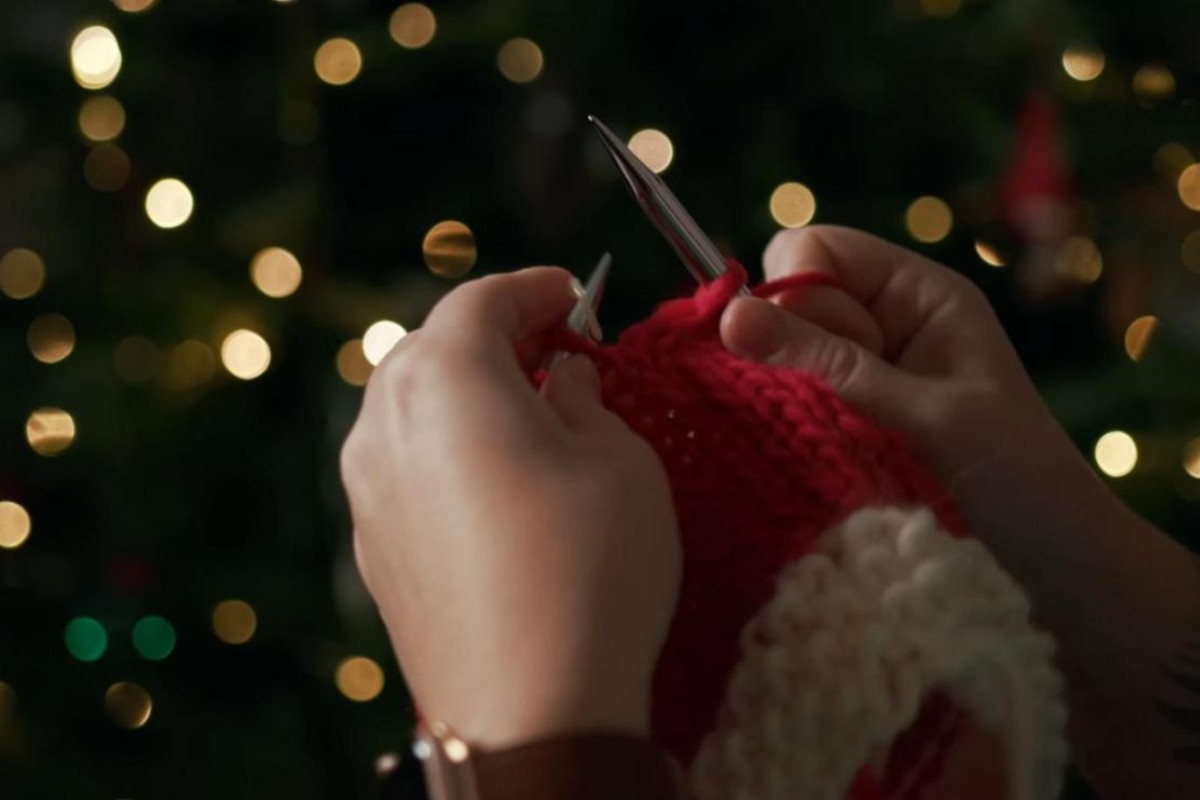
5. Closing the Top (17:03)
When only a handful of stitches are left, cut the working yarn, thread the tail onto your darning needle and slide the remaining stitches onto it. Pull them closed, then take the needle through the centre of the top to the inside and secure the tail there.
6. Make and Attach the Pompom (18:44)
Make a pompom in the off-white yarn so it matches the brim. Keep the two tails you used to tie the pompom, thread them through the very top of the hat, and knot them on the inside together with the tail left over from closing the top.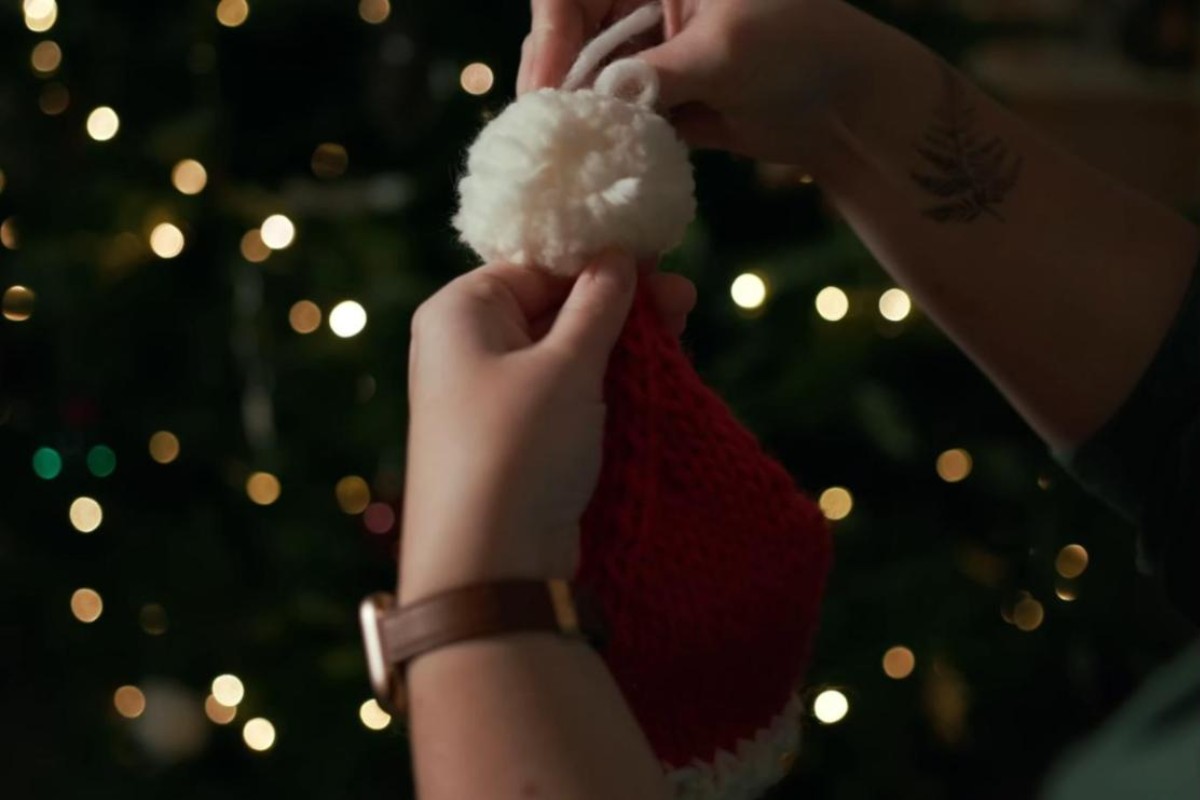
7. Weave In the Ends (21:45)
Finally, weave in all the loose ends on the inside of the hat, working diagonally through a few stitches so they stay hidden and secure.
Tips for a Perfect Santa Hat
- Choose your size first. The written pattern covers every size from premature baby to adult XXL and the stitch counts change with each one, so follow the numbers for your size rather than the ones shown in the video.
- Leave long tails. The long-tail cast on needs plenty of yarn, and you will also want a tail at the top to close the hat and anchor the pompom.
- Move the marker every round. Everything is knitted in the round, so the stitch marker is the easiest way to count the brim rounds and keep track of where the decrease rounds start.
- Size the pompom to the hat. A baby hat needs a small pompom and an adult hat a bigger one, which is why the materials list mentions pompom makers in different sizes.
- Make a family set. Super chunky yarn works up fast, so knitting a matching hat for everyone around the Christmas table is very achievable.
Images and patterns courtesy of Flock & Fern
Enjoy the Video Tutorial

Source: Flock & Fern on YouTube
Frequently Asked Questions
What sizes does the Santa hat pattern include?
The pattern runs from premature baby all the way up to adult XXL, so there is a size for everyone in the family. The video demonstrates the 6-12 month size.
Is the hat knitted flat or in the round?
It is knitted in the round on 40 cm circular needles, starting at the brim and working up to the pointed top, so there is no seam to sew.
Where can I find the written pattern?
Flock & Fern links the full written pattern, with all the sizes, in the description of the video on YouTube.
More from Flock & Fern
- Quick and Easy! How to Knit a Christmas Stocking
- Super Chunky! Learn to Knit this Bobble Hat
- Super Chunky! Learn to Knit this Tea Cosy
- So Easy! Learn to Knit a Mug Cosy
You may also like