
Cable Knit Headband: Free Ear Warmer Pattern and Video Tutorial


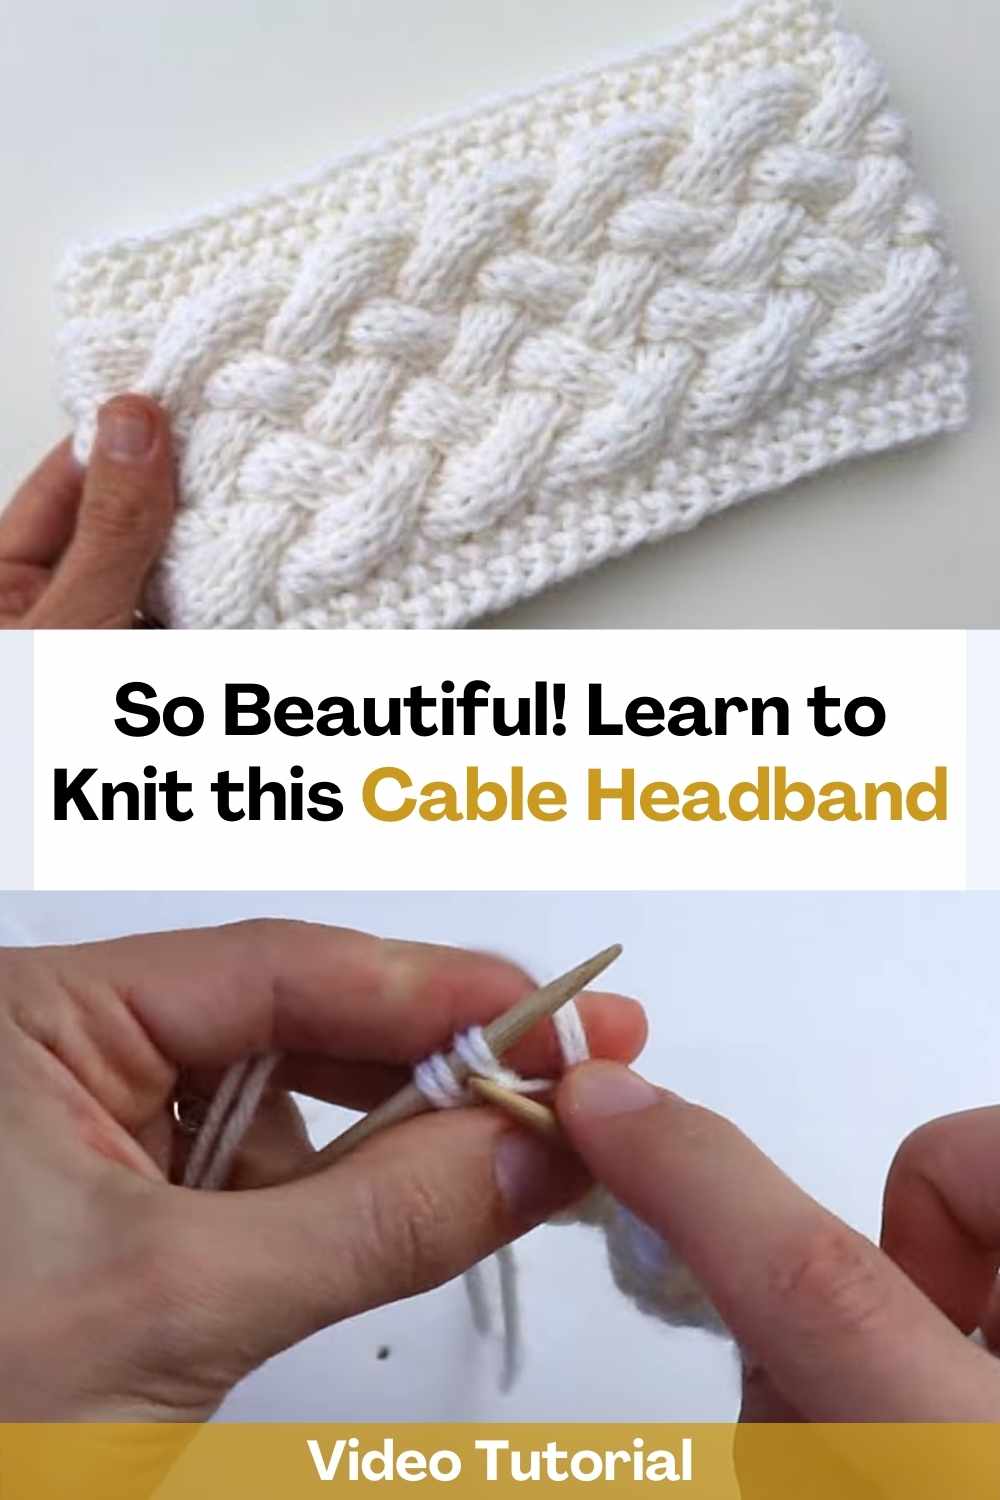
A cable headband is one of the most satisfying small projects you can put on your needles. It works up quickly, uses very little yarn, and the crossed cables make it look far more involved than it really is. In this video tutorial, Crazy Hands Knitting & Crochet walks through the whole ear warmer, from the cast-on to the final seam, so you can follow along at your own pace.
The headband is part of a matching set: the written pattern on the Crazy Hands website includes this ear warmer and a cable cowl that uses the same cable design, so you can knit both once you have the stitch down.
Cable Headband at a Glance
- Project: cable knit headband (ear warmer), worked flat and seamed into a ring
- Video length: about 20 minutes
- Needles (written pattern): US 6 (4 mm)
- Cast on: 26 stitches; the cable panel works in multiples of 6, so the band can be made wider or narrower
- Techniques: knit, purl, front and back cable crosses, slipped selvage stitches and an invisible seam
Watch the Video Tutorial
Source: Crazy Hands Knitting & Crochet
Images and patterns courtesy of Crazy Hands Knitting & Crochet
How the Headband Is Made
The video is split into clear sections. After a quick look at the materials, the creator casts on and works the foundation rows, with a narrow ribbed border on each side of the central cable panel and a slipped stitch at the edges for a tidy selvage.
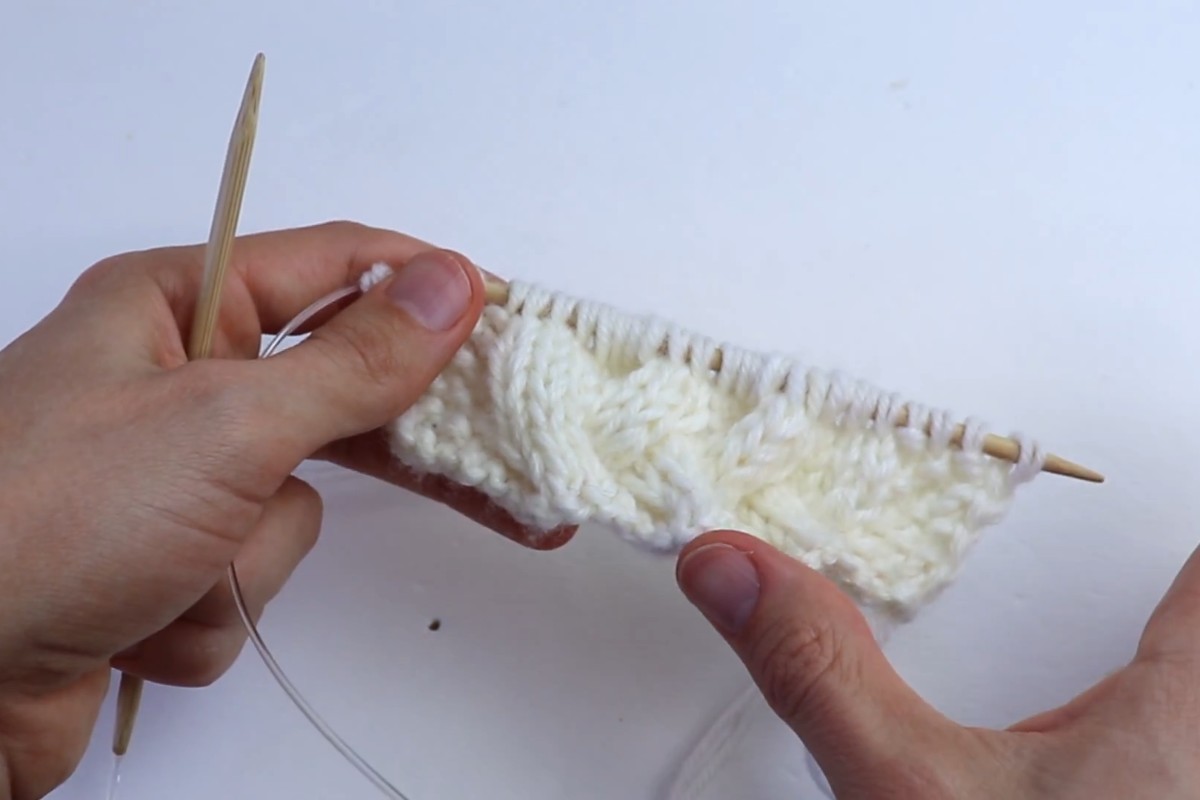
Next comes the cable pattern. The panel alternates crosses worked to the front and to the back, which gives the band its woven, braided texture. The repeat is only 8 rows long, so after a couple of repeats you will start to read your knitting and know which row comes next without checking.
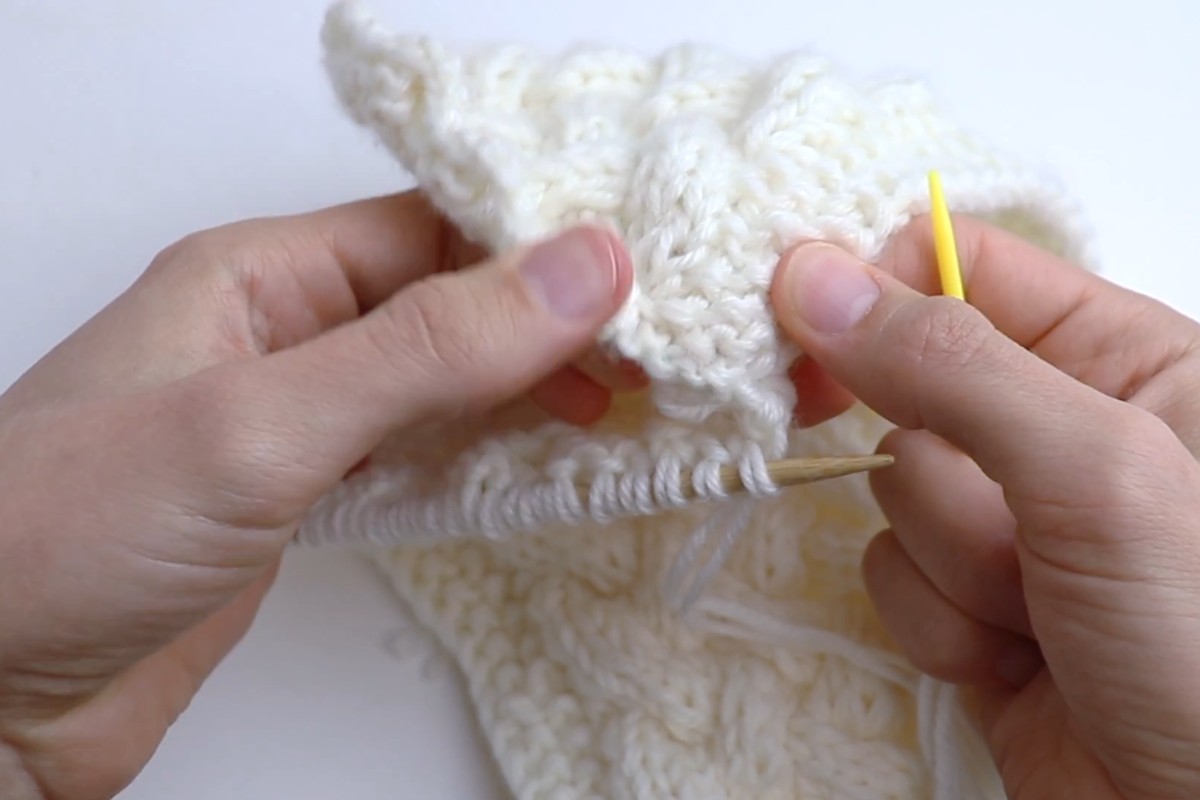
You keep repeating the pattern until the band fits comfortably around your head. The last part of the video shows how to join the two short ends with an invisible seam, so the join blends into the fabric instead of leaving a ridge at the back of your head.
Tips for a Neat Cable Headband
- Measure around your head and make the band a little shorter than that number. Cables relax with wear, and a snug fit keeps your ears covered.
- A cable needle makes the crosses easier to manage, especially in a smooth, light yarn where every stitch shows.
- Clip a stitch marker to the right side of the work. Cables are always crossed on the same side, and the marker stops you from crossing on the wrong row.
- Light colors such as cream or white show off the cable texture best, as you can see in the video.
- Leave a long tail when you bind off so you have enough yarn to sew the seam.
Frequently Asked Questions
Can I make the headband wider or narrower?
Yes. The creator explains that the main cable scheme has to be divided by 6, so add or remove stitches in groups of 6 to keep the cables lined up.
Do I need circular needles?
No. The headband is knit back and forth in rows and seamed at the end, so straight needles work just as well as a circular needle used flat.
More from Crazy Hands Knitting & Crochet
Did you find this post useful or inspiring? Save THIS PIN to your Knitting Board on Pinterest! 😊
You may also like