
10 Buying Mistakes With Hiking Boots (And Fixes)

Shopping for hiking boots can be confusing—sizes shift by brand, materials behave differently on trail, and showroom comfort doesn’t always translate to miles.
Here are the ten most common traps people fall into (and how to avoid them) so you end up with supportive, durable, and truly comfortable hiking boots.
Hiking Boots: 10 Common Buying Mistakes
1) Treating Street Size as Trail Size
Your everyday sneaker size rarely matches a boot that needs room for swelling and thicker socks. A too-tight toe box leads to black nails; too loose causes heel lift and blisters.
Fix: Try boots late in the day, wear the socks you’ll hike in, and aim for a thumb’s width in front of the big toe. Ensure minimal heel slip when walking an incline.
2) Ignoring Foot Shape and Last
Brands build on different “lasts” (foot molds). A narrow last will punish wide forefeet; a wide last can feel sloppy for narrow heels.
Fix: Learn your foot width and arch height. Shortlist models known for your shape and use volume-adjusting insoles or lacing to fine-tune fit.
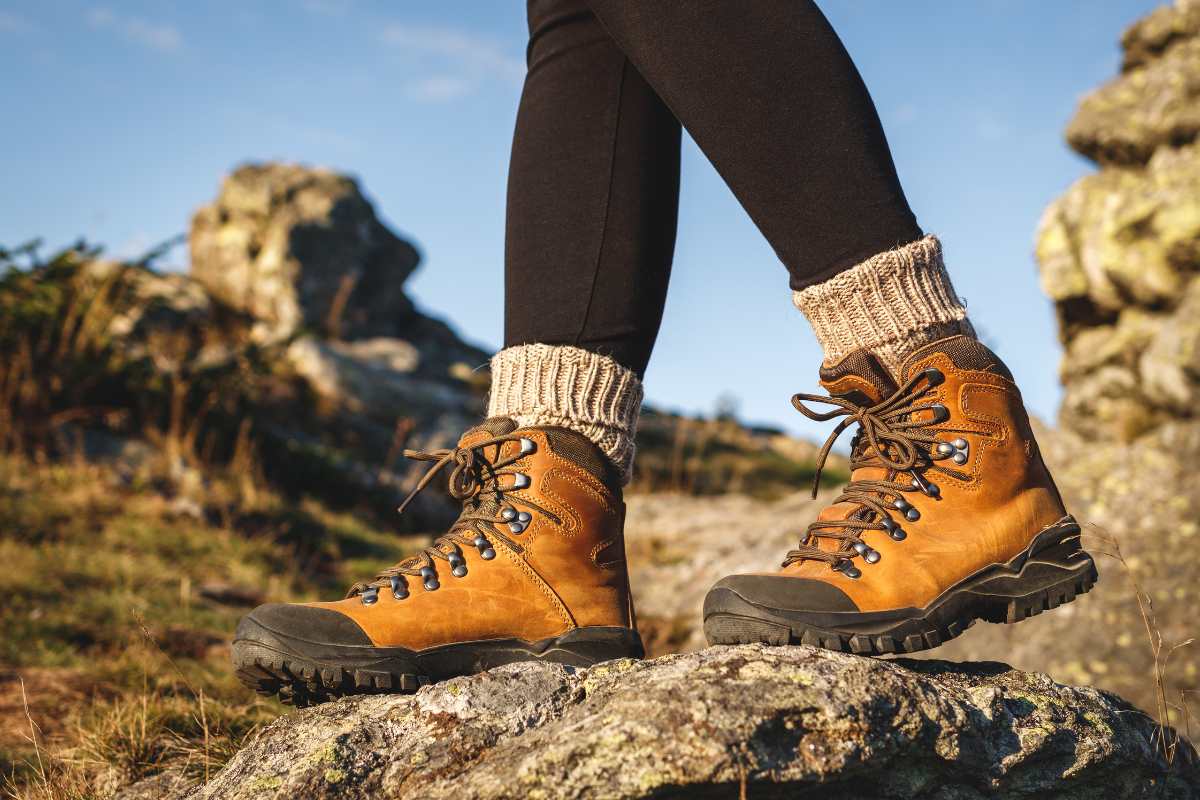
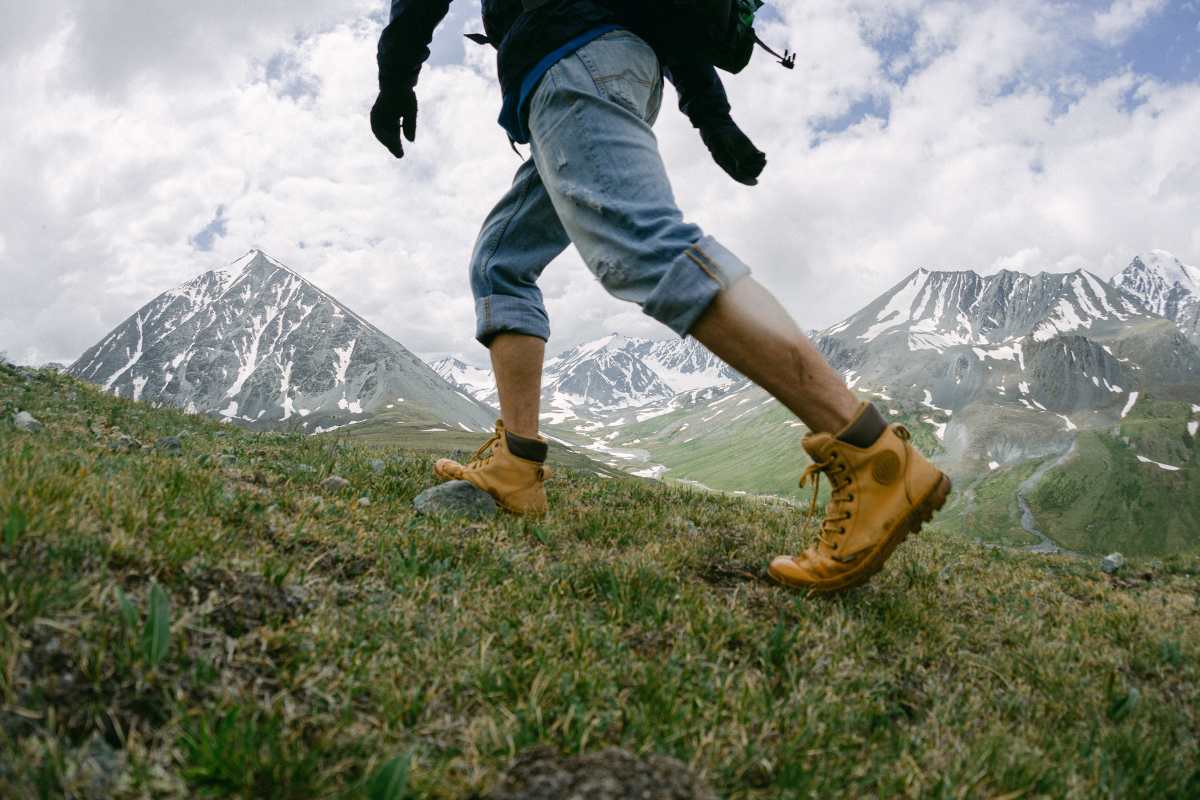
3) Confusing Hiking Shoes With Boots
Low-cut Hiking Shoes are lighter and agile; mid or high boots add torsional support and ankle protection. Picking the wrong category can make easy trails feel tiring—or technical trails risky.
Fix: Match terrain to design. Choose shoes for well-groomed paths and fastpacking; pick sturdy boots for rock, roots, and heavy loads. When you search “shoes hiking,” remember the spectrum from shoes to boots.
4) Overvaluing Waterproof Membranes
Waterproof liners are great in cold, wet climates but can trap heat in warm, dry regions. Wet feet from sweat are as miserable as rain.
Fix: Choose waterproof for snow, mud, and steady rain; select breathable non-membrane models for arid climates. Venting beats soggy socks in summer.
5) Skipping Sock and Insole Pairing
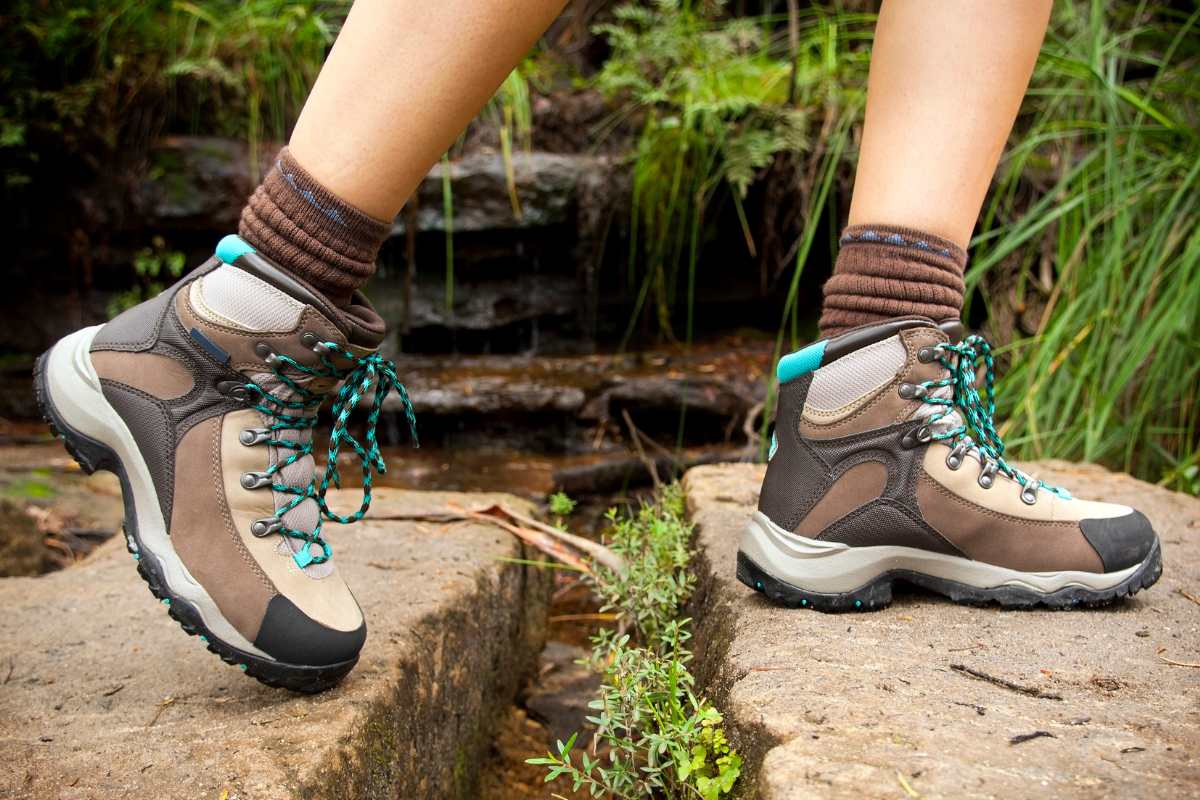
Premium boots with cheap cotton socks feel terrible. Likewise, flat factory insoles won’t support high arches on long days.
Fix: Use merino or synthetic hiking socks and consider supportive insoles. This simple combo often turns good footwear into comfortable hiking boots.
6) Choosing the Wrong Midsole Stiffness
Too soft and your feet fatigue on sharp rocks; too stiff and your stride feels wooden on mellow trails.
Fix: For day hikes, pick moderate flex; for backpacking or scree, go stiffer for protection. Test by bending the boot—look for smooth resistance, not a brick.
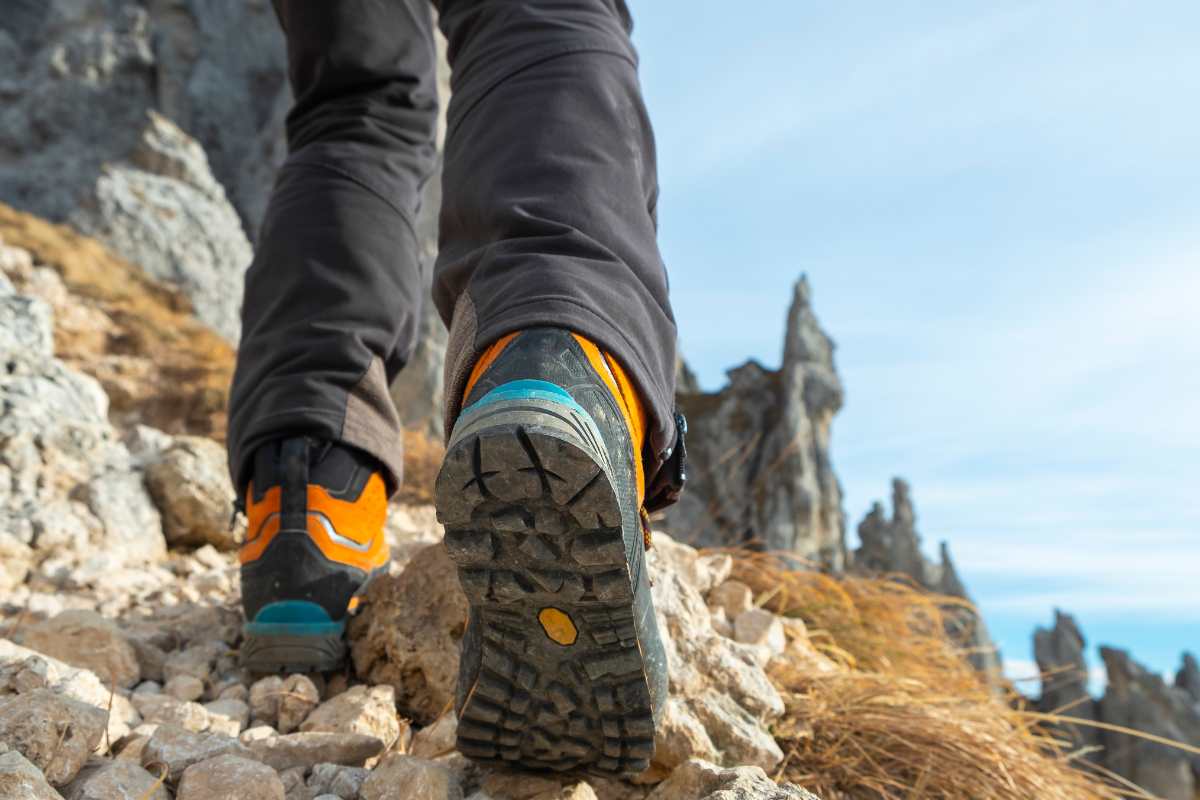
7) Misreading Outsole Lugs and Rubber
All-black rubber isn’t equal. Soft compounds grip wet rock but wear faster; hard compounds last longer but skate on slab.
Fix: If you hike wet roots and granite, favor softer, deep-lug patterns. For desert and hardpack, choose firmer rubber with moderate lugs for durability.
8) Forgetting Weight and Fatigue
Every extra ounce on your feet multiplies energy cost. Heavy leather tanks last, but they can slow you on simple trails.
Fix: Balance protection with weight. Many Outdoor Boots now blend fabric and leather to keep strength while trimming ounces.
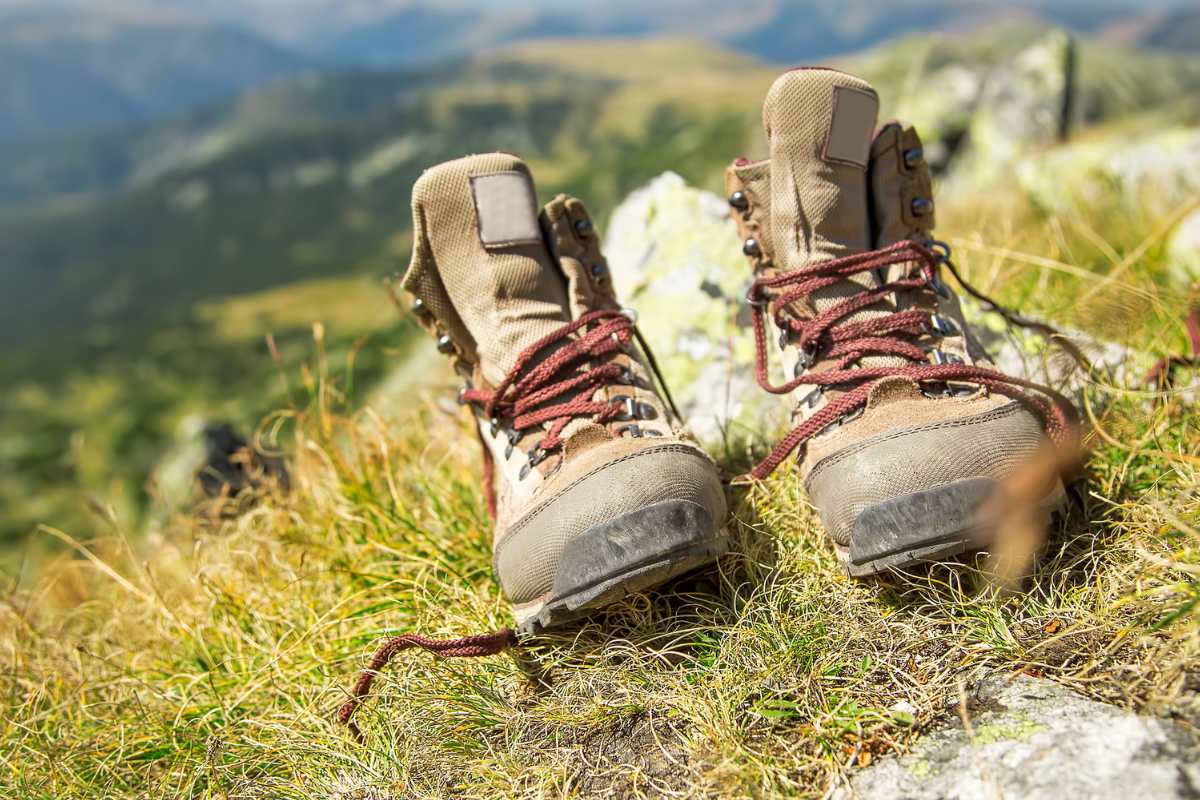
9) Expecting Showroom Comfort to Equal Trail Comfort
Carpet miles lie. Pressure points that seem minor grow into hot spots after an hour of climbing.
Fix: Do a dedicated break-in: short walks, stair sessions with a pack, and a few local hikes. Return or swap early if issues persist.
10) Chasing Hype Over Fit
The internet’s “best hiking boots” might not fit your feet or your terrain. Trendy features can’t fix a mismatch in length, width, or volume.
Fix: Start with fit, then filter by features and reviews. The real “best” is what keeps you stable, dry, and happy for your miles.
Know the Main Types of Hiking Boots
Lightweight day-hike boots: Flexible, breathable, great for speed on groomed trails. Ideal when you want agility without committing to shoes.
Mid-weight backpacking boots: More support and rock protection for weekend loads. A smart middle ground among the types of hiking boots.
Heavy-duty trekking boots: Stiffer midsoles, robust leather uppers, and resolable outsoles for rough country—classic Adventure Boots that prioritize longevity.
Materials 101: Leather vs. Synthetics
Full-grain leather excels at durability and weather resistance but needs break-in and care. Nubuck/suede balances softness with strength. Synthetics (nylon, engineered mesh) cut weight and dry fast but may wear sooner.
Pro tip: Check stitching, rand bonding, and toe-cap coverage. Quality construction matters more than marketing terms when comparing Outdoor Boots.
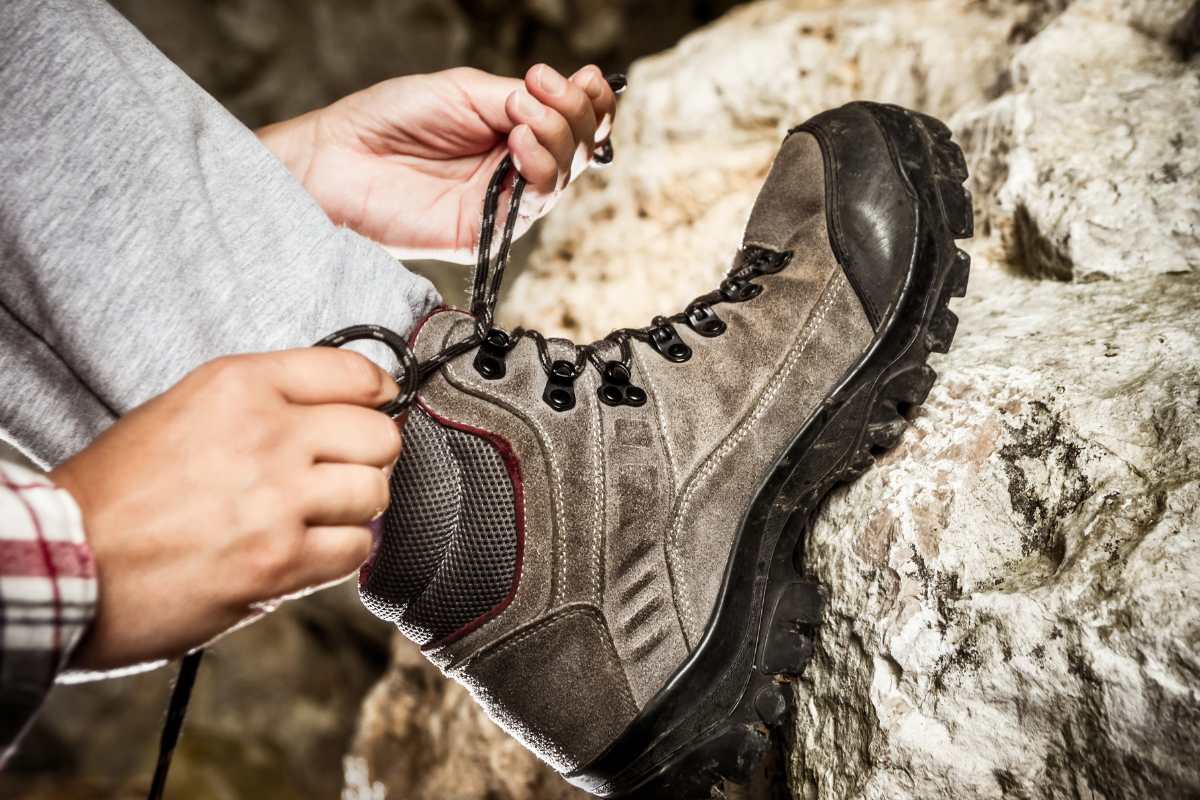
Fit Checks Before You Buy

Walk inclines and declines. On downhill, toes shouldn’t hit the front; uphill, heels shouldn’t lift. Wiggle room in the forefoot with snug midfoot wrap equals security without numbness.
Lace in zones: lock the heel with a surgeon’s knot, then adjust forefoot tension. Smart lacing often turns “almost right” into the best hiking boots choice for your feet.
Care That Extends Lifespan
Air-dry away from heat, remove insoles, and brush off mud. Condition leather sparingly and reproof waterproof uppers seasonally. Good care keeps performance consistent.
Rotating pairs—shoes for easy trails, boots for rough days—spreads wear and helps your main pair stay trail-ready longer.
Quick Buyer’s Checklist

Fit first: shape, length, volume. Terrain match: shoes vs. boots. Climate: waterproof or breathable. Support: midsole flex and insole. Grip: rubber and lugs.
When these align, you’ll own truly comfortable hiking boots that make every mile easier.
Where to Go From Here
Use this guide to test models methodically and record what works for you. Whether you prefer light Hiking Shoes or burly boots, the right match turns effort into enjoyment.
Want more? Explore our in-depth sizing, care, and gear primers on Urbaki Outdoor to dial in your next pair of hiking boots with confidence.

Explore these outdoor tips too