
3 Essential Tips For Your Hiking Bag
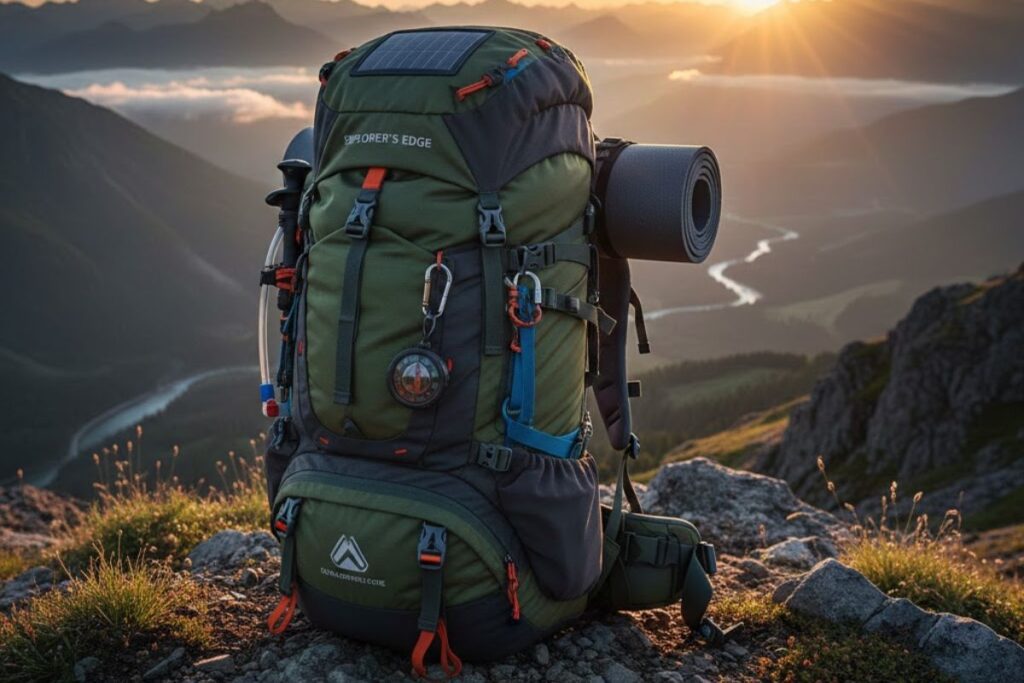
Your hiking bag is the nerve center of every trip: it protects your layers, rations your calories, and keeps safety gear exactly where you need it.
Yet most frustrations on the trail don’t come from bad equipment—they come from bad organization and weak references. Below you’ll find three practical, link-backed tips that help you plan faster, pack smarter, and move with confidence.
Each section includes a carefully chosen video for deeper learning, so you can see layouts, transitions, and troubleshooting in action.
Along the way we’ll highlight Hiking Bag Essentials, clever Hiking Accessories, and simple systems that work for day hikes and overnighters alike.
1) Map Your Pack: A Linked Guide To Hiking Bag Essentials
 The fastest way to tame chaos is to map your load. Sketch a simple Rucksack Packing Diagram that divides the pack into three zones—top, core, and hip-belt—and write what lives in each.
Heavy items (water, cook kit, dense food) ride tight against the spine; fragile items sit in protected corners; quick-grab layers live at the very top.
This small plan clarifies your Hiking Necessities and prevents endless rummaging on windy ridgelines.
If you want to see a visual walkthrough of this zoning method, watch this short explainer: Video: Pack Mapping & Load Zoning (credit: original YouTube creator).
When you’re Packing Hiking Backpack kits for varied terrain, think in layers and tasks. Trail-use items go high or external (rain shell, gloves, filtration), camp-use items go deeper (stove, sleep clothes).
If you prefer a rugged aesthetic, subtle Military-style Backpack Modifications—like elastic keepers for loose webbing or a shock-cord grid for drying layers—can make any Outdoor Bag behave like a premium rig without adding much weight.
To keep the system portable across seasons and packs, maintain a baseline card of Hiking Must Haves you never leave behind: headlamp, small first-aid kit, water treatment, and a warm layer.
This backbone of Backpacking Gear moves easily between an ultralight daypack and a beefier Adventure Backpack.
If you’re building a kit specifically for comfort and fit, note that Hiking Essentials For Women may include shaped straps, shorter torso lengths, and hip belts that sit correctly—details that make long miles feel much shorter.
Finally, don’t forget redundancy: carry two fire sources, two light sources (headlamp + phone), and a printed map as backup to digital navigation.
These simple safeguards transform a jittery outing into a confident stride. With a mapped system and a reference video, your Adventure Bags stop being black boxes and start working like organized toolkits.
2) Set Up For Speed: Linked Hiking Backpack Setup Tips
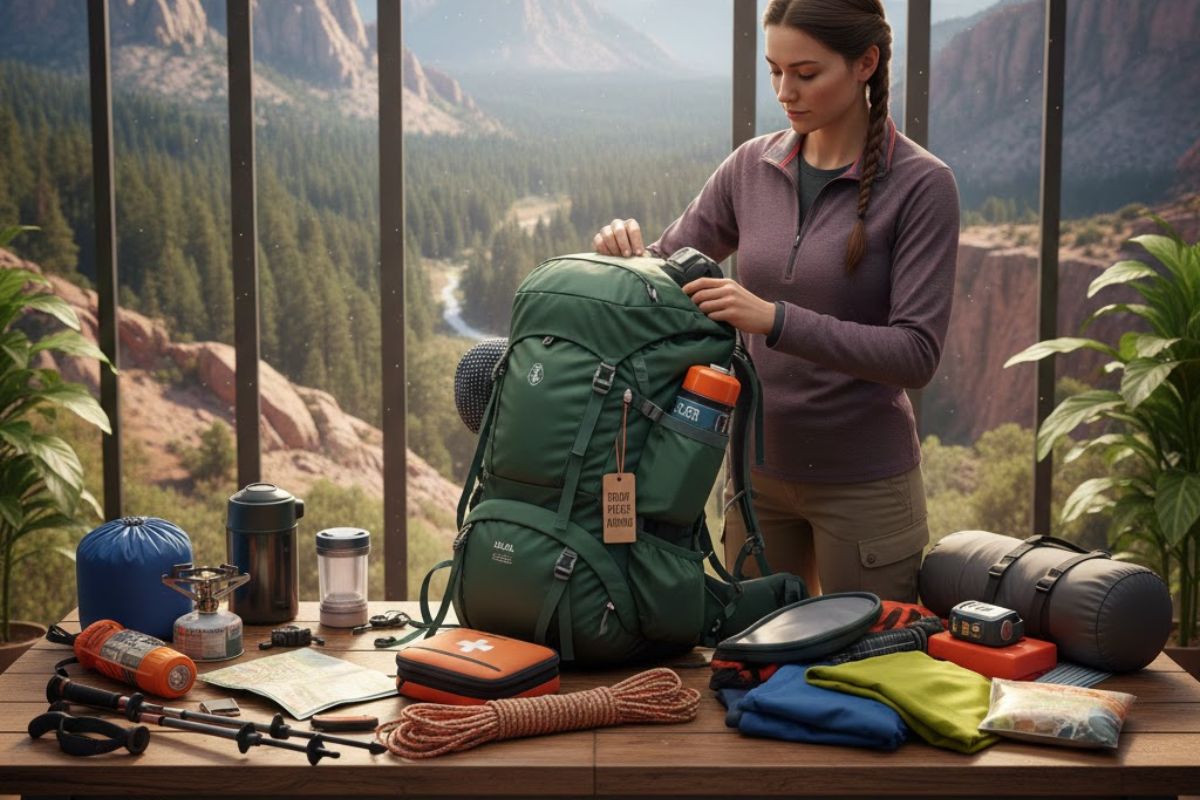 Efficiency is freedom. Small changes in layout and access speed add up to miles gained and stress avoided.
Practice these Hiking Backpack Setup Tips: place your rain shell and wind layer at the very top or in a stretchy front pocket.
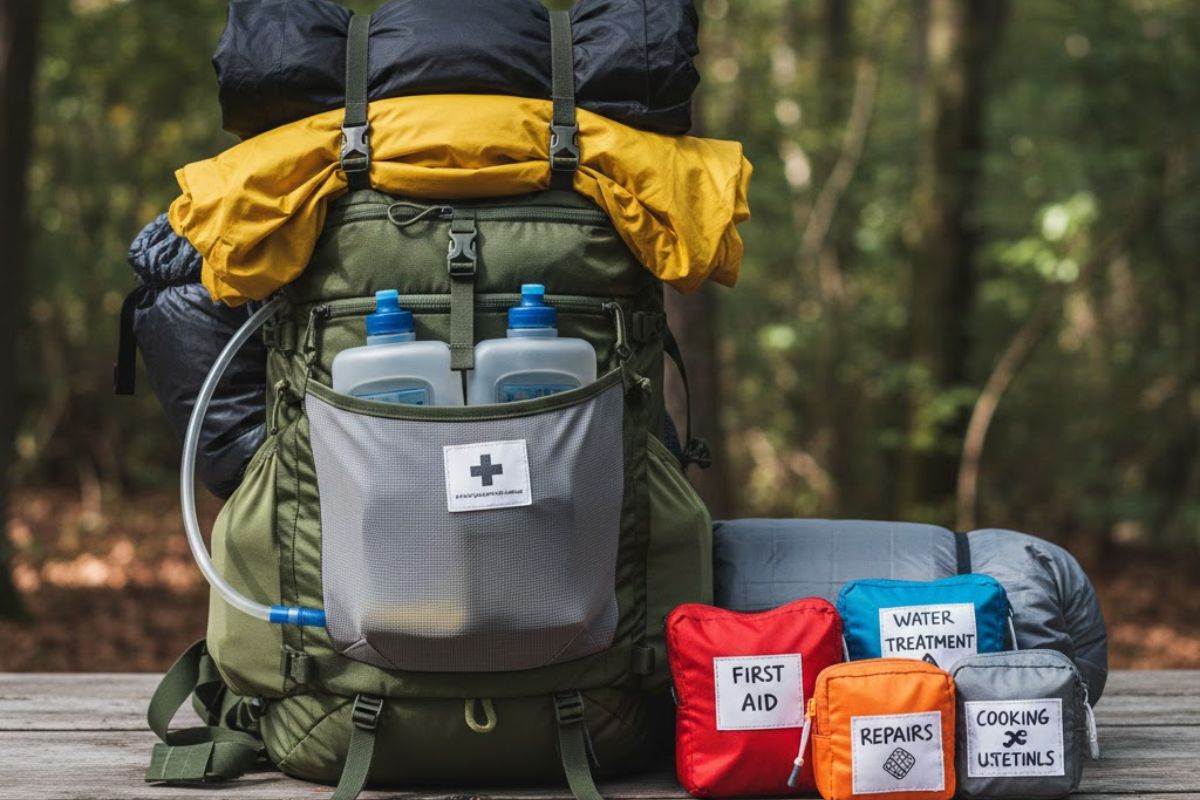
Route soft flasks or a reservoir hose so you drink without removing the pack; and group your repair and hygiene tools in color-coded pouches.
To see a rapid setup demo—where every second counts at transitions—check this practical overview: Video: Quick-Access Pack Layout (credit: original YouTube creator).
Label by function, not brand. A red pouch for first-aid, blue for water treatment, orange for repairs, and gray for cook gear makes retrieval automatic.
This habit reduces “yard sales” on the trail and preserves rhythm during weather swings. It’s the backbone of the Best Backpack Setup For Hiking, because you spend more time moving and less time fiddling.
Pair that with a small check after every break: Did you put items back where they belong? Are snacks staged for the next climb?
Fit matters as much as layout. For Hiking Backpack Women models, look for shoulder curves and hip-belt angles that match your frame so load transfers to the pelvis instead of the shoulders.
A good fit turns a heavy-feeling carry into a floaty one. On burly terrain, choose a slightly stiffer frame sheet; on smoother trails, a softer back panel may be more comfortable.
Either way, keep your Hiking Accessories light and purposeful—tiny things add up.
As you iterate, log what worked and what didn’t. Over time, this journal becomes the secret sauce behind your evolving Hiking Tips.
When storms hit or daylight fades, you’ll know by muscle memory exactly where the headlamp, gloves, and repair tape live. That’s the true payoff of a fast, linked learning loop: less friction, more flow.
3) Pack Light, Learn Fast: Linked Must-Haves For Backpacking
 Ultralight isn’t about suffering—it’s about intention. Start with a kitchen-scale audit of your standard kit and be ruthless about function. Ask: does this item handle two jobs?
Could I swap material or form factor for a lighter alternative? The answer defines your list of Must-have Items For Backpacking.
For a clear, step-by-step visual on cutting bulk without cutting safety, watch this concise guide: Video: Ultralight Essentials Walkthrough (credit: original YouTube creator).
Clothing often yields the biggest wins. Replace heavy cotton with quick-drying synthetics or merino layers; choose a featherweight wind jacket you’ll wear constantly over a bulky midlayer you never touch.
When you’re Packing Backpacking Hiking loads for shoulder seasons, add a compact emergency bivy and a spare hat—tiny items with outsized safety value.
Balance food weight by picking calorie-dense options that resist crushing and simplify cookware to a pot, spoon, and lighter.
Water strategy is the easiest, safest way to lose weight. If sources are frequent, carry less water and filter more often. Split communal gear among the group to avoid duplicates.
This is where Backpacking Tips and real-world testing intersect: the lighter your base, the more enjoyable your miles.
Document your changes so you can repeat your success later, even when switching from a day-ready Outdoor Bag to a fully featured Adventure Backpack.
Remember that every ounce you save helps your posture, feet, and focus. Lighter packs make technical sections less tiring and reduce the chance you’ll skip hydration or nutrition because it’s “buried.”
Done well, an ultralight mindset complements your mapped layout and fast-access setup—together they form a system that keeps your hiking bag dialed for anything.
From Links To Trail Confidence: Build Your System
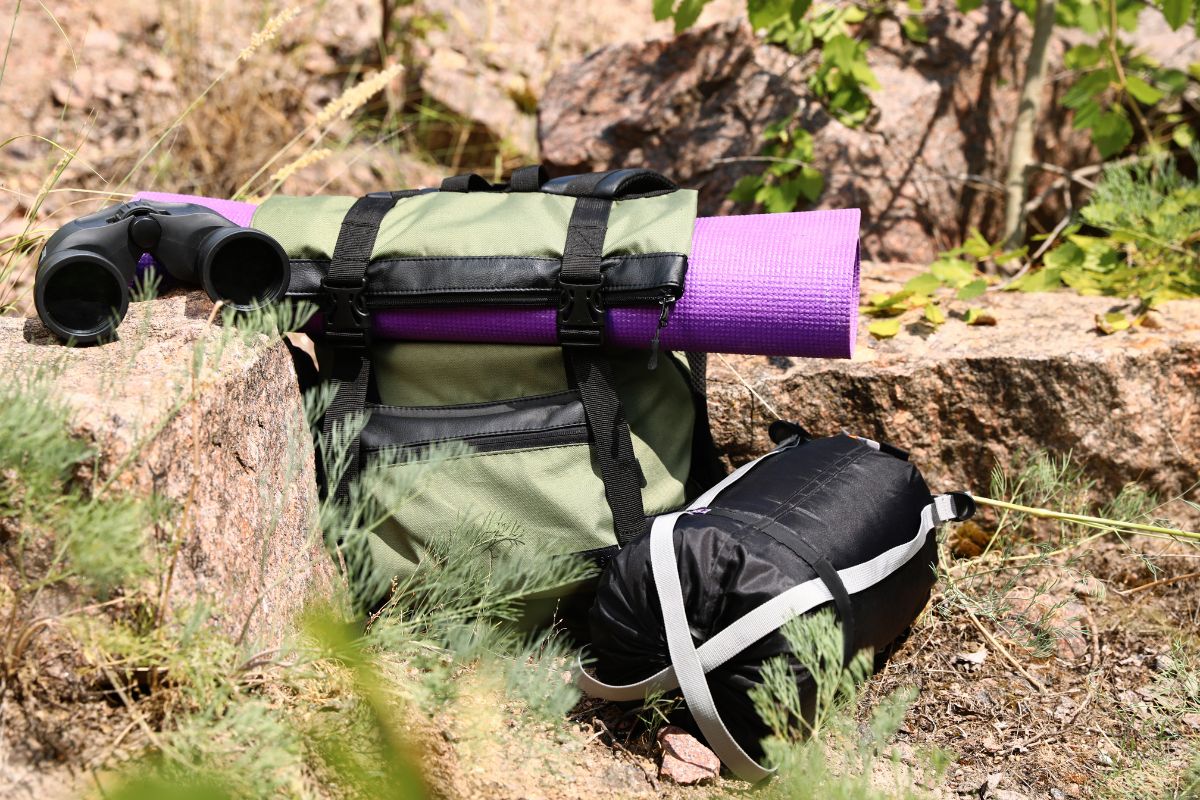 You now have three linked pillars: a clear packing map, a quick-access layout, and a practical plan to cut weight without cutting safety. Use the videos above as refreshers before each trip, and refine after every hike.
As your system matures, you’ll spend less time guessing and more time enjoying the view. That’s the difference between carrying stuff and carrying a plan.
To recap your toolkit: a portable Rucksack Packing Diagram for zone clarity, a color-coded pouch method for speed, and a minimalist mindset to protect comfort.
Together, these habits convert Adventure Bags and weekend daypacks into reliable partners. Whether you’re dialing Hiking Bag Essentials for a local loop or optimizing a multi-day route, these ideas scale gracefully.
Keep it flexible: swap components as seasons change, test new layouts on low-stakes hikes, and track your personal “Hiking Must Haves” as they evolve.
The goal isn’t perfection—it’s consistency. With a few reps, your Best Backpack Setup For Hiking will feel intuitive, your Hiking Accessories will stay lean, and your Backpacking Gear will serve you instead of slowing you down.
Keep exploring: Browse our latest guides on pack fit, layering systems, and route planning to sharpen your skills before the next adventure.
Explore these outdoor tips too