
Create a Crochet Bunny Rabbit Wearing a Fun Overall Jumper

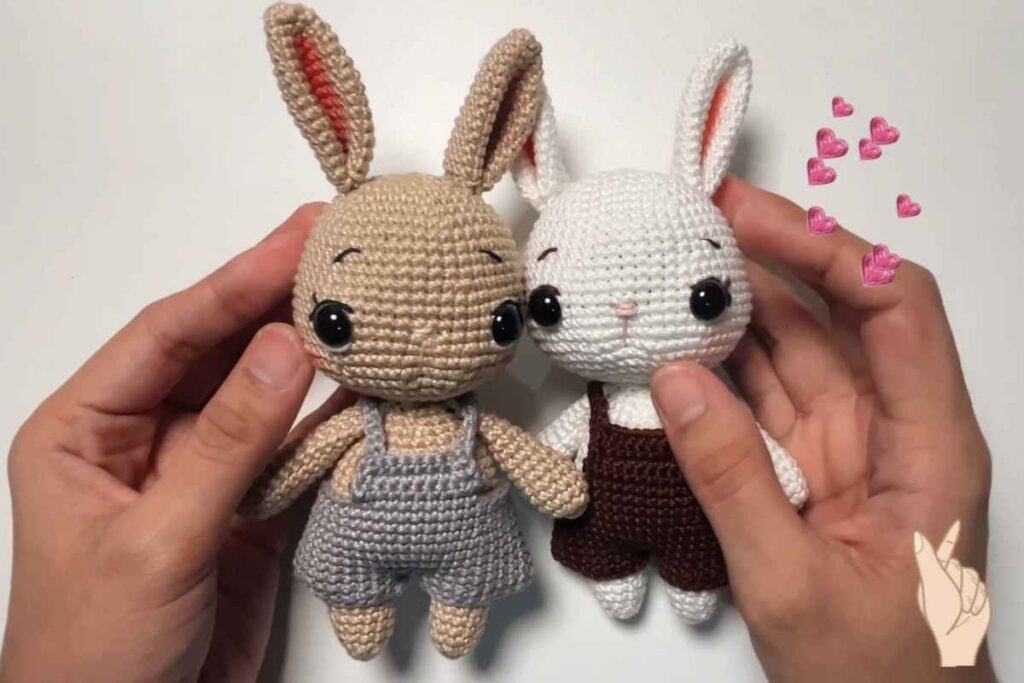
Crocheting a bunny rabbit with an overall jumper is a delightful and charming project that can bring joy to anyone who loves crafting. This adorable creation is perfect for both beginners and experienced crocheters, and it makes for a wonderful gift or decorative piece.
In this article, we will guide you through the essential steps of creating your very own crochet bunny rabbit with an overall jumper, offering tips and techniques to help you achieve the best results.
Creating the Crochet Bunny Body
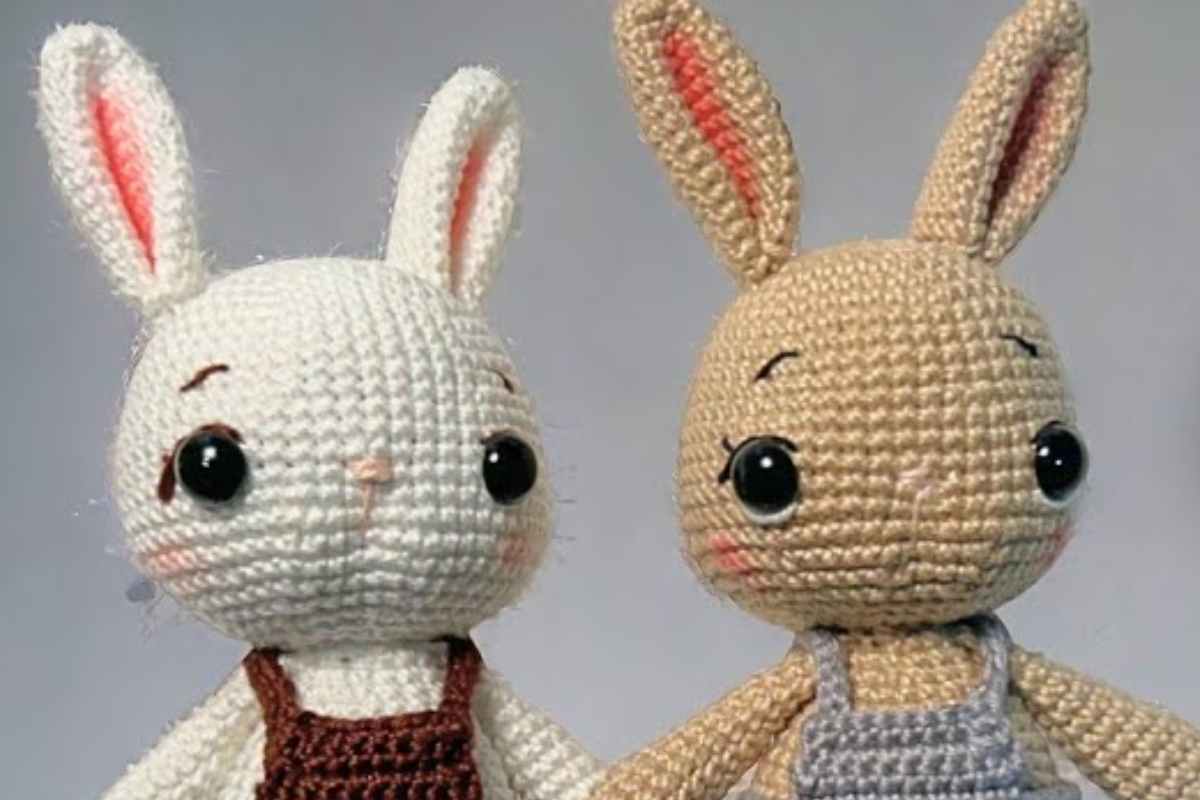
The first step in making your crochet bunny rabbit is to create the body. Start with a basic crochet technique: working in a spiral or round.
Refill Your Creative Cup
Feeling stuck or out of ideas? Let us bring the spark back to your hook. Our weekly emails deliver patterns, tips, and inspiration to keep your creativity blooming.
😍 Bring Your Crochet Mojo Back – Sign Up Now! Click on the image 👆🏼
- Begin with a magic ring and crochet 6 single crochets (sc) into the ring. Pull the ring tight and join with a slip stitch (sl st).
- Increase Rounds: Continue to increase the stitch count in each round, adding more single crochets as you work your way up. Typically, you’ll double the stitches in the first few rounds to form a rounded shape.
- Shaping the Body: Once you reach the desired height for the bunny's body, work in straight rows without increases to create the straight body part. This gives your bunny a natural, rounded shape.
Once the body is complete, stuff it gently with fiberfill, ensuring the shape remains firm yet soft. You can adjust the amount of stuffing to your liking, but be careful not to overstuff, as it could make the bunny too firm.
Crafting the Bunny Head and Ears
Now, it’s time to create the head and ears, which are key features of this adorable bunny rabbit.
Bunny Head
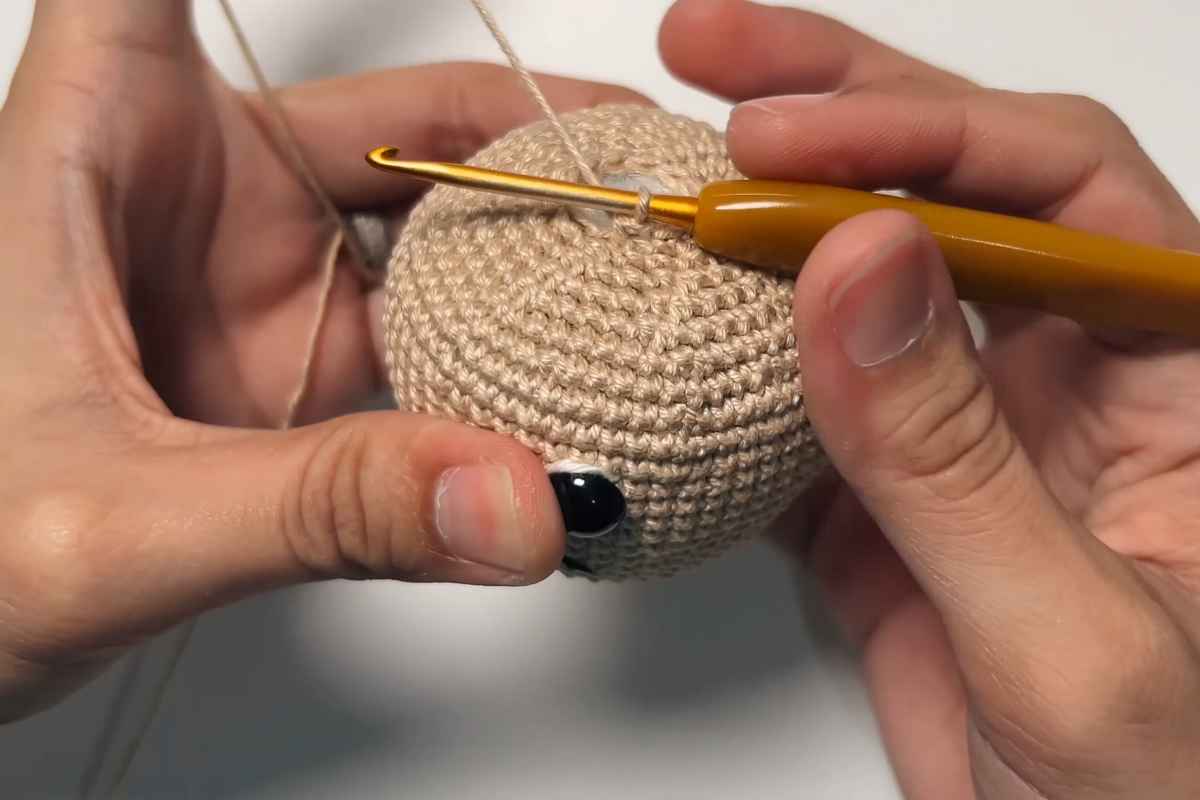
- Start with a magic ring again, and crochet 6 single crochets into the ring.
- Follow the increase method as you did with the body, gradually increasing the number of stitches to form the round shape of the head.
- Work in straight rounds once you’ve reached the desired head size, ensuring you keep the round shape by increasing evenly.
- Stuff the head lightly with fiberfill, and continue working until you are ready to close it.
Bunny Ears
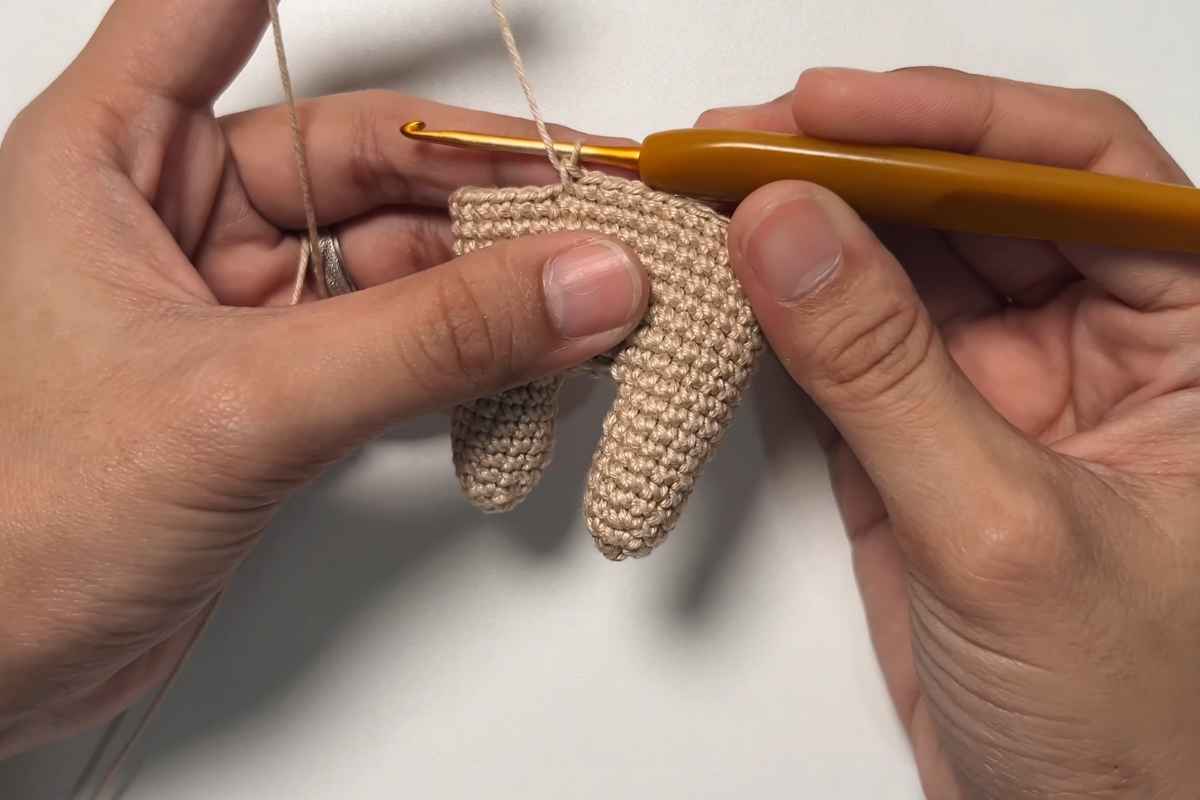
- Create two ear pieces by starting with a chain of 6 stitches.
- Work along the chain using single crochets, increasing slightly in the middle to create the ear shape.
- Finish off by folding the ears in half and stitching them into place on top of the bunny's head.
The ears can be adjusted in size depending on your personal preference for how large or small you want them to be. For a realistic touch, you can even add a little pink yarn to the center of each ear to make them stand out.
Making the Crochet Overall Jumper
The overall jumper is what truly adds charm to your bunny rabbit. This is where you can get creative with colors and design.
- Creating the Jumper: Start by measuring around the body of your bunny to determine how wide and long the jumper should be. Create a chain that fits snugly around the body.
- Work in Rows: Once the foundation chain is made, work in rows to create the overall's front and back. Make sure to leave enough space for armholes.
- Straps and Waistband: For the straps, crochet two long pieces of chain and then attach them to the front and back of the overall. These straps will help keep the jumper in place.
- Adding Decorative Touches: Once the overall is completed, you can add tiny details such as buttons or embroidered flowers for extra flair. These little touches bring your bunny's outfit to life.
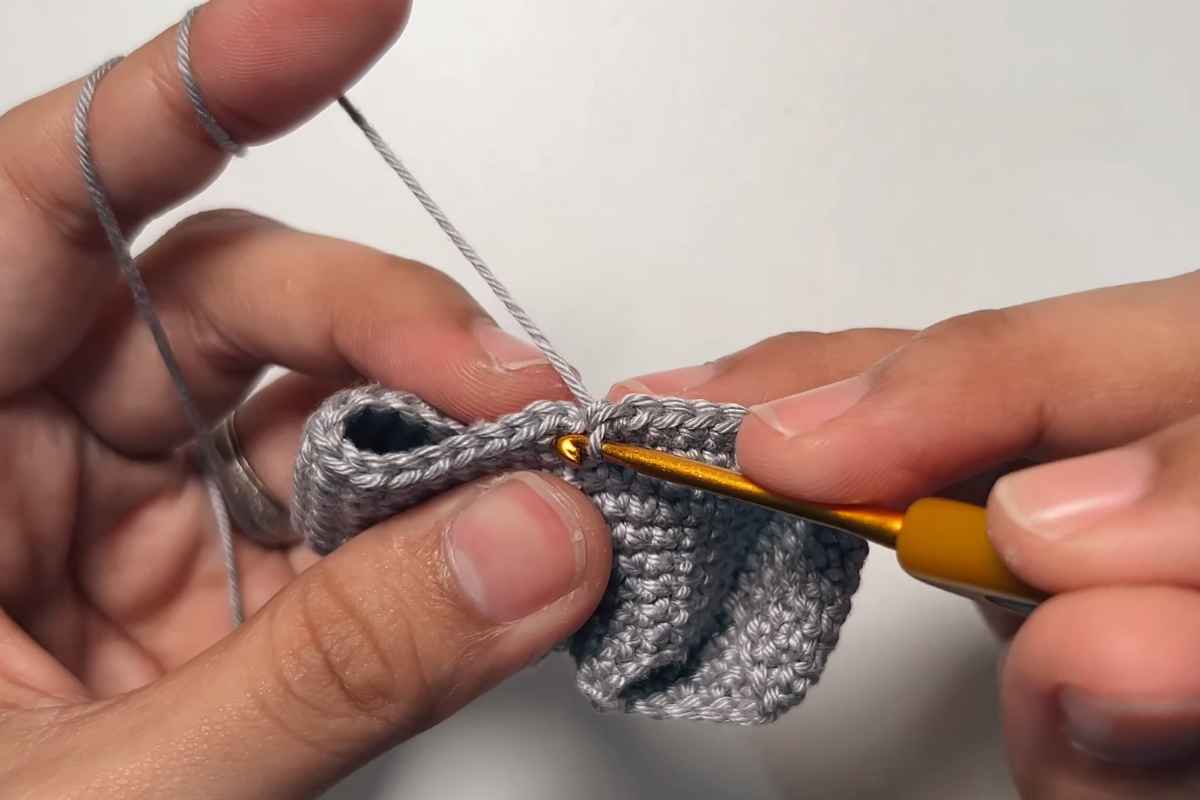
Attaching the Pieces Together
Once all the components of your crochet bunny rabbit are complete, it’s time to assemble them.
- Sew the Head to the Body: Use a tapestry needle to sew the head securely to the top of the bunny’s body. Be sure to position it at the center so that it remains stable.
- Attach the Ears: Stitch the ears to the top of the head. Ensure they’re evenly spaced to give the bunny a balanced look.
- Dress the Bunny in the Overall Jumper: Carefully place the jumper over the body and use the tapestry needle to sew it in place. If you made a button or closure, make sure it's securely fastened.
- Add Safety Eyes (Optional): Attach the safety eyes to the bunny’s face at this point, or if you prefer, crochet eyes and stitch them in place.
Final Touches
The final touches are what will make your bunny truly special. You can create a tiny pom-pom tail for your bunny, or even crochet a small carrot as a fun accessory.
Whether you choose to keep the design simple or add a few extra embellishments, this bunny will surely steal the show.
Your Next Favorite Crochet Project
Creating a crochet bunny rabbit with an overall jumper is a rewarding and fun project that allows you to bring an adorable character to life with your crochet skills.
Whether you're making it as a gift, a decor piece, or simply for your own enjoyment, this little bunny will certainly capture hearts. With soft yarn, some creativity, and a little patience, you’ll have a charming bunny rabbit ready for display in no time. Happy crocheting!
Images and patterns courtesy of Crochet with Maika
Enjoy The Video Tutorial
Source: Crochet with Maika
More crochet projects for you