
Create a Whimsical Woodland Owl: Amigurumi Crochet Instructions

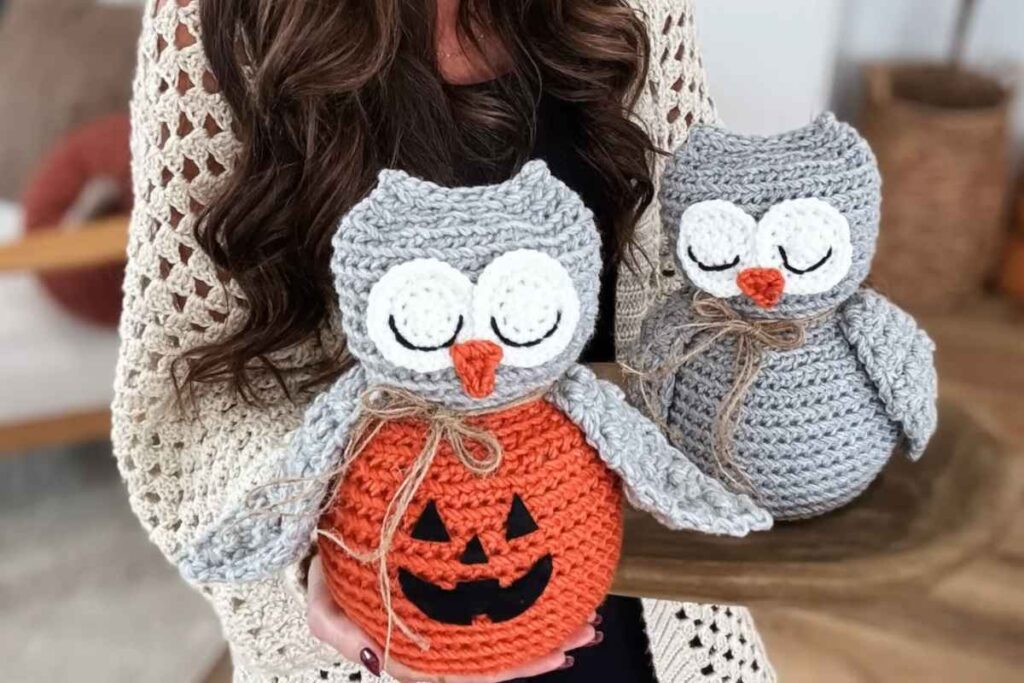
Crocheting an amigurumi woodland owl is a delightful and rewarding project, perfect for all skill levels. Whether you're a beginner or an experienced crocheter, this charming owl will be a fun and relaxing project to complete.
With its earthy colors and adorable features, the woodland owl makes a perfect gift, decoration, or addition to any crochet collection. In this guide, we'll walk you through each step, ensuring that your owl turns out looking as magical as the forest it represents!
Materials You’ll Need
Before starting, make sure you have all the materials you’ll need to crochet your woodland owl. Here’s a list of essentials:
- Yarn: Use soft, medium-weight yarn in a variety of earthy tones. You'll need brown, beige, white, and black for the body, eyes, and beak. Optional: yellow or orange for accent pieces.
- Crochet Hook: A 3.5mm (E) crochet hook is a great choice for this project.
- Safety Eyes: Two 12mm black safety eyes will give your owl a bright, expressive look.
- Polyester Fiberfill: For stuffing the owl and giving it a cuddly, plush feel.
- Yarn Needle: To sew parts of your owl together and weave in the yarn ends.
- Stitch Marker: To keep track of the rounds.
- Scissors: For trimming your yarn.
Refill Your Creative Cup
Feeling stuck or out of ideas? Let us bring the spark back to your hook. Our weekly emails deliver patterns, tips, and inspiration to keep your creativity blooming.
😍 Bring Your Crochet Mojo Back – Sign Up Now! Click on the image 👆🏼
Make sure to gather everything before you start for a smooth crafting experience!
Step-by-Step Instructions
1. Starting the Owl's Body
To create the body of your owl, we will start with a magic ring.
- Create a magic ring and crochet 6 single crochets (sc) into the ring.
- Tighten the ring to close it.
At this point, you should have a small, circular base for the owl's body. The magic ring is great for tight, seamless beginnings.
2. Shaping the Body
Now it’s time to build up the body. We will gradually increase the stitch count to create a rounded shape.
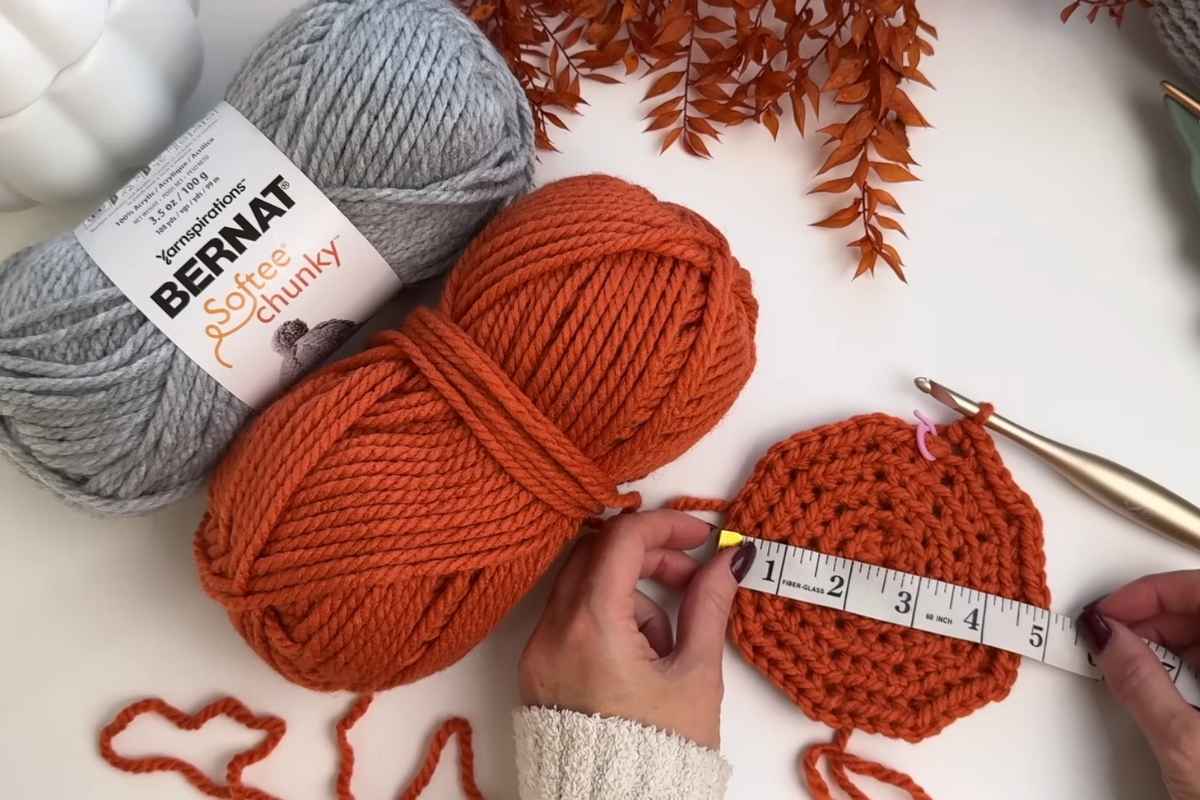
- Round 1: Crochet 2 single crochets (sc) into each stitch around. (12 stitches total)
- Round 2: In each stitch, crochet 1 sc, then 2 sc in the next stitch. Repeat this until you complete the round. (18 stitches total)
- Round 3: Crochet 2 sc, then 2 sc in the next stitch. Repeat this for the whole round. (24 stitches total)
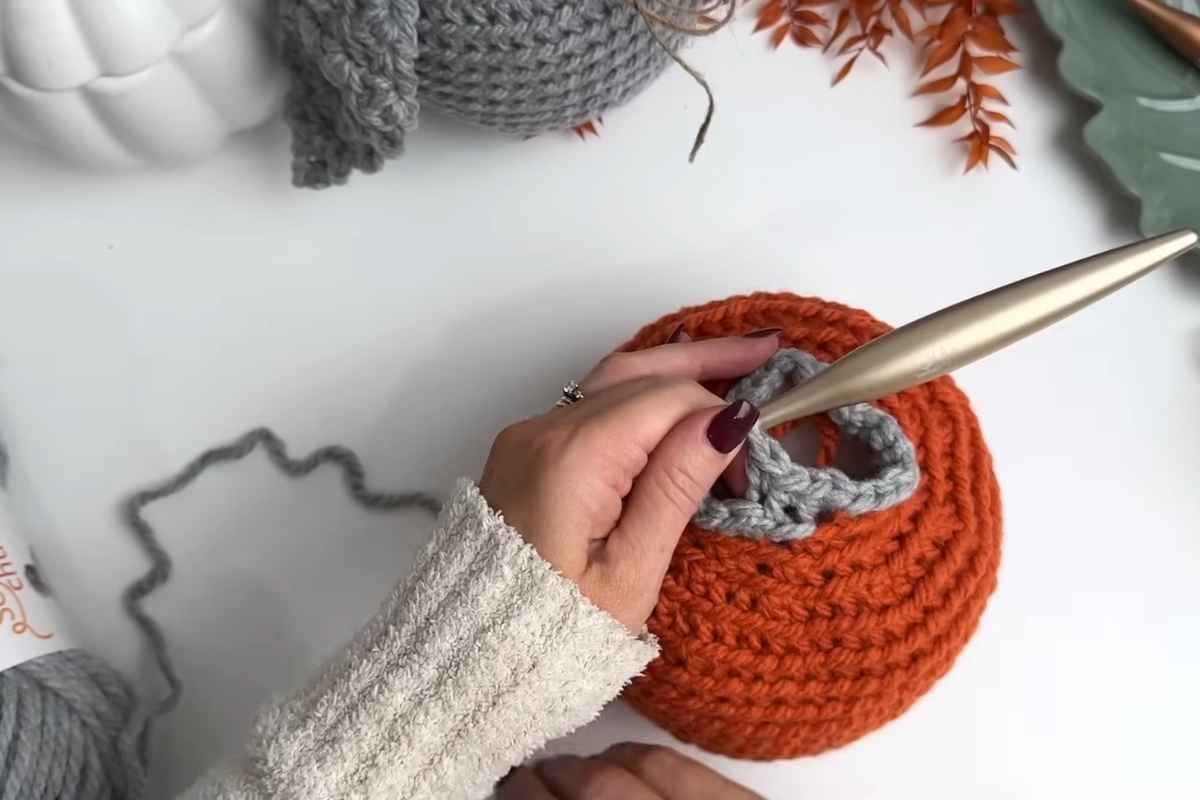
- Continue increasing in this pattern until the body reaches the desired size, typically about 4-5 rounds.
The owl’s body should have a nice, even round shape. Be sure to mark your rounds with a stitch marker to keep track.
3. Creating the Head
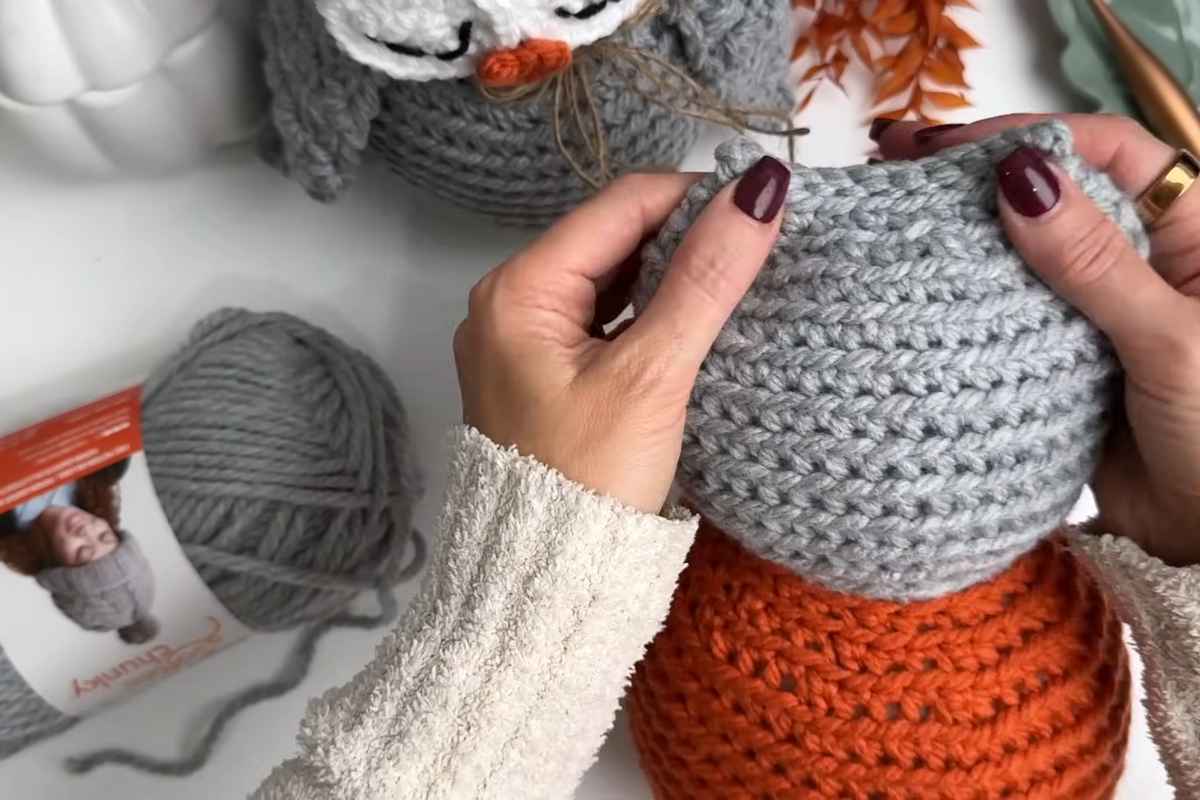
Once the body is finished, it's time to shape the owl’s head. The head should be slightly smaller than the body to give it a rounded look.
- Round 1: Crochet 2 single crochets in each stitch around (12 stitches total).
- Round 2: Crochet 1 sc, then 2 sc in the next stitch. Repeat. (18 stitches total)
- Round 3: Crochet 2 sc, then 2 sc in the next stitch. Repeat. (24 stitches total)
You’ll gradually reduce the number of increases in the rounds to start narrowing the shape. As you approach the top of the head, reduce the stitches in each round to finish the head.
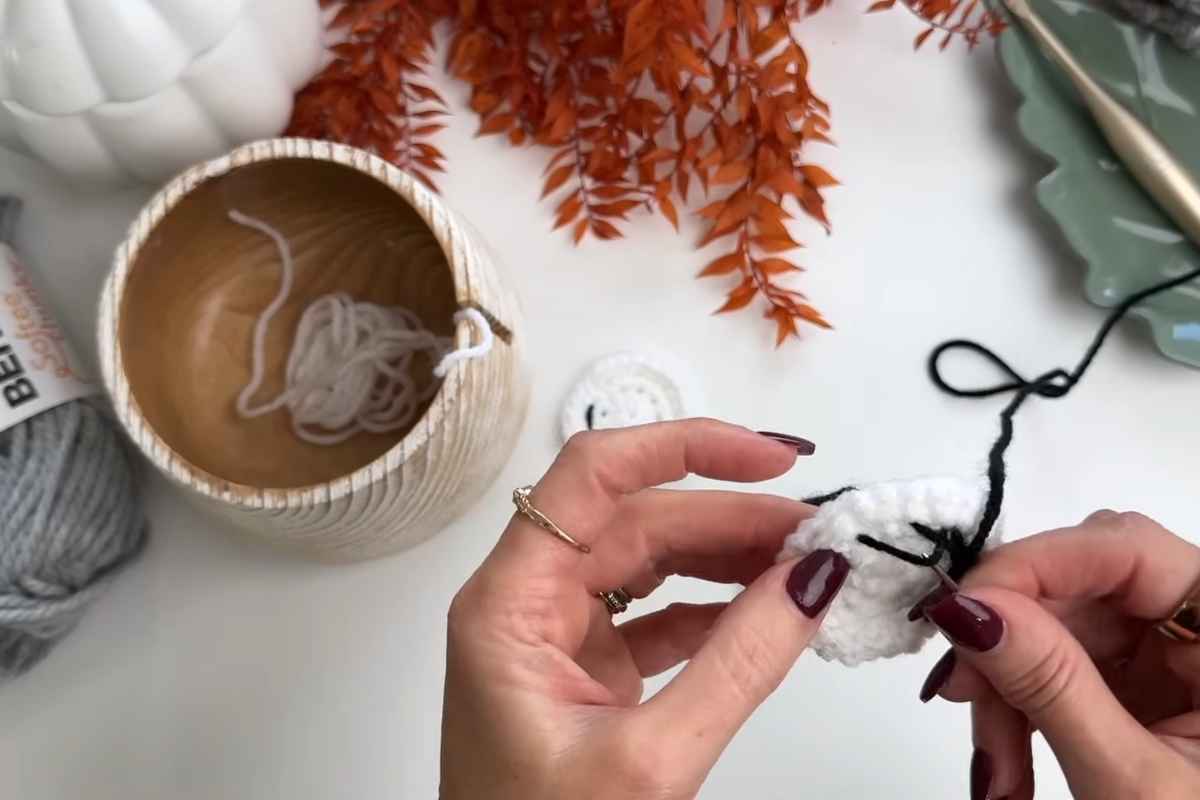
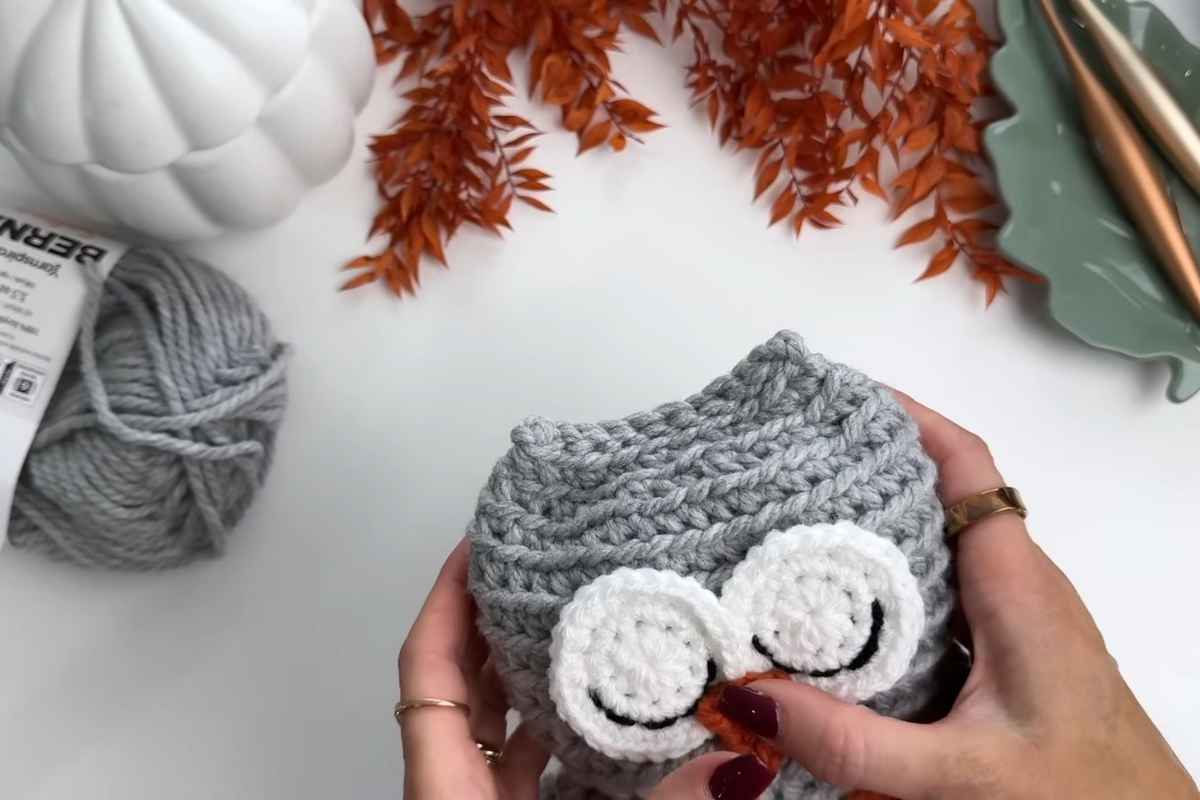
4. Crafting the Eyes
The eyes are one of the most charming features of your woodland owl. To create the eyes:
- Create 2 small circles using black yarn. These circles will serve as the base for the safety eyes.
- Attach the safety eyes to the center of each circle.
- Sew the eyes securely onto the face of the owl, making sure they are evenly spaced to give your owl a cute, alert look.
5. Creating the Beak
For the beak, you'll need a small, triangular shape. You can make the beak using orange, yellow, or even brown yarn to complement the body color.
- Crochet a triangle by increasing the number of stitches on each side and then decreasing to a sharp point.
- Attach the beak to the center of the owl’s face, right below the eyes.
6. Making the Wings
To give your woodland owl its majestic wings, crochet two oval shapes using a different color (brown, beige, or light gray works well for the wings).
- Crochet 2 oval-shaped wings: Start with a small chain, then turn and work in rows of half double crochets (hdc) or single crochets.
- Once the wings are complete, sew them to each side of the owl’s body, making sure they are evenly placed for balance.
7. Adding the Feet
The owl’s little feet are the perfect finishing touch!
- Crochet 2 small feet using the same color as the wings or a contrasting one.
- Attach the feet at the bottom of the owl's body.
These little feet will help your owl stand tall and make it even more adorable.
8. Stuffing and Final Touches
Now that all the body parts are assembled, it's time to stuff your owl. Carefully stuff the body and head with polyester fiberfill, making sure it’s firm but not overstuffed.
- Sew in all loose ends using your yarn needle. This will ensure your owl’s body parts stay in place and the project looks tidy.
- Add any personal touches such as tiny feathers or additional accessories, like a scarf or a hat, to make your owl even more unique.
Helpful Tips for Success
- Consistent Tension: Keeping your tension even throughout will help the stitches look neat and uniform.
- Use Stitch Markers: To keep track of your rounds, especially as the body and head shape becomes more complex.
- Experiment with Colors: While traditional woodland colors like brown, beige, and gray work well, feel free to get creative with your color choices for the owl’s feathers or accessories.
- Keep It Soft: Be sure not to overstuff the owl, as this can make it look too rigid. A soft, plump owl looks more natural and cute.
Personalize Your Owl
Once you've mastered the basic design of the woodland owl, feel free to get creative and personalize your amigurumi owl. Here are some ideas:
- Different Colors: Add splashes of color to the wings or body for a more unique look.
- Decorative Elements: Crochet small accessories like tiny mushrooms or flowers to decorate the owl’s surroundings.
- Other Animals: Consider turning the owl into a little family with owlets or other woodland creatures like squirrels and foxes.
Your Woodland Owl is Ready to Go!
Crocheting an amigurumi woodland owl is a fun, creative project that lets you bring a bit of nature into your home. From the simple body construction to the charming wings and eyes, every step is rewarding.
Whether you're giving this owl as a gift or keeping it for yourself, it will surely add a cozy, whimsical touch to any space. Happy crocheting, and enjoy the process of making your woodland owl come to life!
Images and patterns courtesy of MJ's Off The Hook Designs
Enjoy The Video Tutorial

Source: MJ's Off The Hook Designs
More crochet projects for you