
Create Cozy Charm with Classic Crochet Christmas Stockings


If you’ve been wanting to make a timeless Christmas stocking that actually looks “store-bought” (but better), this classic crochet stocking is a great place to start. The shape is traditional, the stitches are approachable, and you can easily customize the size and finishing details.
In this tutorial, you’ll see how to build the stocking from start to finish, with helpful guidance for beginners and anyone who wants a clean, classic holiday look.
How a Classic Crochet Stocking Is Built (and Why It’s Beginner-Friendly)
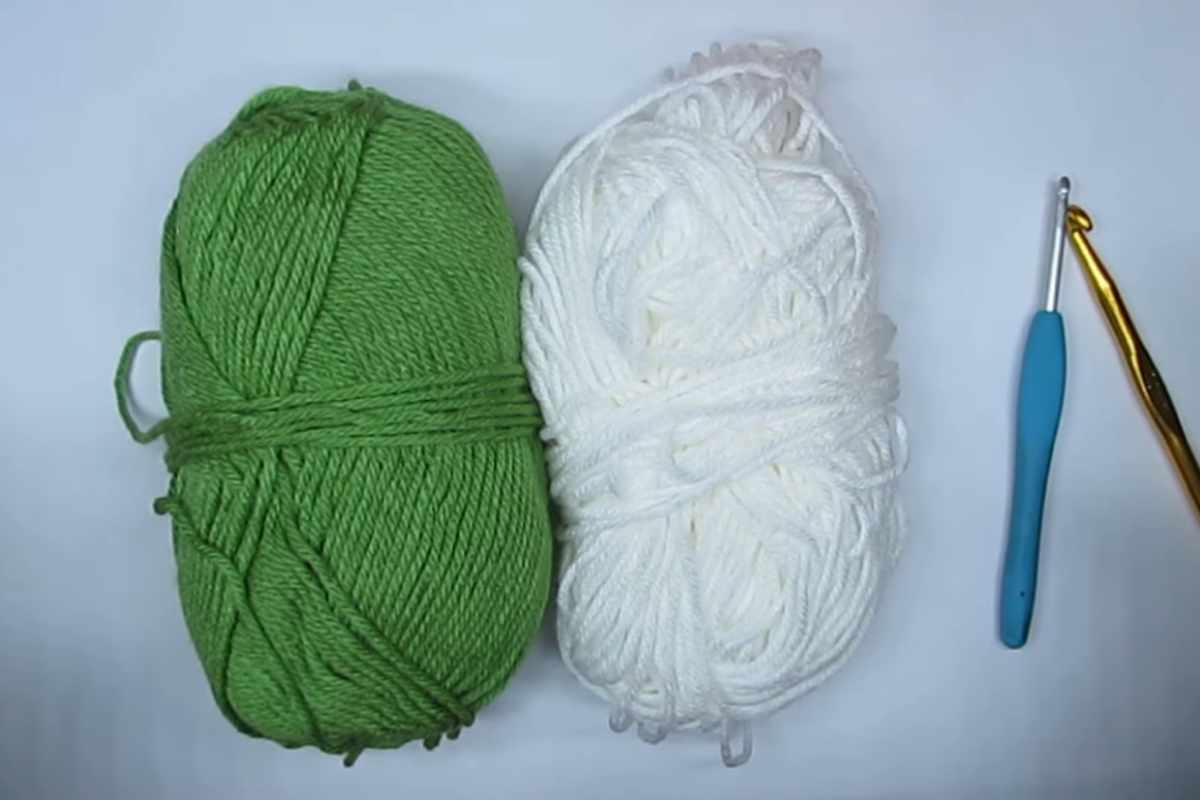
Most traditional crochet stockings follow a simple structure: a cuff, a leg, a shaped heel, a foot, and a toe that closes neatly at the end. Once you understand those sections, the whole project feels much less intimidating—even if you’ve never made wearable-style shaping before.
Refill Your Creative Cup
Feeling stuck or out of ideas? Let us bring the spark back to your hook. Our weekly emails deliver patterns, tips, and inspiration to keep your creativity blooming.
😍 Bring Your Crochet Mojo Back – Sign Up Now! Click on the image 👆🏼
In the video, you’ll see how to keep your edges tidy, maintain an even stitch count, and work the shaping so the stocking lays nicely. If you’re new to stockings, pay extra attention to the transitions (like leg-to-heel and foot-to-toe)—those are the spots where small counting mistakes can throw off the fit.
One of the best things about a classic crochet Christmas stocking is how easy it is to personalize. You can adjust the cuff height, change colors for stripes, or add a simple loop for hanging—without changing the basic construction.
Classic Crochet Christmas Stocking Video Tutorial (Beginners)
Follow along with the step-by-step instructions in the video here:

Source: Hopeful Turns
Finishing Tips for a Neat, Gift-Ready Stocking
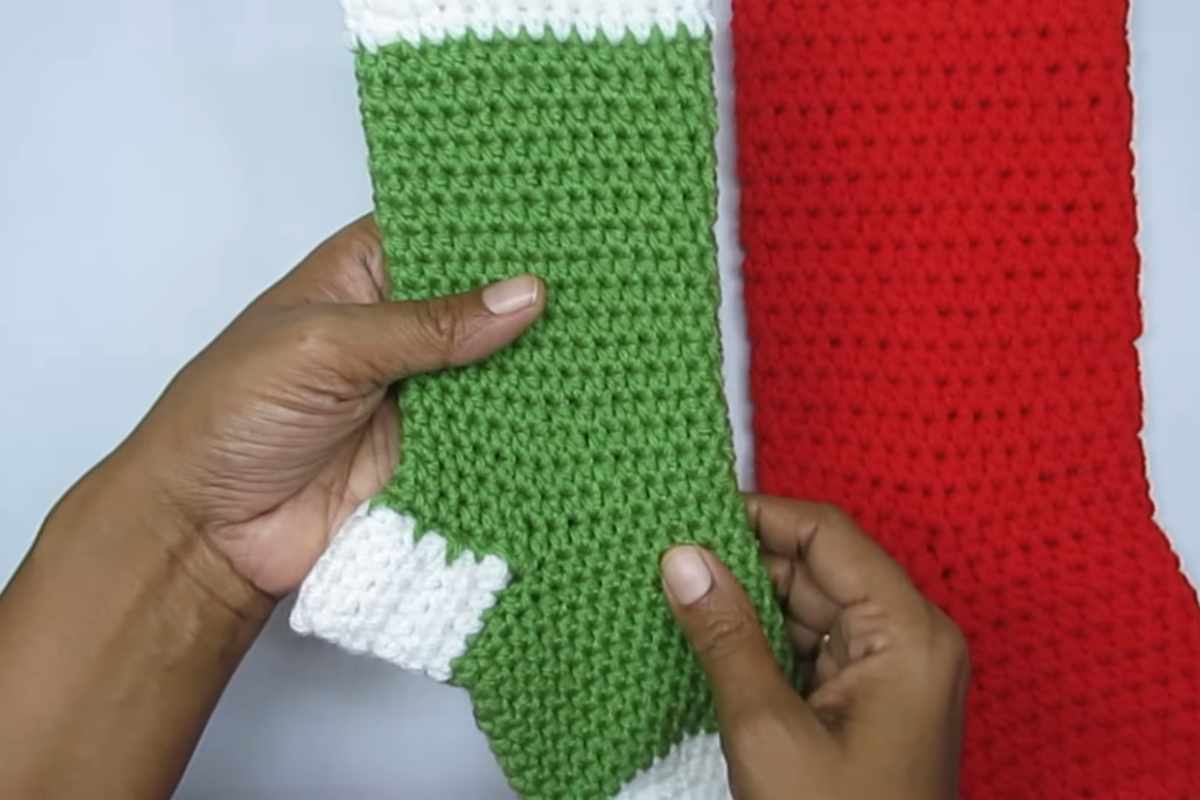
Images and patterns courtesy of Hopeful Turns
To make your stocking look polished, take a moment at the end to focus on finishing. In general, you’ll get the best results when you weave in ends securely, smooth out your shaping, and add a sturdy hanging loop (so it doesn’t stretch out after a season on the mantel).
If your stocking looks slightly wavy or uneven at first, don’t panic—many crochet projects settle once the finishing is done. The video will help you spot where to tighten up your stitch consistency and how to get a clean final outline.
Happy crocheting—and I hope this stocking becomes part of your holiday traditions!
— Maggie
More crochet projects for you