
Crochet Your Own Silly Goose with a Long Neck


Are you looking for a delightful and unique crochet project? The Silly Goose with a Long Neck is an adorable creation that makes for a perfect present or a charming keychain.
In this article, we’ll guide you through the steps of crafting this quirky goose and share a video tutorial by the talented Hobbi CROCHET. Let's embark on this fun crochet journey together!
Why Crochet a Silly Goose?
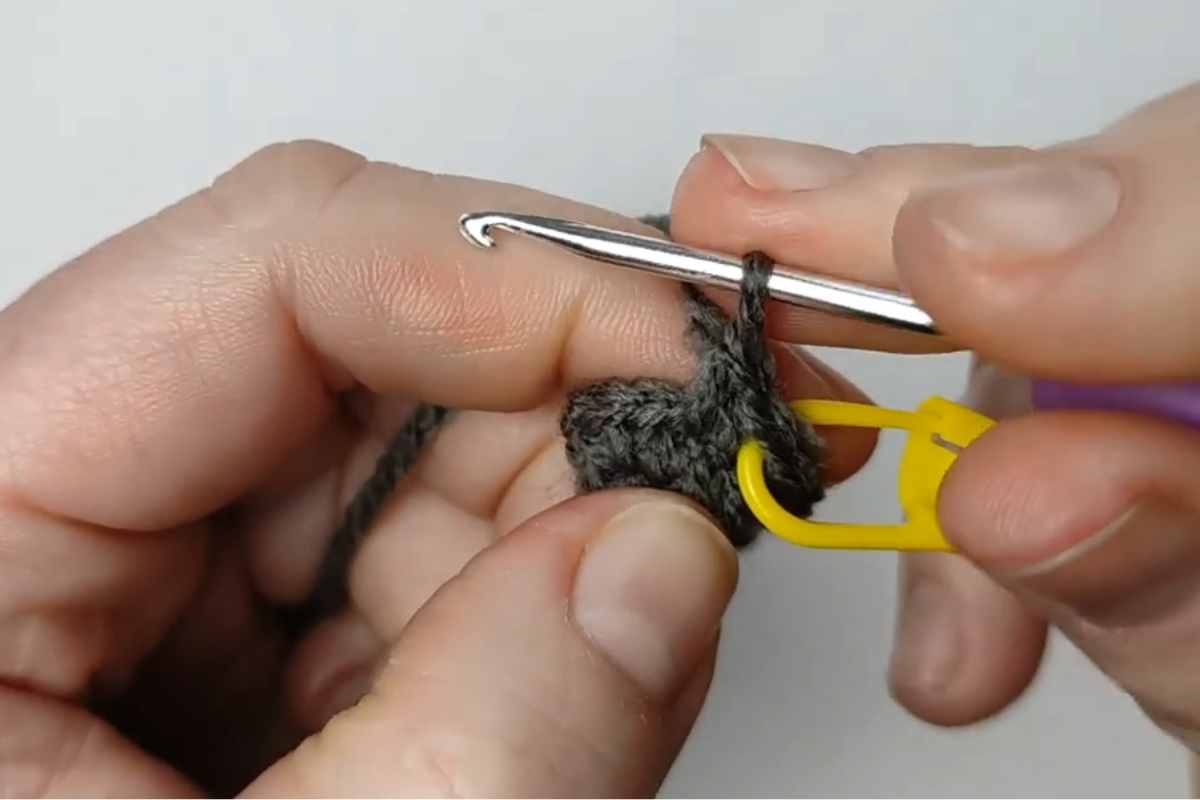
Creating a crochet silly goose is not only enjoyable but also rewarding. This little goose is perfect for gifting, whether it's a fun addition to a friend’s keychain or a whimsical decoration.
The long neck and playful design make it a standout piece, ensuring that it brings smiles wherever it goes.
Refill Your Creative Cup
Feeling stuck or out of ideas? Let us bring the spark back to your hook. Our weekly emails deliver patterns, tips, and inspiration to keep your creativity blooming.
😍 Bring Your Crochet Mojo Back – Sign Up Now! Click on the image 👆🏼
Perfect Gift Idea
The crochet silly goose is an excellent choice for a unique gift. Handmade presents always carry a special meaning, and this goofy goose is no exception.
It’s ideal for birthdays, holidays, or just because. Plus, it’s small enough to be used as a keychain, adding a touch of handmade charm to everyday items.
Getting Started with the Silly Goose
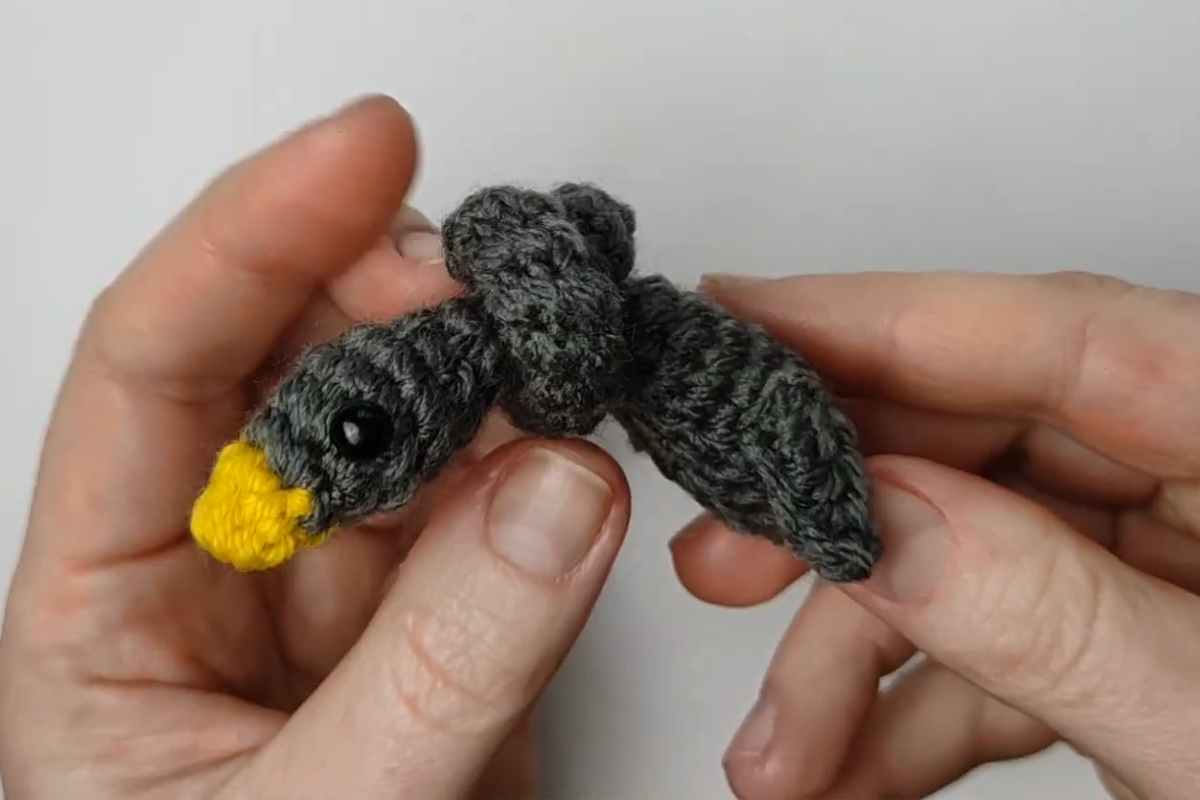
Images and patterns courtesy of Hobbi CROCHET
The first step in making a crochet silly goose is to follow the pattern for each part of the goose. This includes the body, neck, beak, and feet.
Hobbi CROCHET’s video tutorial is an excellent resource for visual learners, providing clear, step-by-step instructions to help you through the entire process.
Crafting the Goose
The crochet silly goose involves creating several small pieces that are then sewn together. This modular approach makes it easier to manage and ensures each part is crafted with care.
The pattern includes instructions for the goose’s long neck, which gives it its distinctive and playful look.
Adding the Final Touches
Once your goose is complete, it’s time to add the final touches. Use a yarn needle to weave in any loose ends and ensure all parts are securely attached. Adding the eyes and any other facial features will bring your goose to life.
You can use safety eyes for a polished look or simply embroider the eyes with black yarn.
Watch the Video Tutorial
For a detailed, step-by-step guide, be sure to check out the video tutorial by Hobbi CROCHET. This video is an invaluable resource that will make the process even easier and more enjoyable.

Source: Hobbi CROCHET
More crochet projects for you