
DIY Crochet Sun Hat: A Stylish and Practical Summer Accessory

Crocheting your own sun hat can be a fun and rewarding project, especially when you’re looking to create something stylish and practical for the summer. This easy crochet sun hat is perfect for beginners and experienced crocheters alike.
Whether you’re heading to the beach or just enjoying a sunny day in your garden, a handmade sun hat is the perfect accessory to protect your face from the sun while adding a personal touch to your outfit.
In this step-by-step guide, we’ll walk you through the process of creating a crochet sun hat in adult size, including tips and tricks for the best results.
Materials Needed for Your Crochet Sun Hat
Before we dive into the tutorial, let’s gather the materials you’ll need for this project. Here’s a simple list of what you’ll need to get started:
- Yarn: Choose a medium-weight yarn (worsted weight) that is breathable and suitable for sunny weather. Cotton yarn is a great choice for its lightness and comfort.
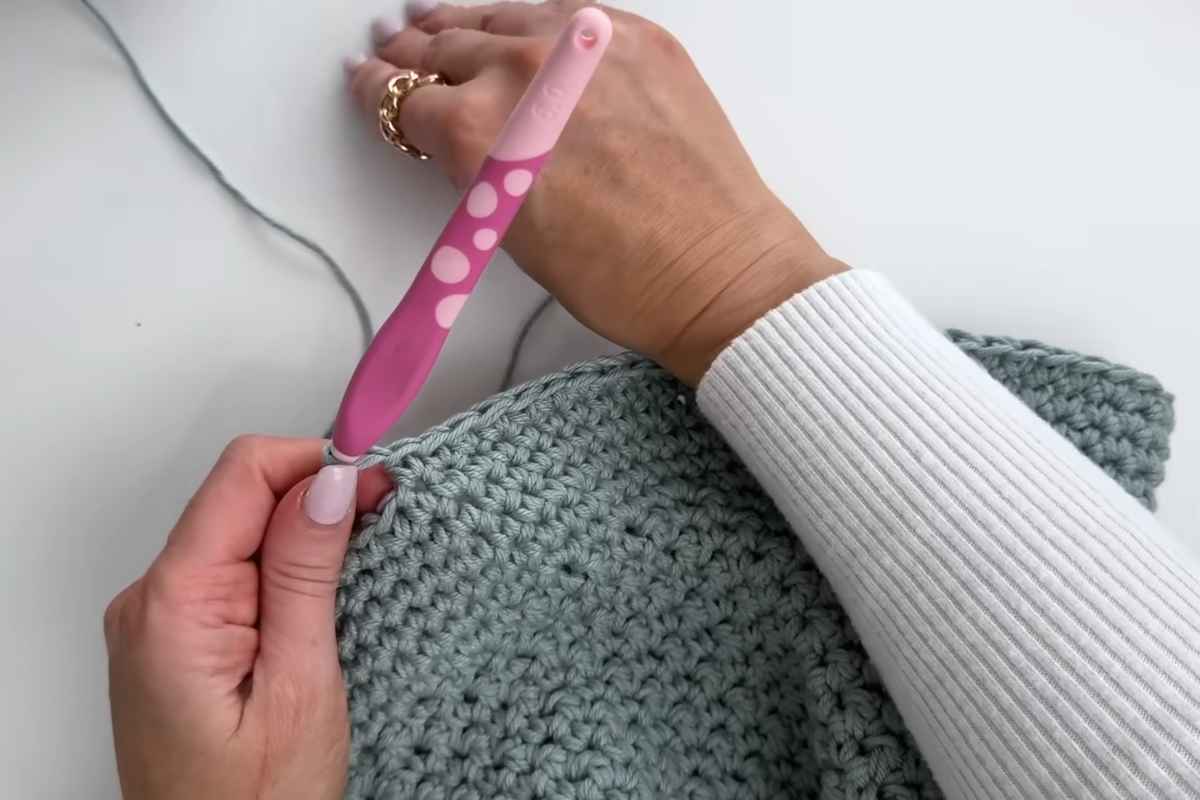
- Crochet Hook: A 4.5mm (G-6) crochet hook works well with worsted weight yarn. If you’re using a different weight yarn, make sure to adjust your hook size accordingly.
- Stitch Marker: To mark the beginning of each round.
- Scissors and Yarn Needle: To cut and weave in your yarn ends when you finish.
- Measuring Tape: To ensure the hat fits your head comfortably.
With these supplies in hand, you’re ready to start crocheting your new sun hat!
Instructions to Create your Crochet Piece
Step 1: Creating the Hat Band
Start by making a slip knot with your yarn and chain 4 stitches. Then, join the first chain to the last chain with a slip stitch to form a ring. This small ring will serve as the base for the hat’s band.
Now, you’ll begin crocheting in the round. Work single crochet stitches around the ring until you reach the desired length for the band of your hat.
Typically, for adult-sized heads, a band length of about 20-22 inches works well, but feel free to adjust the length based on your measurements.
Tip:
If you’re looking for a more structured band, you can incorporate a few rounds of half double crochet or double crochet stitches to add more texture and sturdiness.

Step 2: Shaping the Brim
Once you’ve completed the hat band, it’s time to begin shaping the brim. Start by crocheting in the round and increasing stitches to create a wider, flared shape.
- Round 1: Begin by making 1 single crochet into each stitch around.
- Round 2: In this round, you’ll start increasing. For every 2nd stitch, make 2 single crochet stitches. This increases the width of the brim.
- Round 3: Continue to increase by working 2 single crochet stitches into every 3rd stitch.
- Round 4 and beyond: Continue this pattern, increasing every 4th, then every 5th stitch, and so on, until the brim reaches your desired width. Typically, a 4-inch brim is ideal, but feel free to adjust based on your style.
Tip:
Keep track of your increases with a stitch marker to ensure your brim stays symmetrical. The wider you want the brim, the more rounds of increases you’ll need.
Step 3: Creating the Hat’s Top
Once your brim is the perfect width, it’s time to shift focus to the top of the hat. You’ll need to reduce the number of stitches to create a flat top.
- Round 1: Work a single crochet stitch in each stitch around. This helps to create a smooth transition from the brim to the top of the hat.
- Round 2 and beyond: To shape the top, decrease your stitches by working 2 single crochet stitches together in each stitch. Do this until you’ve worked all the way around.
Continue decreasing as needed, depending on your head size. When the hat top is small enough to fit snugly, fasten off your yarn and cut the end, leaving a few inches for weaving in.

Step 4: Adding the Finishing Touches
Now that your hat is nearly finished, you’ll want to weave in any loose ends from your yarn and adjust the shape as needed.
- Use your yarn needle to weave in the loose yarn ends on the inside of the hat.
- If you want a more polished look, you can add a decorative ribbon, flower, or pom-pom to the band of the hat to give it a personal touch.
Step 5: Try It On and Adjust
Finally, the most exciting step—try on your new crochet sun hat! If it feels too tight or too loose, don’t worry. You can adjust the size by adding or removing a few stitches around the band or brim. Since this is a crochet project, it’s easy to make small adjustments to get the perfect fit.
Tips for Success
- Gauge: To ensure the hat fits well, check your gauge before starting the project. This helps you ensure the right size from the beginning.
- Stretchability: If you’re using a yarn that stretches a bit (like cotton), be mindful that the hat may loosen slightly over time. If this concerns you, consider adding an extra round or two to the band for a snugger fit.
- Personalize: Feel free to experiment with different yarn colors, patterns, and accessories to make the hat uniquely yours!
Enjoy Your Handmade Crochet Sun Hat
Creating your own easy crochet sun hat is a fun project that results in a beautiful, functional accessory perfect for sunny days.
By following this step-by-step guide, you’ve not only learned how to crochet a sun hat but also gained the skills to adjust it to any size or style you prefer.
This hat can be a perfect gift or a stylish addition to your summer wardrobe. Plus, you can make a matching set for the entire family!
Whether you choose to wear it for a day at the beach, a picnic in the park, or just strolling through your neighborhood, your crochet sun hat is sure to turn heads and keep you cool.
Images and patterns courtesy of MJ's Off The Hook Designs
Enjoy The Video Tutorial
Source: MJ's Off The Hook Designs
Did you find this post useful or inspiring? Save THIS PIN to your Crochet Board on Pinterest!

More crochet projects for you