
How to Crochet a Squid: A Fun Amigurumi Project


If you’ve been wanting to make a cute little sea creature, this crochet squid is such a fun project to try. In the video tutorial below, you’ll see how the squid shape comes together step by step—perfect for gifting, decorating a nursery, or adding to your amigurumi collection.
Even if you’re newer to amigurumi, you can follow along at your own pace and pause whenever you need. The result is an adorable crochet squid with that classic, rounded “amigurumi” look.
How this crochet squid amigurumi is shaped
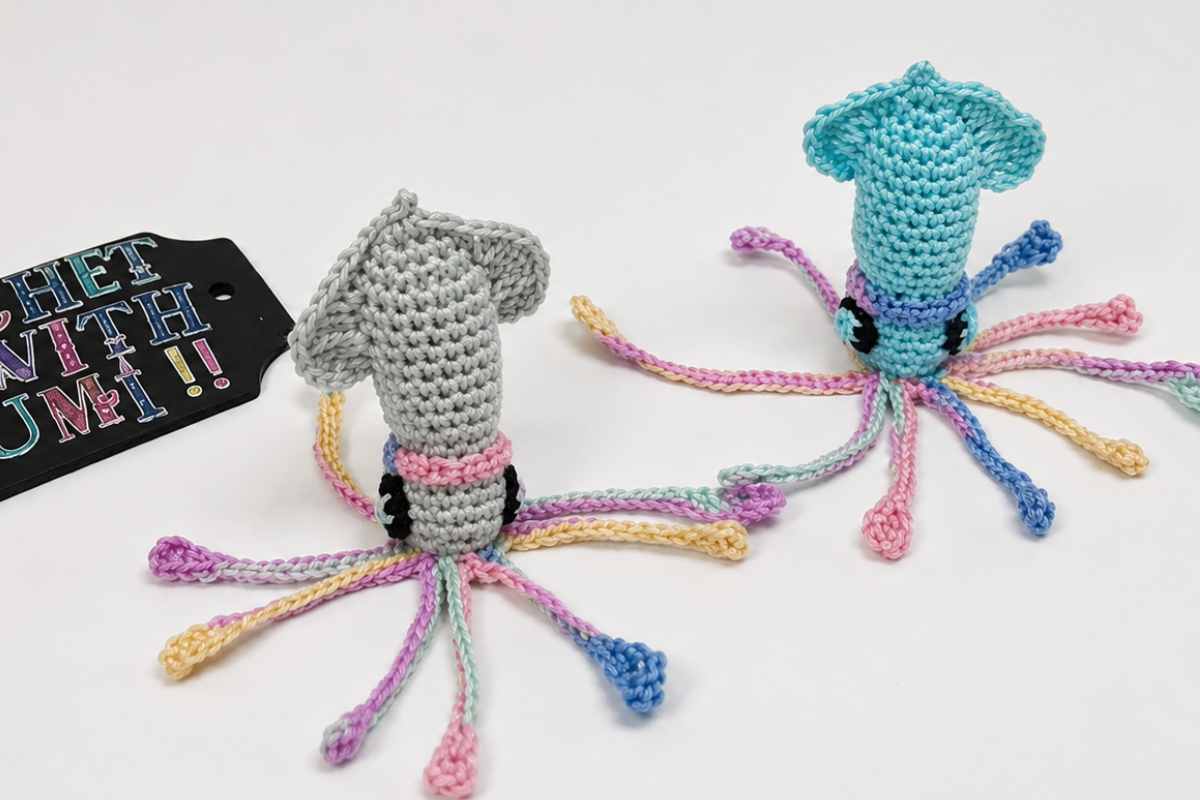
A good amigurumi squid usually starts with a smooth body shape, then adds details that give it personality—like the tentacles and a clean finish. In the video, you’ll see how to build the main squid body and how to keep the stitches looking neat as you go.
Refill Your Creative Cup
Feeling stuck or out of ideas? Let us bring the spark back to your hook. Our weekly emails deliver patterns, tips, and inspiration to keep your creativity blooming.
😍 Bring Your Crochet Mojo Back – Sign Up Now! Click on the image 👆🏼
One of the biggest keys for a polished plush is consistent tension. If your stitches feel a bit loose, try tightening slightly so stuffing won’t show through. You’ll also get a feel for where to place shaping rounds so the squid keeps a cute, balanced silhouette.
As you work, pay attention to finishing steps—small details make a big difference in amigurumi, especially when you’re attaching pieces and closing up the project.
Crochet squid video tutorial (amigurumi)

Source: Crochetwithsumi
Tips for neat tentacles and a clean amigurumi finish

Images and patterns courtesy of Etsy
Tentacles are where your crochet squid really comes to life. If yours start to look uneven, don’t worry—this is super common. Try counting carefully and keeping your stitch height consistent so the tentacles look uniform.
For assembly, take a moment to position pieces before you fully sew them on. A quick test placement helps you avoid crooked attachments and gives you that cute, centered look that makes amigurumi feel “store-bought.”
Ready to crochet along? Hit play below and save this tutorial so you can come back to it anytime you want to make another sea creature friend.
— Maggie
More crochet projects for you