
How to Crochet Teething Ring Hippo Amigurumi


If you’re looking for a sweet handmade baby gift, this crochet teething ring hippo is a practical (and adorable) option. In this tutorial, you’ll see how to crochet a teether-style ring with a cute hippo amigurumi detail on top.
Even if you’re newer to amigurumi, this is a fun way to practice shaping and stitching pieces together—while ending up with something giftable. The video walks you through the process so you can follow along at your own pace.
How a Crochet Teething Ring Toy Comes Together
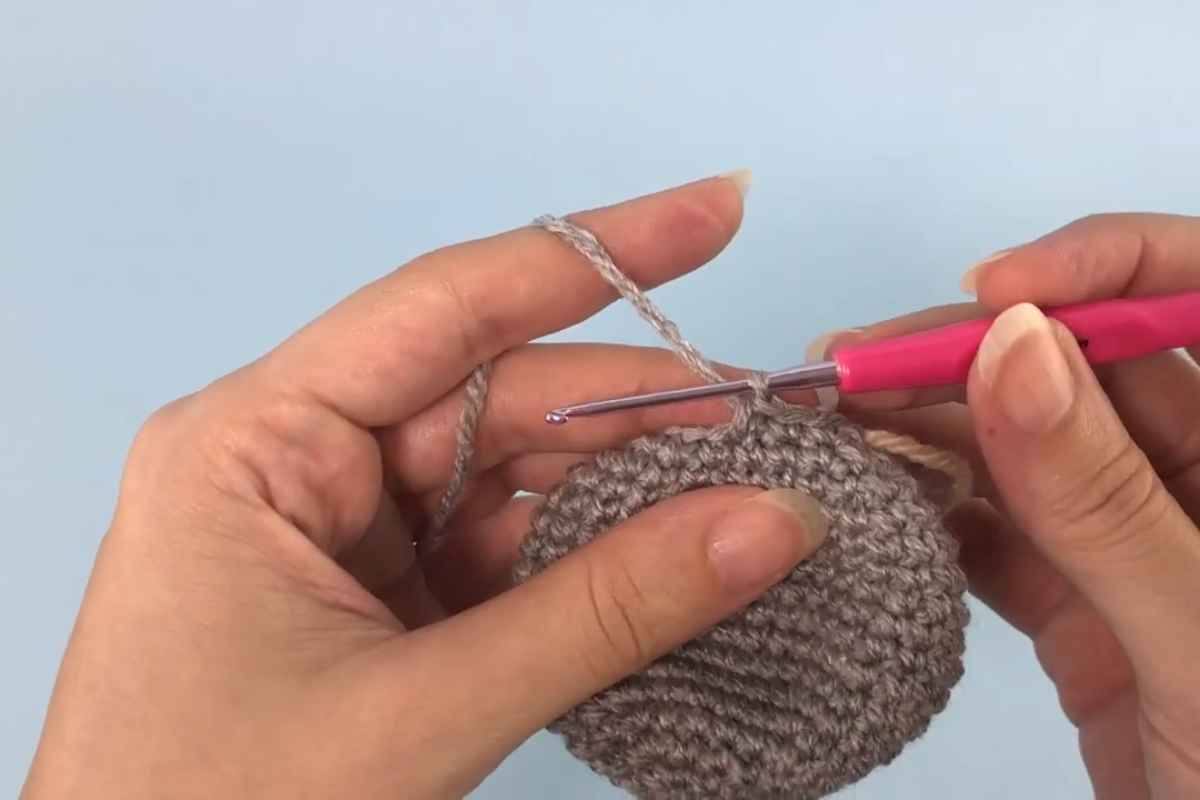
A crochet teething ring usually combines two parts: the ring base (often covered in crochet) and a small amigurumi figure that sits securely on top. In the video, you’ll see how the hippo shape is built and attached so it feels neat and finished.
Refill Your Creative Cup
Feeling stuck or out of ideas? Let us bring the spark back to your hook. Our weekly emails deliver patterns, tips, and inspiration to keep your creativity blooming.
😍 Bring Your Crochet Mojo Back – Sign Up Now! Click on the image 👆🏼
For baby crochet toys, it’s all about sturdy stitches and a secure finish. Pay attention to how the tutorial handles joining and tightening—those small steps make the final toy look polished and help it hold up better with everyday use.
You’ll also pick up helpful technique reminders along the way, like keeping your stitch tension consistent and shaping amigurumi pieces so the hippo looks smooth and even.
Crochet a Baby Teething Ring Hippo
Follow along with the tutorial here:
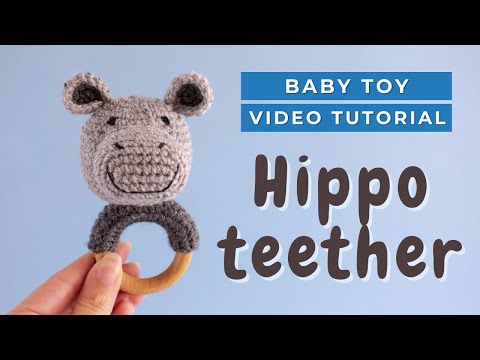
Source: Little Crochet Farm
Tips for a Neater, More Secure Baby Crochet Toy Finish
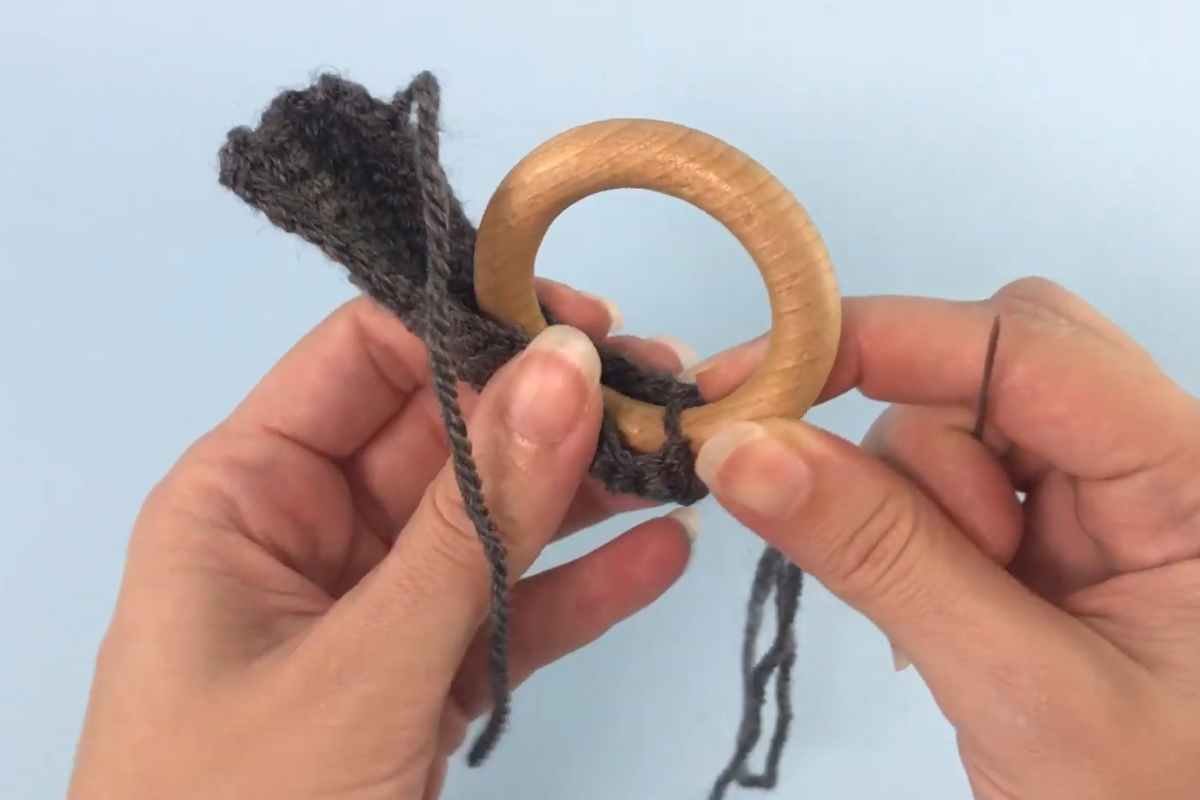
Images and patterns courtesy of Little Crochet Farm
When you’re making crochet toys for babies, the finishing details matter just as much as the crocheting. As you work through the tutorial, keep these in mind:
- Use tight, even stitches so the fabric feels firm and holds its shape.
- Take a moment to weave in ends carefully (more than once if needed) for a cleaner look.
- When attaching the hippo to the ring, aim for balanced placement so it sits straight and feels secure.
This is the kind of project you’ll want to make again once you’ve done one—perfect for baby showers, newborn photos, or a handmade gift basket.
Happy crocheting!
— Maggie
More crochet projects for you