
How to Make a Crochet Dreamcatcher

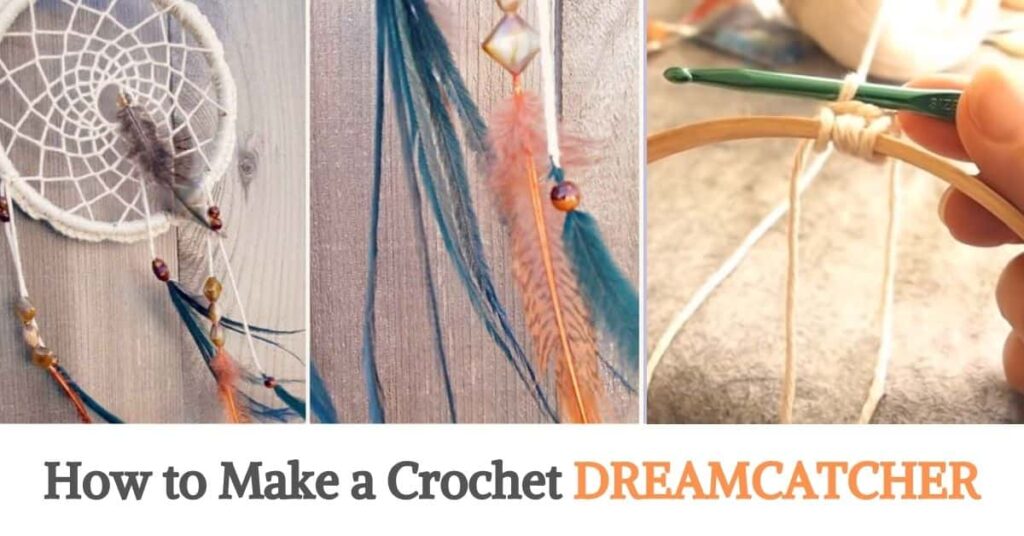
Dreamcatchers are beautiful and meaningful decorations that can add a touch of bohemian style to any room.
In this crochet tutorial, you will learn how to create your own dreamcatcher using a simple embroidery frame and some basic crochet techniques.
This project is a great way to practice your crochet skills and create a unique piece of art that reflects your personal style.
To get started, you will need an embroidery frame, some yarn, a crochet hook, and some decorative materials such as feathers, beads, and ribbons.
Refill Your Creative Cup
Feeling stuck or out of ideas? Let us bring the spark back to your hook. Our weekly emails deliver patterns, tips, and inspiration to keep your creativity blooming.
😍 Bring Your Crochet Mojo Back – Sign Up Now! Click on the image 👆🏼
You can choose any colors or materials that you like to make your dreamcatcher truly one-of-a-kind.
The first step is to wrap the embroidery frame with yarn.
A Step-by-Step Tutorial
Start by tying a knot at one end of the frame and then wrapping the yarn tightly around the frame, making sure to cover the entire surface.
Once you have wrapped the entire frame, tie another knot to secure the end of the yarn.
Next, you will create the webbing for your dreamcatcher. Begin by tying a slip knot on your crochet hook and then making a chain of about 4-5 stitches.
Slip stitch into the first chain to create a loop.
To make the webbing, you will work double crochet stitches around the loop. Start by chaining 3, which counts as your first double crochet stitch.
Then, work another double crochet stitch into the loop. Continue working double crochet stitches into the loop, spacing them evenly around the circle.
Once you have worked all the way around the loop, slip stitch into the top of the beginning chain 3 to join the round.
To create the next round of the webbing, chain 3 again and then work a double crochet stitch into the next stitch.
Continue working double crochet stitches around the circle, spacing them evenly between the stitches from the previous round.
Repeat this process, increasing the number of stitches in each round until you have created a webbing that covers the entire center of the embroidery frame.
You can create different patterns by skipping stitches or using different colors of yarn.
To finish your dreamcatcher, you can add decorative elements such as feathers, beads, and ribbons. You can attach these to the bottom of the dreamcatcher using knots or crochet stitches.
You can also create a loop at the top of the dreamcatcher to hang it on the wall.
By following this step-by-step tutorial, you can create a beautiful dreamcatcher that reflects your personal style and adds a touch of bohemian charm to any room in your home.
Enjoy The Crochet Video Tutorial

Source: tlcinspirations
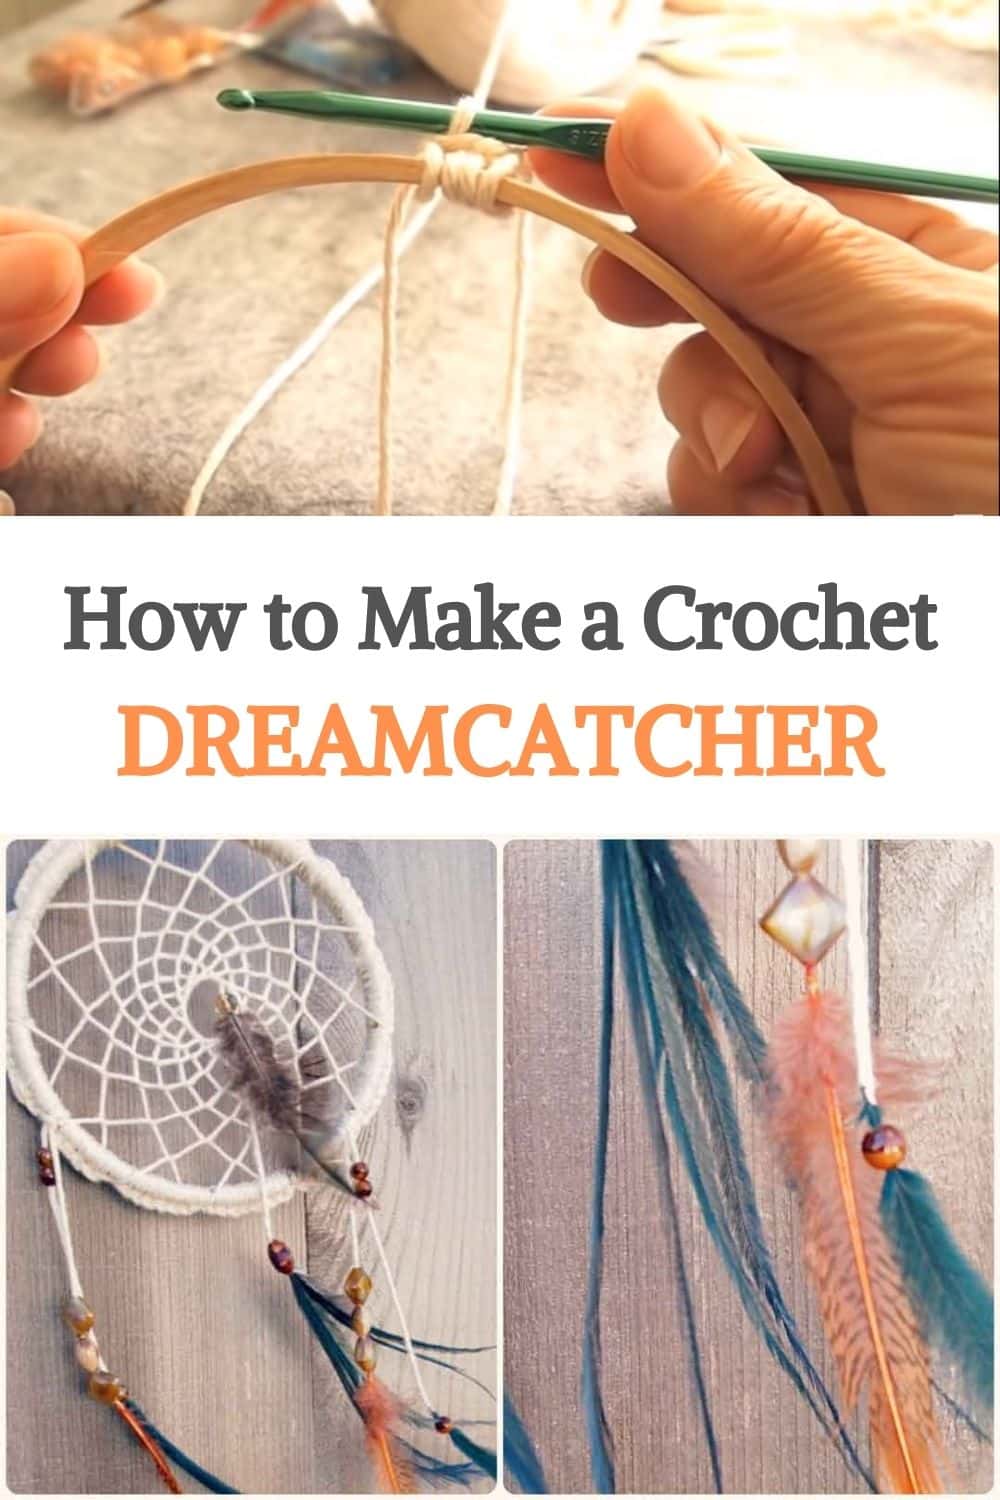
Did you find this post useful or inspiring? Save THIS PIN to your Crochet Board on Pinterest! 😊
More crochet projects for you