
How To Planting Succulents in Containers Bowls


A well-designed succulent bowl is compact, sculptural, and surprisingly low-maintenance—when you build it on the right foundations.
In this guide, we’ll focus on the decisions that matter most: the bowl you choose, the well-draining soil you use, how you place your arrangement, and the kind of watering that keeps roots healthy rather than waterlogged.
You won’t find step-by-step instructions here—just clear, practical ideas that help your succulents thrive in shallow containers.
Choosing the Right Bowl
The best bowls are wide enough to allow a pleasing composition and shallow enough to spotlight the plant shapes rather than deep soil.
Weight matters: heavier materials keep top-heavy rosettes stable and reduce the risk of tipping on shelves or console tables.
Whatever you pick, the goal is controlled moisture—succulents prefer brief access to water followed by a genuine dry-down.

Real Drainage vs. Decorative Drainage
Bowls with drainage holes are the safest option because they let excess water escape.
If you love a bowl without holes, acknowledge the trade-off: water lingers longer, and root rot becomes more likely.
Pebble “false bottoms” look tidy, but do not replace a drainage hole.
If you must go hole-less, water sparingly, tilt the bowl slightly after watering to pour off any standing water, and favor ultra-porous mixes.
Depth, Material & Finish
Terracotta breathes, allowing moisture to evaporate faster—excellent for heavy-handed waterers.
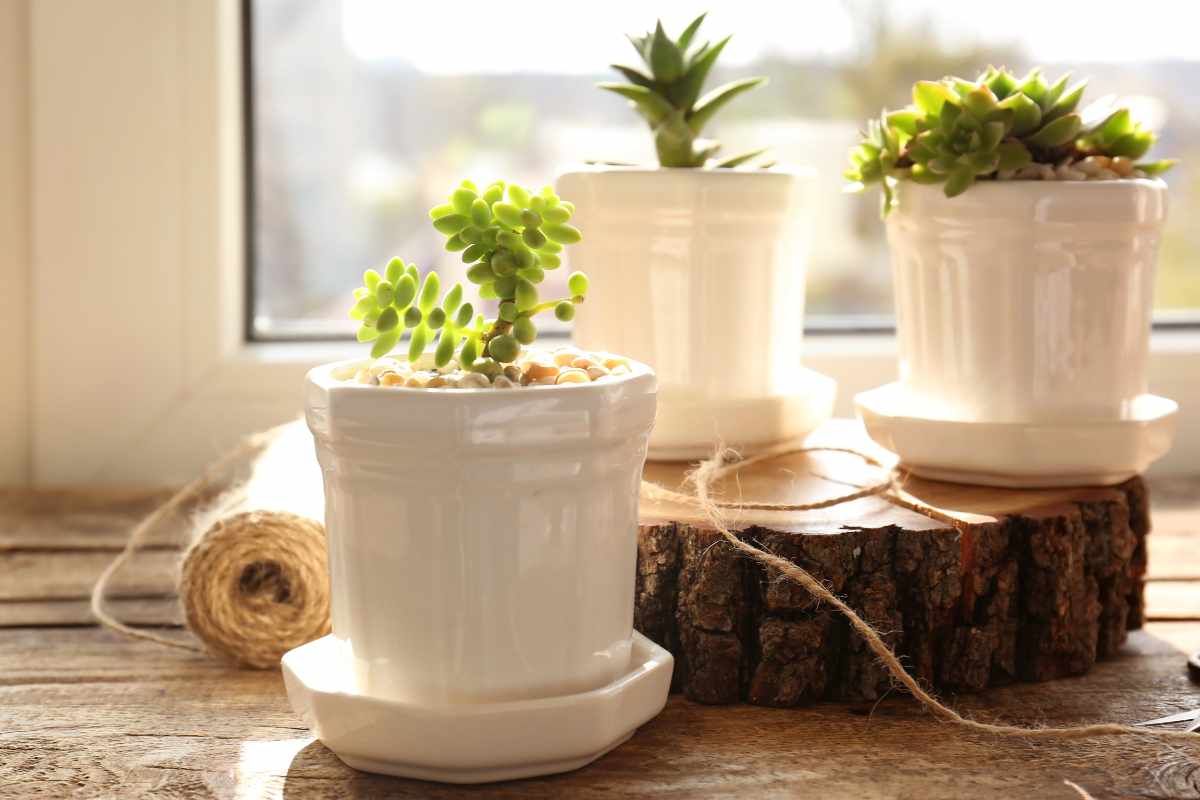
Glazed ceramic retains moisture longer and suits small, slow-drinking species.
Concrete offers a modern texture but can be alkaline; rinsing thoroughly before use helps. Metal warms quickly in the sun and cools at night—great outdoors in mild seasons, less ideal for windows that swing from hot to cold.
Soil That Actually Drains
Ordinary potting soil stays damp too long for succulents.
You want a gritty blend that feels crumbly in your hand and does not compact after a few waterings.
Commercial cactus/succulent mixes are a solid base; improve them with added mineral content so water can slip through and air can reach roots.
A Simple DIY Blend That Works
Think of it as “structure, not sponge.” Combine 2 parts cactus mix with 1 part pumice or perlite.
For extra texture, add ½ part coarse sand (horticultural grade). A pinch of horticultural charcoal helps to maintain freshness in decorative bowls.
The result is fast-draining, airy soil that supports healthy roots and clear watering rhythms.

Light & Placement Indoors
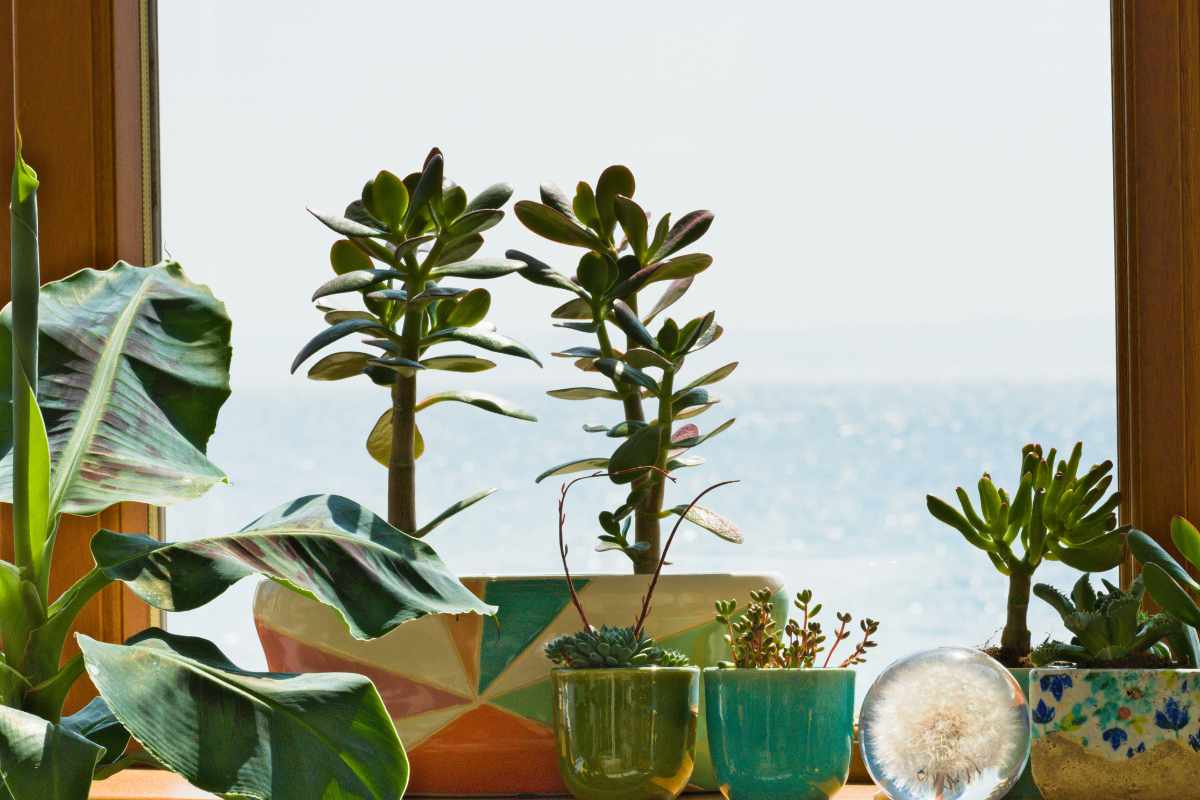
Succulents look their best in bright, indirect light—near an east- or south-facing window where they get plenty of brightness without hours of harsh, magnified midday sun.
Rotate the bowl every week or two so rosettes grow symmetrically rather than leaning toward the light.
Acclimation to Avoid Sunburn
If your plants were in dimmer light, increase brightness gradually.
Many rosette succulents can take some direct sun, but the shift should be gentle.
Pale patches or crispy tips signal too much, too soon; stretch and dull color suggest they want more light.
Airflow & Temperature
Mild airflow discourages pests and helps leaves dry after watering.
Typical indoor temperatures suit succulents well; just avoid hot radiators, cold drafts, and the tight corner where air never moves.
Watering That Prevents Rot
Succulents are desert-adapted, but they still drink—just infrequently and thoroughly.
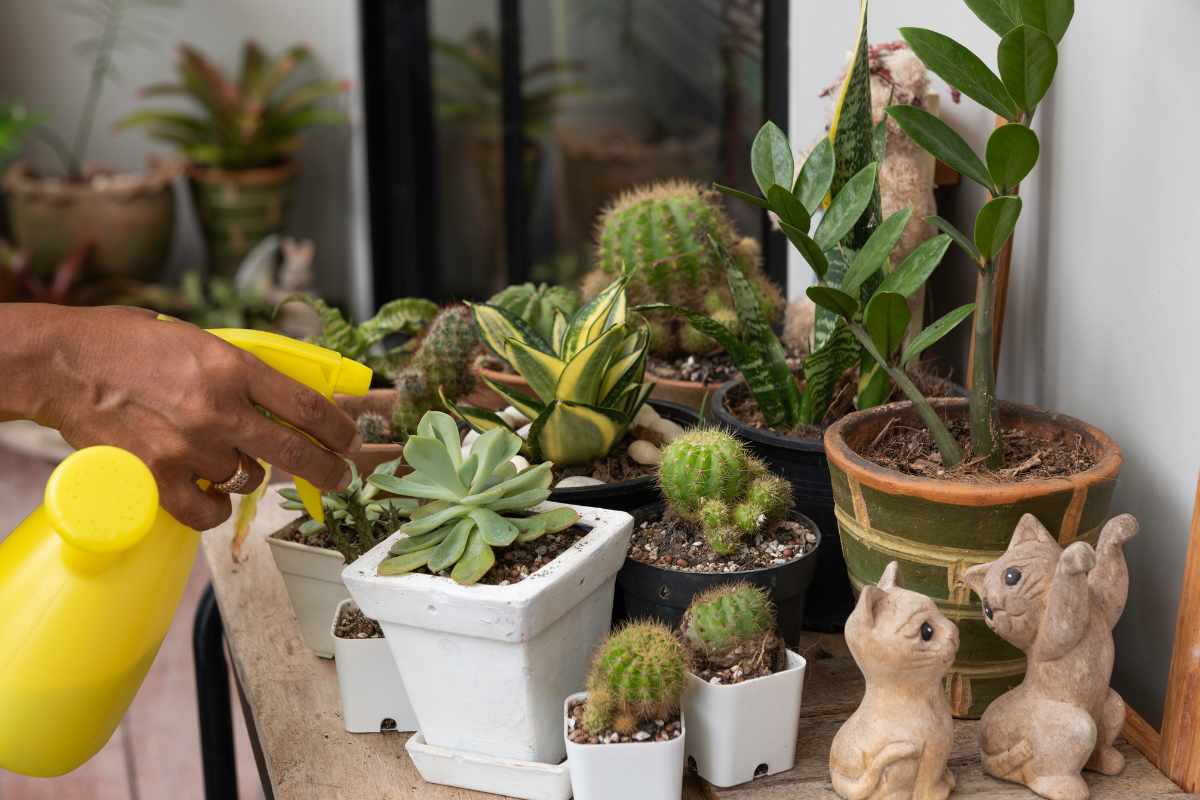
A reliable approach is soak-and-dry watering: water enough that the entire root zone is moistened, then wait until the soil is completely dry before you water again.
In bowls with drainage holes, this rhythm is intuitive. In decorative, hole-less bowls, think “sip, don’t soak,” and stop before water pools.
Signs & Timing
Leaves are your dashboard. Plump, firm leaves mean roots are hydrated.
Wrinkling at the base suggests it’s time to water. Leaves that feel mushy or translucent point to overwatering.
A wooden skewer pushed into the soil can help confirm dryness—if it comes out clean and dry, you’re clear to water.
Winter & Summer Adjustments
Growth slows in cooler, darker months, so reduce watering in winter.
During summer heat waves, the top of a shallow bowl can dry very quickly; watch for early signs of thirst, especially in terracotta.
Building a Balanced Arrangement
Designing a bowl is part horticulture, part composition. Start with structure—one focal rosette or a trio of small rosettes—and repeat shapes or colors to keep the eye moving.
Textural contrast (chalky blues against glossy greens, smooth paddles with spiky accents) adds depth.
Keep taller elements slightly off-center for a natural look, then echo their color elsewhere to tie the composition together.
Spacing & Growth
It’s tempting to pack the bowl tight for instant drama, but a bit of breathing room prevents future crowding and encourages airflow.
Succulents grow at different speeds; slower species like haworthias hold a tidy footprint, while some sedums creep outward.
A quarterly rotation keeps the silhouette even.
Top Dressing & Stability
A layer of decorative gravel or crushed stone finishes the design, reduces soil splash, and helps stabilize shallow-rooted rosettes.
It also discourages fungus gnats by keeping the surface drier.
Choose a stone that complements leaf tones—warm tan for jades and aloes, cool gray for blue echeverias.

Aftercare & Gentle Maintenance
Every few weeks, brush away dried leaves tucked under rosettes so moisture and pests have nowhere to hide.
During active growth (spring to early fall), a dilute, low-nitrogen fertilizer once or twice can boost color and density—keep it light, because rich feeding makes succulents soft and leggy.
If a plant outgrows its spot, lift it, tuck the roots back with fresh mix, and reset the composition.
Pests & Quick Fixes
Mealybugs look like tiny cotton tufts in leaf axils; dab them with isopropyl alcohol on a cotton swab and improve airflow.
Spider mites leave fine webbing and stippled leaves; a gentle rinse and temporary shade help plants recover.
Always isolate new plants for a week to keep your bowl pest-free.

Quick Wins from the Video
If you’re watching the video embedded in this post (by Isabelle Palmer), these takeaways pair perfectly with what you just read:
Use fewer plants than you think. Negative space lets shapes read clearly and gives each rosette room to mature.
Finish with top dressing that matches your palette. It unifies the design and keeps the surface neat between waterings.
Play with subtle elevation. A small stone under an accent plant creates micro-terraces that make the arrangement look more natural and layered.
Enjoy This Video Tutorial

Source: MAKEetc Books
Don’t forget to Subscribe to our Newsletter to receive amazing tips and tricks about Gardening and the FREE Ebook Green Living Strategies!
Did you find this post Useful or Inspiring? Save THIS PIN to your GARDENING Board on Pinterest! 😊

Once again, thank you for visiting our website!
We hope you've enjoyed exploring the content we've created for you.
Give yourself the chance to learn, get inspired, and have even more fun, keep browsing...
More Gardening Tips 👇🏼👇🏼