How to Install a Window Yourself

Windows open the interior rooms to the outside and flood your home with natural light.
However, despite all their many advantages, windows have a number of problems when they no longer function in optimal conditions.
Learn How to Install a Window Yourself
When window repairs and fixes no longer help or when you just want a makeover, it's time to replace your windows.


And when you decide to replace your windows on your own, you have the added benefit of saving costs.
Basics of Windows
Before starting the project, you should order new construction windows with removable nail flanges or replacement windows.
New-Construction Windows
New-build windows are installed when a home is in the initial construction phase or when the home is undergoing a major renovation that involves opening and rebuilding the external walls.
Newly constructed windows have a nail trim (also called a nail fin) on the outside of the window. This lip runs at a 90-degree angle to the window, allowing the window to nail against the exterior wall cladding.
Some newly built windows have removable nail flanges, effectively making them replacement windows. The joint between the flange and the window can be cut with a pencil and bent back and forth until it comes out.
Important
Do not remove the rivet flanges from a newly constructed window to make it a replacement window, unless the manufacturer expressly states that this is permitted.
Replacement Windows
Replacement windows, sometimes called retractable windows or pocket windows, are designed to replace newly built windows. Replacement windows do not have a nail flange. This allows you to insert windows into a finished (not rough) opening.
Unlike newly built windows, which can be found on DIY store shelves, replacement windows are always a specialty item to order. You can order replacement windows at your local home center. Some online retailers also offer replacement windows for homeowners.
Before Getting Started
To classify the windows, use the tape measure to measure the height and width of the inside opening of the window frame. For each direction, you will need to take measurements at least three points, choosing the shortest of those measurements to observe.
- Height: When measuring the height, slightly open the window frame and then measure from where the frame touches the sill to the top of the window frame.
- Width: When you measure the width, please measure along with the inside window frame. Do not include the impression stop (the vertical finish that holds the window firmly in the frame).
Example
Measure the height of a window and receive three measurements: 25 inches, 25-1 / 4 inches, and 24-3 / 4 inches. Choose the shorter size, 24-3 / 4 inches. Use this measurement when ordering the window.
Safety Considerations
Always wear eye protection and gloves when installing replacement windows. Be careful when handling windows while on a ladder.
Never stand on the step indicated as the highest step to stand on. Get help from an assistant, especially when working on a ladder.
If you need to remove old weights from windows, be careful when handling them, as some old balance weights have been fused with lead. Therefore, handle lead weights only with gloves. Do not cut or sand lead weights. Make sure to dispose of them properly.
What You'll Need
Equipment / Tools
- Hammer
- Cordless drill
- Manual screwdriver
- Bubble level
- Utility knife
- Measuring tape
- Paint scraper
- Pry bar
- Hand saw and miter box
- Finishing nailer
- Safety glasses
- Gloves
- Painter's tape
Materials
- Replacement window
- Stop moulding
- Fiberglass insulation
- Shims
- Wood putty
Instructions
Remove the Stop Moulding
Inside the house, place the cloth in front of the window. Use the utility knife to cut through any caulking or paint that connects the jamb to the window frame.
Carefully remove the mold from the window frame cover. It is not necessary to remove the window cover.
Remove the Existing Window
The underside of your existing window, the sash, can fall forward, so be prepared to hold it in place. Using the cordless drill or a manual screwdriver, remove all the screws that secure the rest of the window to the window frame.
Tip
If the window is difficult to remove, you may also need to remove the blind stop-frame, also known as the outer stop-frame. This frame is located on the outside of the window and is parallel to the sash frame facing inward.
Remove or Disconnect Window Weights or Balances
The internal weights attached to the strings and pulley can be deactivated by cutting the strings and dropping the weight into the internal side pocket of the window frame.
Clean and Repair the Window Opening
The inside face of the window frame must be smooth to allow insertion of the replacement window. Remove the nails with the tip of the hammer claw.
Use the scraper to remove caulking or paint. Using the holes, remove the fiberglass insulation and insert it into the hole as far as possible. Fill depressions, dents, and small holes with wood pulp.
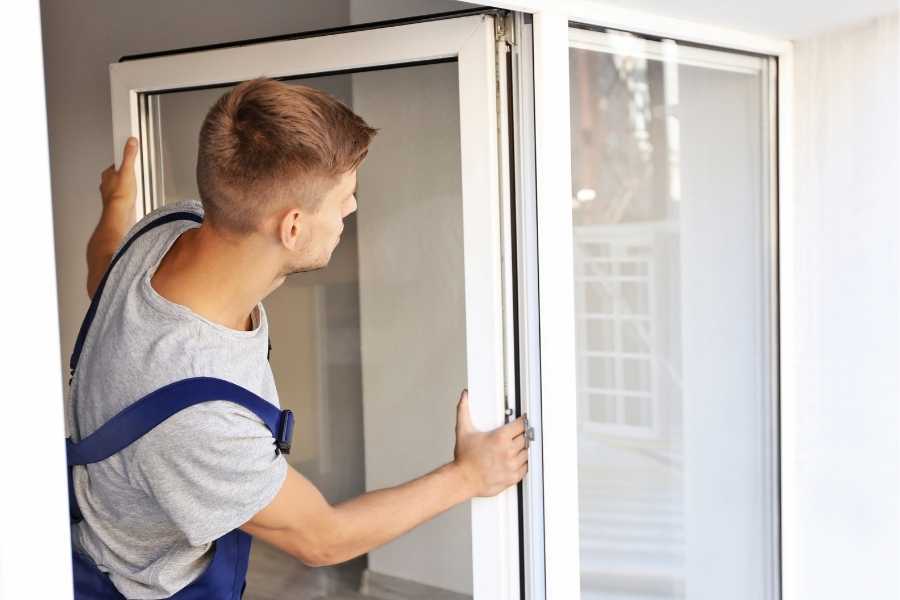
Dry Fit the Replacement Window
Insert the replacement window into the window opening. Insert shims under and to the sides of the window to level, secure, and center the window in the window frame. Note the position of the shims, then remove them and the window.
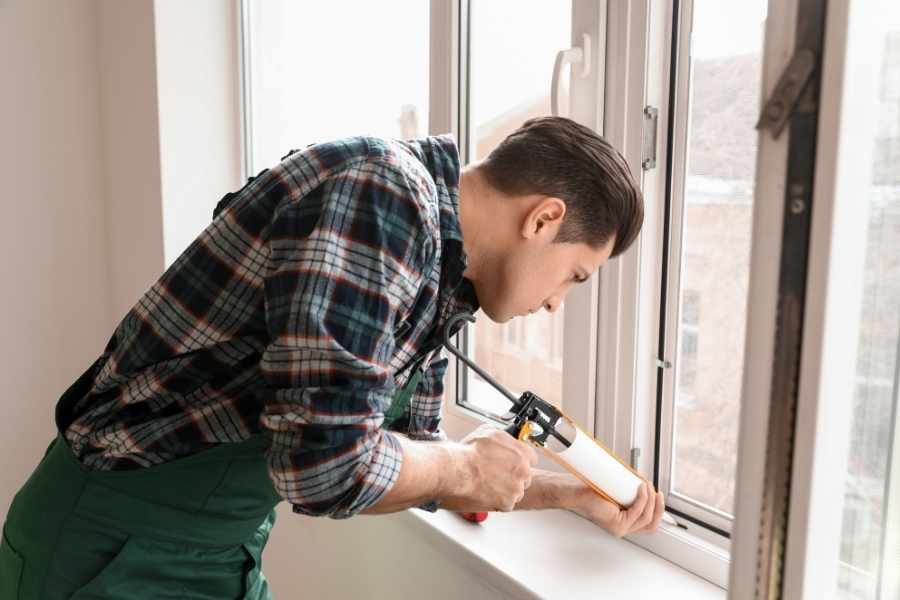
Install the Replacement Window
If the dry fit is satisfactory, permanently fit the replacement window. If you removed the blind frame, install this part immediately. Pass a thread of putty inside this frame.
Press the window when the window opens and press to seal. Replace the shims. Using the cordless drill, drive the screws through the shims and the window opening.
Trim Off the Shims
Remove the shims at the marking point closest to the wall. If the wedges do not fit easily, cut them flush against the wall with the hand saw.
Add Insulation
Fiberglass insulation in large spaces between the frame and the window compartment.
Install the Stop Moulding
Nail the internal stop into place with the cordless nail or a hammer and finish nails.
Install New Window Trim (Optional)
If the window trim was damaged when the window was removed, add a new window trim in front of the window so that the trim covers the gaps between the window and the window opening.
We hope you enjoy watching this video about How To Install A New Window

Source: Home RenoVision DIY
Did you find this post useful or inspiring? Save THIS PIN to your HOME Board on Pinterest! 😊

Once again, thank you for visiting our website!
We hope you've enjoyed exploring the content we've created for you.
Give yourself the chance to learn, get inspired, and have even more fun, keep browsing...
Last update on 2025-03-09 / Affiliate links / Images from Amazon Product Advertising API

More Home Tips 👇🏼👇🏼