
Pumpkin Carving Tips for a Halloween Garden

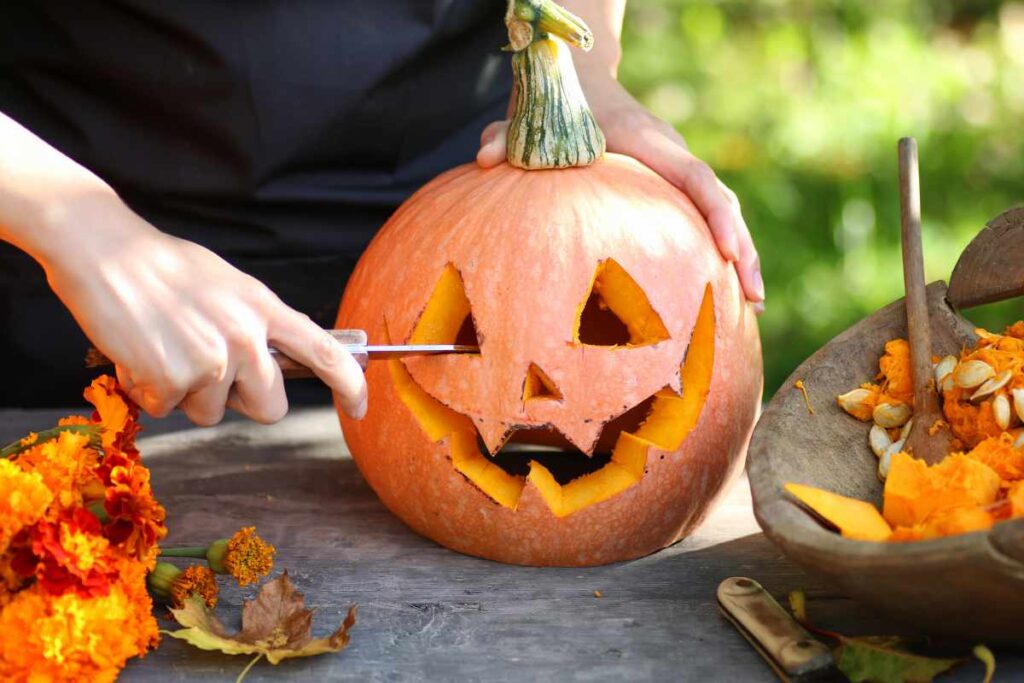
Carving pumpkins is a beloved autumn tradition that adds a festive touch to your garden.
Whether you’re looking to create spooky Halloween decorations or elegant fall displays, carving pumpkins for your garden can be both fun and rewarding.
In this article, we’ll provide some useful tips for carving pumpkins that will help you create beautiful and lasting decorations for your outdoor space. With the right techniques, you can enhance the ambiance of your garden and impress your neighbors.
Embrace the season and get creative with your pumpkin designs for a truly unique garden display.
Selecting the Right Pumpkins
1. Choose Healthy Pumpkins
The first step in carving pumpkins for your garden is selecting the right ones. Choose pumpkins that are firm, without any soft spots, cracks, or bruises. Healthy pumpkins will last longer and are easier to carve.
2. Size and Shape Matter
Consider the size and shape of the pumpkin based on your design. Large pumpkins provide a bigger canvas for intricate designs, while smaller pumpkins are perfect for simple and quick carvings. Unique shapes can add character to your garden display.
Tools for Carving
1. Use Quality Carving Tools
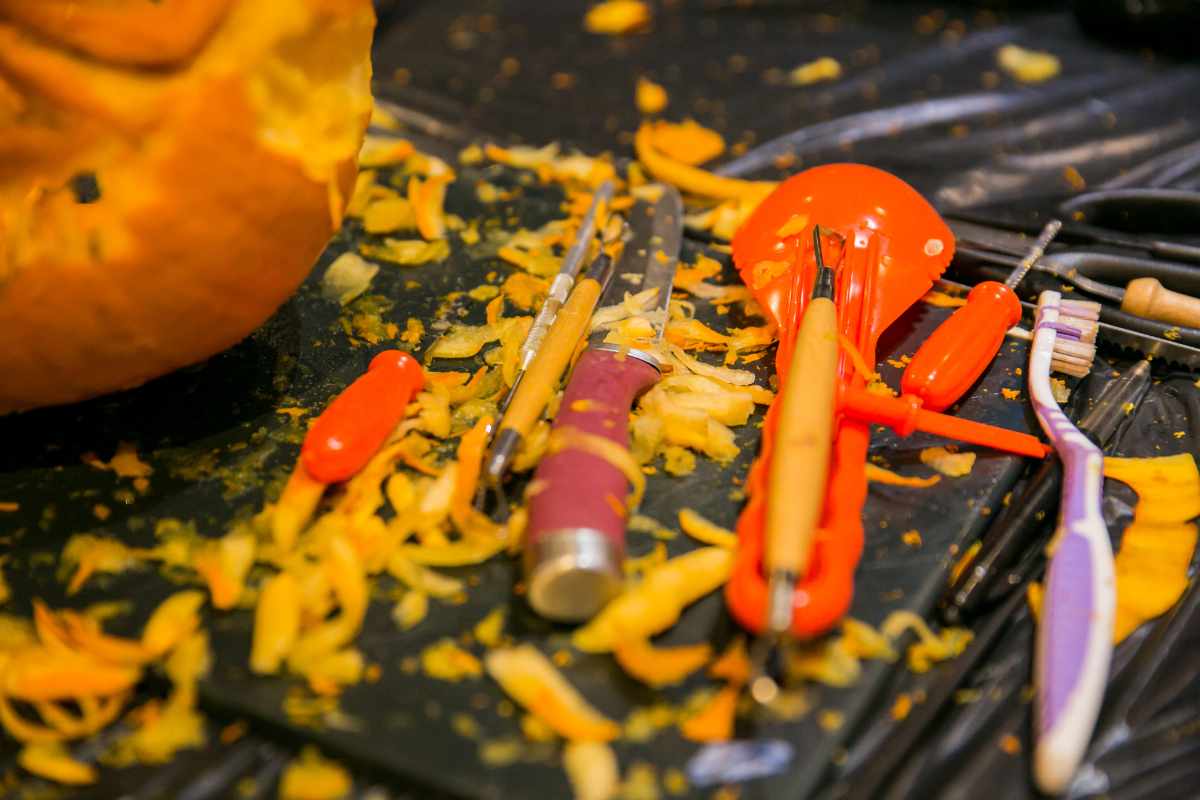
Using the right tools is essential for carving pumpkins. Invest in a good set of pumpkin carving tools, which typically includes a serrated knife, a scoop, and various carving saws. These tools are designed specifically for pumpkin carving and make the process safer and easier.
2. Template and Stencils
Templates and stencils are helpful for creating detailed and consistent designs. You can purchase pumpkin carving stencils or find free designs online. Tape the stencil to the pumpkin and trace the design with a marker or a pin tool.
Carving Techniques
1. Prepare the Pumpkin
Start by cutting a lid around the stem of the pumpkin at an angle. This will prevent the lid from falling inside the pumpkin. Remove the seeds and pulp with a scoop. Save the seeds for roasting or planting in your garden.
2. Outline Your Design
Outline your design on the pumpkin with a marker. This will serve as a guide while you carve. For intricate designs, use a pin tool to poke small holes along the lines of the stencil.
3. Carve Carefully
Use small, controlled movements to carve your pumpkin. Start with the larger areas and work your way to the smaller details. Serrated knives and saws work best for cutting through the thick pumpkin skin.
Preserving Your Carved Pumpkins
1. Clean the Inside
Thoroughly clean the inside of the pumpkin to remove any remaining pulp. This helps prevent mold and decay. You can also rinse the inside with a mild bleach solution (one tablespoon of bleach per quart of water) to kill bacteria.
2. Keep It Cool
Pumpkins last longer in cooler temperatures. If possible, keep your carved pumpkins in a cool, shaded area in your garden. Bring them indoors if there is a risk of frost.
3. Moisturize
To keep your carved pumpkins from drying out, spray the inside and carved edges with water daily. You can also apply a thin layer of petroleum jelly to the carved areas to help retain moisture.
4. Use a Preservative Spray
Commercial pumpkin preservatives are available and can help extend the life of your carved pumpkins. These sprays contain antifungal agents that prevent mold and decay.
Lighting Your Pumpkins
1. Use LED Lights
For safety and longevity, use LED lights or battery-operated candles to illuminate your pumpkins. These lights don’t generate heat, which helps keep the pumpkins fresh longer. They are also safer than traditional candles.
2. Solar Lights
Consider using solar lights for an eco-friendly option. Place solar lights inside your carved pumpkins during the day to charge, and they will illuminate your garden beautifully at night.
Displaying Your Carved Pumpkins
1. Create a Pumpkin Pathway
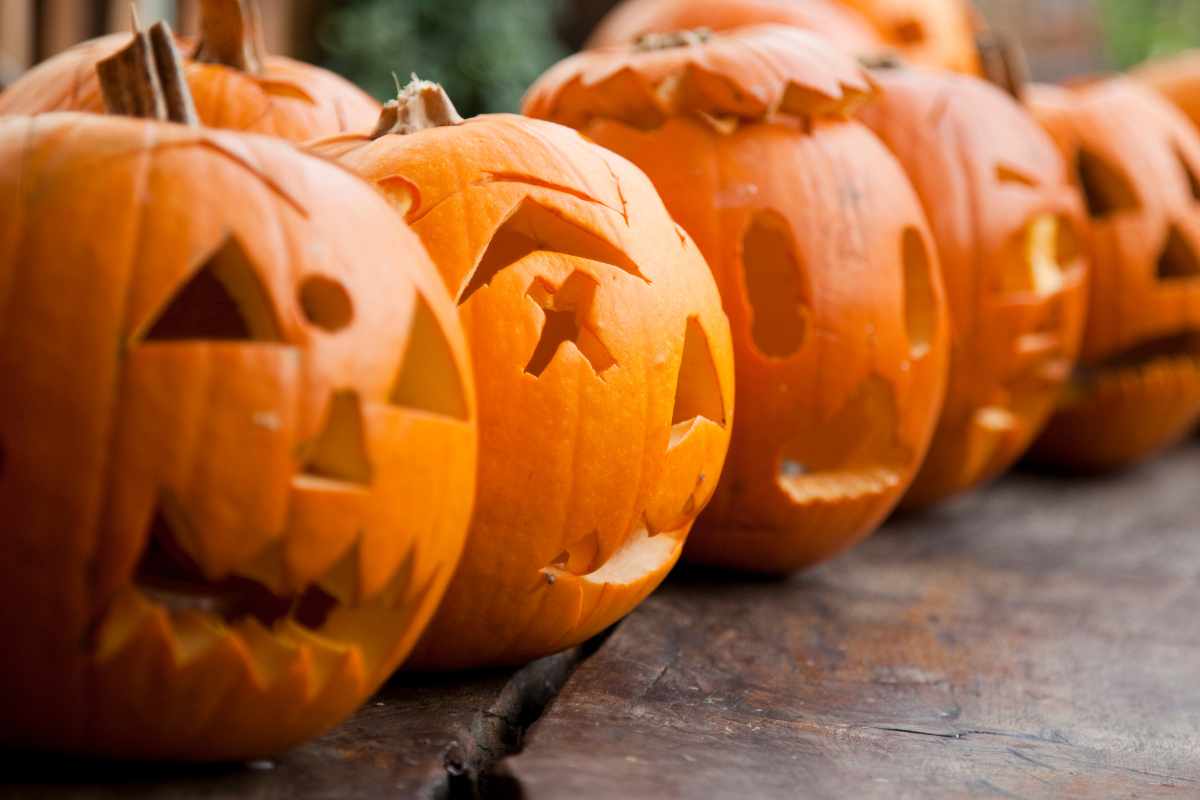
Line your garden pathway with carved pumpkins to create a welcoming and festive entrance. Vary the sizes and designs for added interest.
2. Pumpkin Tower
Stack carved pumpkins to create a pumpkin tower. Use wooden stakes to secure them in place. This vertical display adds height and drama to your garden.
3. Pumpkin Planters
Hollow out large pumpkins and use them as planters. Fill them with autumn flowers like mums or ornamental kale. This unique display combines the beauty of carved pumpkins with the charm of seasonal plants.
Composting After Use
After Halloween or the fall season, compost your pumpkins to enrich your garden soil. Remove any remaining seeds and cut the pumpkins into smaller pieces to speed up the decomposition process.
Pumpkins are rich in nutrients and make an excellent addition to your compost pile.
Carving pumpkins for your garden is a delightful way to celebrate the fall season and add a festive touch to your outdoor space.
Illuminate your garden with carved pumpkins and enjoy the warm, inviting glow they bring. With these tips for carving pumpkins, your garden will be the talk of the neighborhood this autumn.

Did you find this post Useful or Inspiring? Save THIS PIN to your GARDENING Board on Pinterest!
Once again, thank you for visiting our website!
We hope you've enjoyed exploring the content we've created for you.
Give yourself the chance to learn, get inspired, and have even more fun, keep browsing...
More Gardening Tips 👇🏼👇🏼