
Planting Flowers in the Front Yard


Your front yard sets the tone for your home, but it doesn’t take a full renovation to make it shine.
With a few smart moves—reading the light, choosing resilient plants, and arranging them in simple layers—you can create a front yard flower bed that boosts curb appeal in a single weekend.
This guide cuts through the noise with practical steps, real-world plant ideas for full sun or shade, and care tips that keep things low-maintenance all season.
If you want instant curb appeal without a full renovation, this guide shows how to design and plant a front yard flower bed that reads beautifully from the street, matches your home’s style, and stays low-maintenance through the seasons.
Step 1: Audit Your Front Yard (Sun, Soil, Scale)
Begin by observing how much light the area receives.
Mark where you have full sun (about six or more hours), partial shade (three to five), and pockets of full shade.
After a rain, notice whether water drains quickly or lingers—sandy soils may need organic matter to hold moisture, while clay benefits from compost to open it up.
Walk the space at different times of day to feel heat, wind, and reflected light from pavement or siding.
Finally, measure the bed depth. A tidy foundation bed often looks best at roughly one-third the height of the façade, with slightly deeper corners to “anchor” the house.
Keep your USDA hardiness zone in mind; a south-facing wall usually runs a half-zone warmer.
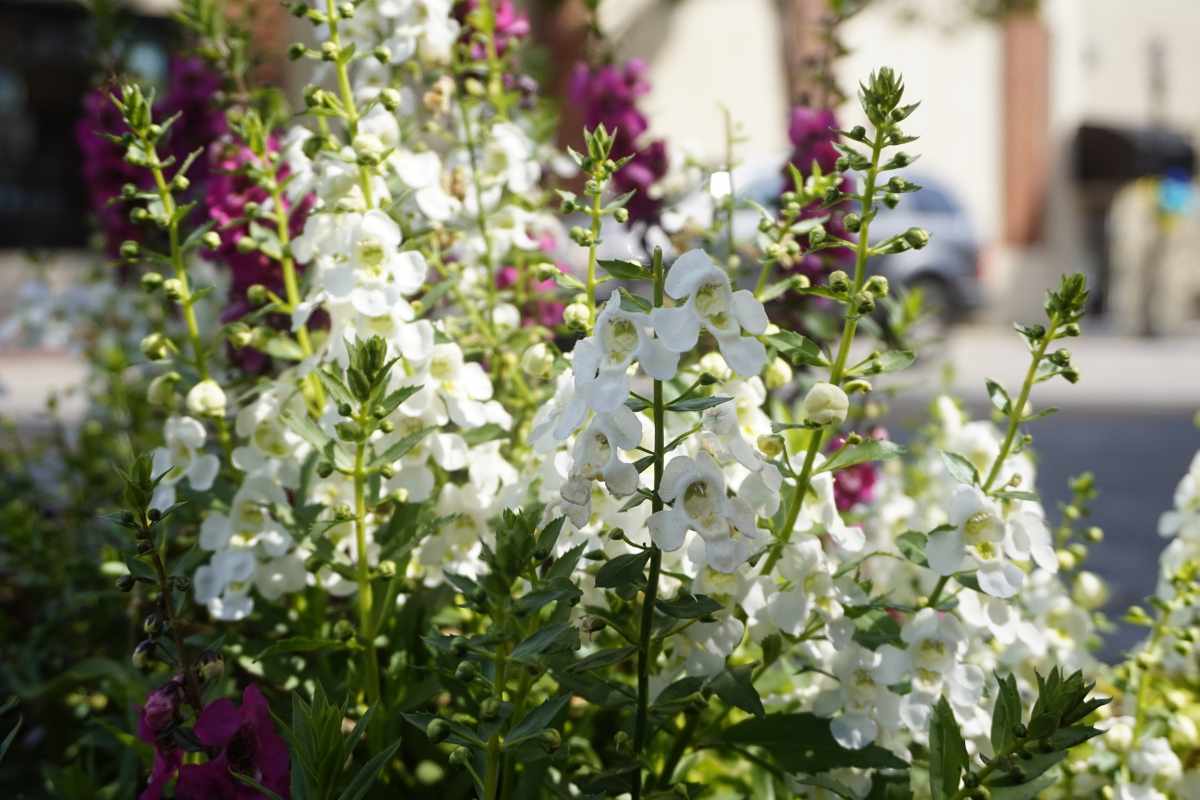
Step 2: Sketch a Layout That Guides the Eye
Choose one simple shape—a gentle arc or a clean straight run—and place a focal point near the entry, such as a handsome shrub, urn, or seasonal planter.
Aim for a bed depth of 60–90 cm (24–36 in) across the front, deepening at the corners.
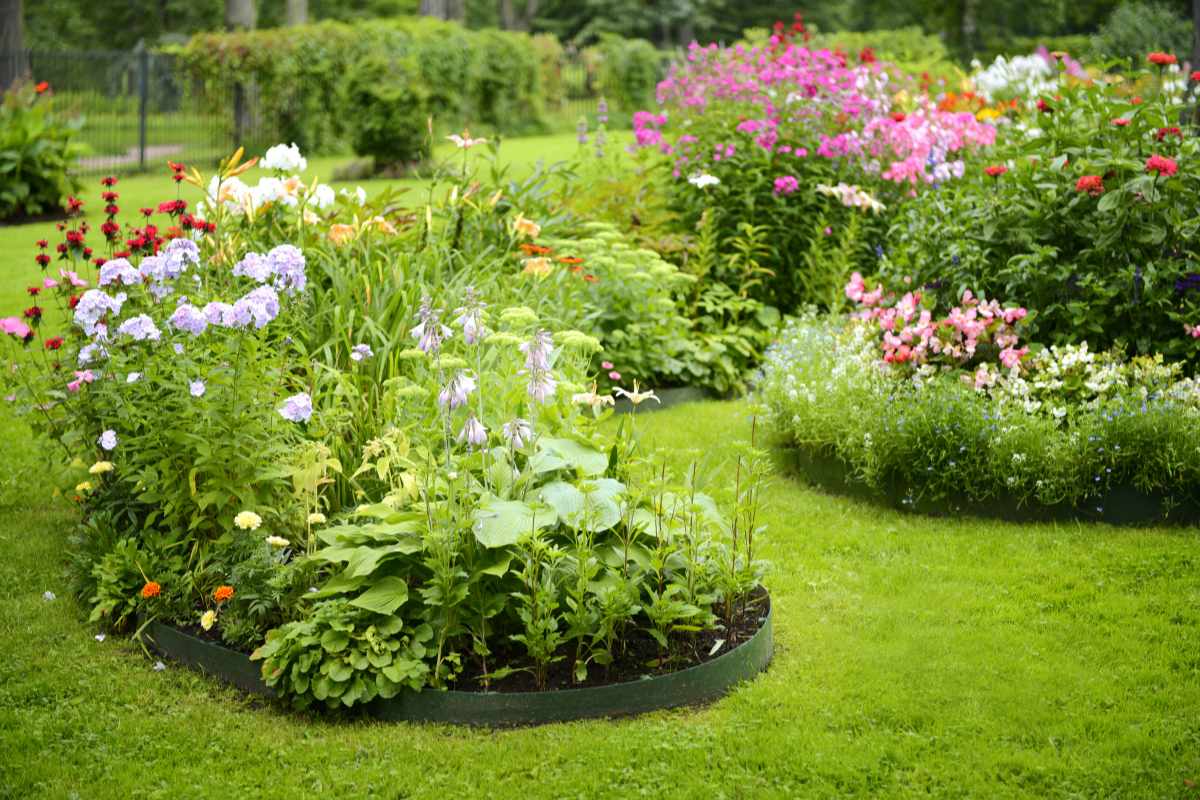
Plan layered planting: the tallest elements in back (or center of an island bed), mid-height selections in the middle, and a neat edging along the front.
Repeating the same plant in threes or fives creates rhythm from the curb. For color, let one family dominate (about 60%), add a supporting hue (30%), and finish with a bright accent (10%).
Pull tones from the front door, brick, or trim so the garden looks designed—not random.
Step 3: Prepare the Bed for Success
Clear weeds or sod and define a crisp edge; that single detail makes the whole space look intentional.
Loosen the soil 20–25 cm (8–10 in) deep and blend in 5–7 cm (2–3 in) of compost.
Rake the surface with a slight crown so water sheds away from the foundation. Before you plant, stage your pots on the soil and step back to the curb; adjust spacing to reflect mature size.
That restraint prevents mildew, flopping, and the need for constant pruning.
Step 4: Choose Plants by Sunlight (With Real-World Examples)
For full sun, build the backbone with tough, long-blooming perennials and a compact shrub or two.
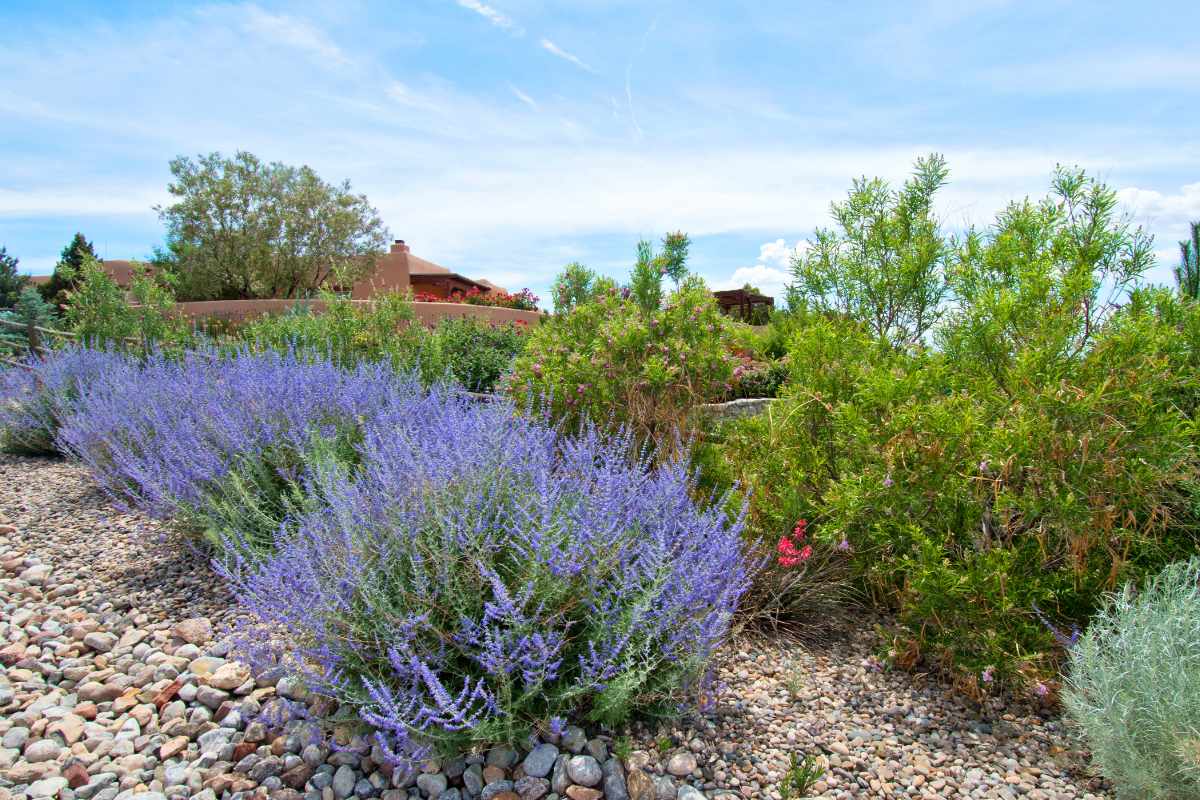
Think catmint (Nepeta), salvia, coneflower, black-eyed Susan, yarrow, or airy Russian sage; add seasonal color with zinnias or coreopsis.
Mix fine textures (catmint) with bold daisies (coneflower) and a cool silver note (Russian sage) for movement and contrast that reads from the street.
If your entry enjoys partial shade or hot afternoon shade, lean on foliage contrast and flower spikes that glow in softer light.
Oakleaf hydrangea, astilbe, heuchera, Japanese forest grass, and coleus create depth without fuss; in warmer zones, shade-tolerant azaleas or pieris add structure.
Pair chartreuse and burgundy foliage with white blooms for a refined, high-contrast palette that never looks dull.
For dry, heat-exposed fronts, prioritize drought-friendly choices. Lavender, rosemary, gaura, lantana, and verbena keep color coming with modest water.
A simple drip irrigation or soaker hose under mulch dramatically reduces stress and keeps blooms consistent. In every exposure, repeat a short list of plants instead of collecting one of everything—cohesion is the designer’s secret.
Planting Day: Water, Set, and Mulch
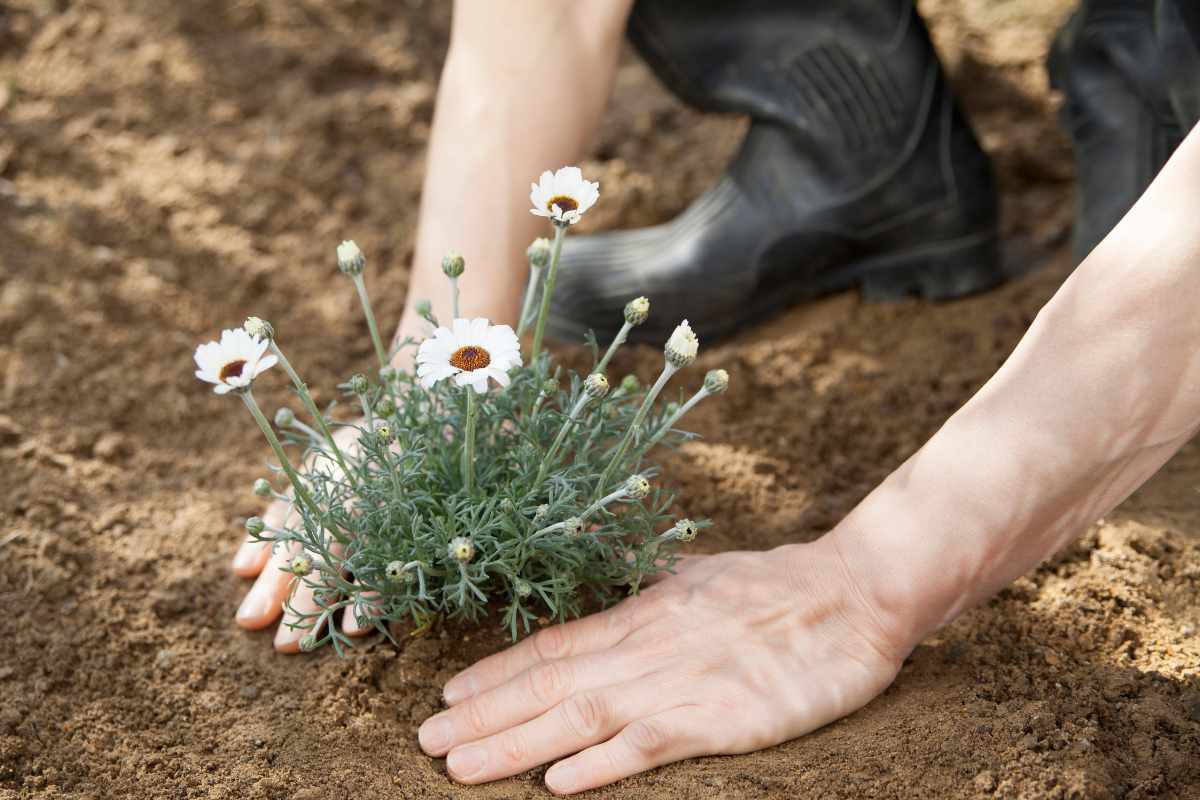
Water plants in their pots so they’re fully hydrated. Dig holes twice as wide as the root ball but no deeper, gently loosen circling roots, and set each plant at the same level it had in the container.
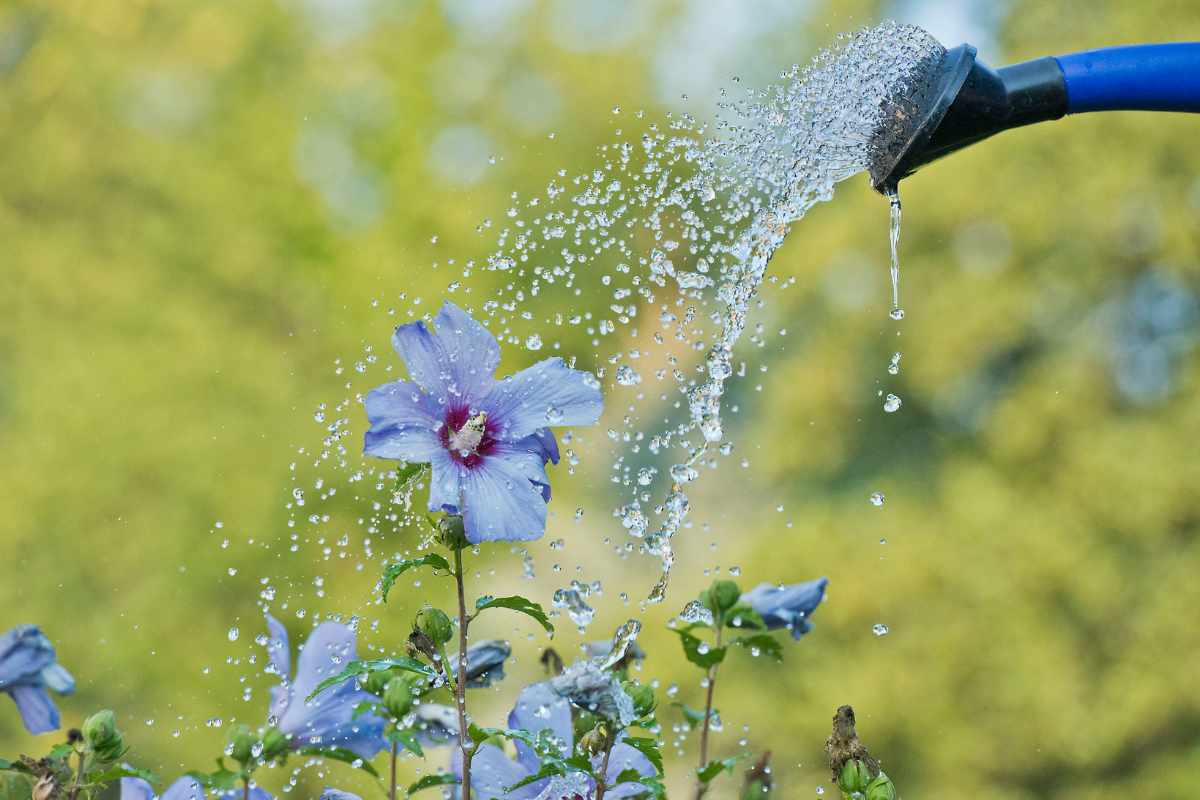
Water thoroughly after planting to settle the soil. Finish with 5–7 cm (2–3 in) of mulch, keeping it off stems and siding. For the first month, if rainfall is scarce, water deeply two to three times a week, easing to a deep weekly soak once plants root in.
Deep, infrequent watering develops resilient roots and reduces disease.
Seasonal Care That Keeps the Front Fresh
In early spring, refresh edges, top-dress with compost, and prune winter damage. Through late spring and summer, deadhead repeat-bloomers like salvia or zinnias and feed heavy bloomers lightly if they flag.
In late summer, edit flopped stems, tuck in fall color—violas or mums where appropriate—and plant spring bulbs behind your front edging so foliage hides as it fades.
In winter, leave a few seedheads—coneflower looks beautiful with frost and feeds birds—then top up mulch lightly to protect young roots.
Common Mistakes (And the Easy Fix)
Crowding plants is the number-one issue; respect mature width, and your bed will stay airy and healthy.
Planting too close to the wall traps moisture and invites mildew—pull the layout forward and let air move behind shrubs.
Visual clutter is another culprit; limit yourself to five to seven species and repeat them in drifts.
If the bed looks flat, add foliage contrast—silver, burgundy, and chartreuse—so it’s attractive even between bloom cycles.
And never forget the edge: a clean spade-cut or discreet edging makes the whole planting read as intentional design.

Final 5-Step Checklist
Map the sun, test the drainage, and measure the bed depth.
Sketch one simple shape with a clear focal point and layered planting.
Amend the soil with compost and set plants for mature spacing.
Water in, then mulch 5–7 cm and follow the first-month watering routine.
Refresh edges each season and edit plants as needed for lasting curb appeal.
If you want, I can tailor the plant examples to your readers’ key USDA zones or create a short plug-and-play planting recipe (three per exposure) to drop into the post.
Enjoy the Video Tutorial
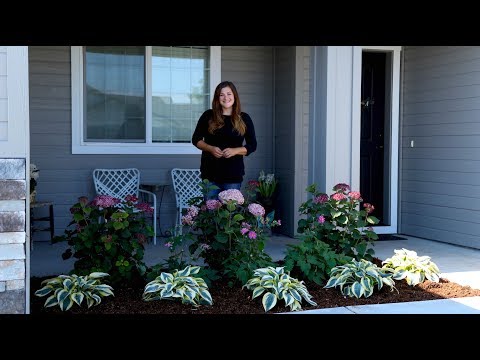
Source: Garden Answer
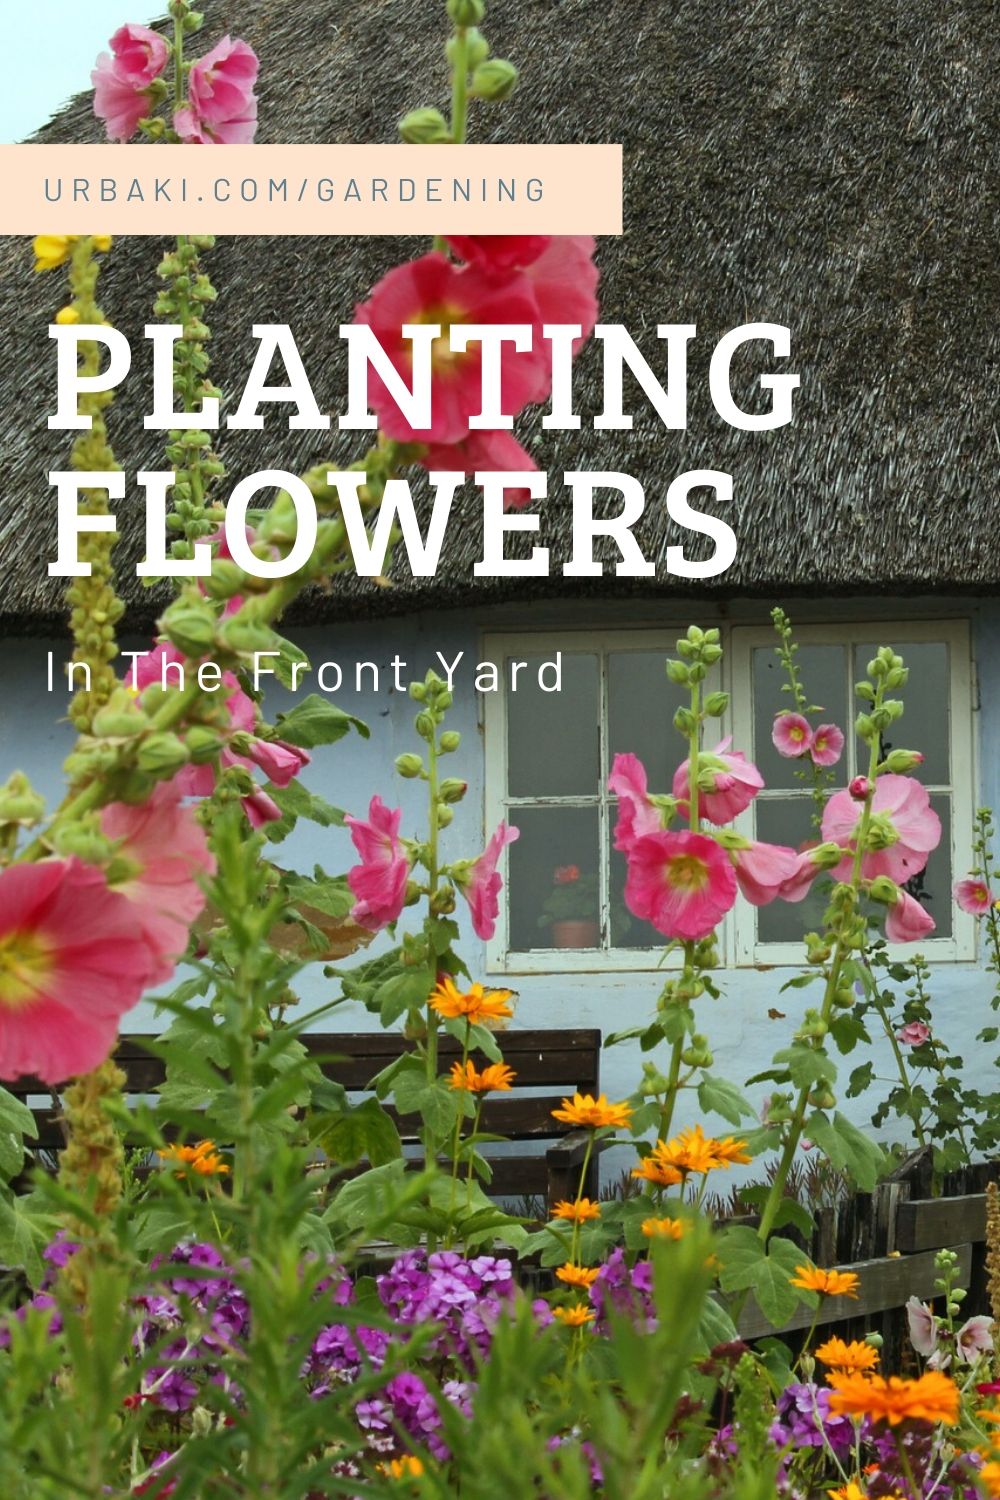
Did you find this post useful or inspiring? Save THIS PIN to your Gardening Board on Pinterest!😊
Once again, thank you for visiting our website!
We hope you've enjoyed exploring the content we've created for you.
Give yourself the chance to learn, get inspired, and have even more fun, keep browsing...
More Gardening Tips 👇🏼👇🏼