
Planting Roses from Seeds [Start to Finish]


There’s something magical about starting roses from seed. Each tiny seed holds the possibility of creating a plant unlike any other, a rose that may surprise you with its color, fragrance, or form.
While the process takes time and patience, it offers a rewarding experience that cutting can’t match.
If you’ve ever been curious about rose hips, intrigued by cold stratification, or eager to grow truly unique seedlings, this guide will walk you through the adventure step by step in a warm and approachable way.
What to Expect Before You Start
Seed-grown roses take time.
From harvesting hips to the first blooms can be a multi-year adventure, but each stage brings small wins: the first signs of germination, the appearance of true leaves, and finally, a young plant strong enough to meet the garden.
Because most modern roses are hybrids, your seedlings are not “true to type.”
That’s not a drawback—it’s the charm. You’re essentially curating a tiny rose breeding project at home.
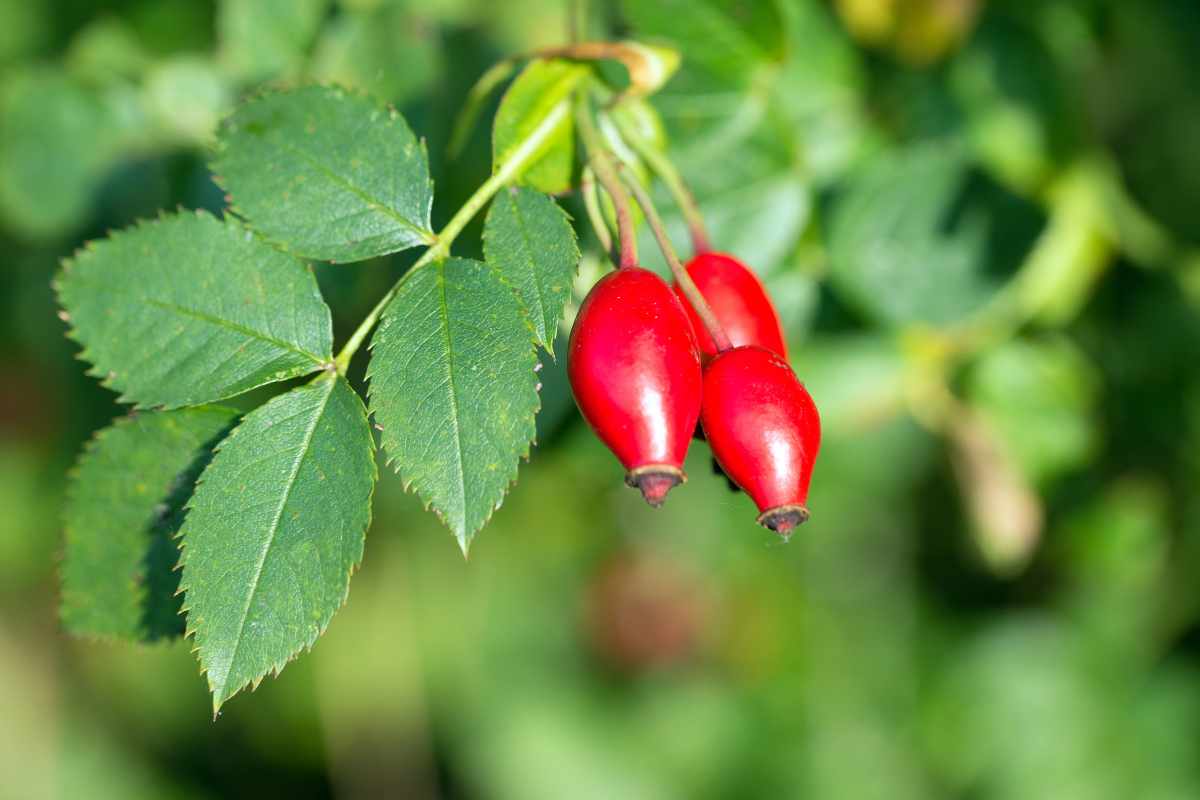
Collecting and Cleaning Seeds from Rosehips
Let the hips mature fully on the plant; they’re typically ready when the color deepens and the fruit feels firm.
Open the hips with a small knife and scoop out the seeds. Rinse them in cool water to remove clinging pulp.
A brief soak in a mild hydrogen peroxide solution can help reduce surface pathogens, but keep it gentle—your goal is simply to start clean, not to sterilize the life out of them.
Pat the seeds dry on a paper towel and label them right away.
Good notes—variety, date, and any observations—will save you confusion later, especially if you’re working with multiple parent plants.

Cold Stratification: Giving Seeds a Fake Winter
Most rose seeds benefit from or require a period of cold, moist rest to break dormancy. That’s cold stratification—a simulated winter that tells the seed it’s safe to wake up in spring.
Place the clean seeds in a breathable bag or small container with a just-damp medium such as vermiculite, perlite, or a mix of peat/coir and perlite.
The medium should be moist to the touch but never wet; when squeezed, it should hold together lightly without dripping. Tuck the container into the refrigerator, not the freezer.
A typical target is about 4 °C / 39 °F. Timeframes vary by cultivar, but a 6–12 week window works well for many gardeners.
Check weekly. If you see mold, gently rinse the seeds and refresh the medium.
If you spot early sprouts inside the fridge—mini white roots peeking out—celebrate. Those can be sewn right away.

Sowing for Strong Germination
After stratification, sow the seeds shallowly—barely covered—in a fine, well-draining seed-starting mix. A shallow tray or cell flats make it easier to manage moisture and airflow. Keep the medium evenly moist, not soggy.
Bottom watering helps prevent surface fungus and reduces disturbance to tiny roots.
Light, Temperature, and Moisture
Bright, indirect light is perfect at first; once seedlings emerge, provide strong light for 12–14 hours daily.
A simple LED grow light placed several inches above the canopy keeps growth compact and sturdy.
Temperatures in the 18–21 °C / 65–70 °F range are comfortable for most rose seedlings. Avoid heat spikes and cold drafts.
Avoiding Damping-Off
Young roses can suffer from damping-off, a catch-all term for fungal issues that collapse seedlings at the soil line.
Prevention beats cure: use a sterile or pasteurized starting mix, avoid overwatering, and keep airflow gentle but steady.
A small fan on low across the room helps strengthen stems without drying the tray out too quickly.
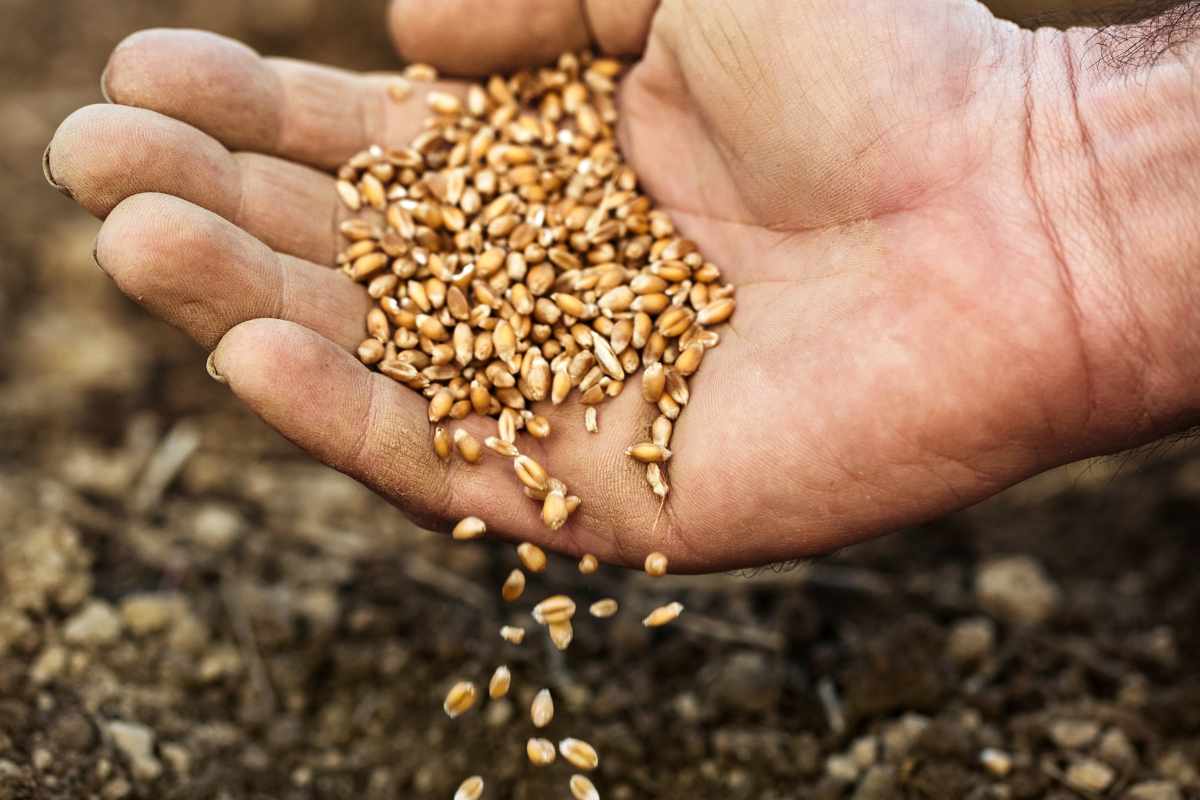
Raising Seedlings Through the First Weeks
As the first true leaves appear, thin crowded spots so each seedling has breathing room.
Don’t tug unwanted seedlings out; snip them at the base to avoid disturbing neighbors.
When roots touch the sides of a cell or growth noticeably slows, shift the seedling into its own small pot.
Potting Up and Early Feeding
Move seedlings into a light, well-drained potting mix. Roses are hungry, but they’re also young, so go easy. Start with diluted, balanced fertilizer every 2–3 weeks once true leaves are established, or top-dress with a small pinch of compost.
The goal is steady, compact growth—lush but not floppy.
If you’re growing several crosses or varieties, keep your labeling tidy and consistent.
Noting vigor, leaf shape, thorniness, and fragrance at each stage will help you decide which seedlings deserve a long-term spot in the garden.
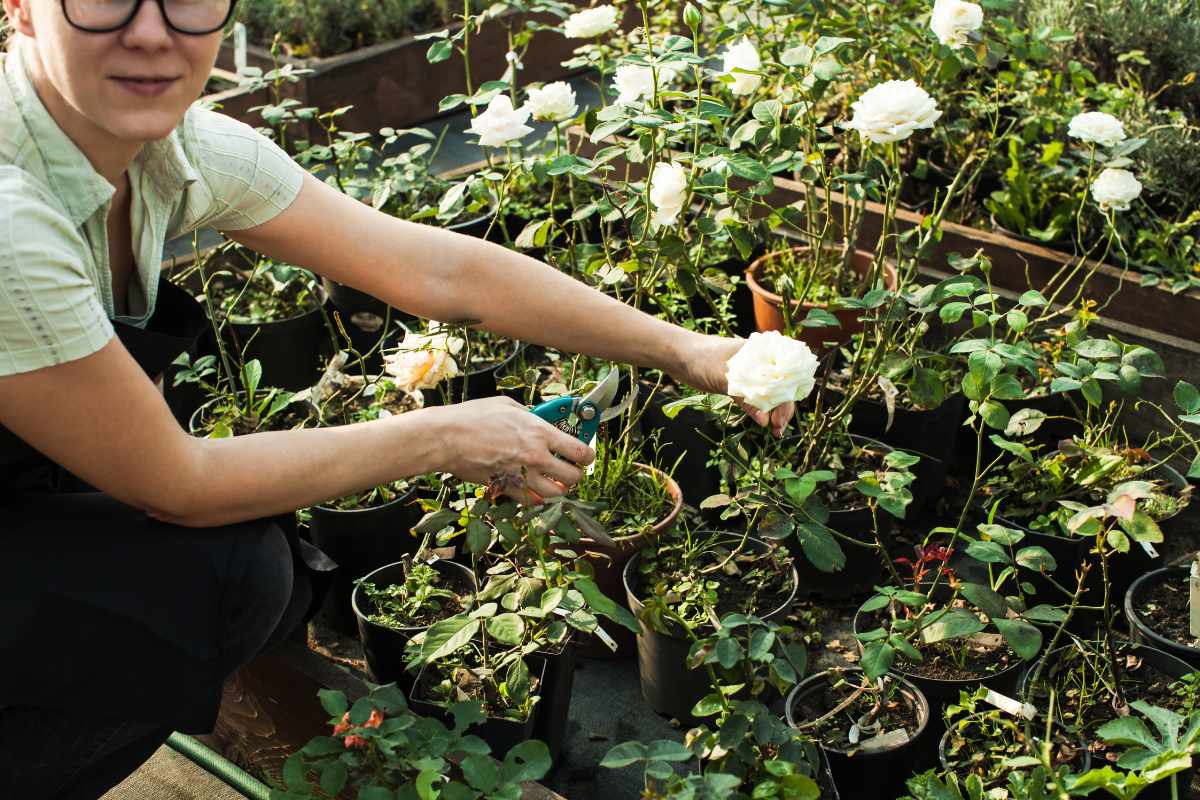
Moving Plants Outdoors at the Right Time
Seedlings need a gentle transition from indoor comfort to outdoor reality.
Hardening off is the controlled introduction to sun, wind, and temperature changes.
Begin with bright shade, then a few hours of mild morning sun, gradually extending exposure over 10–14 days. Skip windy or scorching afternoons at first and avoid cold snaps.
Sun, Soil, and Spacing
Roses thrive with good sun and airflow.
Even for seedlings, several hours of direct light are important once planted out. Choose well-drained soil amended with organic matter and avoid consistently wet spots that can stress roots.
Space plants with future size in mind; crowding encourages disease and forces awkward pruning later.
Watering That Builds Resilience
Keep soil evenly moist without waterlogging.
Young roses respond well to deep, occasional watering rather than shallow, frequent sips—once the roots are established.
Mulch helps stabilize moisture and soil temperature, but pull it a few centimeters back from the stems to discourage rot.
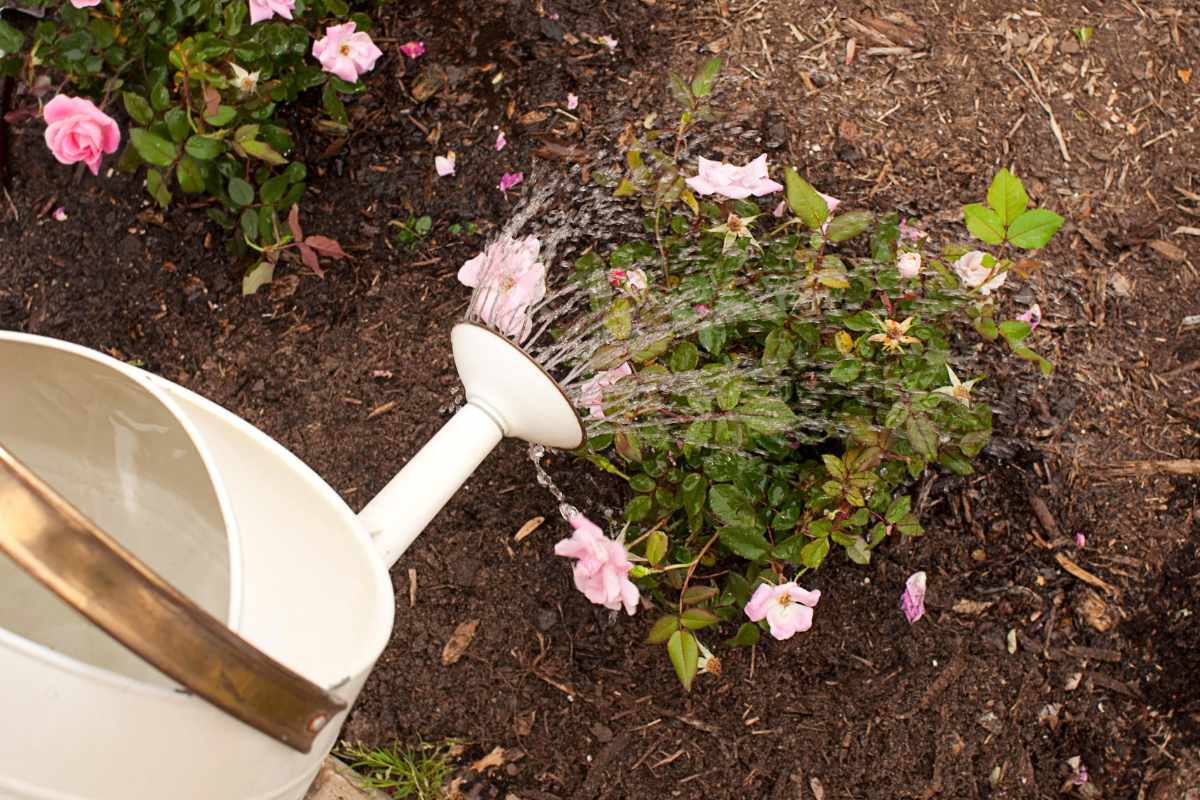
Troubleshooting Common Bumps in the Road
Low germination can be normal. Some rose lines simply have lower viability, and stratification needs vary.
If rates are disappointing, try a longer cold period next round, or repeat stratification with a subset of the unsprouted seeds.
Surface mold during stratification usually means the medium was too wet or airflow was limited.
Rinse seeds, refresh the medium to a barely damp state, and include a few tiny ventilation holes in your container.
Leggy seedlings almost always point to insufficient light or lights placed too far away.
Lower the fixture and extend the daily light window. If stems stretch early, gently mound a little extra mix around the base when potting up to keep them stable.
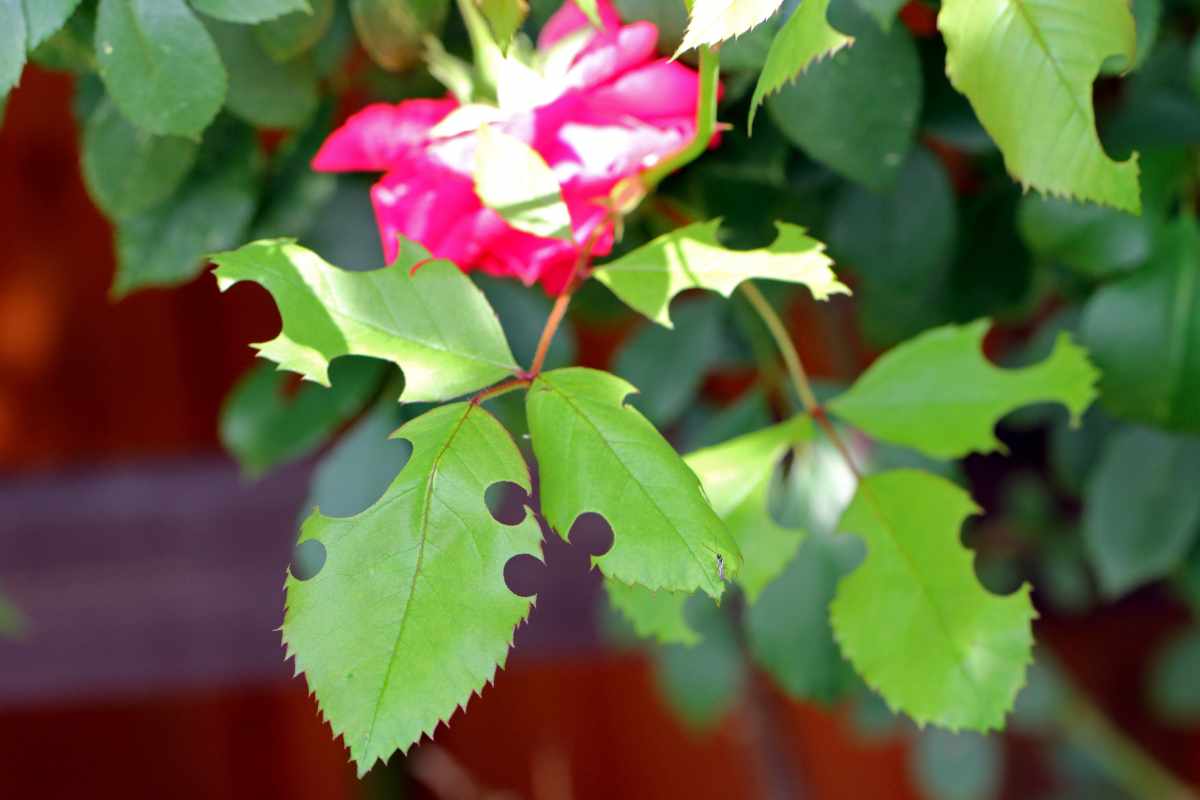
Leaf spotting or yellowing in young plants often comes from overwatering, poor drainage, or sudden temperature swings.
Correct the environment before you reach for any treatment—healthy cultural conditions solve most seedling woes.
Is Seed the Right Route for You?
Starting roses from seed is magical, but it’s not the fastest path to flowers. If your goal is to replicate a beloved cultivar—or to enjoy blooms sooner—propagating from cuttings is typically more reliable and far quicker.
Consider doing both: raise a handful of seedlings for the thrill of discovery while you root a few cuttings to guarantee color in the near term.
If you need it, check our in-house guide on rose cuttings for a simple, high-success method.
Caring for Your Young Roses in Their First Season
Resist the urge to push seedlings hard with heavy feeding or frequent pruning.
Focus instead on consistent moisture, sunlight, and airflow. Pinch only if a plant becomes drastically unbalanced, and avoid strong fertilizers that can scorch tender roots.
If pests appear, start with the gentlest response: a sharp jet of water to dislodge aphids, a quick check for ants farming them, and improved airflow to discourage mildew.

By the end of their first outdoor season, most seedlings will have defined their growth habit, leaf character, and vigor. Some may surprise you with early buds, but many need another year to reveal what they can do.
Keep notes—you’re not just gardening, you’re documenting a tiny breeding project.
Roses from Seed: Final Notes for Success
Growing roses from seed asks for patience, consistency, and curiosity.
Give the seeds a clean start, cold stratify with care, keep light strong and airflow gentle, and introduce the outdoors slowly.
Expect variability and embrace it—each sprout is a one-of-a-kind plant you helped bring into the world.
Whether your seedlings become garden stars or simply teach you new skills, the process will make you a better, more observant gardener.
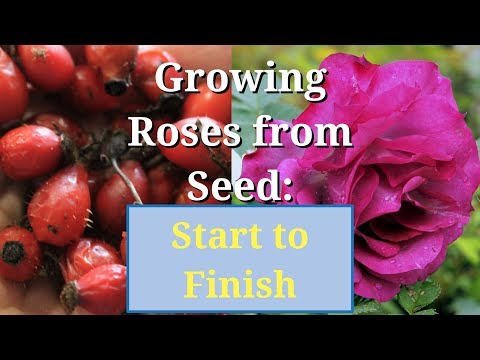
Enjoy the Video Tutorial
Source: Fraser Valley Rose Farm
Did you find this post useful or inspiring? Save THIS PIN to your Gardening Board on Pinterest!😊

Once again, thank you for visiting our website!
We hope you've enjoyed exploring the content we've created for you.
Give yourself the chance to learn, get inspired, and have even more fun, keep browsing...
More Gardening Tips 👇🏼👇🏼