
DIY Rain Garden to Help the Environment

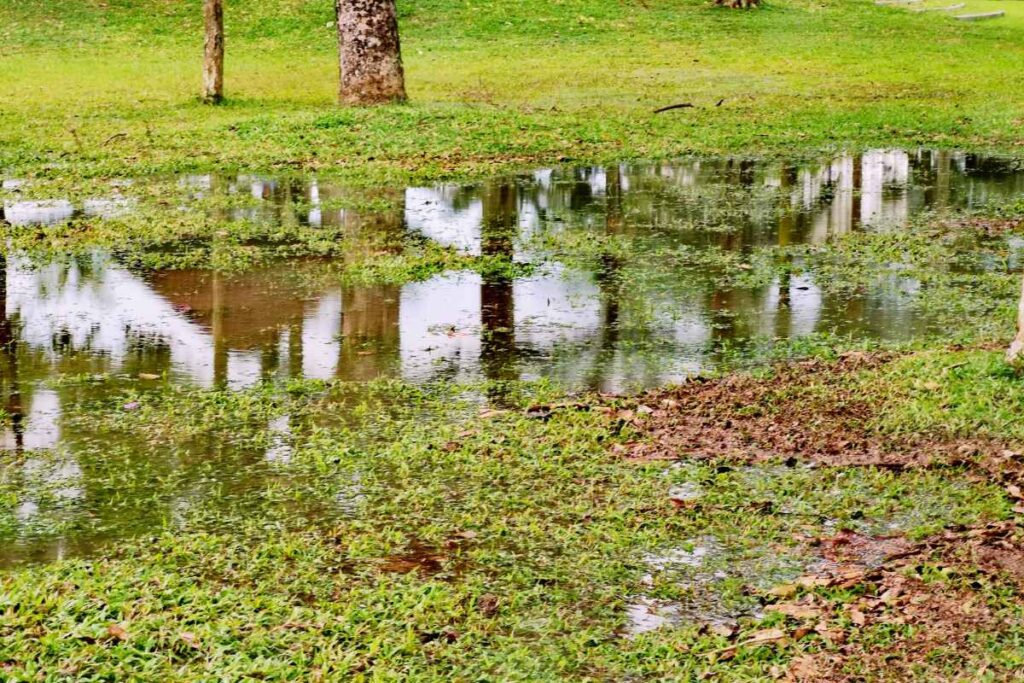
A rain garden is more than just a beautiful addition to your yard—it’s a powerful tool in the fight against water pollution and stormwater runoff. As climate change intensifies rainfall events, managing runoff has become a critical concern for homeowners and communities alike.
By creating a rain garden, you can help reduce the strain on stormwater systems, improve local water quality, and even enhance the overall aesthetic of your outdoor space. In this article, we’ll guide you through the process of designing and building a DIY rain garden that not only beautifies your property but also plays a significant role in protecting the environment.
What is a Rain Garden?
A rain garden is a planted depression or area designed to capture, filter, and absorb stormwater runoff. It is typically planted with native plants that thrive in wet conditions. The purpose of the rain garden is to allow rainwater to soak into the ground, reducing the amount of water that flows into storm drains and local waterways. In doing so, rain gardens help to:
Reduce stormwater runoff and prevent flooding
Improve water quality by filtering out pollutants like oil, pesticides, and fertilizers
Enhance local ecosystems by providing habitat for pollinators and wildlife
Increase the beauty of your yard with colorful, low-maintenance plants
Why Are Rain Gardens Important?
As urbanization increases, impervious surfaces such as roads, driveways, and rooftops limit the amount of water that can naturally absorb into the ground. When it rains, water flows over these surfaces and picks up pollutants, carrying them into storm drains and eventually into local rivers, lakes, and oceans. This runoff can lead to water pollution, erosion, and flooding, as well as harm to aquatic life.
Rain gardens provide a natural solution to this problem by capturing and infiltrating runoff where it falls, reducing pollution and the strain on local drainage systems. By creating a rain garden, you’re contributing to a healthier, more sustainable environment for your community and beyond.
Steps to Create Your DIY Rain Garden
Building a rain garden is a rewarding and straightforward project. Here’s a step-by-step guide to help you get started.
Step 1: Choose the Right Location
The first step in creating a rain garden is selecting the perfect location. Ideally, your rain garden should be placed in an area where water naturally drains or accumulates after a rainstorm. Consider the following factors when choosing a spot:
Downhill from downspouts: Position your rain garden where water naturally flows, such as near a downspout or at the bottom of a slope where water tends to pool.
Avoid planting near foundations: Ensure the garden is at least 10 feet away from your home’s foundation to prevent water from pooling around it and potentially causing damage.
Access to sunlight: Choose an area that receives partial to full sunlight. This will ensure your plants thrive and the soil dries out more quickly after rain.
Step 2: Calculate the Size of Your Rain Garden
The size of your rain garden will depend on the amount of runoff you need to manage. A general rule of thumb is that your rain garden should be about 20-30% of the area draining into it. To determine the size, you can follow these steps:
Measure the impervious surface area: Calculate the total area of your roof, driveway, or other hard surfaces that contribute to stormwater runoff.
Determine the garden's dimensions: For every 1 inch of rain, a rain garden should be designed to capture runoff from about 1 inch of impervious surface. For example, if your roof is 500 square feet, your rain garden should be about 100 square feet in size.
Step 3: Dig and Shape the Garden
Once you’ve chosen the right location and size, it’s time to dig. The shape of your rain garden should be a shallow depression that allows water to collect and filter into the ground. Here’s how to proceed:
Dig to a depth of 6-12 inches: Depending on your soil type, you may need to dig a little deeper. A depth of 6 inches is typically sufficient for most gardens, but you may need to dig a little more if you have clay or compacted soil.
Shape the garden: Make sure the center of the garden is the lowest point, creating a natural bowl shape that will allow water to accumulate and flow toward the middle.
Step 4: Improve Drainage
For a rain garden to work effectively, good drainage is essential. If you have heavy clay soil, you may need to amend it to improve its ability to absorb water. Here’s how to improve drainage:
Mix in organic matter: Incorporate compost, sand, or organic mulch into the soil to increase its porosity and allow water to infiltrate more easily.
Add gravel: Consider adding a layer of gravel at the bottom of the garden to help with drainage. This will ensure that water doesn’t pool for too long, which could lead to root rot in your plants.
Step 5: Select the Right Plants
Choosing the right plants is critical for a successful rain garden. The best plants for rain gardens are native species that are adapted to local weather conditions and can tolerate both wet and dry conditions. Native plants also require less maintenance, water, and fertilizer, making them ideal for eco-friendly gardening.
Here are some examples of native plants that do well in rain gardens:
Purple Coneflower (Echinacea purpurea): A hardy, drought-tolerant plant that thrives in rain gardens and attracts pollinators.
Black-eyed Susan (Rudbeckia hirta): Known for its vibrant yellow flowers, this plant can handle both wet and dry conditions.
Joe Pye Weed (Eutrochium purpureum): This tall, striking plant tolerates wet soils and attracts butterflies.
Swamp Milkweed (Asclepias incarnata): A favorite of monarch butterflies, this plant thrives in moist soils and adds color to your rain garden.
Iris (Iris versicolor): Known for its stunning blue flowers, the iris thrives in wet soil and is great for edging your rain garden.
Tip: Choose a mix of groundcovers, grasses, and flowering plants to create visual interest and ensure your garden is filled with life throughout the year.
Step 6: Add Mulch and Watering
After planting your garden, add a layer of organic mulch to help retain moisture, suppress weeds, and protect plant roots. A 2-3 inch layer of mulch should be sufficient.
Watering: While your plants establish roots, you may need to water them regularly. Once established, however, your rain garden should be self-sustaining, using rainwater for hydration.
Step 7: Maintain Your Rain Garden
Maintaining your rain garden is simple and involves basic tasks like:
Weeding: Remove any invasive species or weeds that may compete with your plants.
Pruning: Trim back any overgrown plants to maintain the aesthetic and ensure the garden doesn’t become too crowded.
Monitoring water flow: Make sure the water flows freely into the garden after a rainstorm and doesn’t cause erosion.
Benefits of a DIY Rain Garden
Building a rain garden offers numerous environmental and aesthetic benefits. Here’s why it’s worth the effort:
Stormwater Management: A rain garden reduces runoff, prevents flooding, and helps protect local waterways by filtering out pollutants.
Supports Local Wildlife: By planting native species, you provide habitat for pollinators like bees, butterflies, and birds.
Low Maintenance: Once established, rain gardens are relatively low-maintenance, requiring minimal watering and no fertilizers.
Aesthetic Appeal: Rain gardens can be a beautiful and functional addition to your yard, turning a drainage problem into a vibrant, eco-friendly garden.
A DIY rain garden is a wonderful way to help the environment while enhancing the beauty of your property. By capturing and filtering stormwater, you reduce pollution, help prevent flooding, and provide a haven for local wildlife.
With the right design, plants, and care, your rain garden will not only benefit the planet but also create a stunning feature in your outdoor space. Start your rain garden today and contribute to a more sustainable and eco-friendly future.
Did you find this post useful or inspiring? Save THIS PIN to your GARDEN Board on Pinterest!
More Gardening Tips 👇🏼👇🏼