
Espalier Made Easy: Tips for First-Time Gardeners

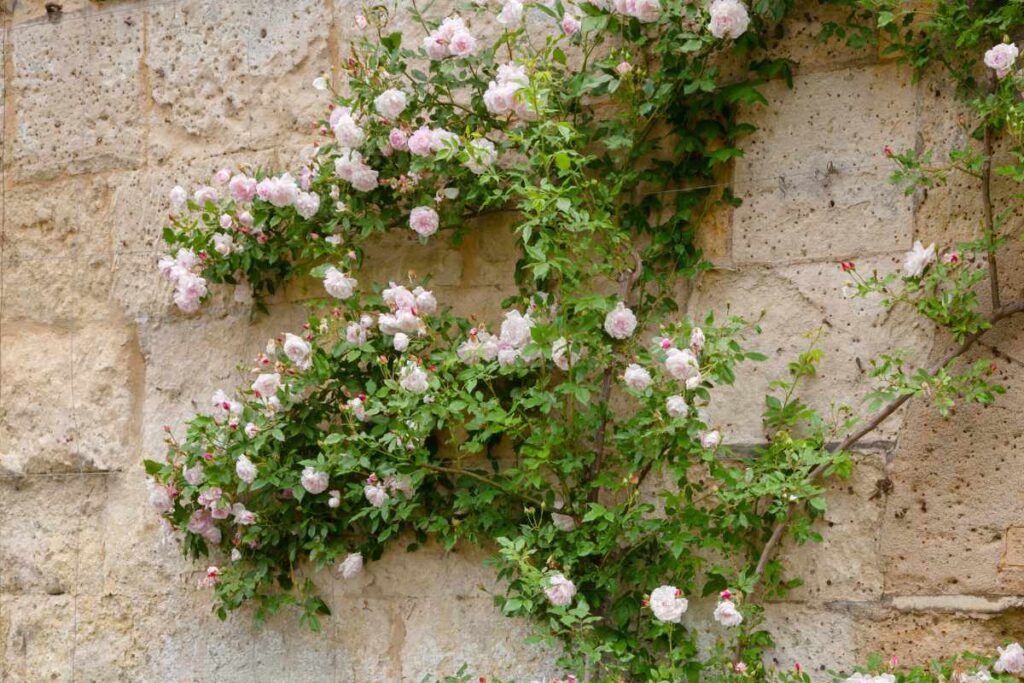
Have you ever admired the sight of a fruit tree or ornamental shrub neatly trained to grow flat against a wall or fence? This gardening technique, known as espalier, is not only beautiful but also incredibly practical.
While espalier might seem like an advanced technique at first glance, it’s a rewarding practice that gardeners of any skill level can learn with a bit of patience and guidance.
In this article, we'll cover the basics of espalier, including what it is, why it's beneficial, and how you can start your espalier project.
What is Espalier?
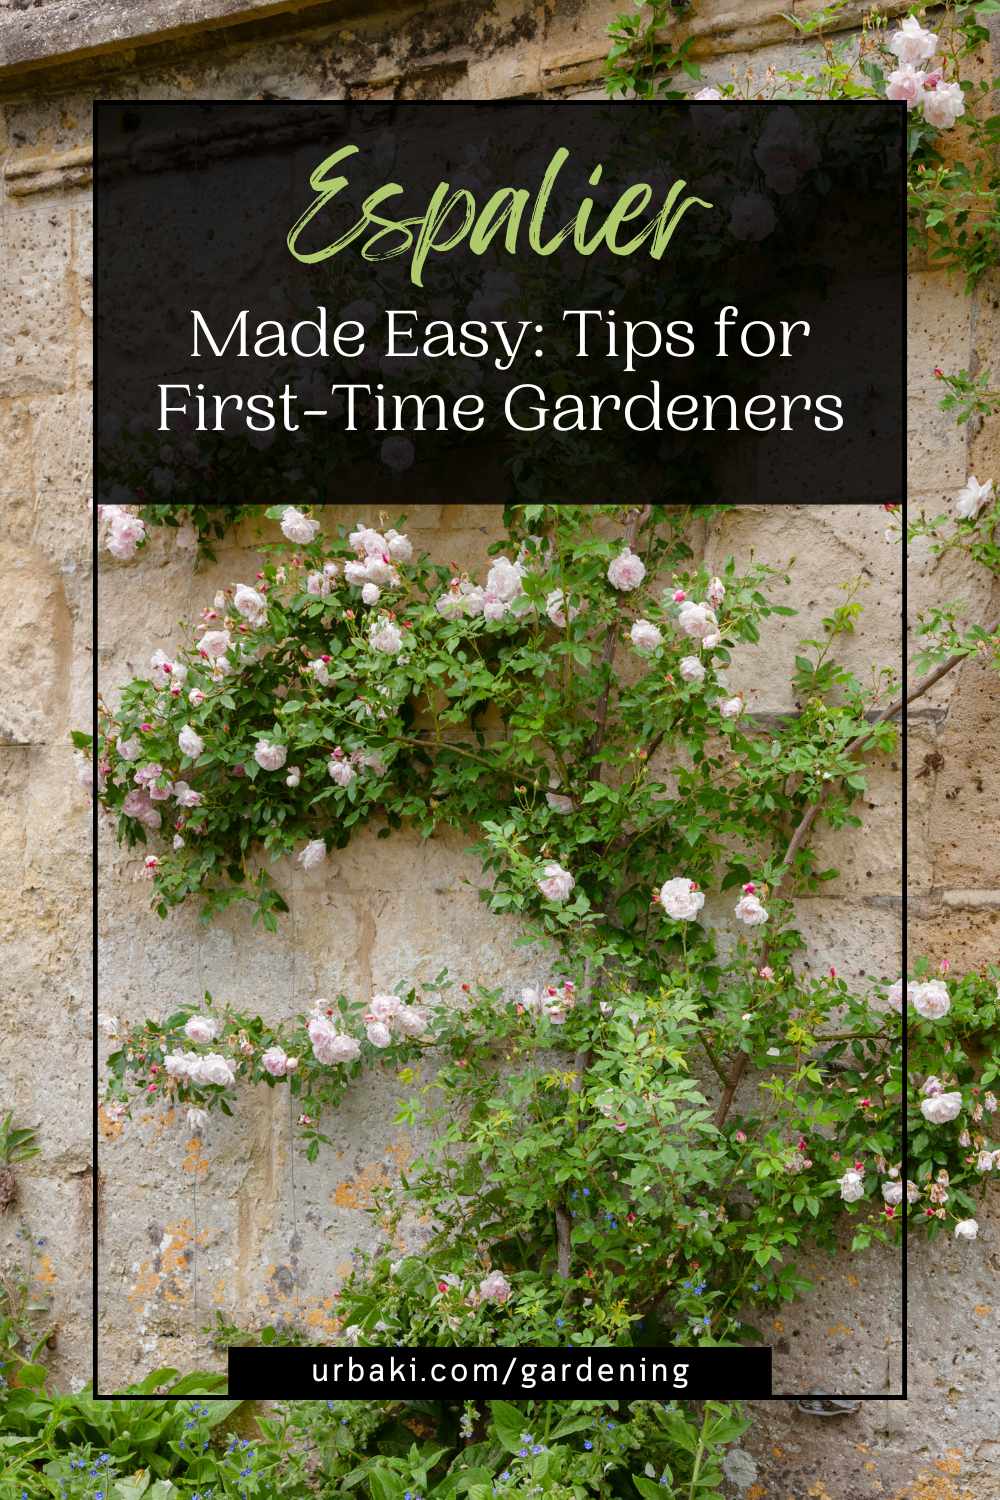
Espalier is a method of training trees or shrubs to grow flat along a structure, such as a wall, fence, or trellis.
The technique has been around for centuries, with its roots tracing back to ancient times. It became particularly popular in medieval Europe, where it was used to make the most of small garden spaces and to encourage fruit production in cooler climates by utilizing the warmth radiating from walls.
Why You Should Try It?
- Space-Saving: Espalier allows you to grow fruit trees and ornamental plants in small spaces, making it perfect for urban gardens, patios, and courtyards.
- Increased Sun Exposure: By training the branches to grow flat, more of the plant receives direct sunlight, which can improve fruit production and overall plant health.
- Aesthetic Appeal: Espalier creates a beautiful, structured look in your garden, adding architectural interest and elegance.
- Easier Maintenance: Pruning, harvesting, and pest control are often simpler with espaliered plants, as the flat structure makes the branches more accessible.
Choosing the Right Plants
Before you start, it's important to choose the right type of plant. Not all trees or shrubs are suitable for espalier, so here are a few options that work well for beginners:
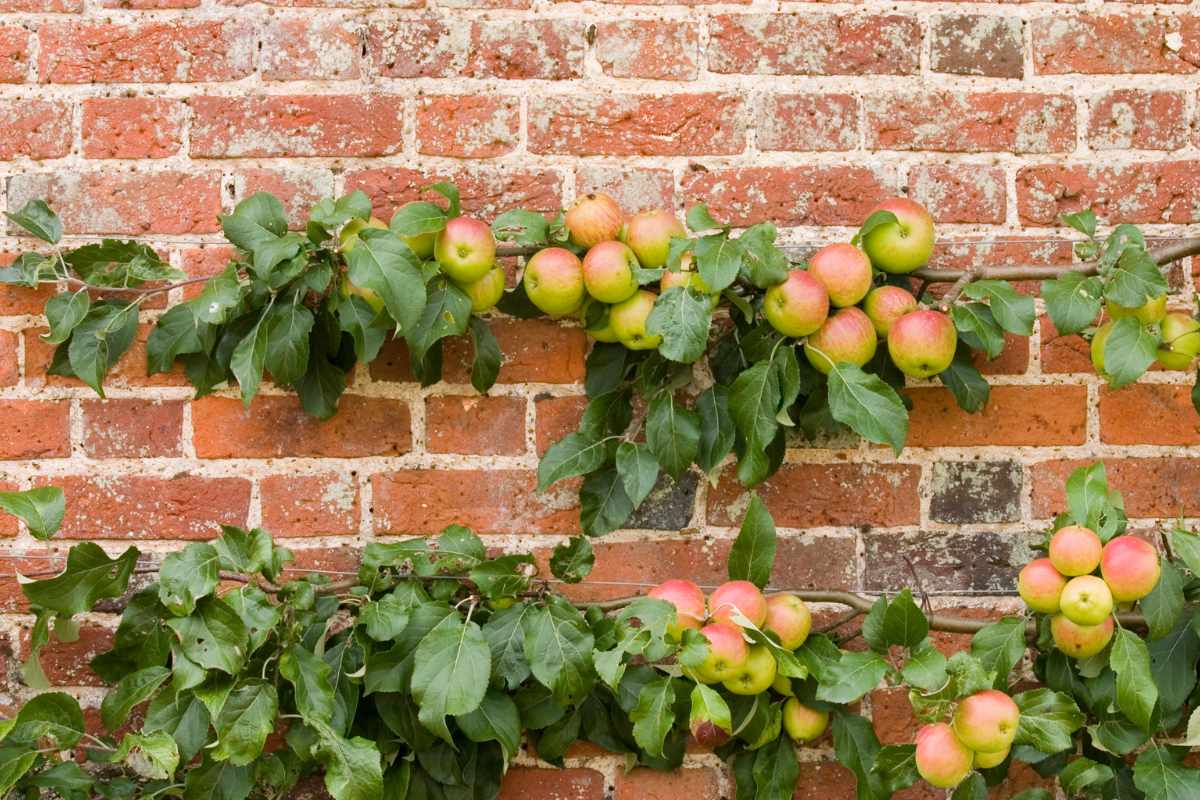
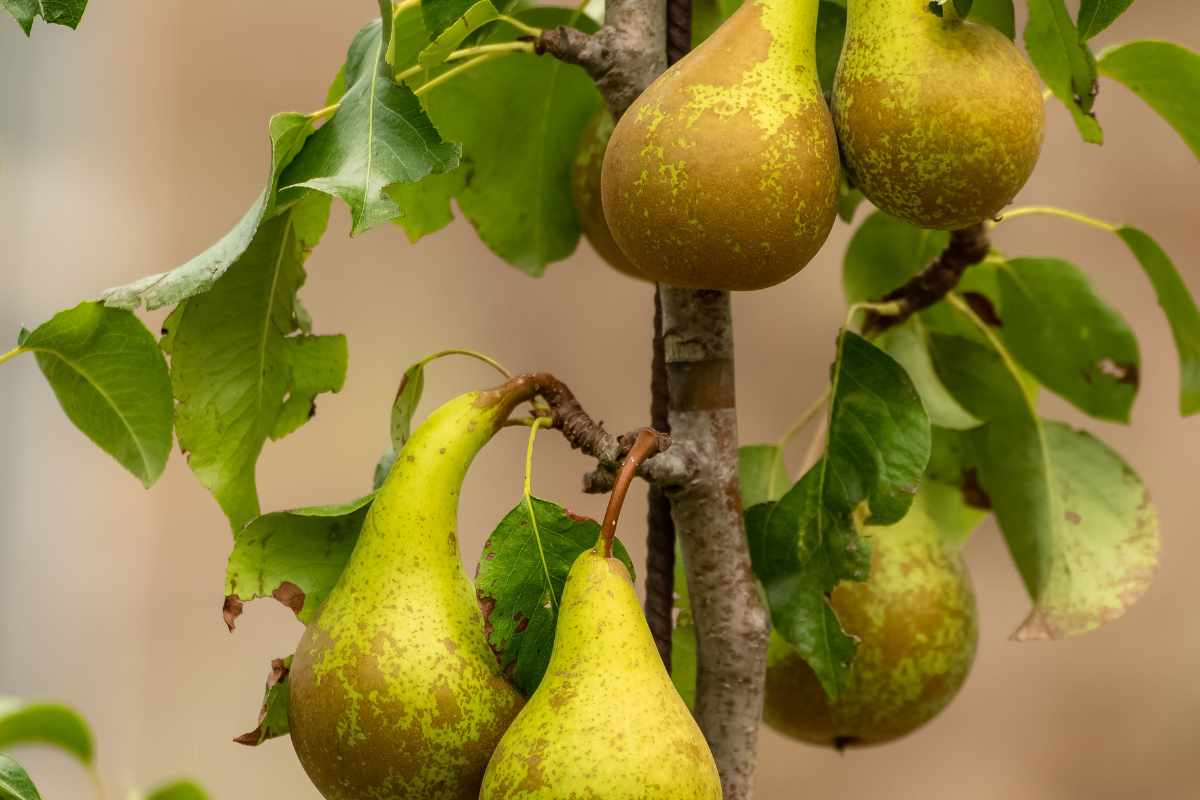
- Fruit Trees: Apple and pear trees are the most common choices for espalier. They respond well to pruning and training, and their branches can be easily shaped.
- Citrus Trees: Lemon and orange trees can also be trained using espalier techniques, especially in warmer climates.
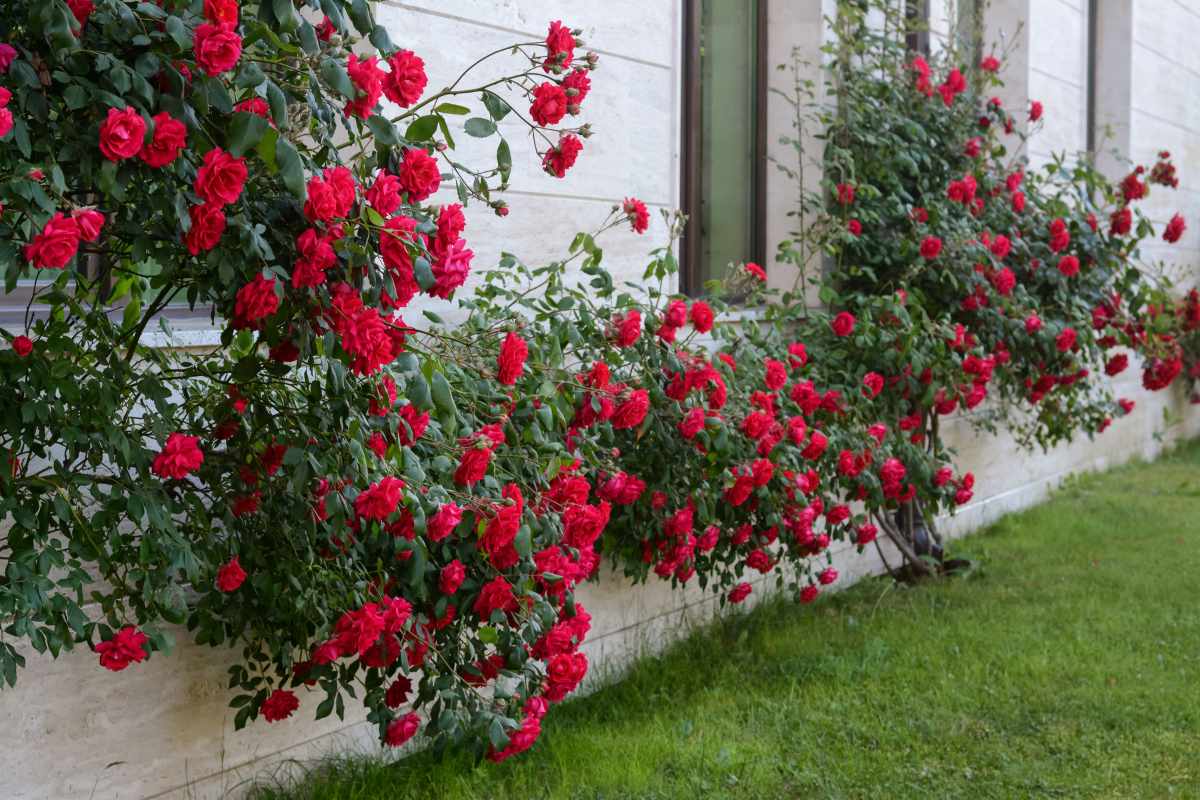
- Ornamental Plants: Some ornamental shrubs, like camellias and magnolias, can be espaliered to create stunning garden features.
Key Considerations
- Climate: Choose plants that thrive in your local climate. For example, apple and pear trees are better suited to cooler climates, while citrus trees do well in warmer regions.
- Rootstock: If possible, select dwarf or semi-dwarf varieties, as they are easier to manage and are well-suited for espalier.
How to Start Espaliering: Step-by-Step
1. Select a Location
Choose a sunny spot with well-drained soil. Ideally, the location should have a solid surface like a wall or fence to support the espaliered plant. South-facing walls are ideal as they receive the most sunlight, but east or west-facing walls can also work.
2. Install Support Structure
To guide the plant’s growth, you'll need a sturdy support structure. This can be a trellis, wire framework, or wooden lattice. Here’s how to set it up:
- Wire System: Install horizontal wires spaced 12-18 inches apart along the wall or fence. Secure them with eye bolts or hooks at the ends.
- Trellis or Lattice: If you prefer, you can attach a wooden trellis or lattice to the wall, which provides an attractive and functional support for the plant.
3. Planting Your Tree or Shrub
Plant your chosen tree or shrub about 6-12 inches away from the wall or support structure to allow for adequate root space. Follow these steps for successful planting:
- Dig the Hole: Make sure the hole is twice as wide and just as deep as the plant's root ball.
- Position the Plant: Place the tree or shrub in the hole, ensuring it’s level and straight. Backfill with soil and water thoroughly to settle the roots.
- Initial Pruning: After planting, prune the main stem to about 18-24 inches tall, leaving 3-5 buds. This will encourage the plant to produce side branches that you can train along the support.
4. Training and Pruning
Espalier requires regular training and pruning to shape the plant into the desired form. Here’s how to get started:
- Select Branches: Choose the strongest side branches (laterals) to train along the wires or trellis. These will become your main framework branches.
- Tie Branches: Gently tie the selected branches to the support structure using soft ties, like garden twine or plastic ties, leaving some room for growth. Avoid tying too tightly, as this can damage the branches.
- Prune Regularly: Prune the plant during its dormant season (late winter or early spring) to remove any unwanted growth and encourage the development of your framework branches.
5. Ongoing Care and Maintenance
Once your espalier is established, regular care is essential to maintain its shape and health:
- Watering: Keep the soil consistently moist, especially during dry periods. Deep watering is preferable to ensure the roots receive enough moisture.
- Fertilizing: Feed your plant with a balanced fertilizer in early spring to promote healthy growth and fruit production.
- Pest Control: Monitor your espaliered plant for signs of pests or disease. Regular inspection and prompt treatment can prevent problems from spreading.
- Summer Pruning: In late summer, prune any excess growth that doesn’t contribute to the structure. This keeps the plant tidy and focused on producing fruit or flowers.
Common Espalier Patterns for Beginners
As a beginner, it’s best to start with simple espalier patterns. Here are a few classic designs:
- Horizontal Cordon: The simplest form, with branches trained horizontally along the support wires.
- Fan: The branches are spread out in a fan shape, radiating from the main trunk.
- Belgian Fence: A more decorative pattern where branches from multiple plants crisscross to form a lattice effect.
Starting with one of these classic espalier patterns can help you ease into the technique without feeling overwhelmed. Whether you choose the straightforward Horizontal Cordon or the more intricate Belgian Fence, you'll be creating a living work of art that not only saves space but also enhances your garden’s aesthetic.
As you begin, remember that patience is key. Espalier is a long-term project that develops over time, but with consistent care, you'll see your trees and shrubs take shape.
The result is a beautifully trained plant that’s not only functional but also a striking feature in your outdoor space.
Did you find this post useful or Inspiring? Save THIS PIN to your GARDENING Board on Pinterest!
Once again, thank you for visiting our website!
We hope you've enjoyed exploring the content we've created for you.
Give yourself the chance to learn, get inspired, and have even more fun, keep browsing...
More Gardening Tips 👇🏼👇🏼