
How to Build a Raised Bed CHEAP and EASY


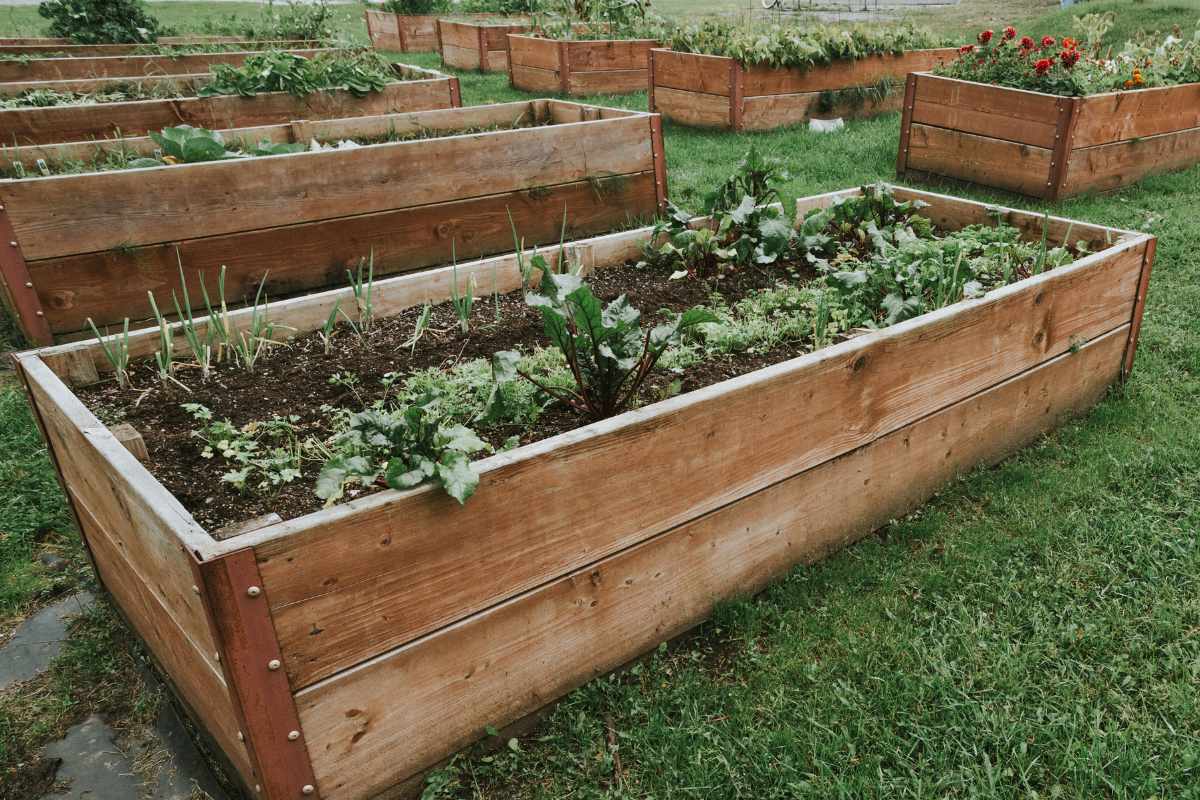
Building a raised garden bed is one of the best ways to improve your gardening experience.
Whether you want to grow vegetables, herbs, or flowers, a raised bed offers several advantages over traditional gardening.
It improves soil drainage, reduces weed growth, and makes gardening more accessible, especially for those with limited mobility.
In this step-by-step guide, we’ll walk you through how to build a cheap and easy raised garden bed, so you can start growing your garden today!
Materials Needed
Before you begin, gather the following materials:
Wooden Boards: 4 untreated pine or cedar boards, each measuring 2"x6"x8' (or adjust depending on desired size)
Corner Brackets: 4 metal corner brackets for securing the corners of the bed
Screws: 16-20 exterior-grade screws (to secure the wood)
Tools: Drill, saw (if wood isn’t pre-cut), measuring tape, level
Optional: Landscape fabric (to prevent weeds), mulch (for soil insulation and moisture retention)
Make sure the wood is untreated to avoid chemicals leaching into the soil, which can harm your plants.
Step-by-Step Instructions
1. Prepare the Site
Choose a sunny location with good drainage for your garden bed. Clear the area of grass, weeds, and rocks.
Measure and mark out the dimensions of the raised bed.
2. Cut the Wood (if necessary)
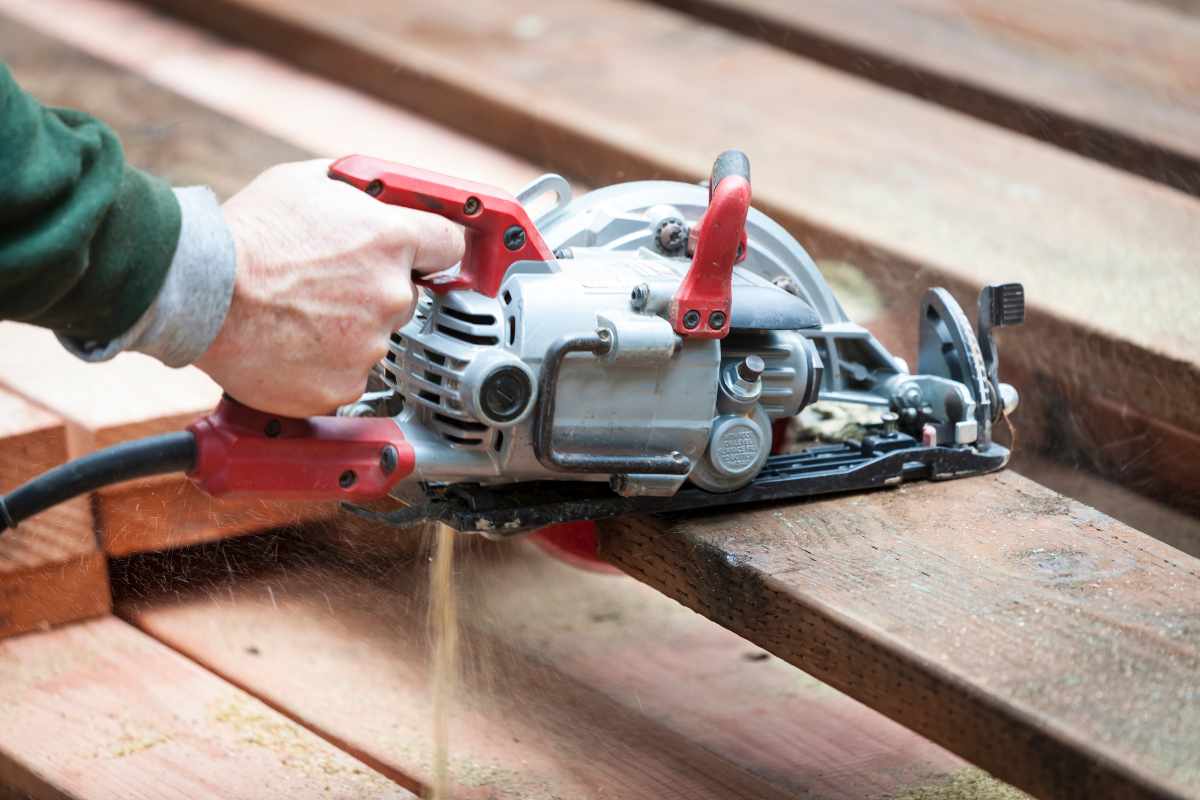
If your wood isn’t pre-cut, use a saw to cut the wooden boards to your desired length.
Typically, a 4’ x 8’ size is ideal for most gardens, but you can adjust this based on your space and preferences.
3. Assemble the Frame
Using the corner brackets, attach the four wooden boards to form a rectangular or square frame.
Use screws to secure the boards tightly. Make sure the frame is level on the ground by adjusting as needed.
4. Position the Bed
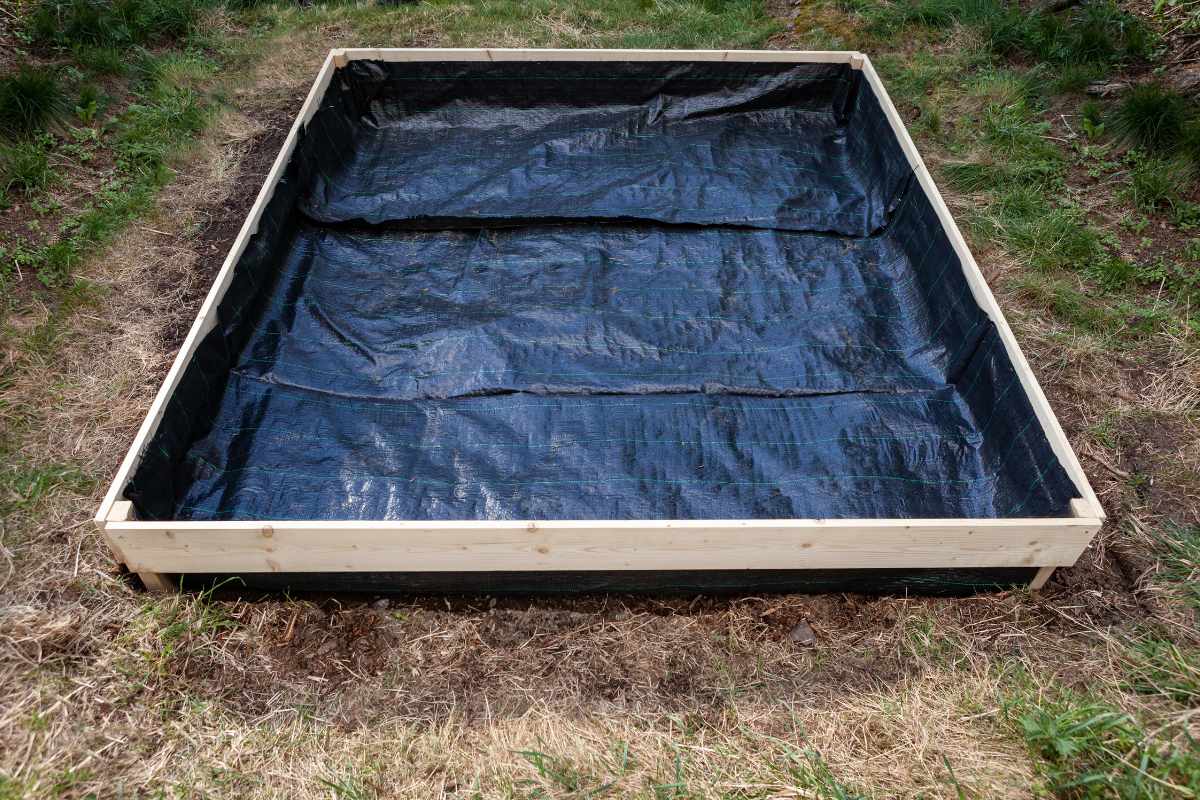
Once the frame is assembled, position the bed in the area you prepared earlier.
Ensure it’s level for proper drainage.
5. Add Soil
Fill the raised bed with a soil mix that includes compost, topsoil, and organic matter.
A ratio of 60% topsoil, 30% compost, and 10% perlite or vermiculite for drainage works well.
You can also add organic matter such as aged manure or leaf mold to enrich the soil.
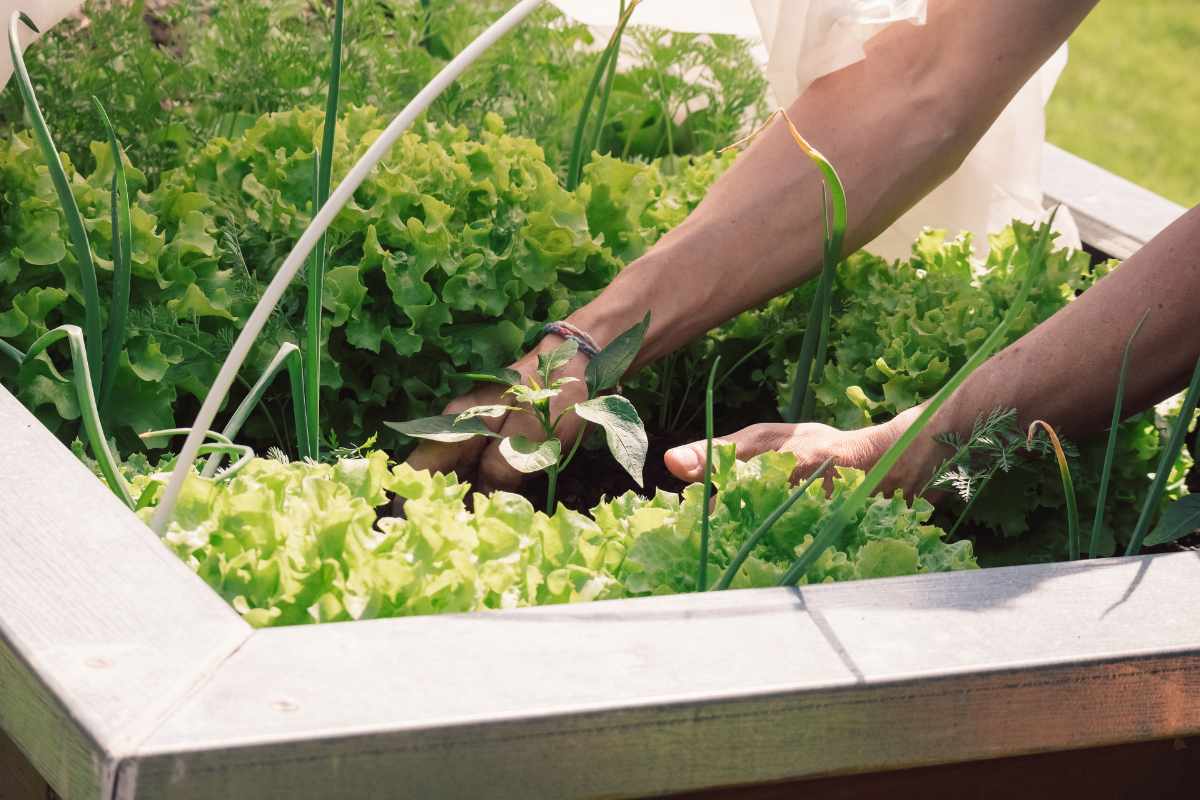
6. Plant Your Garden
Now that your raised bed is ready, it’s time to plant.
Select plants based on your climate, the bed size, and the amount of sunlight the bed will receive.
Vegetables like lettuce, tomatoes, and carrots thrive in raised beds, as do herbs such as basil and rosemary.

Additional Tips
Prevent Weeds: Consider placing landscape fabric at the bottom of the bed before adding soil. This will help prevent weed growth from beneath the bed.
Use Quality Wood: Untreated wood, such as cedar or pine, is ideal for raised beds because it won’t leach harmful chemicals into the soil. Cedar naturally resists decay and lasts longer.
Alternative Materials: If you prefer a more rustic look or want to use repurposed materials, you can use cinder blocks, bricks, or even repurposed wood.
Mulching: Apply a layer of mulch around the base of your plants to retain moisture and reduce the growth of weeds.
Final Thoughts
Building a raised garden bed is a rewarding and straightforward project that improves your gardening experience.
With the right materials and a few simple steps, you can create a space to grow your favorite plants and enjoy a beautiful garden.
Whether you're an experienced gardener or a beginner, this affordable DIY project is perfect for anyone who wants to start gardening at home.
Enjoy The Video Tutorial
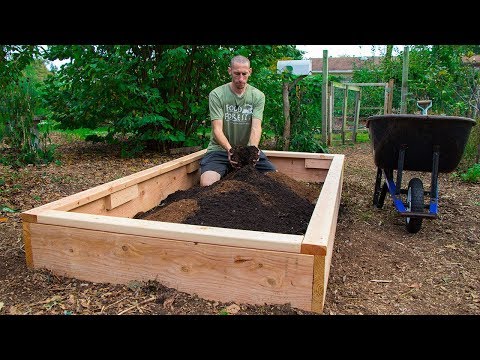
source: The Gardening Channel With James Prigioni
Don’t forget to Subscribe to our Newsletter to receive amazing tips and tricks about Gardening and the FREE Ebook Green Living Strategies!
Did you find this post Useful or Inspiring? Save THIS PIN to your GARDENING Board on Pinterest! 😊

Once again, thank you for visiting our website!
We hope you've enjoyed exploring the content we've created for you.
Give yourself the chance to learn, get inspired, and have even more fun, keep browsing...
More Gardening Tips 👇🏼👇🏼