
How To Build A Raised Garden Bed With Drip Irrigation - Cheap And Easy!


Transform your gardening experience with a raised garden bed equipped with a drip irrigation system.
This DIY project is cost-effective, easy to set up, and ensures your plants receive consistent watering, leading to healthier growth and reduced maintenance.
Whether you’re a beginner or an experienced gardener, this simple guide will help you create a thriving garden with minimal effort.
Materials Needed
Before you start, make sure you have the following materials:
4 Wooden Planks (2x6, 8 feet each): These will form the frame of your raised garden bed.
Drip Irrigation Kit: Includes tubing, emitters, connectors, and filters.
Wood Screws or Nails: For securing the planks together.
Corner Brackets: To reinforce the corners of your raised bed.
Landscape Fabric: Prevents weeds from growing under your bed.
Shovel or Post Hole Digger: For digging holes for the irrigation system.
Soil Mix: A mix of compost, topsoil, and other nutrients for healthy plant growth.

Step-by-Step Guide to Building Your Raised Garden Bed
1. Choose the Perfect Location
Pick a spot that gets at least 6 hours of sunlight each day. Ideally, your raised garden bed should be placed in a flat, well-drained area.
If you’re adding multiple beds, leave enough space between them for easy access.
2. Assemble the Frame
Lay out the wooden planks in a rectangular shape. Use corner brackets and screws to secure the planks together.
This will form the walls of your raised garden bed. If you’re planning a larger bed, consider using additional planks for extra support.

3. Prepare the Ground
Use a shovel to clear any grass, weeds, or debris from the area where you’ll be placing your bed.
This will prevent weeds from growing through the bottom of your garden bed.
4. Install the Drip Irrigation System
Lay out the drip tubing along the bottom of the bed, making sure it reaches each plant’s root zone. Secure the tubing in place with stakes and connect it to a water source.
Make sure to install the emitters at intervals based on the plants you’re growing.

5. Add Landscape Fabric
Lay landscape fabric at the bottom of the raised bed before adding soil. This will help prevent weeds and improve drainage.
Cut the fabric to fit the bed’s dimensions and staple it to the sides.
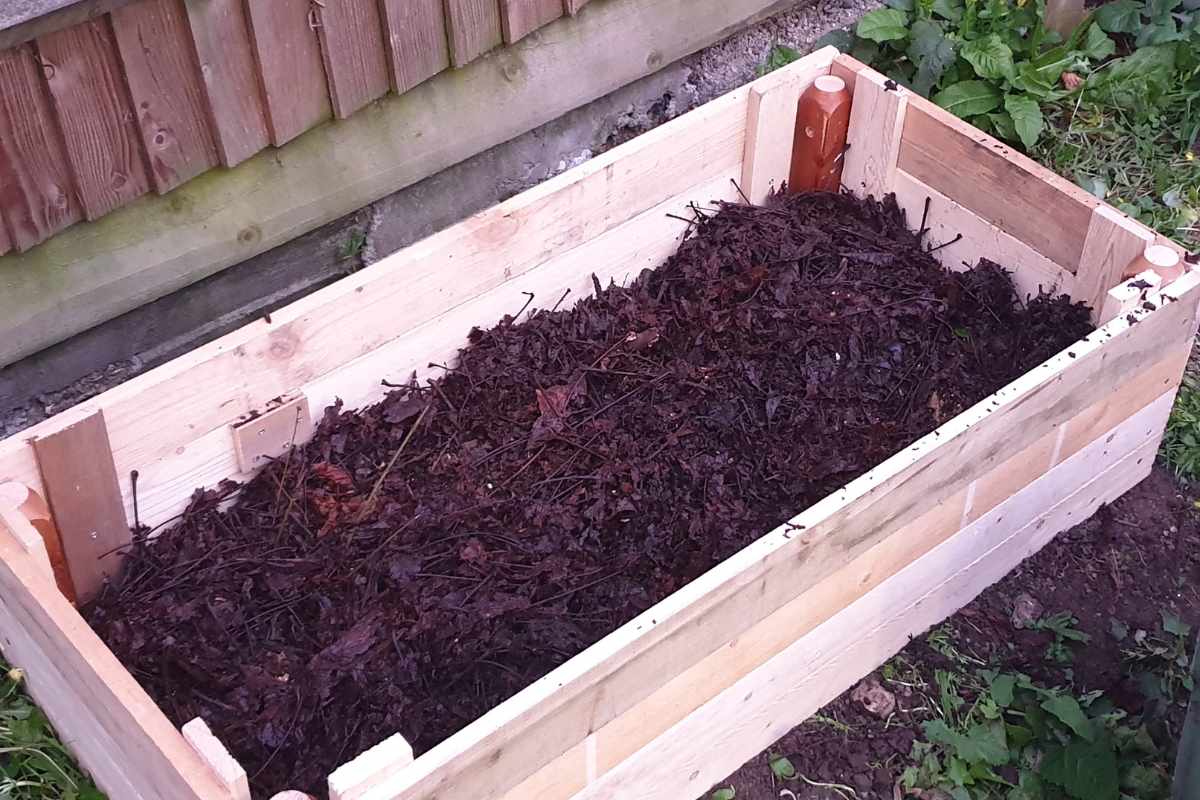
6. Fill the Bed with Soil
Now it’s time to add your soil mix. Fill the bed to about 2-3 inches from the top.
Make sure to pack the soil evenly, but don’t compact it too much. You want it to drain properly while still holding moisture.
Additional Tips for Success
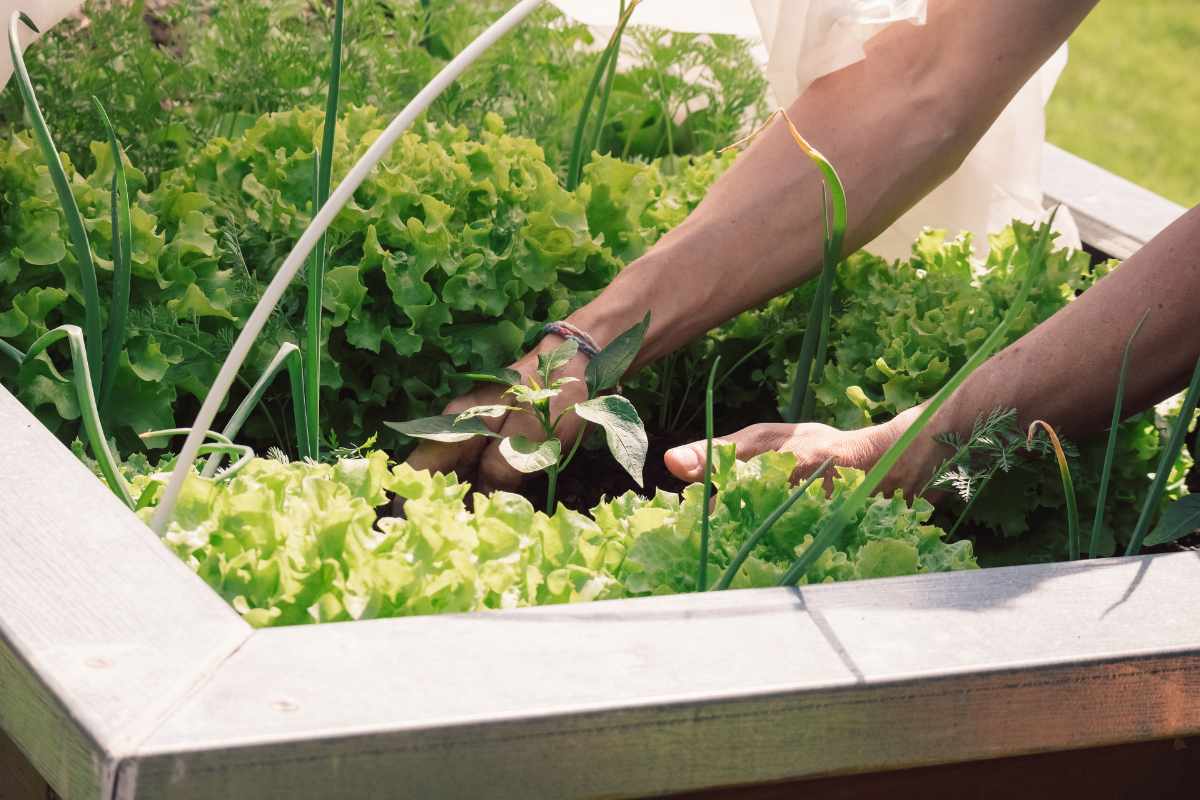
Choose the Right Plants: Consider growing vegetables or herbs that thrive in raised beds, such as tomatoes, carrots, or lettuce.
Maintain the Irrigation System: Regularly check the drip irrigation system to ensure it’s delivering water evenly to all parts of your bed.
Soil Maintenance: Over time, the soil in your raised bed will settle. Add compost or additional soil as needed to keep it nutrient-rich.
Mulch the Surface: Adding a layer of mulch will help retain moisture, suppress weeds, and maintain soil temperature.
Enjoy Your Effortless Garden
Building a raised garden bed with a drip irrigation system not only saves you money but also makes gardening more sustainable and low-maintenance.
With just a few simple materials and some time, you’ll have a thriving garden that’s easier to care for and more efficient in terms of water use.
Feel free to share your gardening tips or ask any questions in the comments below.
Enjoy The Video Tutorial
source: OrganicBackyardGardening
Don’t forget to Subscribe to our Newsletter to receive amazing tips and tricks about Gardening and the FREE Ebook Green Living Strategies!
Did you find this post Useful or Inspiring? Save THIS PIN to your GARDENING Board on Pinterest! 😊

Once again, thank you for visiting our website!
We hope you've enjoyed exploring the content we've created for you.
Give yourself the chance to learn, get inspired, and have even more fun, keep browsing...
""
More Gardening Tips 👇🏼👇🏼