
How to Make and Install a RAIN BARREL in just 1 Hour!

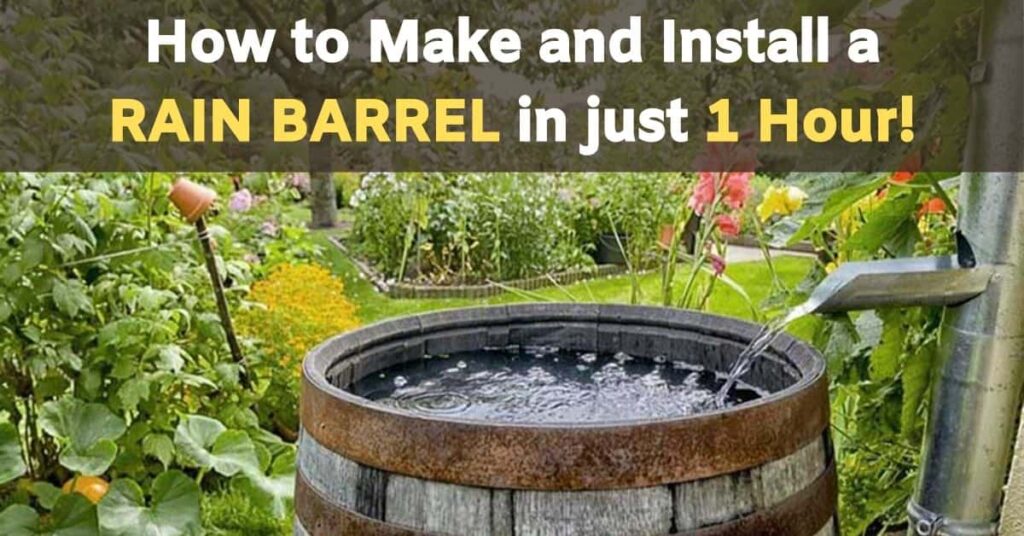
Want an easy win for water-wise gardening? A DIY rain barrel can be built in about an hour, costs far less than a pre-made system, and puts stormwater to work for your plants.
Capturing even a single shower can provide a surprising amount of water for beds, containers, and new plantings—saving money while easing pressure on municipal supplies.
Before we start...
Safety first: Rain-barrel water is non-potable. Use it for plants, outdoor cleaning, or rinsing tools—never for drinking, cooking, or bathing.
Stability matters: A full 55-gallon barrel weighs roughly 460 lb (about 208 kg). Place it on a level, load-bearing stand and secure everything before use.
Check local rules: Many places allow rainwater harvesting, but details can vary. When in doubt, confirm what’s allowed in your area.
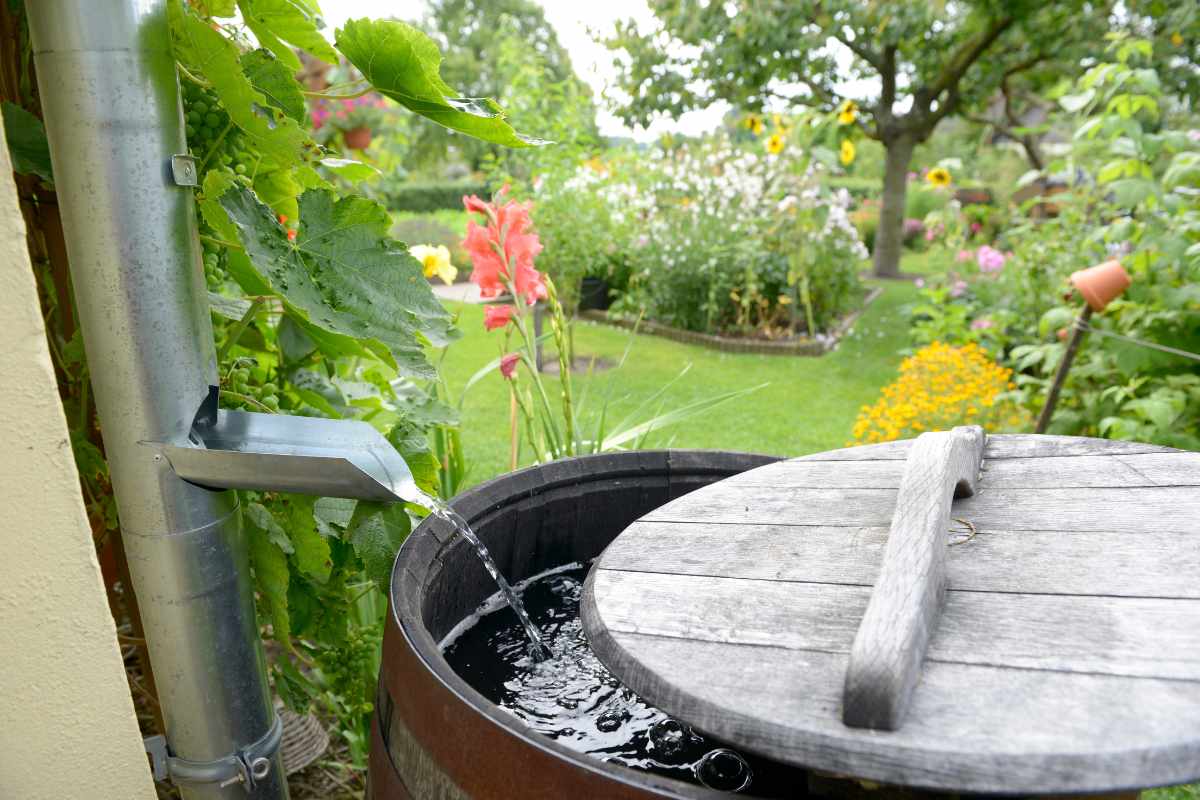
What You’ll Need (With Practical, Proven Sizes)
55-gallon opaque, food-grade barrel (opaque limits algae growth)
¾″ brass spigot (garden-hose thread) with rubber and metal washers
PTFE (Teflon) tape for leak-free threads
Overflow outlet/bulkhead: at least 1½″
Hose or PVC to carry overflow away from the house (1½–2″ is ideal)
Downspout diverter sized for your downspout (common sizes: 2×3″ or 3×4″)
Fine mesh screen (about 1/16″ “no-see-um” mesh) for a mosquito-proof lid
Exterior-grade silicone or gasket sealant
Hole saws: one to match your spigot hardware; 1½–2″ for the overflow
Stand materials: concrete pavers or cinder blocks (stable, level, and square)
Why elevation helps: Lifting the barrel 12–18″ improves gravity flow, gives space for a watering can under the spigot, and keeps sediment from being stirred up when you open the valve.
Prep & Placement
Choose the best downspout. Select one that drains a sizable roof section and is located near the areas you water most frequently.
Build a solid base. Compact the ground, lay pavers or blocks, and check for level in both directions.
Plan overflow now. Identify where excess water will go during big storms. Your overflow hose should discharge several feet away from the foundation into a lawn, swale, mulched bed, or rain garden.
Step-by-Step Installation
Install the Spigot (Leak-Proof Method)
Mark the hole 2–4″ up from the bottom of the barrel’s side.
Drill to the correct size for your spigot or bulkhead fitting.
Wrap threads with PTFE tape.
Assemble from the outside in: spigot + rubber washer (outside), then metal washer + nut (inside). Hand-tighten, then snug gently with a wrench—don’t overtighten.
Seal with a thin bead of exterior-grade silicone if needed.

Create the Inlet (Diverter or Screened Lid)
Downspout diverter: Cut the downspout per the diverter’s template, insert the diverter, and run the hose to the barrel inlet. A good diverter automatically sends extra water back down the spout when the barrel is full.
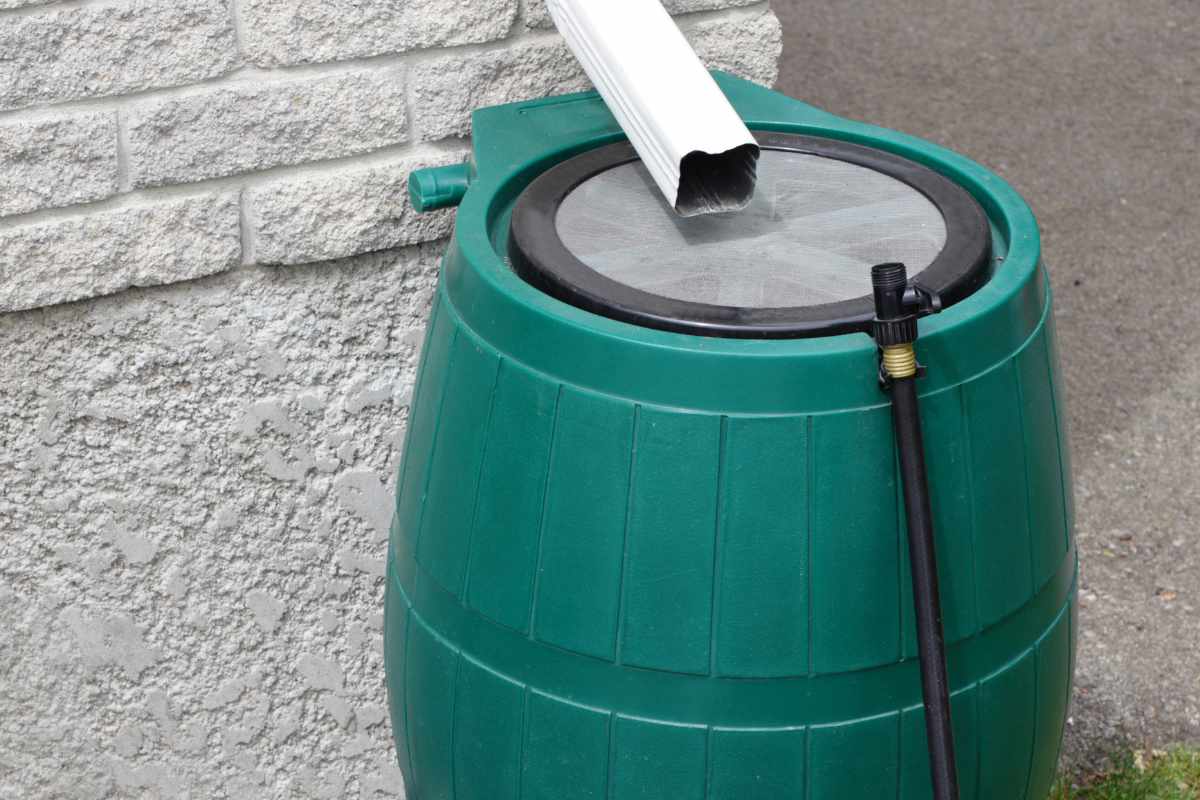
Screened inlet: If feeding directly, cut an opening in the lid and secure fine mesh across the entire hole. The mesh must be taut so water cannot pool on top.
Add a Real Overflow (Don’t Skip This)
Drill an overflow hole near the top rim.
Install a 1½-inch bulkhead (or larger) and attach a 1½–to 2–inch hose/PVC.
Route overflow 6–10 feet from the foundation toward a safe drainage area or a second barrel.
Tip: Garden-hose-sized overflows are often too small during downpours; a larger outlet prevents messy lid spillovers and foundation splashback.
(Optional) Link a Second Barrel
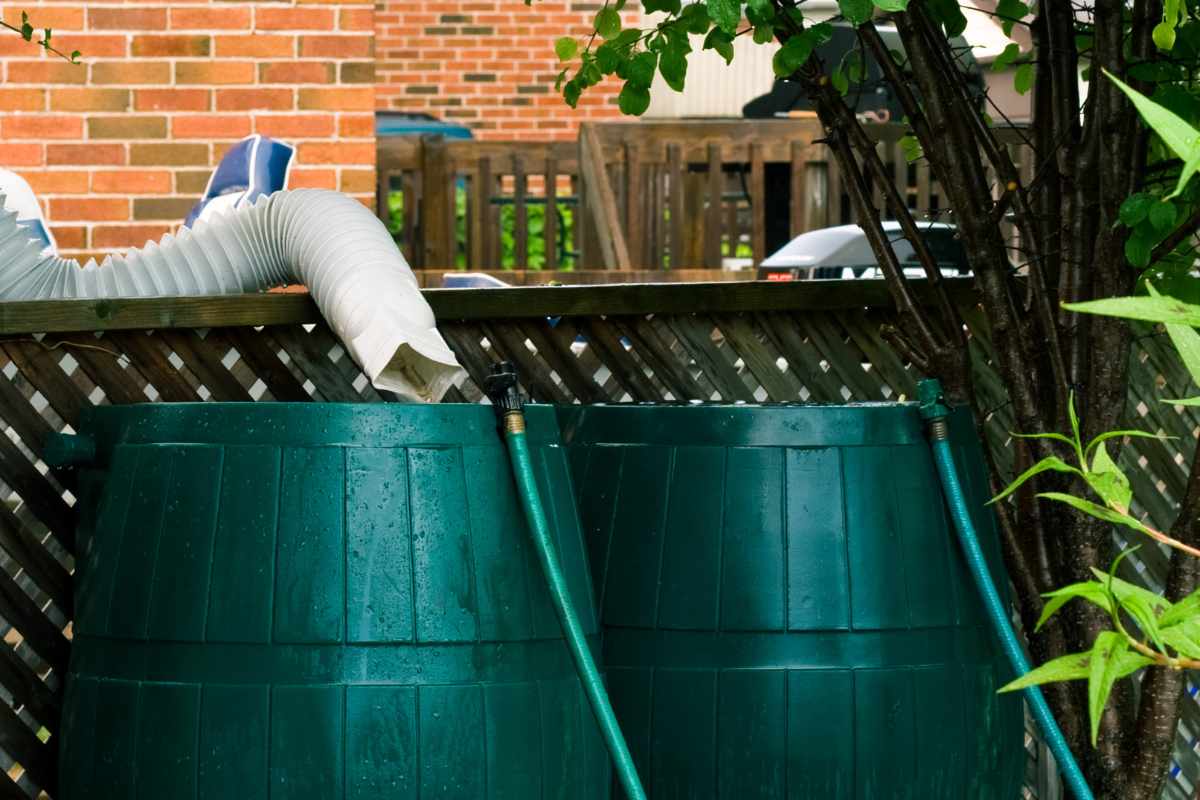
Connect barrels at the top with the same large-diameter line so they equalize while filling. Put the final overflow on the last barrel in the chain.
Make It Cleaner: First-Flush Diverter (Optional Upgrade)
A first-flush diverter captures the initial roof wash-off—where most dust, pollen, and grit collect—and sends it to waste before cleaner water goes to your barrel.
It’s especially helpful under overhanging trees or near busy streets.
As a ballpark, many gardeners divert a small initial volume relative to roof size; begin conservatively and adjust based on the debris you see.
How Fast Will It Fill? (Quick Math You Can Use)
Use this simple formula:
Gallons = Rainfall (inches) × Roof Area (sq ft) × 0.623
The 0.623 factor comes from converting inches of rain on a square foot into gallons.
Example: Half an inch (0.5″) falling on 400 sq ft that feeds your downspout:
0.5 × 400 × 0.623 = 124.6 gallons—enough to overflow a single 55-gallon barrel twice.
To adapt for your home, estimate the roof area that drains to your chosen downspout rather than the entire roof.
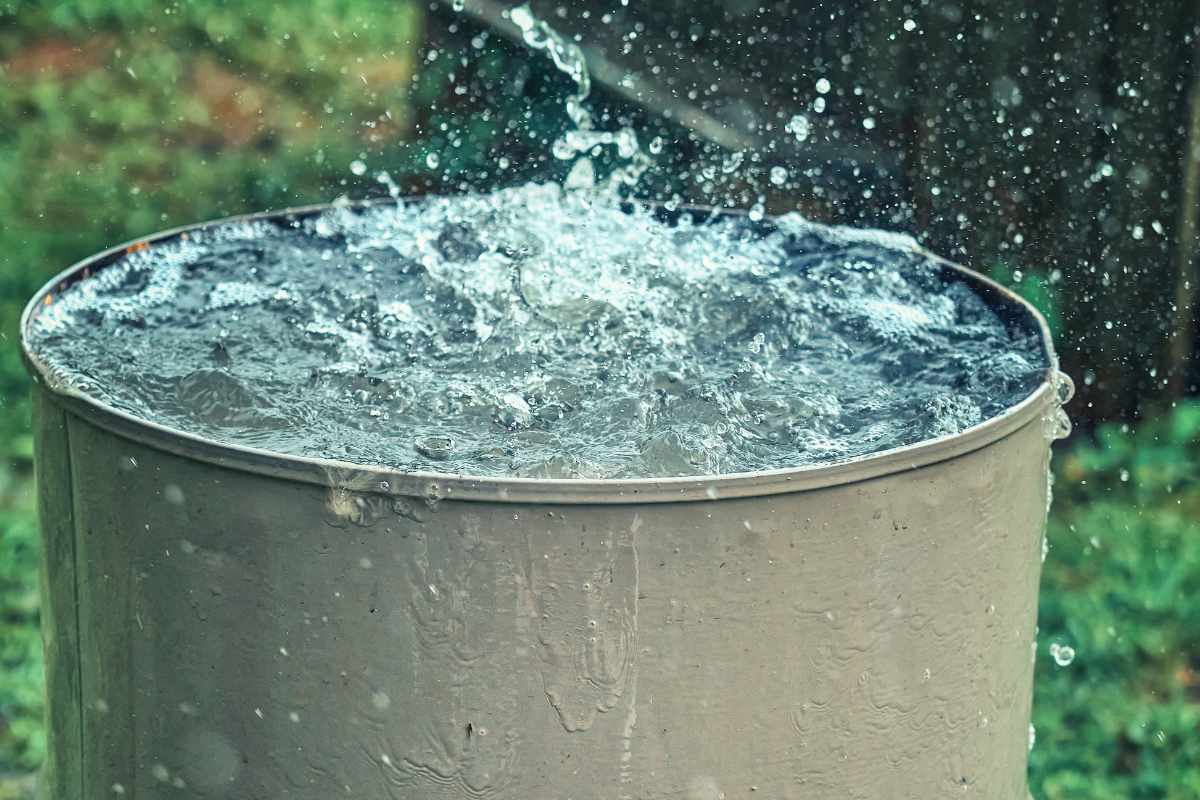
Mosquito-Proofing & Water Quality
Screen every opening. Inlet, overflow, and any vents should be covered with fine mesh so adults can’t enter and larvae can’t escape. Keep mesh tight and intact.
Use Bti as needed. Bacillus thuringiensis israelensis (often sold as “mosquito dunks”) targets larvae and is widely used in rain barrels. Follow the product label for dosage and frequency.
Keep the light out. Opaque barrels and closed lids limit algae growth.
Think “non-potable only.” Even with screening and Bti, roof runoff can carry contaminants. Keep it for plants and outdoor tasks.
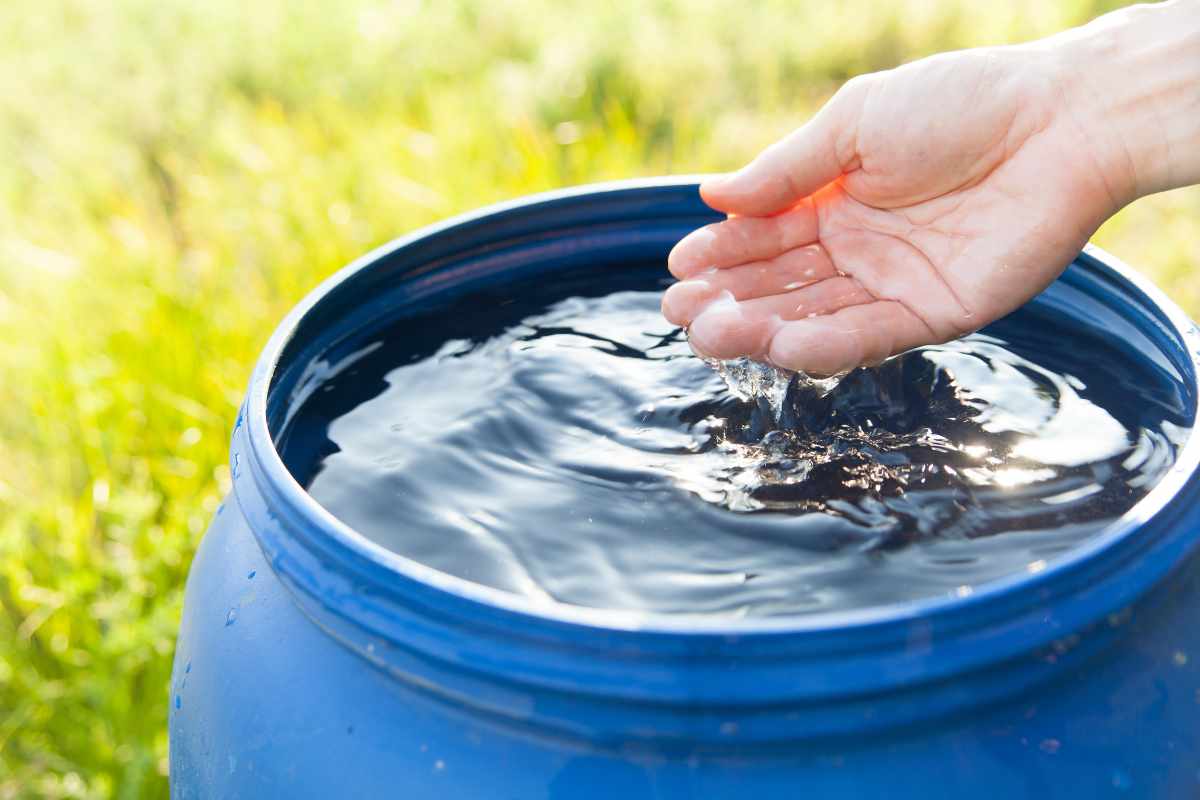
Maintenance & Seasonal Care
Monthly: Clear debris from the diverter or inlet, brush off the screen, and check all fittings for drips.
After big storms: Make sure the stand is still level, the barrel hasn’t shifted, and the overflow hose is intact and draining where intended.
Seasonally: Rinse out sediment from the bottom by opening the spigot fully or tipping the barrel when empty.
Winterize before hard freezes: Drain completely, disconnect the diverter, leave the spigot open, and cap or store hoses. In cold climates, store the barrel or set it upside-down so snowmelt can’t refill and freeze it.
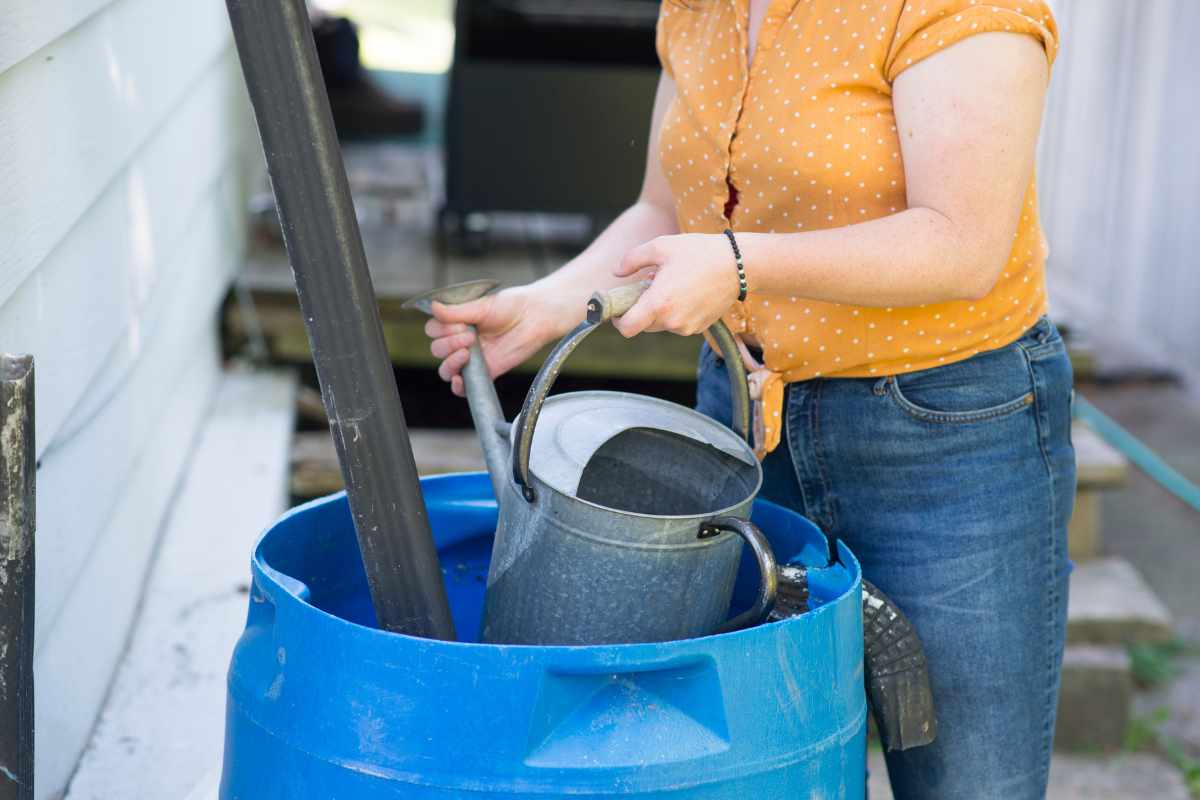
Final Touches for a Better System
Paint the barrel a neutral color to reduce UV exposure and help it blend into the garden.
Add a short soaker hose to the spigot for gentle, low-pressure watering.
Label the barrel “Non-Potable Water” so everyone at home uses it safely.
Keep a small log of maintenance (screen cleaning, leak checks, seasonal prep) to make upkeep effortless.
With a sturdy stand, a mosquito-proof lid, a generous overflow, and simple seasonal care, your DIY rain barrel will quietly deliver free water to your garden for years.
Did you find this post Useful or Inspiring? Save THIS PIN to your Gardening Board on Pinterest! 😊
Once again, thank you for visiting our website!
We hope you've enjoyed exploring the content we've created for you.
Give yourself the chance to learn, get inspired, and have even more fun, keep browsing...
More Gardening Tips 👇🏼👇🏼