
Learn How to Make an Elegant Large Concrete Planter

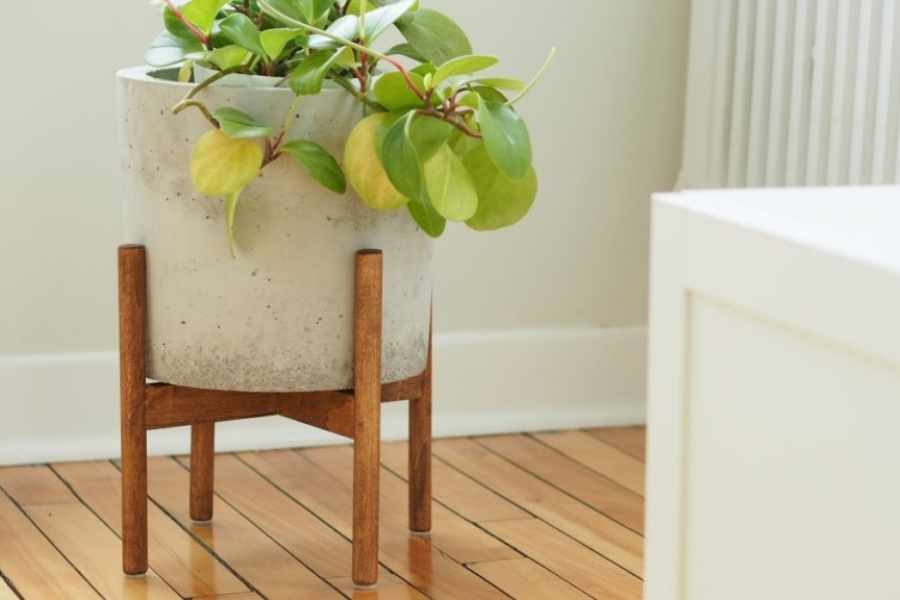
Can't find a flower pot the size or price you like? This video tutorial will show you how to make one yourself in a few steps. These planters are constructed with any basic concrete mix that you can find and buckets, so this makes it a very simple and low-budget DIY.
You'll create such elegant and minimalistic planters for your garden.
Do not be afraid of having to work with concrete for this DIY, it is a very malleable material and easy to manipulate, little by little you will see that you can create beautiful concrete pots in the blink of an eye.
The result is a versatile container that works for both flowers and large plantations.
For this project you will need:
- 5-gallon bucket
- 2-gallon bucket
- Concrete mix
- Water
- Concrete spatula
- Angle keys
- Liner tape
- Switchblade
- Wood Ribbons
- Thumbscrew
- Bricks or weights
- Plastic bag
- Sandpaper
Steps:
1. Add supports to the small bucket
The idea is to use the buckets as internal and external supports to create the concrete planter. To float the small 2-gallon bucket inside the larger 5-gallon bucket, the video author has attached some wooden slats with corner brackets here.
2. Mix the concrete
You can use the most basic (and cheapest) concrete mix you can find so you don't get too dirty with it. Use a 30 kg concrete bag available, in this case, the Quikrete concrete mix was used.
Just start with a small amount of powder and add water little by little, stirring as you go. Stop adding water when the mixture feels moist with lumps, more or less like oatmeal.
Check out this article about How to Mix Concrete.
3. Compact the base
Begin by building the base of the planter, filling the bottom of the large bucket with a few inches of concrete. You can use your hands (wearing nitrile gloves) to really push it into the corners and compress it.
4. Build sides
Once the base is formed, start building the walls just a few inches high using your hands to put some concrete on the sides of the bucket.
Finally, push the small cube into place and start filling in the sides little by little with a spatula.
5. Let it heal
You can use electrical tape to hold everything in place so it won't move during drying. It's also a good idea to cover the buckets with a plastic bag while it dries.
6. Remove the buckets
Cut the two cubes sideways with a utility knife to loosen the bucket.
7. And for last!
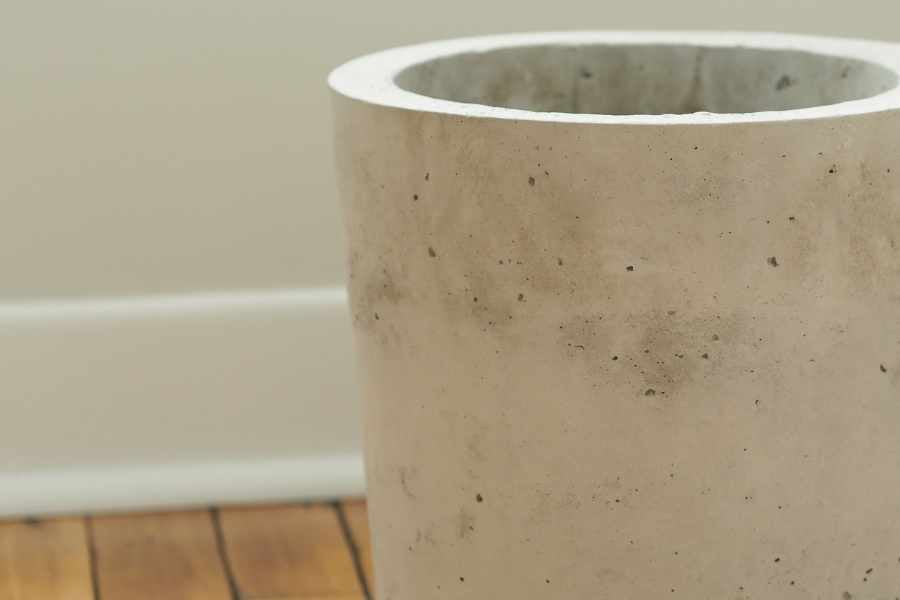
Now that you have your concrete pot, it's time to sand the top off with sandpaper. The end result will be amazing!
We hope you enjoy this video about How to Make a Large Concrete Planter:
Source: DIY Montreal
Did you find this post Useful or Inspiring? Save THIS PIN to your GARDENING Board on Pinterest! 

Once again, thank you for visiting our website!
We hope you've enjoyed exploring the content we've created for you.
Give yourself the chance to learn, get inspired, and have even more fun, keep browsing...
More Gardening Tips 👇🏼👇🏼