Recycle Plastic Bottles into Colorful Flower Pots for Small Garden and Balcony
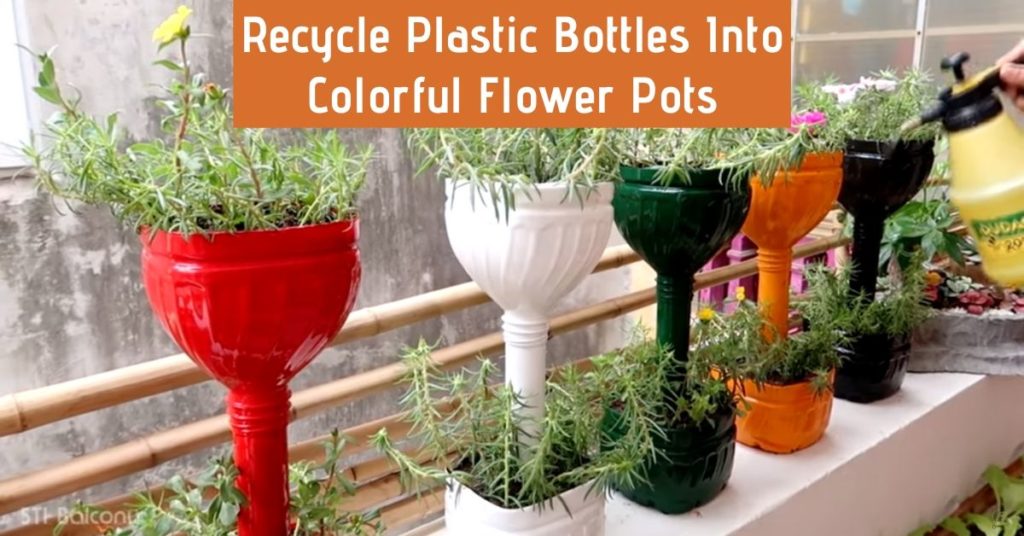
Turn everyday waste into cheerful planters and add instant charm to a tiny patio or railing.
This project is budget-friendly, beginner-friendly, and finished in an afternoon.
You’ll transform empty bottles into colorful plastic bottle planters that are sturdy, safe for plants, and ready for sun or shade.
Project at a glance:
Skill: Easy • Time: 60–90 minutes per planter (plus drying) • Cost: Low
Best for: Herbs, small flowers, trailing plants • Where: Balcony, window ledge, fence, or wall
Materials & Tools
Choose what you already have; you don’t need everything on this list for every style.
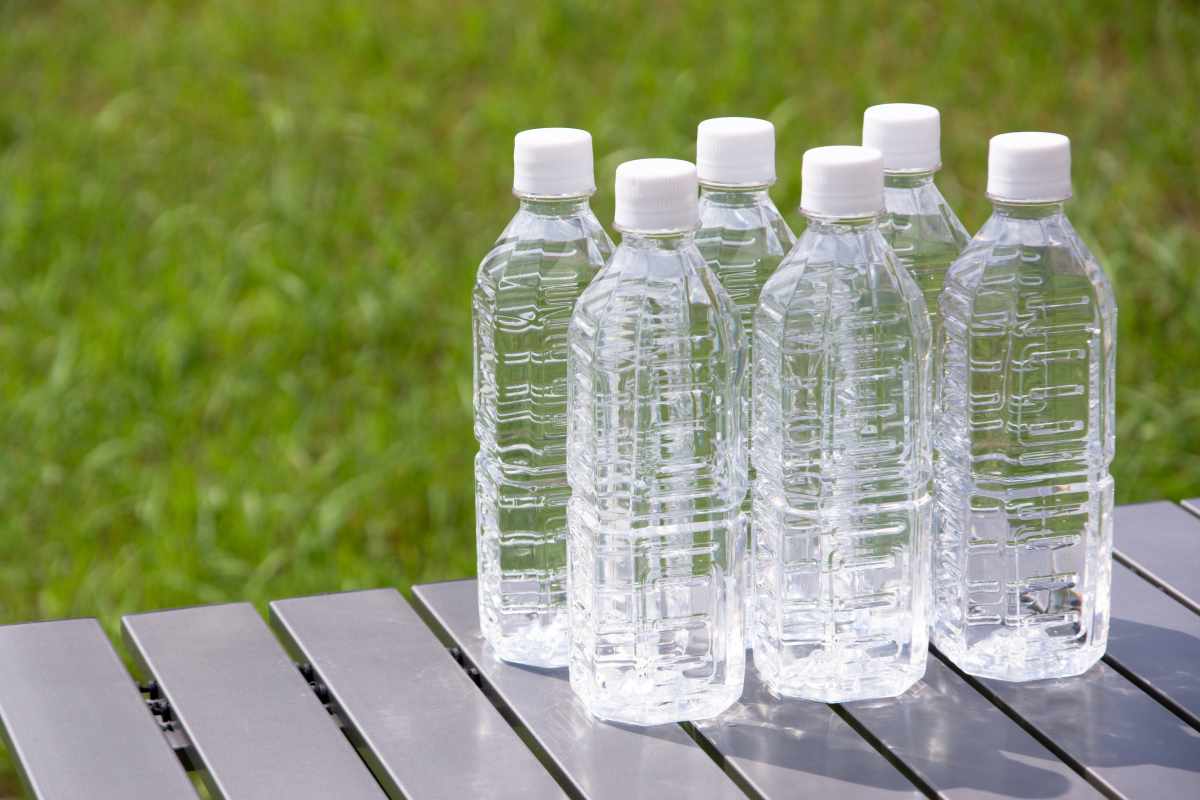
Clean PET bottles (1–2 L soda bottles work best)
Marker and ruler or tape measure
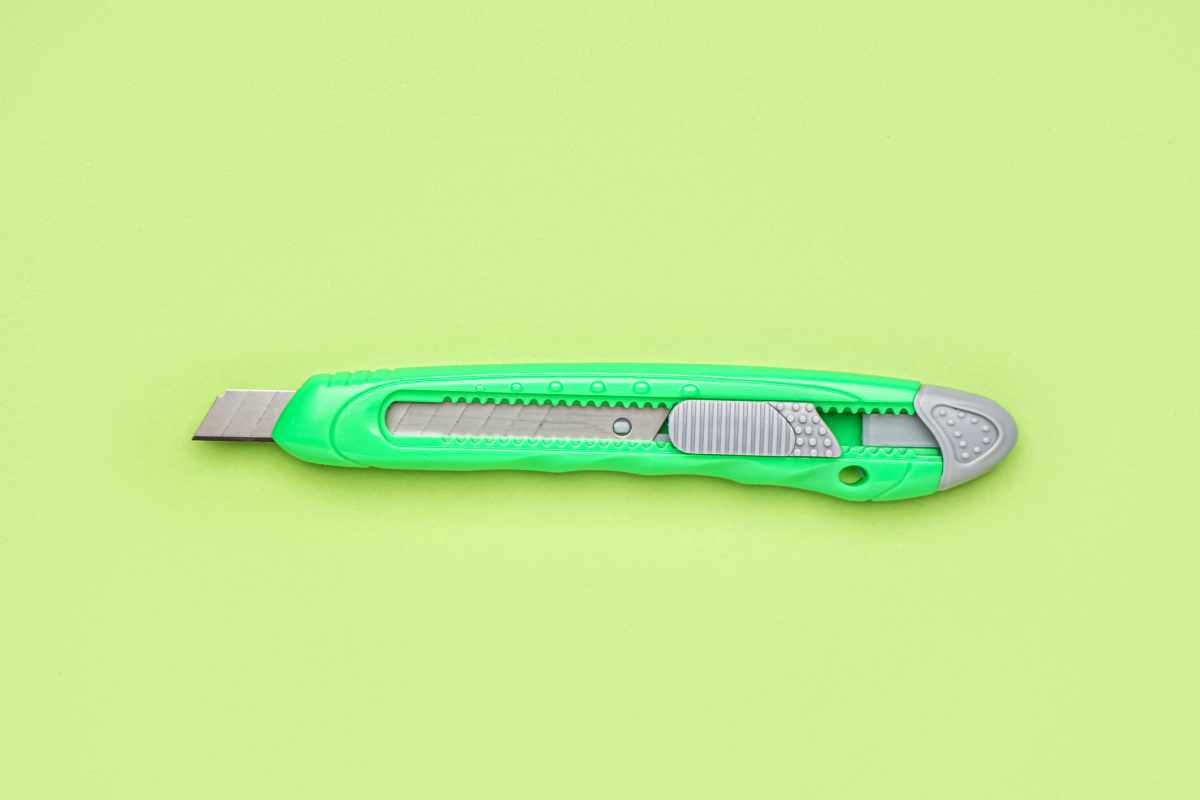
Craft knife or sharp scissors
Fine sandpaper (220–320 grit)
Primer for plastic (spray or brush-on)
Outdoor acrylic or enamel paint
UV-resistant clear sealant (matte or gloss)
Drill or heated nail/awl for drainage holes
Potting mix (lightweight container mix) + perlite
Plants or seeds
Optional for hanging: cord, macramé twine, cable ties, S-hooks, or railing brackets
Optional for self-watering: cotton wick or strip of cotton fabric
Safety basics: Work on a stable surface, wear gloves for cutting, and paint in a well-ventilated area.
Step-by-Step Instructions
1. Mark the cut line
Decide your style: horizontal trough (lay the bottle on its side and mark a window), vertical pot (cut the top third off), or wall pocket (cut a diagonal opening).
Use a marker and ruler to keep edges even.
2. Cut and smooth
Pierce the bottle carefully with a craft knife, then switch to scissors for control.
Round off corners and lightly sand the cut edge so it’s not sharp.
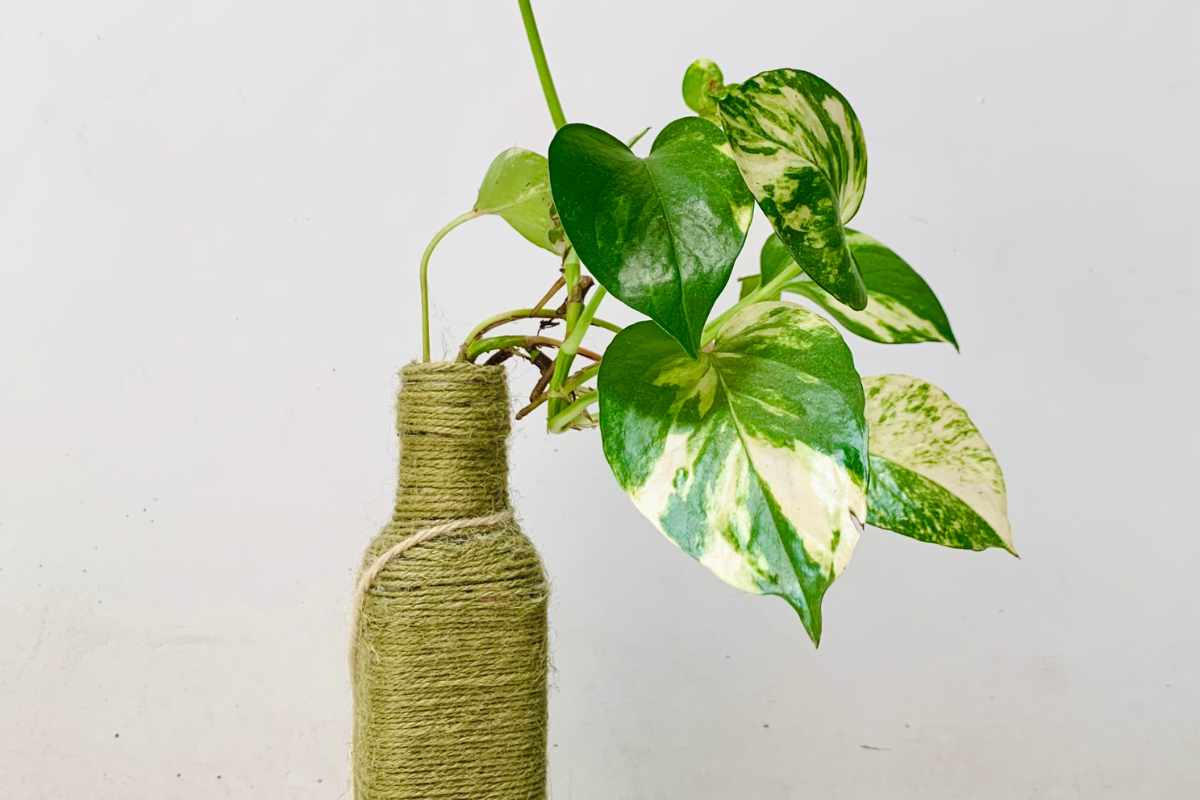
3. Prime the surface
A quick coat of plastic primer helps paint adhere and last outdoors.
Let it dry as recommended.
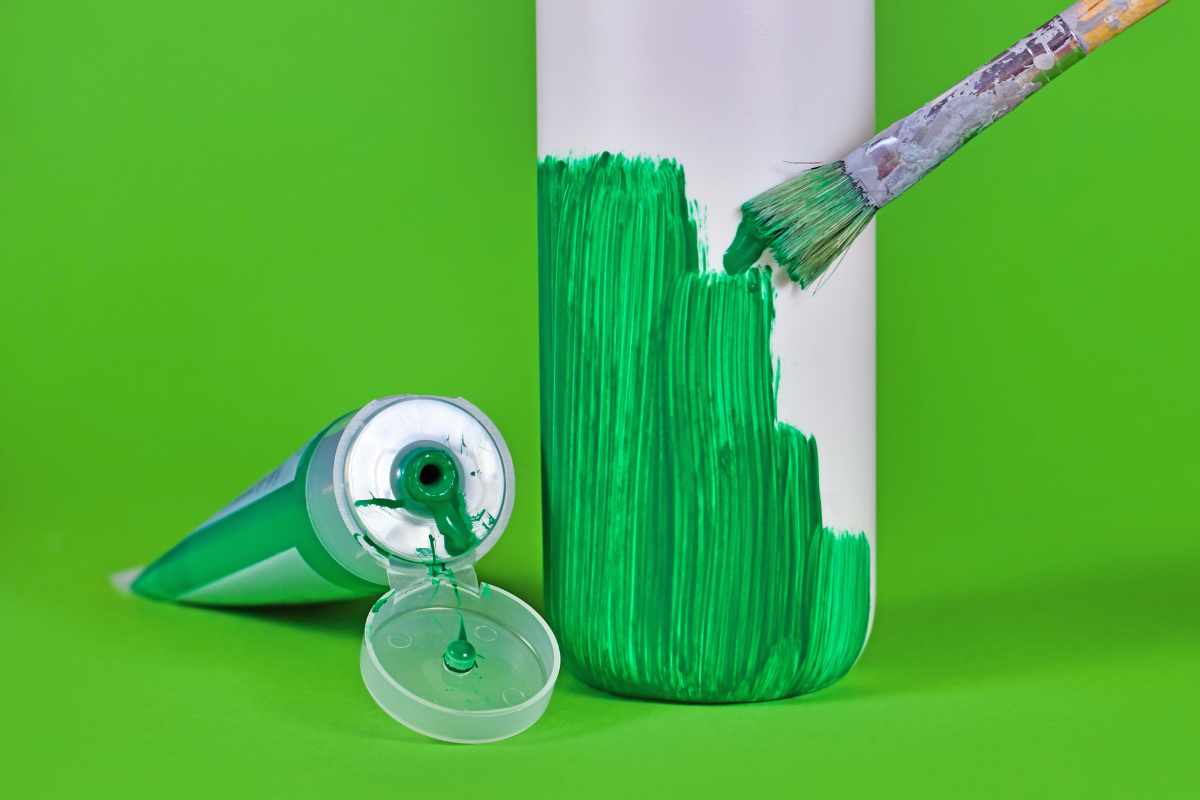
4. Paint for personality
Brush or spray on two thin coats of outdoor paint.
Patterns, stripes, or color-block all work well.
5. Seal for weather
Finish with a UV-resistant sealant to protect the color from the sun and rain.
This step keeps your planter looking fresh through the season.
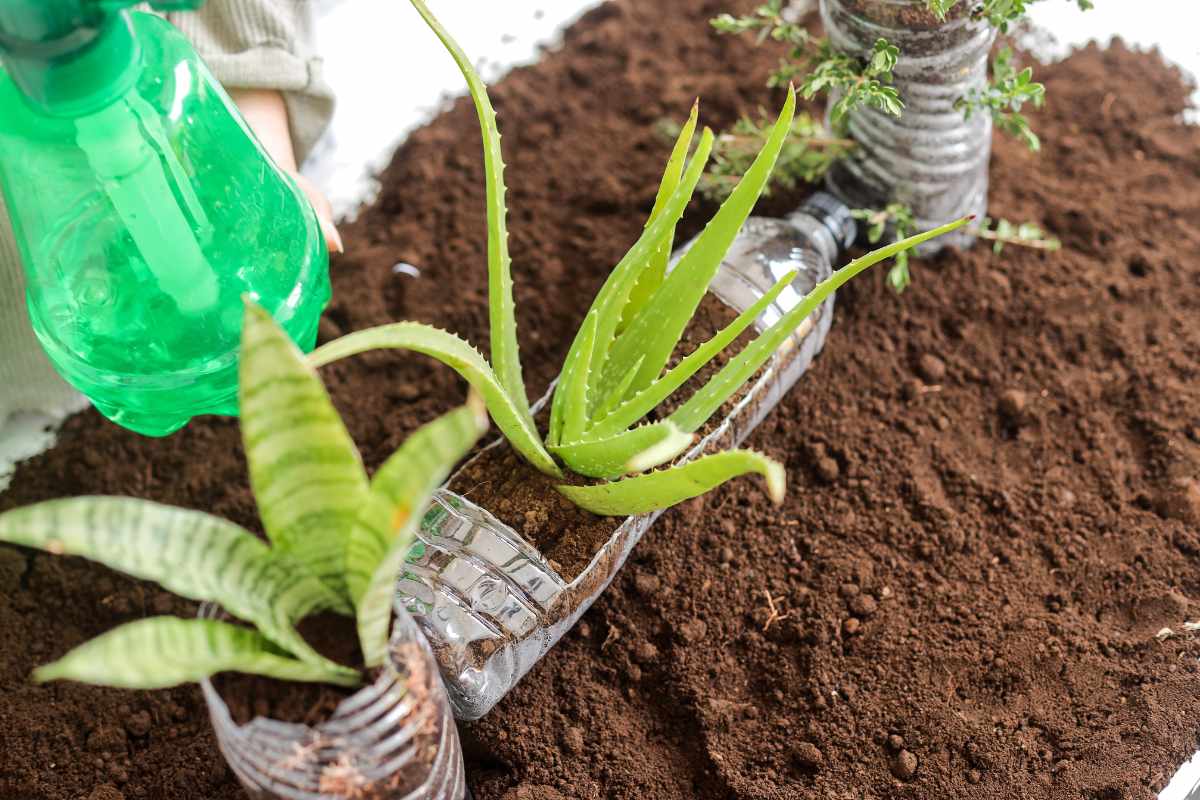
6. Add drainage
Drill or poke 4–6 drainage holes in the lowest point.
For a horizontal style, add two small holes high on the back so you can thread a cord for hanging if needed.
7. Fill and plant
Add a thin layer of perlite or small pebbles, then lightweight potting mix.
Tuck your plant in at the same depth it grew in its nursery pot, and water gently until moisture runs out of the drainage holes.
Tip: If you’re making a row of planters, paint them in a cohesive palette—three colors repeated looks polished without feeling matchy.
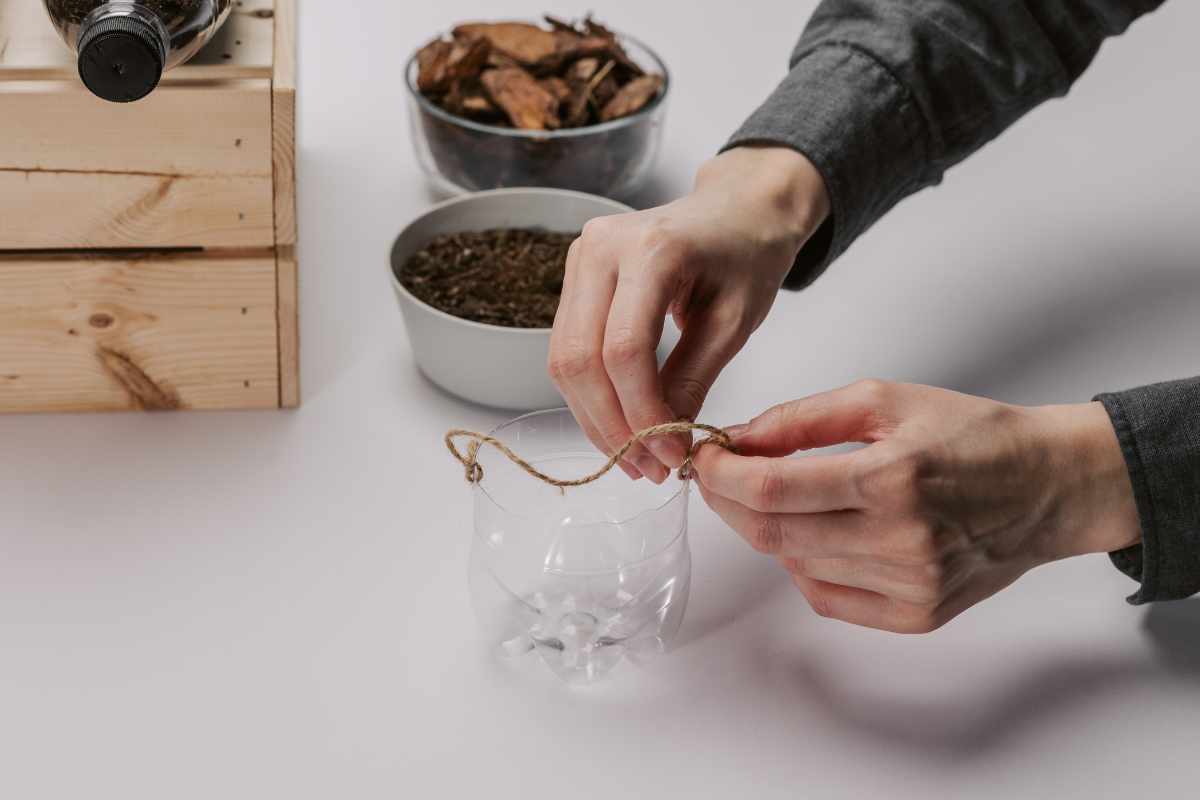
Make It Hanging
Balconies love vertical color. Here are simple ways to hang your planters securely:
Rail mount: Thread strong cord through two small holes near the bottle’s top edge and knot under the lip, then tie to a railing with square knots.
Cable-tie cradle: Wrap two cable ties around the bottle and one around a railing or metal grid; tighten gently until snug.
Wall hooks or S-hooks: Punch a centered hole in the bottle’s back, add a metal grommet if you have one, and hang on a hook screwed into a wooden fence or wall.
Always test the weight with damp soil before hanging the final planter. Keep planters level so water doesn’t spill over one side.
Best Plants for Small Bottles
Picking the right plants keeps maintenance light and growth healthy.
Full sun (6+ hours):
Portulaca (moss rose) for bright blooms and heat tolerance
Nasturtium for edible flowers and trailing habit
Compact cherry tomatoes or dwarf chilies (use larger bottles)

Partial sun (3–5 hours):
Herbs for a balcony garden like parsley, chives, mint (give mint its own container)
Marigolds and alyssum for color and pollinators
Shade (under 3 hours):
Ferny asparagus fern, pothos cuttings, English ivy (trim to maintain size)
Impatiens for soft color without direct sun
Choose small or trailing varieties and avoid deep-rooted plants. If the plant looks cramped, upgrade to a larger bottle or combine two bottles into a mini-trough.
Wrap-Up: Small Space, Big Color
With a few simple steps—prime, paint, seal, and plant—you’ll turn throwaways into durable, bright planters that lift any balcony or micro-garden.
The mix of plastic bottle planters, a self-watering planter or two, and a couple of trailing flowers creates an eye-catching display without crowding your space. Start with one, then build a row that matches your palette and light conditions.
Your railing becomes a garden, your bottles get a second life, and your view gets a burst of color—season after season.
Enjoy the Video Tutorial

Source: 5T1 Balcony
Did you find this post useful or inspiring? Save THIS PIN to your Gardening Board on Pinterest!😊

Once again, thank you for visiting our website!
We hope you've enjoyed exploring the content we've created for you.
Give yourself the chance to learn, get inspired, and have even more fun, keep browsing...
More Gardening Tips 👇🏼👇🏼