The Secrets to Growing the Exotic Shiitake Mushrooms on Logs

Shiitake mushrooms are prized for their deep, earthy flavor and impressive health benefits.
They’ve been cultivated for centuries in Asia, and today, more and more gardeners are discovering the joy of growing them right at home.
Cultivating shiitake mushrooms on logs might sound complicated, but with the right method and patience, it can become one of the most rewarding gardening projects you’ll ever try.
Selecting the Ideal Logs
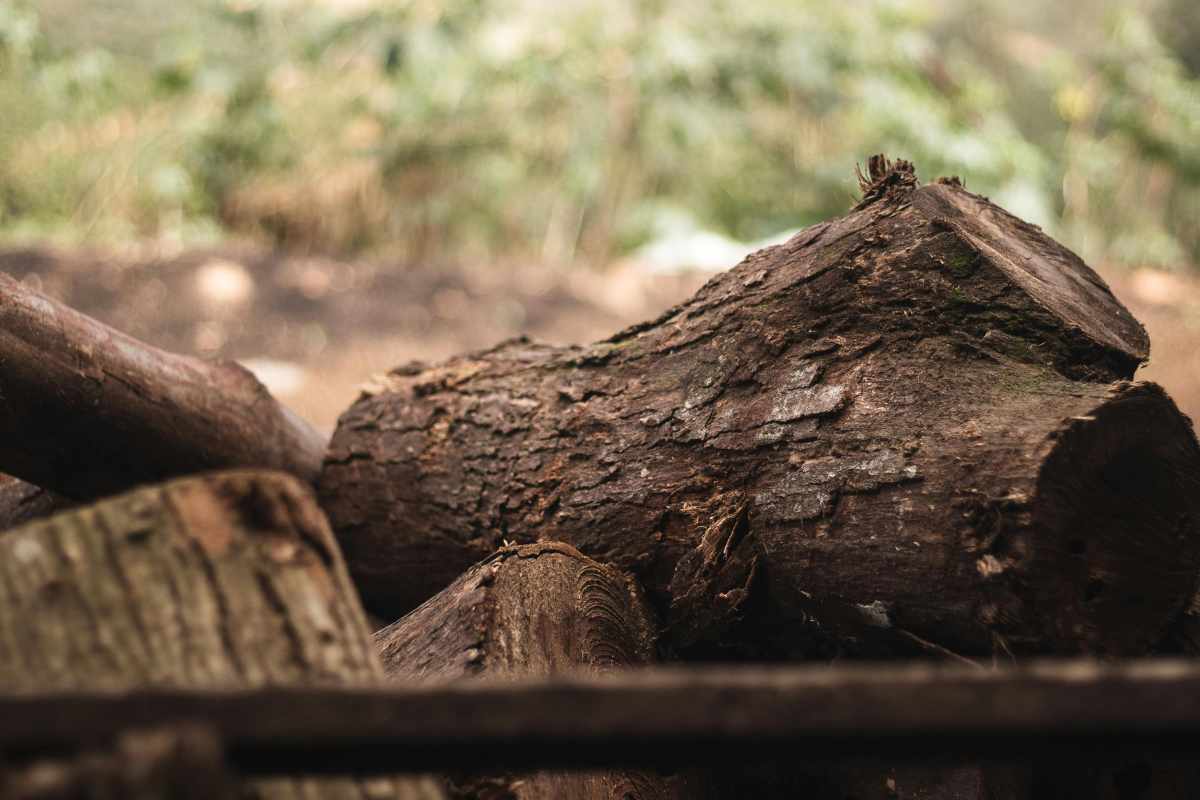
The foundation of successful shiitake cultivation starts with choosing the right type of wood.
Hardwood logs such as oak, maple, or beech work best because they provide dense, long-lasting nutrition for the fungi.
Softwoods should be avoided since they break down too quickly or contain resins that hinder growth.
Freshly cut logs are ideal, preferably taken from healthy trees within the last few weeks.
They should measure about 3 to 6 inches in diameter and be around 3 to 4 feet long—easy to handle yet large enough to sustain mushroom production for several years.
Before inoculating, let the logs rest for a couple of weeks to allow natural antifungal compounds to dissipate.
Inoculating the Logs
Once the logs are prepared, it’s time to introduce the shiitake spores—a process known as inoculation.
This is where the transformation from plain wood to mushroom habitat begins.
Step 1: Prepare the Materials

You’ll need shiitake spawn plugs or sawdust spawn, available from mushroom suppliers, along with a drill and food-grade wax for sealing.
Step 2: Drill the Holes
Make holes about 1 inch deep and spaced 6 inches apart in a diamond pattern around the entire log.
This layout ensures even colonization throughout the wood.
Step 3: Insert the Spawn
Place the spawn into each hole carefully, pressing it in until it’s snug.
Work methodically so no section is left untreated.
Step 4: Seal with Wax
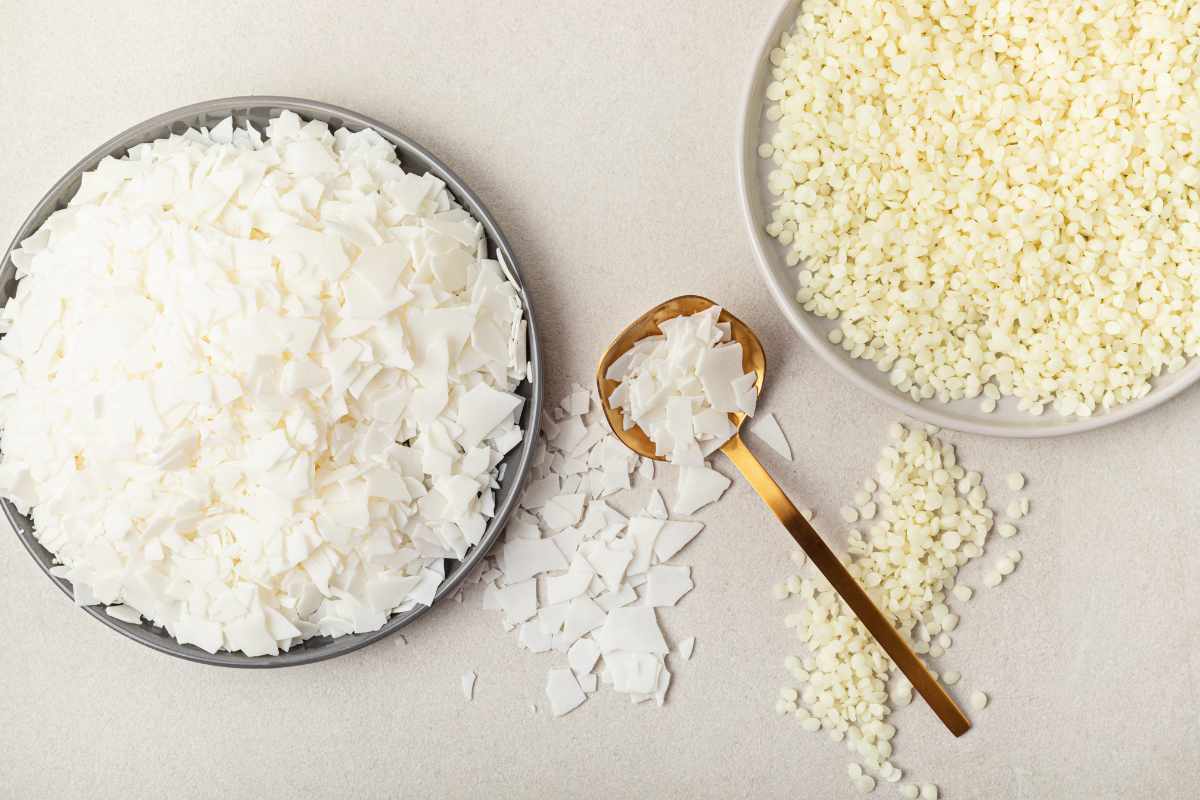
Melt the wax and cover every inoculated hole.
This barrier keeps moisture inside and protects the spawn from pests or other fungi.
Step 5: Handle with Care
Move the inoculated logs gently to avoid damaging the spawn.
Once sealed, they’re ready to begin the colonization process that will eventually produce mushrooms.
Creating the Perfect Growing Environment
After inoculation, the logs need time to rest and colonize—a stage that can last six to twelve months depending on temperature and humidity.
During this period, the shiitake mycelium spreads through the wood, transforming it into a nutrient-rich base for future mushrooms.
Choose a Shady, Humid Location
Place the logs in a cool, shaded area, such as under trees or beside a north-facing wall.
Avoid direct sunlight, as it can dry out the logs and slow colonization. A natural outdoor setting helps maintain steady humidity and airflow.
Maintain Consistent Moisture
Moisture is vital for the mycelium’s growth. In dry climates, water or soak the logs every few weeks to replicate rainfall.
Keeping the surface damp but not soaked ensures a healthy balance and prevents competing fungi from taking over.
Allow Time for Colonization

Patience is key at this stage. Over several months, the mycelium will spread through the wood, forming a strong internal network.
Once the ends of the logs show white patches, you’ll know they’re nearly ready for fruiting.
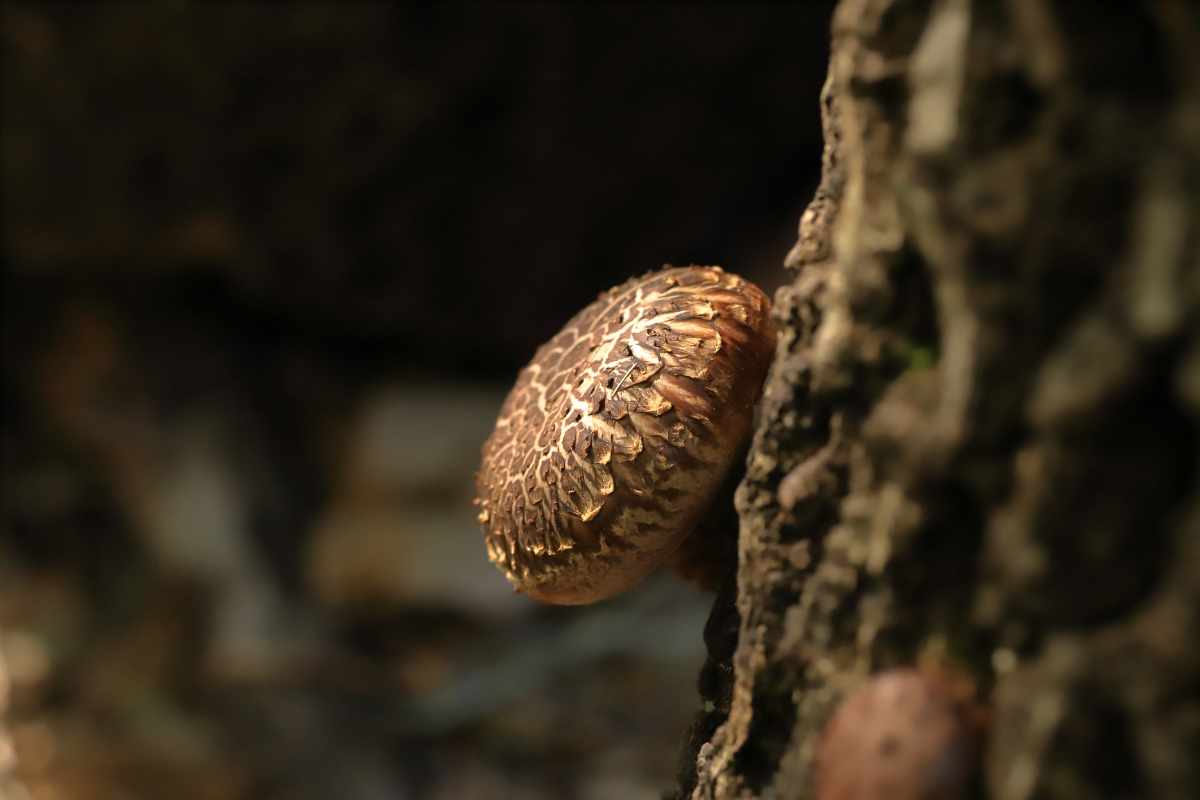
Encouraging Fruiting
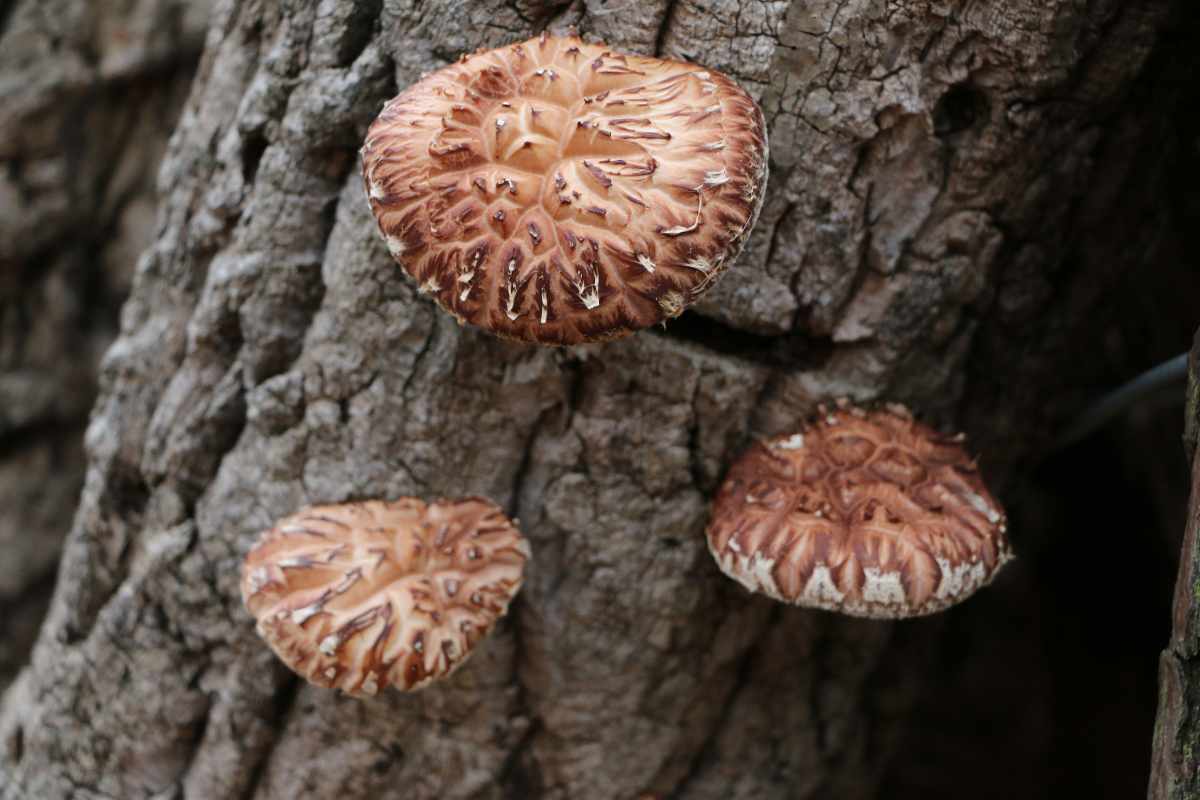
Once the logs are fully colonized, the fun begins: fruiting. You’ll know your logs are ready when white patches of mycelium appear on the ends.
To encourage mushroom formation, soak the logs in cold water for 24 hours.
This shock stimulates the mycelium to produce mushrooms, replicating the natural cycle of rain after a dry spell.
After soaking, stand the logs upright in a shaded area and keep the environment moist.
Within one to two weeks, beautiful clusters of shiitake mushrooms will begin to appear.
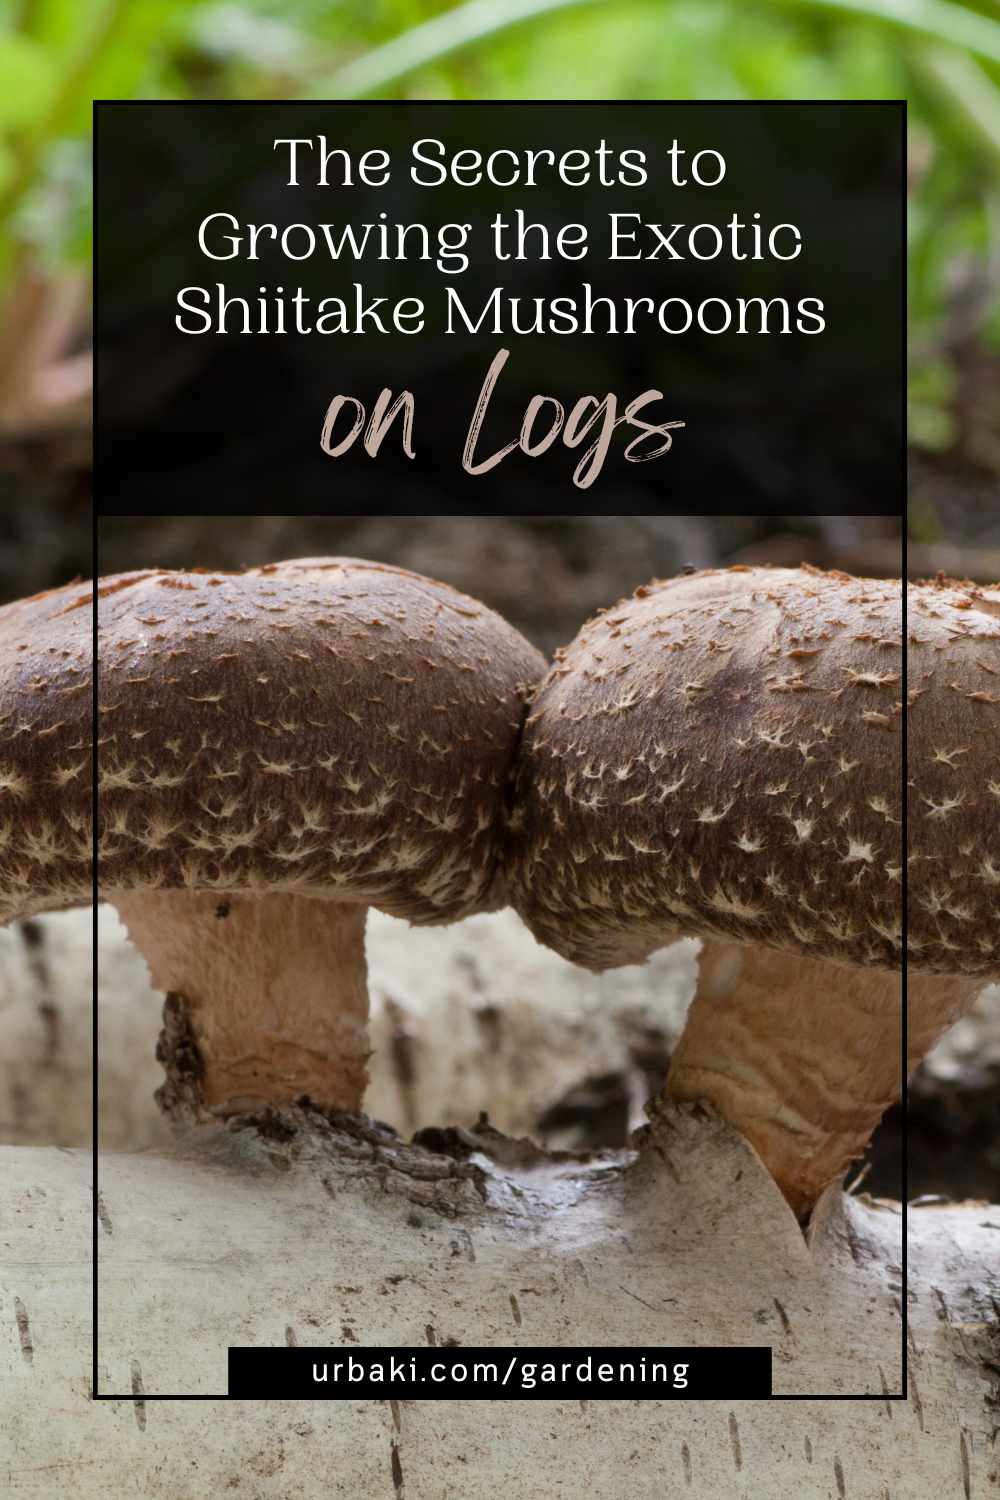
Harvest them when the caps are about 70 to 80 percent open—the flavor and texture will be at their best.
Caring for Your Mushroom Logs

With proper care, shiitake logs can continue producing for several years. After each harvest, allow the logs to rest for at least eight weeks before soaking them again.
Over time, the mushrooms will naturally deplete the nutrients in the wood, but a well-maintained log can yield up to four flushes per year.
Be sure to monitor for pests such as slugs or mold, and keep the logs clean and ventilated.
If you live in a dry region, creating a shaded humid microclimate—like using a burlap cover or misting system—can make all the difference in sustaining productivity.
Did you find this post useful or inspiring? Save THIS PIN to your GARDEN Board on Pinterest!
More Gardening Tips 👇🏼👇🏼