
5 Creative DIY Garden Labels You Can Make at Home

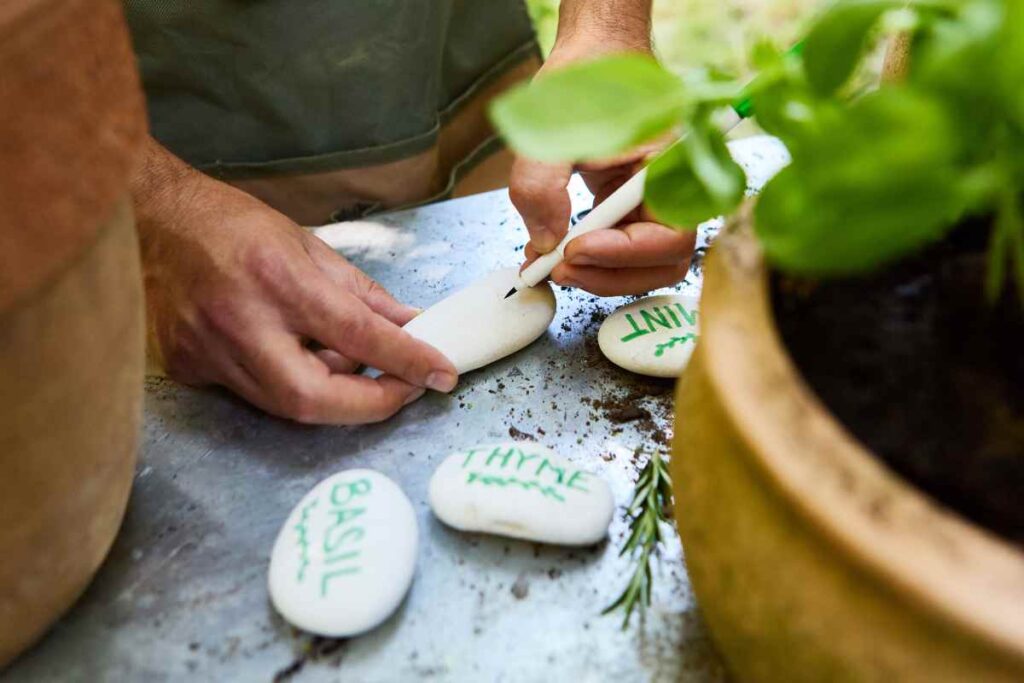
When you’re growing herbs, veggies, or a new flower bed, labels make everything easier—especially once seedlings start looking alike.
The good news: you don’t need fancy tools (or pricey store-bought markers) to keep your garden organized. Below are five creative DIY garden labels you can make at home using simple supplies, plus sealing tips to help them hold up in the sun and rain. If you love quick, practical projects, this one’s for you.
What Makes a Good DIY Garden Label?
A great label should be:
- Easy to read from a glance (bigger letters than you think!)
- Weather-resistant (sun fade + water are the real enemies)
- Simple to replace or update as your garden changes
- Safe for the garden (non-toxic finishes where possible)
Tip: If you’re labeling seed-starting trays and outdoor beds, consider making two sets—one lightweight set for indoors, one heavy-duty set for outside.
Tools and Materials You’ll Use (Most You Already Have)
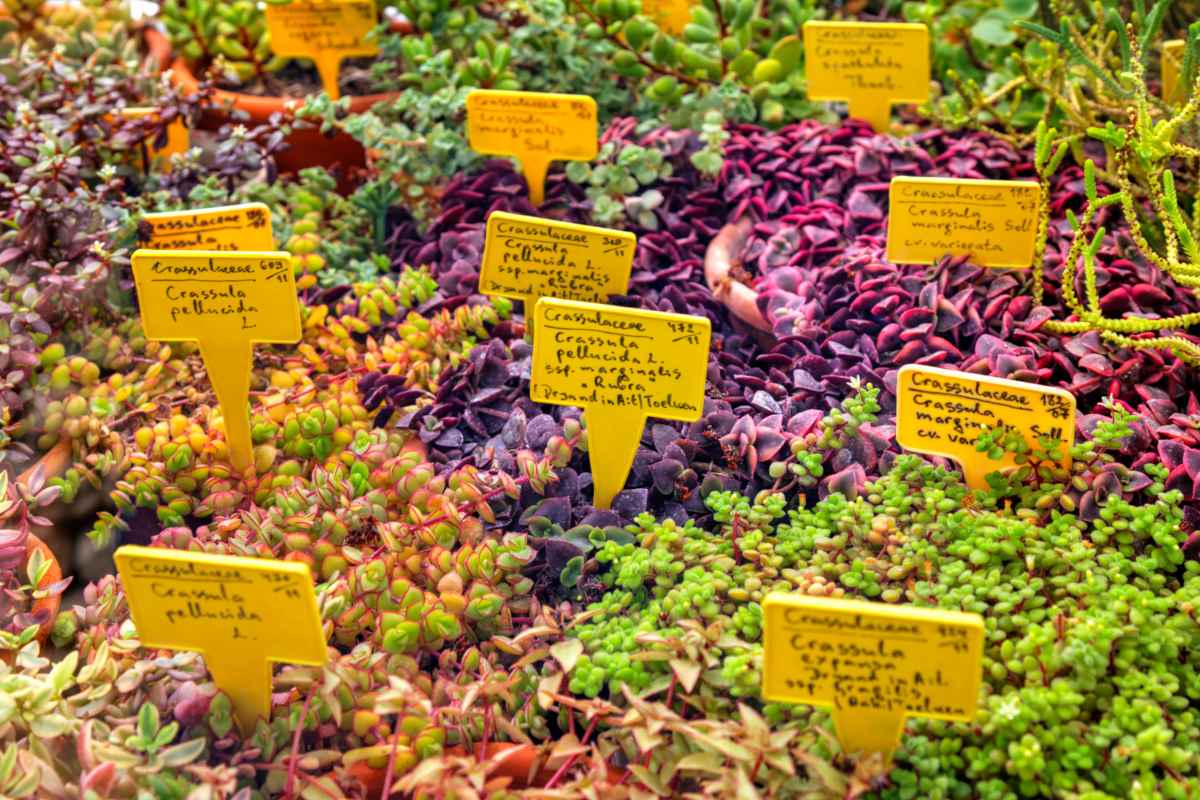
You don’t need everything on this list—each label idea below uses different supplies. Here are the most common basics:
- Permanent marker (oil-based works best outdoors)
- Acrylic paint + small brush or paint pen
- Clear outdoor sealer (spray or brush-on)
- Sandpaper (for smoothing wood or prepping slick surfaces)
- Rubbing alcohol (for cleaning before writing)
- Optional: vinyl labels or waterproof sticker paper
Best durability combo: oil-based paint pen + outdoor clear sealer.
DIY Garden Labels Idea #1 — Painted Rock Plant Labels
Painted rocks are cute, sturdy, and basically free if you have a few stones around.
How to make them
- Pick smooth, flat rocks and wash off dirt.
- Let them dry completely.
- Paint a light base coat (white or pale color helps letters pop).
- Write the plant name with a paint pen or permanent marker.
- Seal with 2–3 thin coats of outdoor clear sealer.
Make it extra useful: Add a second line with the variety (e.g., “Basil – Genovese”) or the planting date.
DIY Garden Labels Idea #2 — Wooden Spoon Garden Markers (Upcycled)
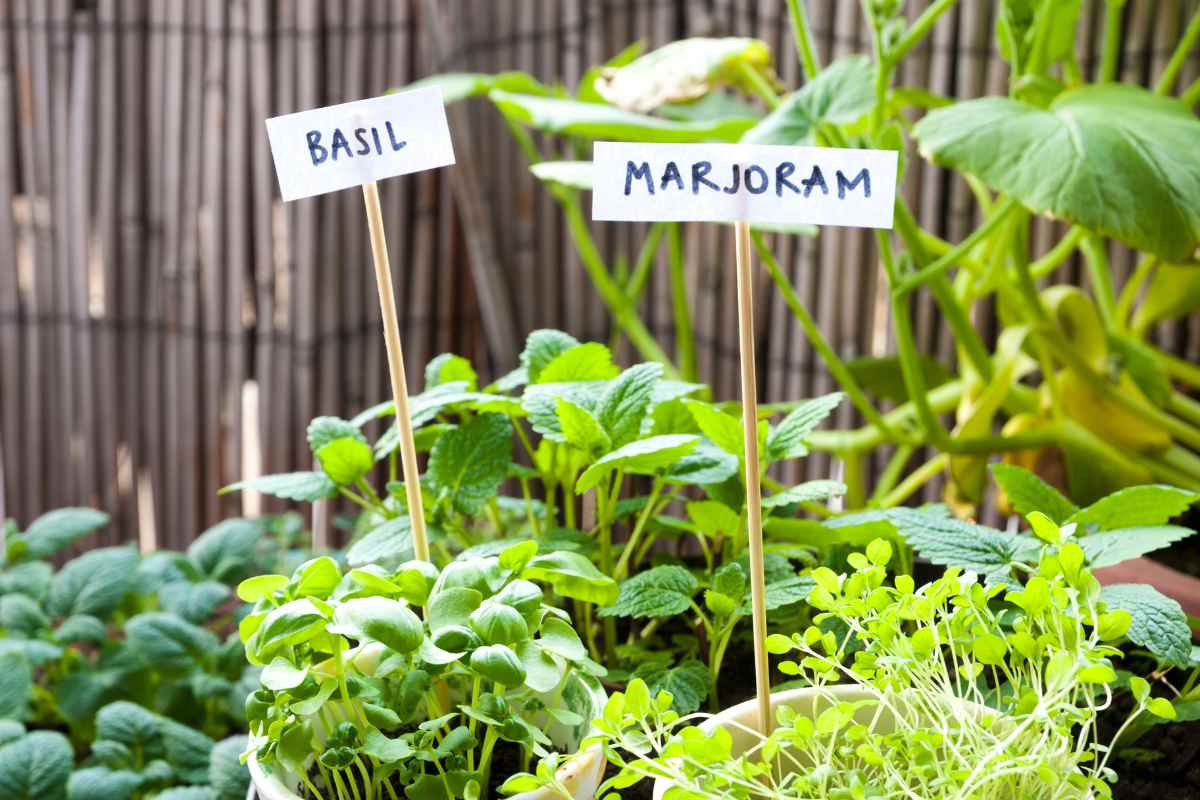
Old wooden spoons (or cheap thrifted ones) make charming, rustic plant markers—and the handle is the perfect “stake.”
How to make them
- Lightly sand the spoon head and handle.
- Wipe with rubbing alcohol to remove dust.
- Paint the spoon head (optional) for higher contrast.
- Write the plant name on the spoon head.
- Seal well, especially around edges.
Tip for longevity: Push the spoon in just deep enough to stand—burying wood too far can shorten its life.
DIY Garden Labels Idea #3 — Popsicle Stick Labels That Actually Last
Popsicle sticks are a classic—but they can warp or fade fast. The trick is prepping and sealing.
How to make them last longer
- Choose wider craft sticks (more stable than skinny ones).
- Paint a base coat (optional but helpful).
- Label with an oil-based marker or paint pen.
- Seal front and back with outdoor sealer.
Quick upgrade: Glue two sticks together in a “T” shape for extra strength before sealing.
DIY Garden Labels Idea #4 — Broken Tile or Mini Slate Labels
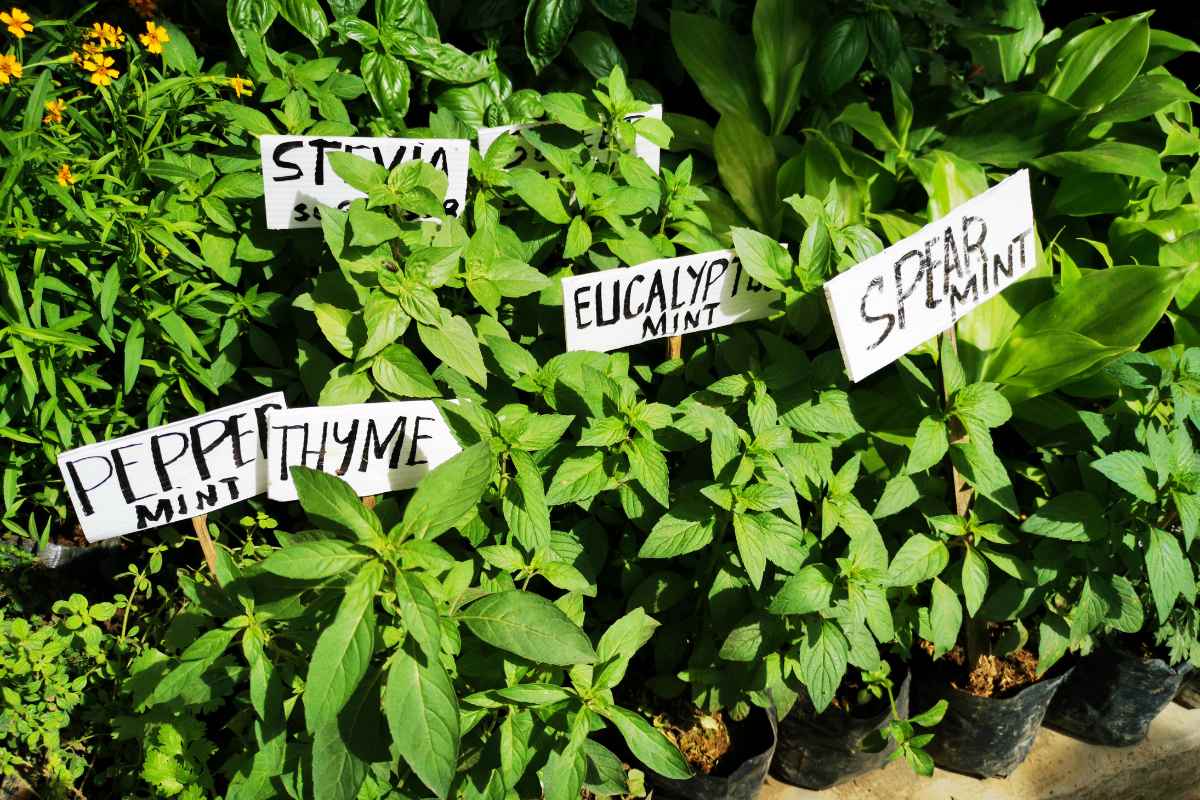
If you have leftover tile (or you find small slate pieces), you can make chic labels that look like they belong in a fancy botanical garden.
How to make them
- Use small tile pieces with smooth faces (or slate coasters cut down).
- Clean and dry thoroughly.
- Write the plant name with a paint pen (white looks great on dark slate).
- Seal if the surface is porous or if you want extra fade resistance.
Display idea: Nestle tile labels at the front edge of a bed or tuck them into pots for an elevated look.
DIY Garden Labels Idea #5 — Wine Cork Plant Markers (Perfect for Containers)
Wine corks are lightweight, cute, and great for potted herbs or small containers.
How to make them
- Write the plant name directly on the cork with a permanent marker.
- Push a bamboo skewer, chopstick, or sturdy stick into the cork.
- Seal the cork lightly (optional, but helpful for outdoor pots).
Best use: Container gardens, indoor herb pots, and seedling cups—places where labels won’t be soaked constantly.
Weatherproofing Tips So Your Labels Don’t Fade or Wash Off
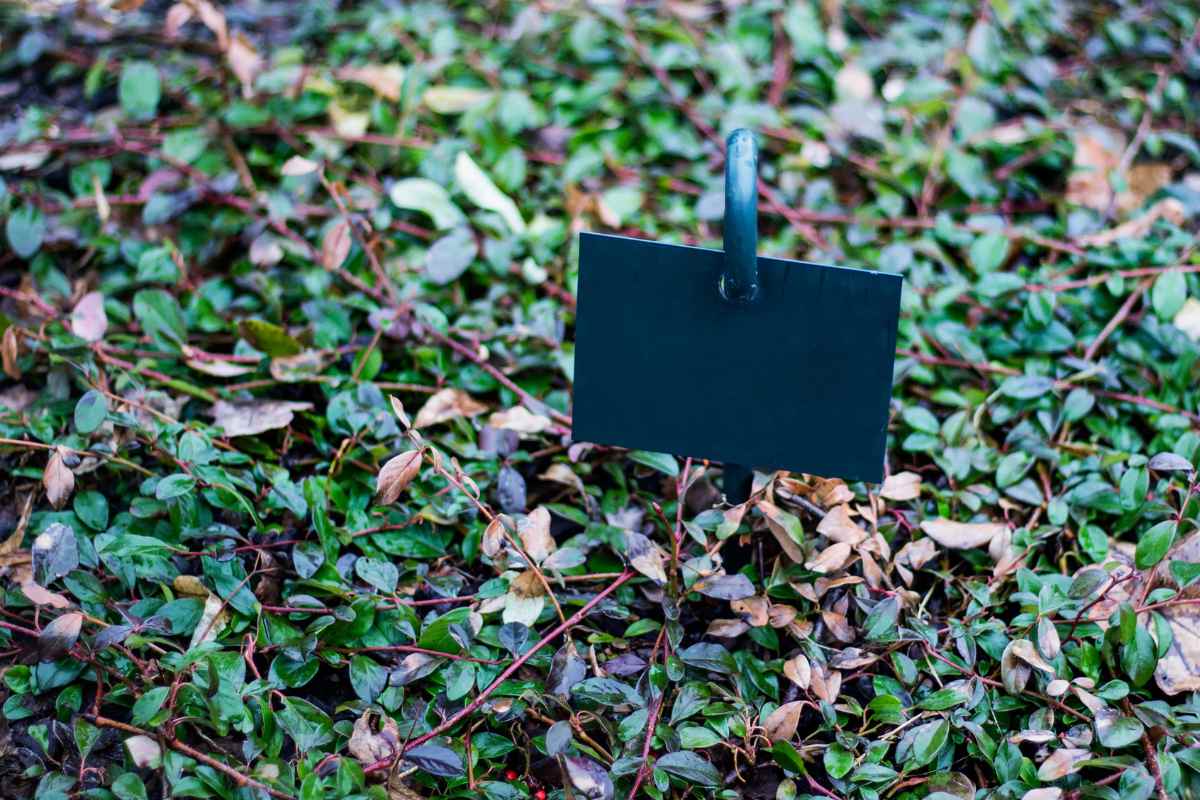
If your DIY garden labels keep disappearing by mid-season, it’s usually one of these issues: ink type, surface prep, or no sealing.
Do this for better durability
- Clean surfaces first (dirt and oils prevent ink from sticking).
- Use oil-based paint pens or outdoor-rated markers.
- Apply multiple thin coats of sealer instead of one thick coat.
- Let each coat dry fully before adding the next.
Extra durability options
- Cover writing with a strip of clear waterproof tape before sealing.
- Use waterproof vinyl labels, then seal the edges to prevent peeling.
Common Mistakes (and Easy Fixes)
Mistake #1: Using regular Sharpie on outdoor labels
Fix: Switch to an oil-based paint pen and seal.
Mistake #2: Writing on damp or dirty surfaces
Fix: Wash, dry, and wipe with rubbing alcohol first.
Mistake #3: Tiny lettering that disappears from a distance
Fix: Use short names, all caps, or add a bold outline.
Mistake #4: Skipping the back and edges when sealing
Fix: Seal all sides, especially on wood.
Mistake #5: Labels placed where sprinklers hit constantly
Fix: Move labels slightly to the side of direct spray or use rock/tile options that don’t absorb water.
DIY garden labels are one of those small projects that instantly make your garden feel more organized (and more enjoyable to care for). Pick one style—or mix a few depending on whether you’re labeling beds, pots, or seedlings—and don’t skip the sealing step if they’ll live outdoors. If you make a set, save the idea so you can refresh it each season.
— Emily
More Gardening Tips 👇🏼👇🏼