
How to Make Kokedama the Right Way


Kokedama, also known as the "moss ball," is a traditional Japanese gardening technique that brings a natural touch of elegance to any space.
This DIY project involves creating a soil-covered root ball that is wrapped in moss and suspended by twine, making it an excellent choice for small spaces, modern décor, or simply adding a bit of greenery indoors.
In this guide, we’ll walk you through the process of making your very own kokedama, as well as providing tips on how to care for it to keep your plant thriving.
Materials You'll Need for Kokedama

Before you begin, gather these materials to ensure a smooth crafting process:
A potted plant (choose a small plant like a fern, ivy, or spider plant)
Soil mix (a blend of potting soil, peat moss, and akadama or clay pellets)
Sphagnum moss (this helps hold the ball together and retains moisture)
Twine or string (to wrap around the moss ball)
A shallow dish or tray (optional, for display)
Water (for wetting the soil and moss)
Scissors (for cutting the twine)
Step-by-Step Guide to Making Kokedama
Step 1: Prepare the Soil Mix

Start by preparing the perfect soil mix for your kokedama.
You'll need a blend of potting soil, peat moss, and a moisture-retaining material like akadama (a type of clay) or clay pellets.
The mix should be damp enough to hold together but not too wet. Mix the soil in a bowl or container and moisten it with water until it reaches the right consistency.
Tip: If your plant has a specific soil preference (e.g., cactus or succulent), make sure to use the appropriate soil blend.
Step 2: Prepare the Plant
Carefully remove the plant from its pot, gently shaking off the excess soil from the roots. Be cautious not to damage the delicate roots during this process.
If the plant has long roots, trim them back slightly to make them easier to work with.
Tip: If your plant has a root ball that’s too large, you may need to trim it down to fit into the kokedama ball.
Step 3: Form the Soil Ball

Next, take a handful of your prepared soil mixture and begin shaping it around the roots of the plant, forming a compact ball.
Continue adding more soil until the ball is about the size of a grapefruit.
Press the soil firmly to ensure that it holds its shape, but be careful not to compact it too much.
Tip: You want the ball to hold its shape without crumbling, but not so tight that the roots can’t breathe.
Step 4: Wrap with Moss
Now it’s time to wrap the soil ball with sphagnum moss.
Soak the moss in water to make it more pliable, then gently wrap it around the entire soil ball, covering it completely.
Secure the moss by pressing it gently into place.
Tip: You can overlap the moss slightly to ensure full coverage and prevent the soil from escaping.
Step 5: Secure with Twine
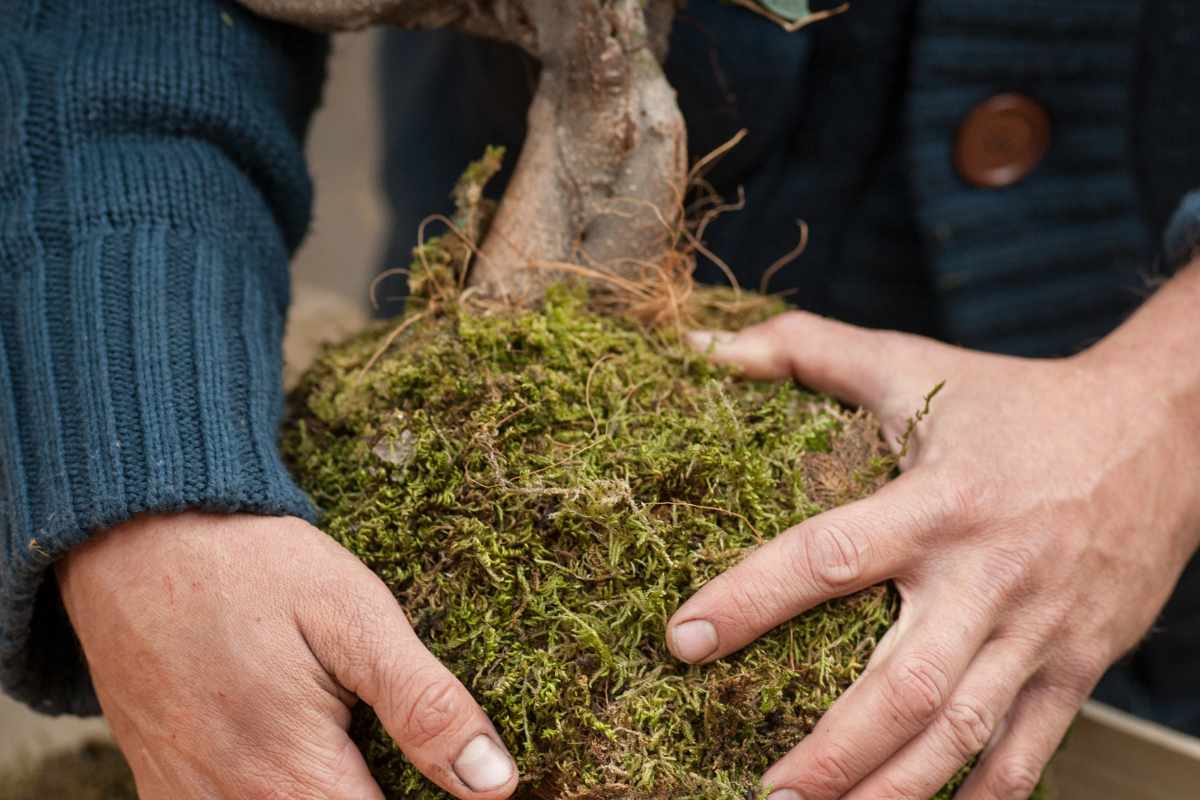
Using your twine or string, carefully wrap it around the moss-covered ball to secure everything in place.
Start from the top and work your way down, ensuring the twine is tight enough to keep the moss in place but not so tight that it damages the plant or restricts growth.
Tip: For extra security, you can create a hanging loop with the twine at the top if you wish to hang your kokedama.
Caring for Your Kokedama
To keep your kokedama healthy and thriving, proper care is essential.
Here are some tips to help you maintain your moss ball planter:
Watering
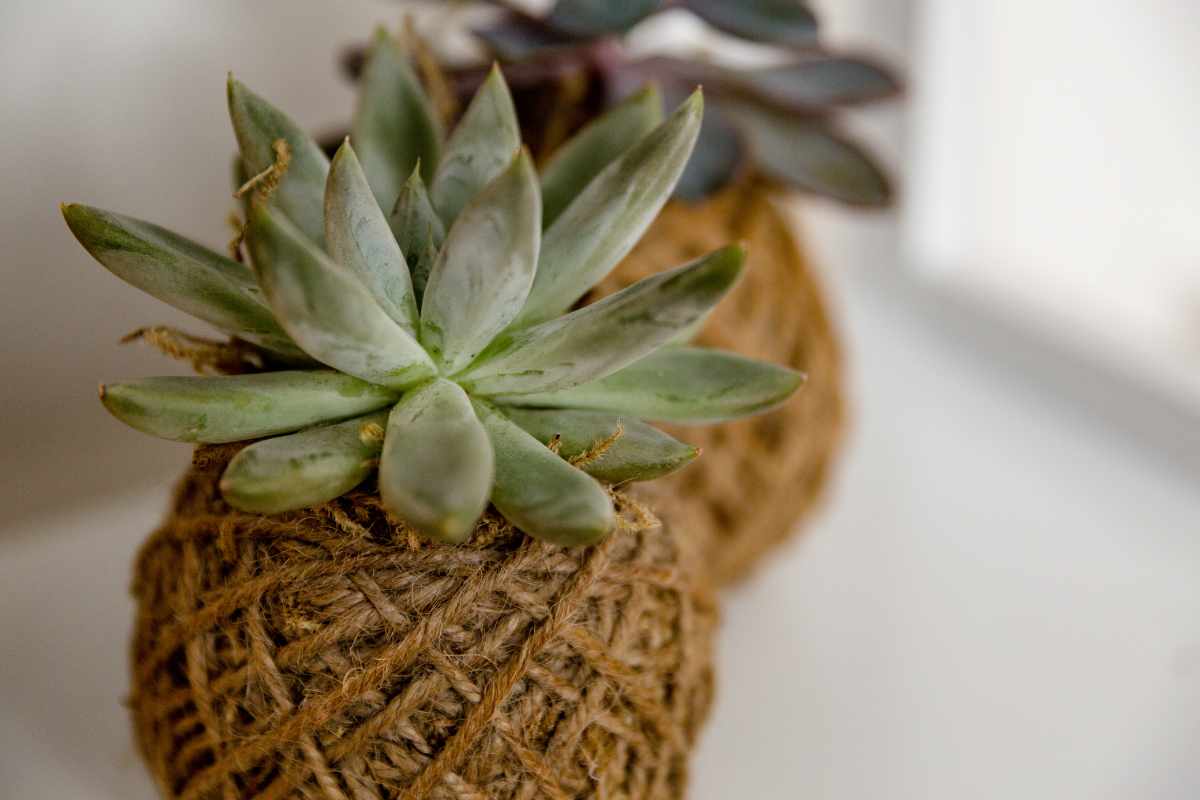
Kokedama needs to be watered regularly, but not excessively.
Soak the moss ball in water for 10-15 minutes, ensuring it is fully hydrated, then allow it to drain.
Water the kokedama every few days, depending on the humidity and the type of plant.
Tip: When the moss feels dry to the touch, it's time to water your kokedama.
Light Requirements
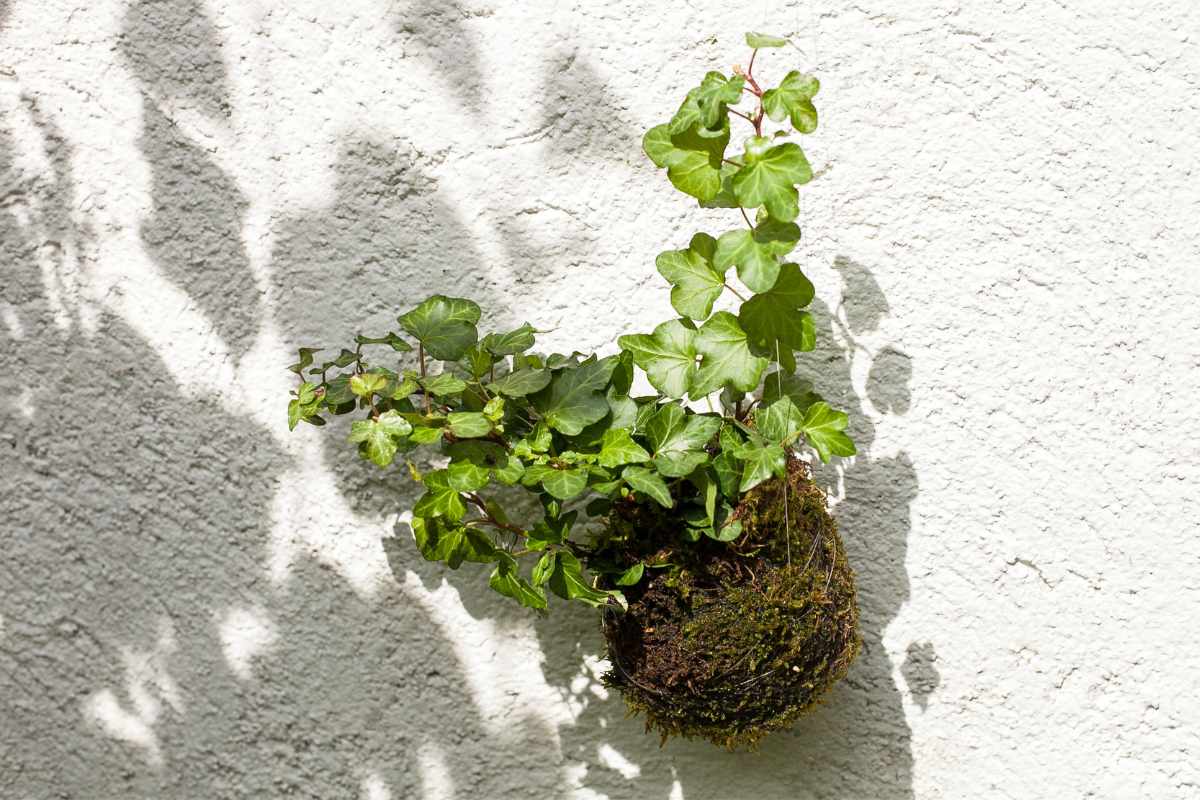
Most kokedama plants thrive in bright, indirect light.
Avoid placing them in direct sunlight, as it can dry out the moss and stress the plant.
Tip: Some plants may prefer lower light conditions, so adjust accordingly based on your plant’s needs.
Humidity

Kokedama thrives in a humid environment.
If your home is too dry, consider misting the moss ball lightly with water once a day to maintain a high humidity level.
Tip: Using a humidifier near your kokedama can also help maintain the right moisture levels.
Fertilizing
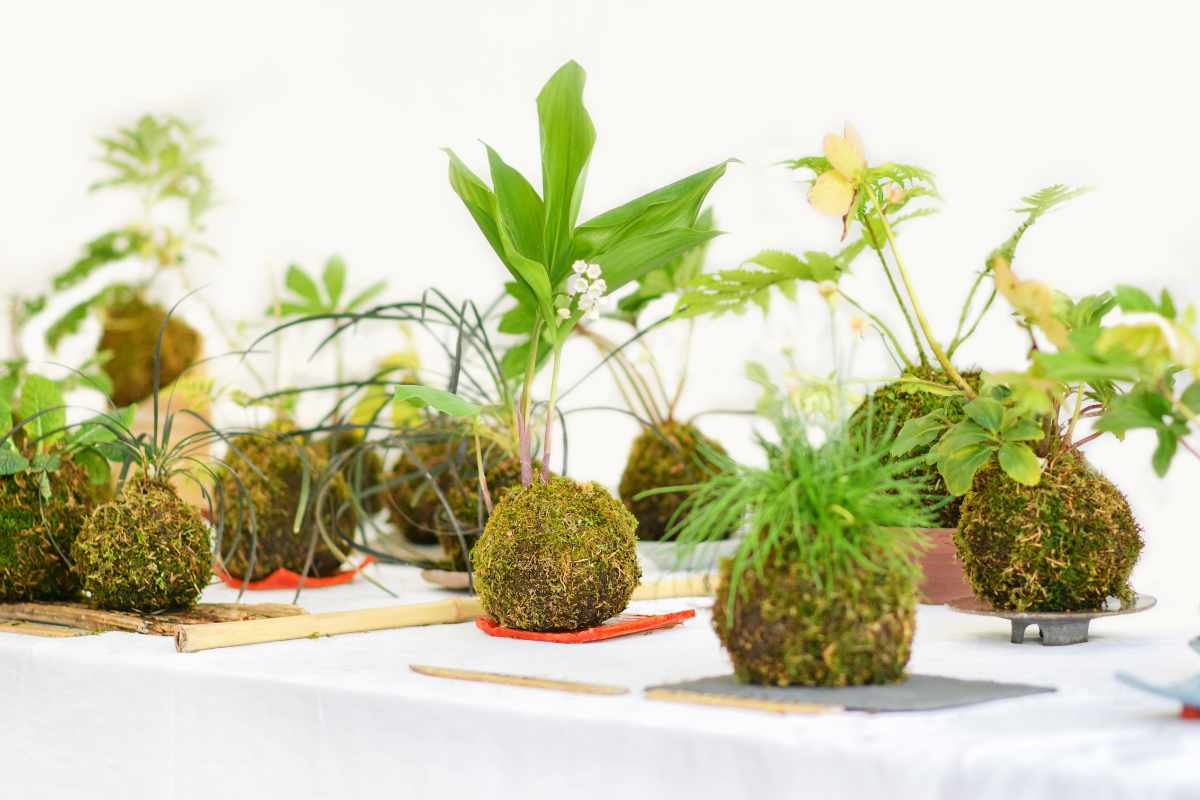
Feed your kokedama with a balanced liquid fertilizer once a month during the growing season (spring and summer).
Avoid over-fertilizing, as this can cause plant stress.
Tip: Dilute the fertilizer to half strength to prevent burning the plant’s roots.
Final Thoughts
Creating a kokedama is a fun and rewarding way to bring nature into your home.
Not only is it a great space-saving solution, but it also adds a touch of tranquility and beauty to any room.
Follow the steps in this guide, and you'll soon have your very own moss ball planter to enjoy.
Have you made your own kokedama? Share your creations with us and let us know how your plant is thriving!
Enjoy This Video Tutorial
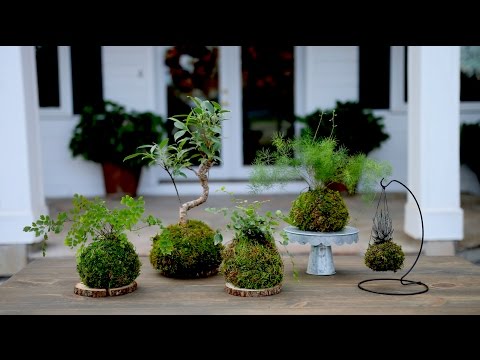
Source: Garden Answer
Don’t forget to Subscribe to our Newsletter to receive amazing tips and tricks about Gardening and the FREE Ebook Green Living Strategies!
Did you find this post Useful or Inspiring? Save THIS PIN to your GARDENING Board on Pinterest! 😊

Once again, thank you for visiting our website!
We hope you've enjoyed exploring the content we've created for you.
Give yourself the chance to learn, get inspired, and have even more fun, keep browsing...
More Gardening Tips 👇🏼👇🏼