
How to Grow Lots of Kale


Kale is often celebrated as a nutritional powerhouse and one of the easiest leafy greens to cultivate.
With the right techniques, you can transform just a few plants into a continuous supply of fresh kale leaves for salads, soups, smoothies, and stir-fries.
Many gardeners grow kale casually, but if your goal is to maximize production and truly grow lots of it, you’ll need to focus on proper soil preparation, planting strategies, care, and harvest techniques.
Let’s explore everything you need to know to enjoy a thriving kale patch all season long.
Choosing the Right Kale Varieties
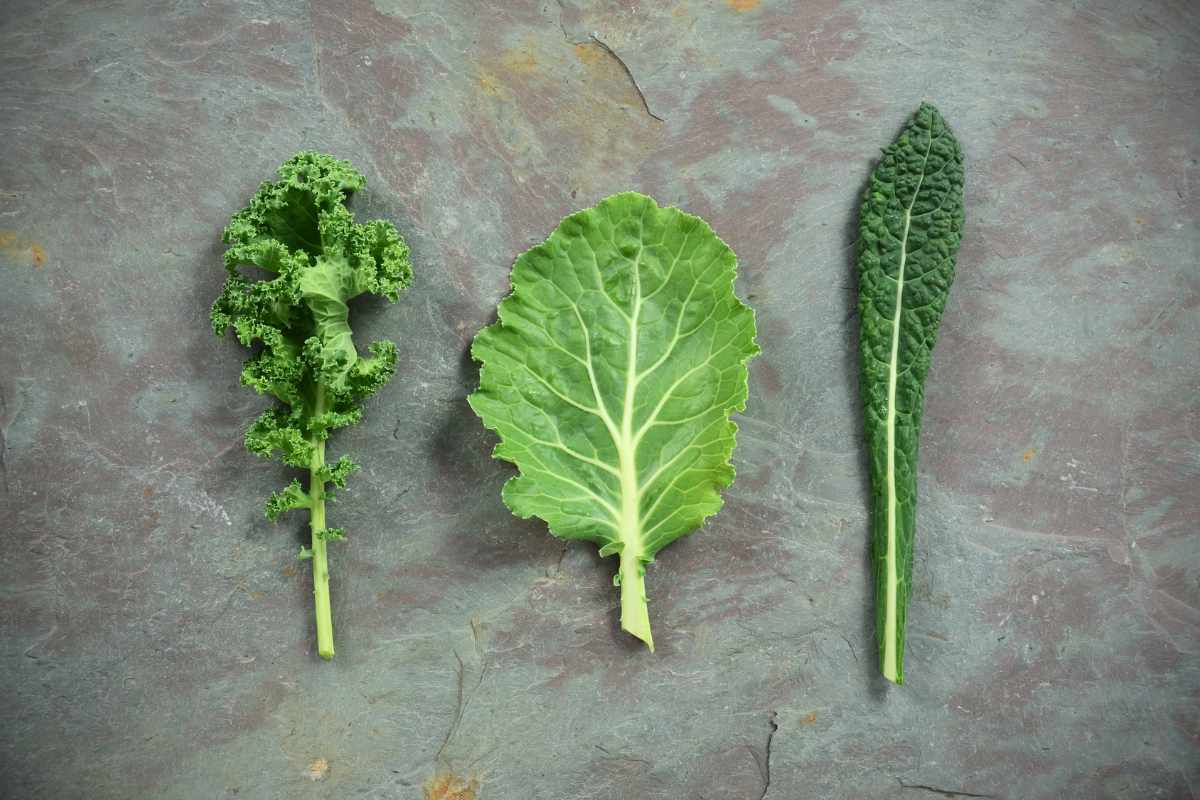
Not all kale is the same, and your choice of variety plays a huge role in how much you can harvest.
Curly Kale: The most common type, resilient and productive, with tightly ruffled leaves.
Lacinato (Dinosaur) Kale: Tall plants with dark, wrinkled leaves that thrive in cooler months.
Red Russian Kale: Known for its purple stems and tender, flat leaves. It’s faster-growing and great for baby leaf harvests.
Siberian Kale: Extremely cold-hardy and capable of surviving harsh winters.
Tip: Planting multiple varieties increases your harvest window and ensures a mix of flavors and textures.
Climate and Seasonal Considerations

Kale is a cool-weather crop, performing best in temperatures between 55°F and 75°F.
It can handle light frosts, which actually improve flavor by making the leaves sweeter.
In cool climates, sow seeds in early spring and again in late summer for a fall crop.
In warmer regions, opt for partial shade during summer or use row covers to prevent bolting.
For a year-round supply, practice succession planting—sowing small batches every 3–4 weeks.
Preparing the Soil for Maximum Yields

A healthy soil foundation is the secret to vigorous kale growth. Kale thrives in rich, well-drained soil with a pH between 6.0 and 7.0.
Add compost or aged manure before planting to boost organic matter.
Mix in nitrogen-rich amendments like blood meal, fish emulsion, or alfalfa meal to encourage leafy growth.
Ensure consistent drainage; soggy soils can cause root rot.
Pro tip: Mulch around your plants with straw or shredded leaves to retain moisture, suppress weeds, and keep soil temperatures stable.
Planting Kale: Seeds or Transplants?
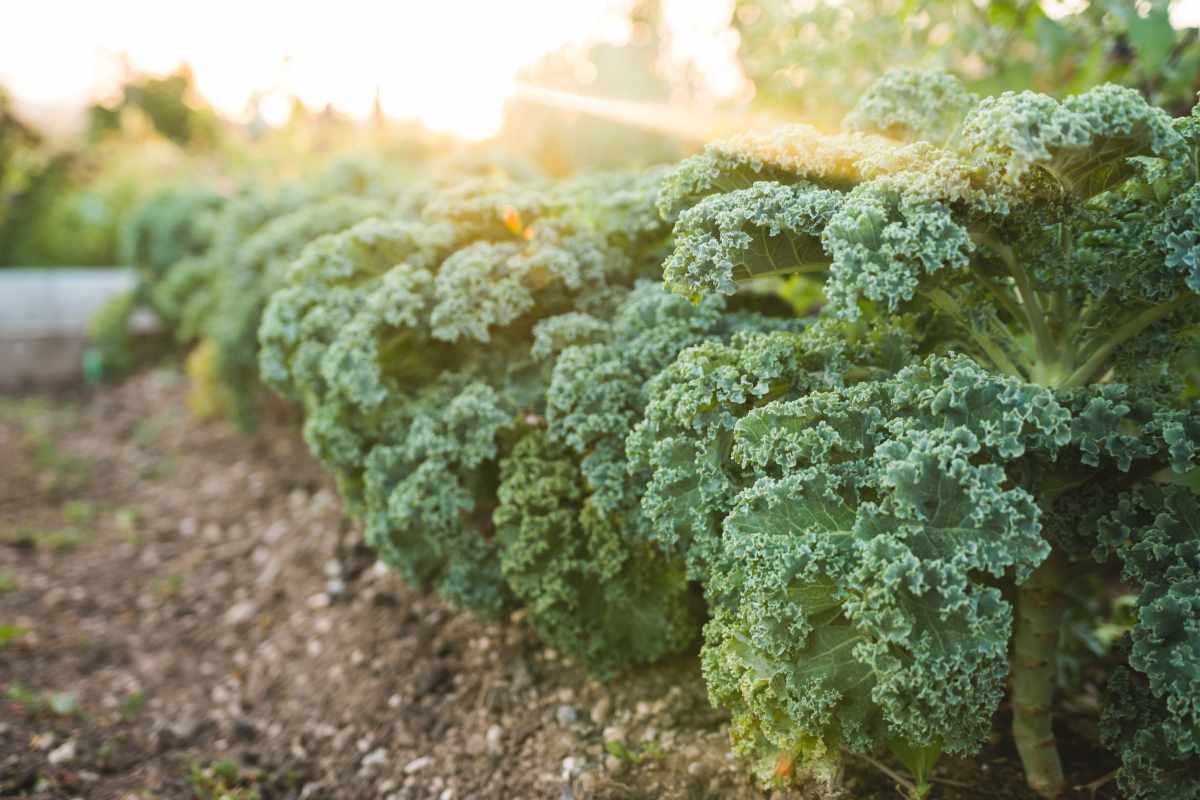
You can grow kale either by direct seeding in the garden or starting with transplants.
From Seeds
Sow seeds about ½ inch deep and 1 inch apart.
Once seedlings emerge (5–7 days), thin them to about 12–18 inches apart.
Use the thinnings as baby greens in salads.
From Transplants
Start seeds indoors 4–6 weeks before the last frost date.
Harden them off before transplanting outdoors.
Space plants 12–18 inches apart in rows 18–24 inches apart.
Growing from transplants gives you a head start and reduces competition from weeds.
Caring for Your Kale Plants

Watering
Kale prefers consistent moisture, about 1–1.5 inches of water per week. Drought stress leads to bitter leaves and slower growth.
Fertilization
Apply a balanced fertilizer or compost tea every 4–6 weeks.
Prioritize nitrogen for lush leaf production.
Mulching and Weeding
Keep plants weed-free, as competition reduces yield. Mulching not only conserves water but also prevents soil from splashing onto leaves, reducing disease risks.
Managing Pests and Diseases

Like other brassicas, kale can face pest and disease challenges.
Aphids: Cluster on leaf undersides; control with insecticidal soap or a blast of water.
Cabbage Worms: Green caterpillars that chew holes in leaves; hand-pick or use floating row covers.
Flea Beetles: Tiny black beetles that leave pinholes; use neem oil or row covers.
Powdery Mildew: Appears in humid conditions; increase airflow and water at the soil level.
Preventive tip: Rotate kale with non-brassica crops each year to reduce pest buildup.
Harvesting for Continuous Supply

One of the best things about kale is its ability to provide harvests over many months.
Begin harvesting when leaves are about 8–10 inches long.
Pick the outer, lower leaves first, allowing the center to keep producing.
For baby kale, harvest when leaves are just 2–3 inches tall.
With this cut-and-come-again method, you can keep picking leaves for weeks, sometimes months, from the same plant.
Maximizing Yield for “Lots of Kale”
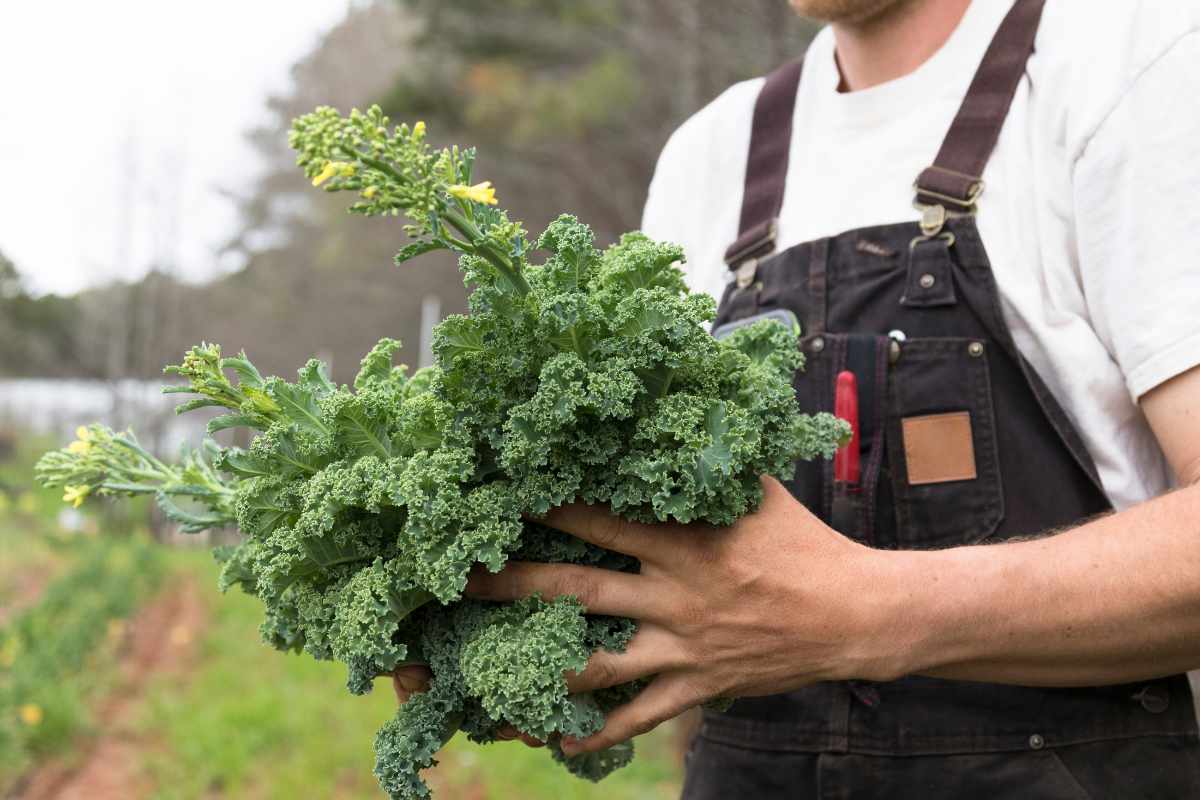
If your goal is a steady, abundant harvest, try these strategies:
Succession Planting: Sow a new batch of seeds every 3–4 weeks.
High-Density Planting: Grow kale closely for baby leaf harvests.
Intercropping: Pair kale with onions, garlic, or herbs that repel pests.
Cold Frames or Greenhouses: Extend the growing season and protect from harsh weather.
Regular Feeding: Use liquid fertilizers to keep growth vigorous.
A single mature kale plant can yield several pounds of leaves, and with good planning, you can supply a family with fresh greens nearly year-round.
Troubleshooting Common Problems
Bitter Leaves: Often caused by heat stress or drought. Provide shade and water consistently.
Yellowing Leaves: May indicate nitrogen deficiency—add compost or a nitrogen-rich feed.
Bolting (Flowering): Happens in hot weather or late in the season; grow bolt-resistant varieties and plant in cool weather.
Stunted Growth: Could be due to poor soil fertility or root pests; refresh soil with organic matter.
Enjoy This Video Tutorial

Source: Daisy Creek Farms with Jag Singh
Don’t forget to Subscribe to our Newsletter to receive amazing tips and tricks about Gardening and the FREE Ebook Green Living Strategies!
Did you find this post Useful or Inspiring? Save THIS PIN to your GARDENING Board on Pinterest! 😊

Once again, thank you for visiting our website!
We hope you've enjoyed exploring the content we've created for you.
Give yourself the chance to learn, get inspired, and have even more fun, keep browsing...
More Gardening Tips 👇🏼👇🏼