
How to Grow Mushrooms in a 5 Gallon Bucket


Growing mushrooms in a 5-gallon bucket is one of the easiest and most rewarding ways to start mushroom cultivation at home.
It doesn’t require a garden, special equipment, or much space — just the right materials and a bit of patience.
Whether you’re looking to grow oyster, shiitake, or lion’s mane mushrooms, this simple method can yield fresh, delicious fungi in just a few weeks.
What You’ll Need
Before getting started, gather these basic supplies:
5-gallon plastic bucket (with lid and a few small holes drilled for air exchange)
Mushroom spawn (oyster mushrooms are ideal for beginners)
Growing substrate – pasteurized straw, sawdust, or coffee grounds
Water spray bottle for misting
Clean workspace to avoid contamination
Step 1: Prepare the Substrate
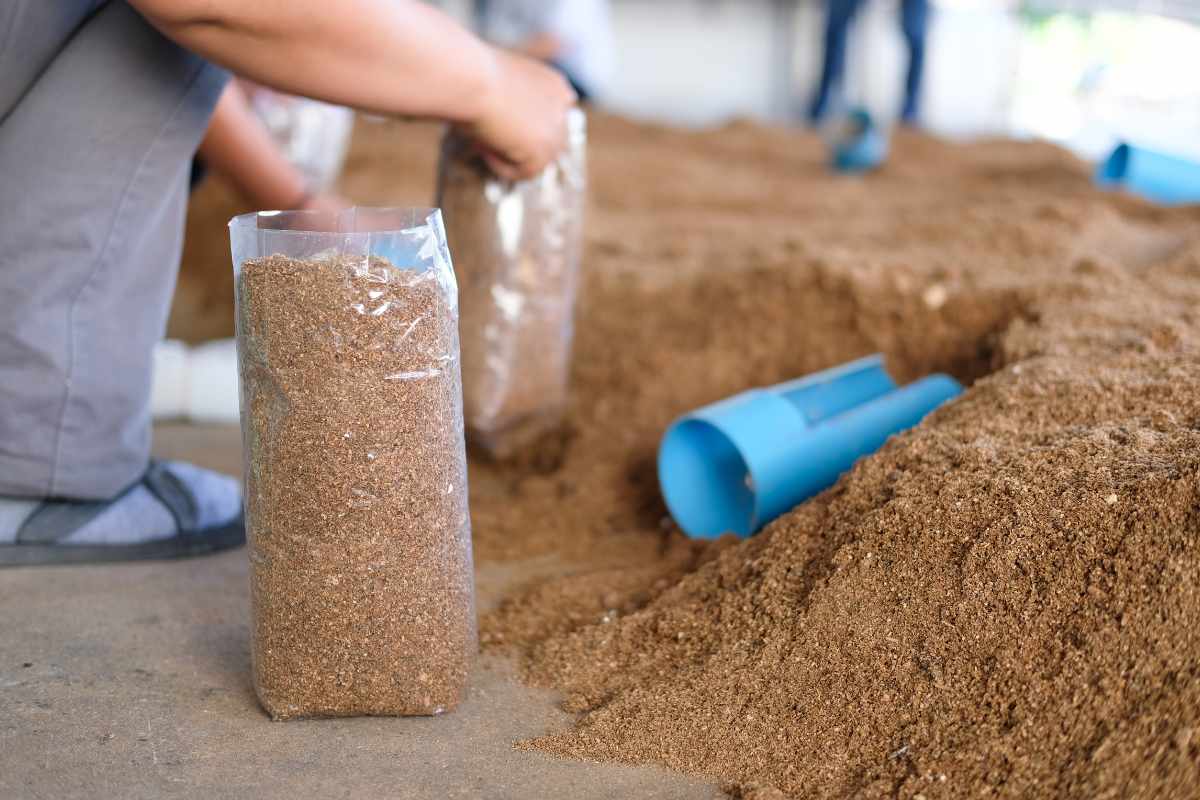
The substrate is what your mushrooms will feed on. Straw is the most common choice for bucket growing.
Cut it into small pieces and pasteurize it by soaking it in hot water (around 160°F / 70°C) for an hour to kill unwanted bacteria or molds.
Then, drain and cool it completely.
Step 2: Mix in the Mushroom Spawn
Once your substrate is cool and moist, mix in the mushroom spawn evenly.
You’ll want about one part spawn to five parts substrate. Mixing thoroughly ensures your mushrooms colonize the substrate faster and grow more evenly.
Step 3: Fill and Layer the Bucket

Start filling the bucket in layers — a few inches of substrate followed by a light sprinkle of spawn.
Repeat until the bucket is full, finishing with a layer of substrate. Press gently, but don’t compact it too tightly.
Cover with the lid, leaving small air holes for ventilation.
Step 4: Incubate in a Dark Place
Store your bucket in a dark, warm place (65–75°F or 18–24°C) for two to three weeks.
During this time, the mycelium will spread through the substrate, turning it white. Keep the area slightly humid but avoid direct sunlight or drafts.
Step 5: Move to Fruiting Conditions
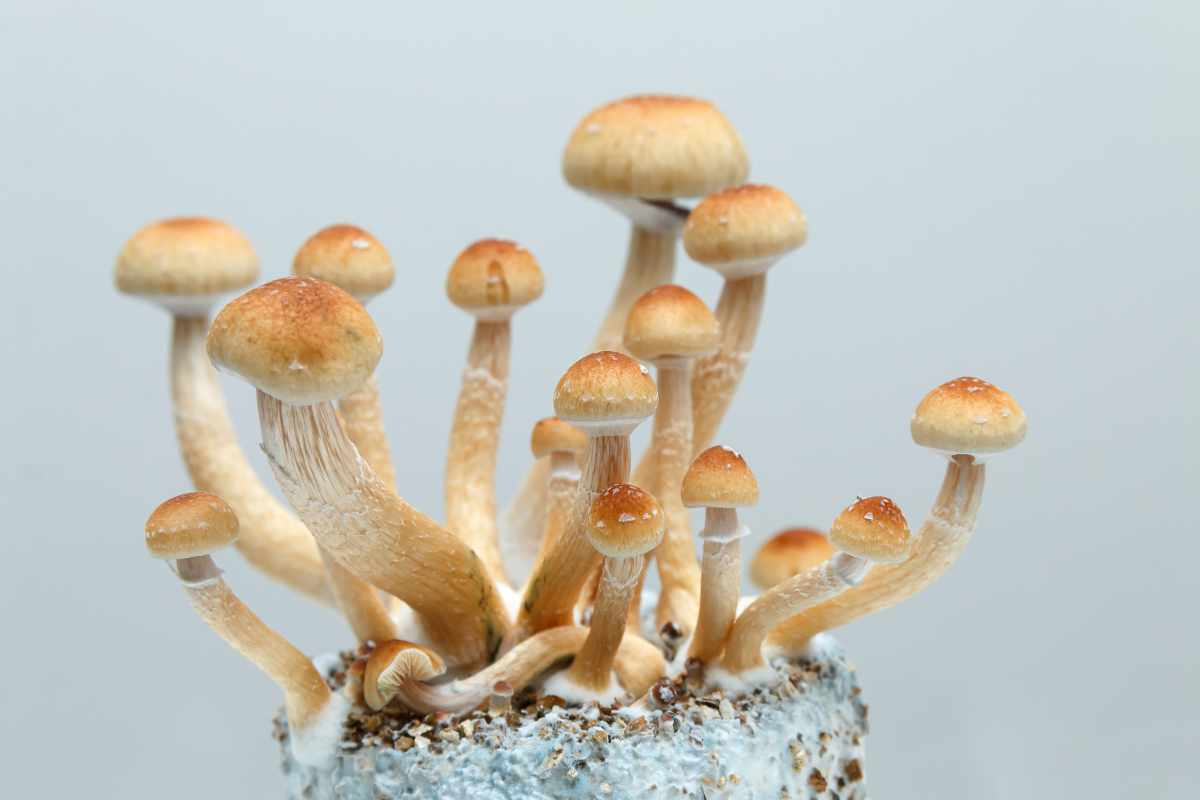
When the substrate is fully colonized, move your bucket to a humid, well-ventilated area with indirect light.
Lightly mist the sides of the bucket or the surrounding area daily.
Within a week or two, you’ll notice small mushroom pins forming through the air holes — this means it’s fruiting time!
Step 6: Harvest and Enjoy
Once your mushrooms have fully opened their caps, they’re ready to harvest.
Twist gently or cut them at the base with a clean knife.
You can expect multiple flushes of mushrooms from a single bucket if you keep it moist and in the right conditions.
Final Thoughts on Growing Mushrooms in a 5-Gallon Bucket

Learning how to grow mushrooms in a 5-gallon bucket is an easy and eco-friendly way to produce your own fresh food at home.
With minimal space and effort, you can enjoy gourmet mushrooms all year round.
Once you’ve mastered the basics, try experimenting with different varieties or multiple buckets for a bigger harvest.
Enjoy This Video Tutorial About
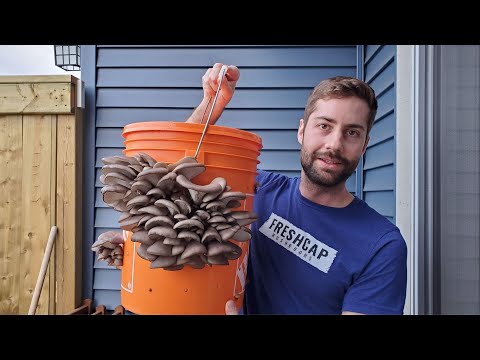
Source: FreshCap Mushrooms
Don’t forget to Subscribe to our Newsletter to receive amazing tips and tricks about Gardening and the FREE Ebook Green Living Strategies!
Did you find this post Useful or Inspiring? Save THIS PIN to your GARDENING Board on Pinterest! 😊

Once again, thank you for visiting our website!
We hope you've enjoyed exploring the content we've created for you.
Give yourself the chance to learn, get inspired, and have even more fun, keep browsing...
More Gardening Tips 👇🏼👇🏼