
5 Permaculture Gardening Water-Saving Ideas: Catch, Store, and Slow It Down


Permaculture has a simple, powerful approach to drought stress and rising water bills: work with water, not against it. Instead of “watering more,” you’ll focus on catching rainfall when it shows up, storing what you can, and slowing runoff so it soaks in where plants actually need it.
The best part? These ideas can scale from a tiny backyard to a larger property—and most are beginner-friendly.
Below are five practical ways to “catch, store, and slow it down,” plus common mistakes to avoid so your efforts pay off quickly.
If you’re new to permaculture, it helps to start with the big picture before choosing specific water-saving projects.
This beginner-friendly guide walks you through the core principles and first steps so you can plan a garden that works with your space, climate, and goals: Starting Your Own Permaculture Garden
1) Read Your Yard Like Water Does (So You Know Where to Intervene)
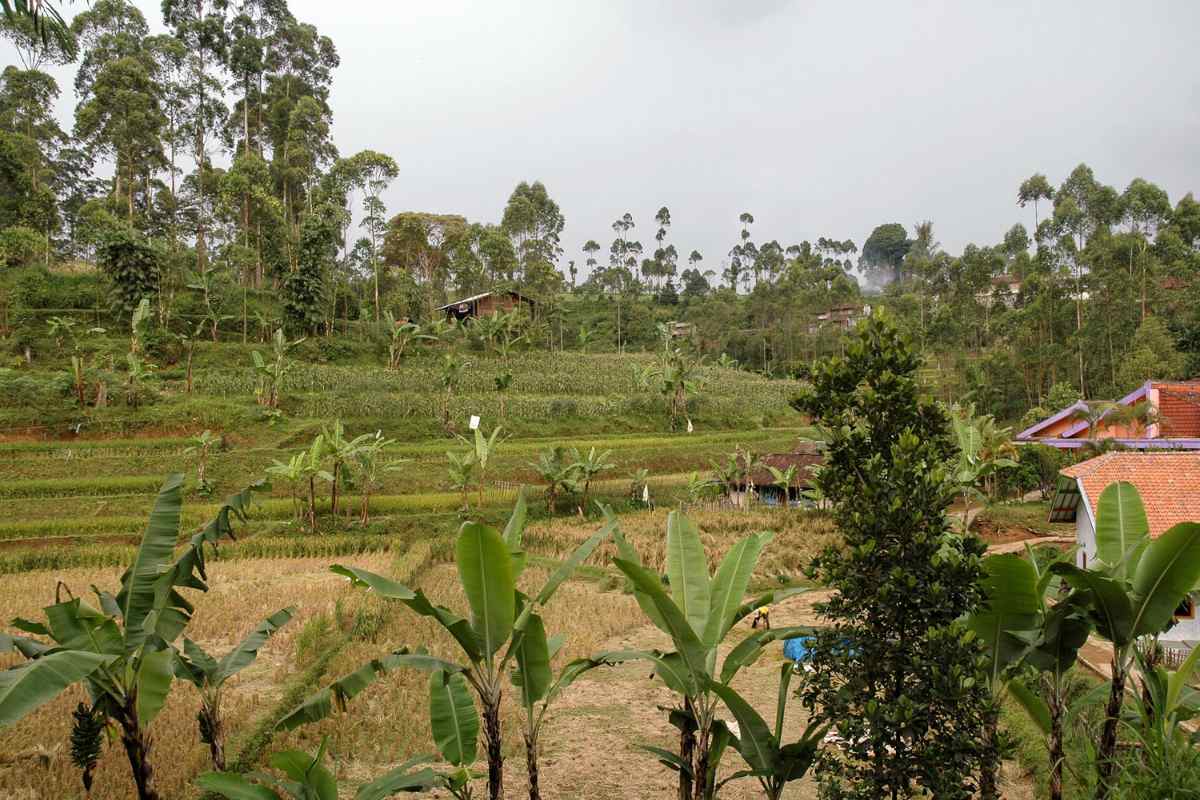
Before you build anything, do one quick observation: watch where water naturally flows and pools.
After a rain, note where puddles form and where water rushes off hard surfaces (driveways, patios, compacted paths).
Identify “dry zones” that bake in full sun and “wet zones” that stay soggy.
Look for subtle slopes—many yards have a gentle grade even when they look flat.
Quick tip you can do today:
Walk your yard during a rain (or right after) and take photos. Those photos become your “water map” for deciding where to place rain gardens, swales, berms, and thirsty plants.
2) Catch Rain Where It Falls With Simple Surface Shaping
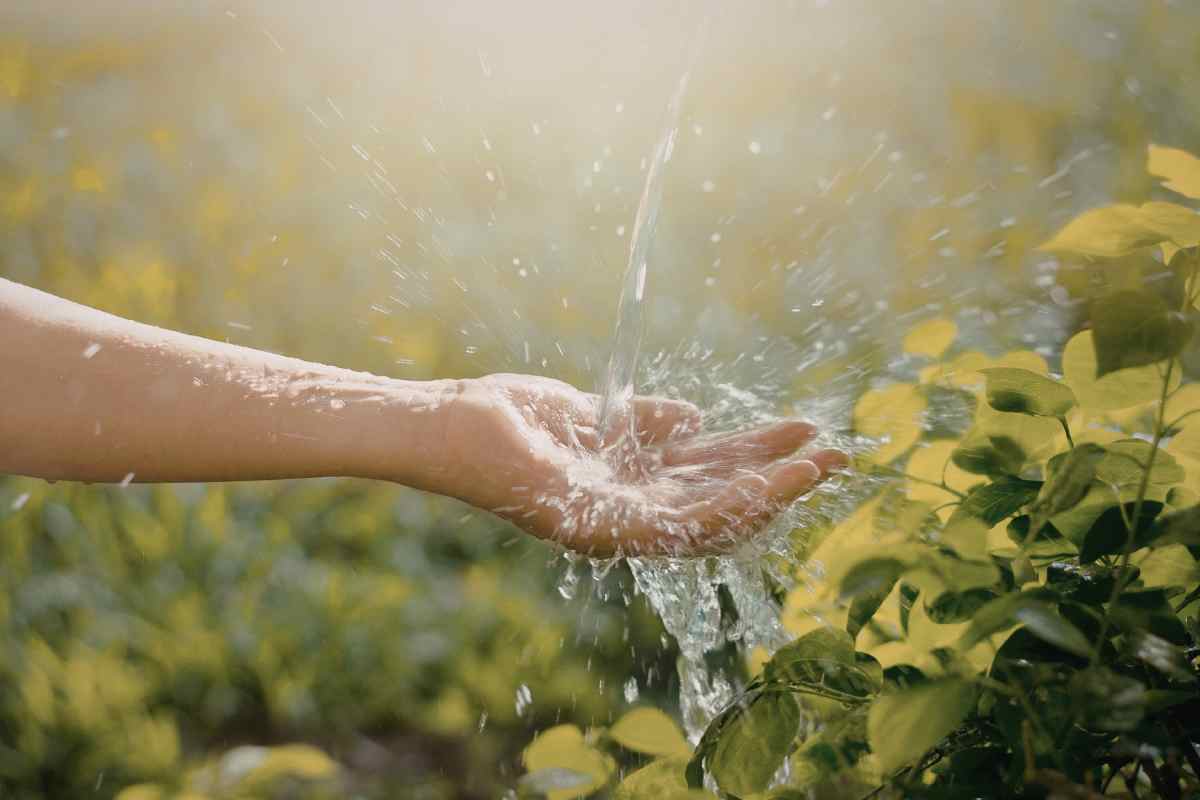
Permaculture favors shaping the land so water stays on-site longer. You don’t need heavy equipment—small changes can make a big difference.
Micro-basins around plants
Create shallow “donuts” (basins) around trees and shrubs so irrigation and rainwater collect at the drip line rather than running off.
Basin depth: about 2–4 inches (5–10 cm) is often enough
Keep mulch in the basin, but leave a small gap around trunks to prevent rot
Contour planting beds
If you’re building new beds on a slight slope, align them across the slope (on contour) so water spreads and infiltrates instead of racing downhill.
Best for: sloped yards, new garden installs, planting young trees/shrubs.
3) Store It: Rain Barrels + Overflow Planning That Protects Your Home
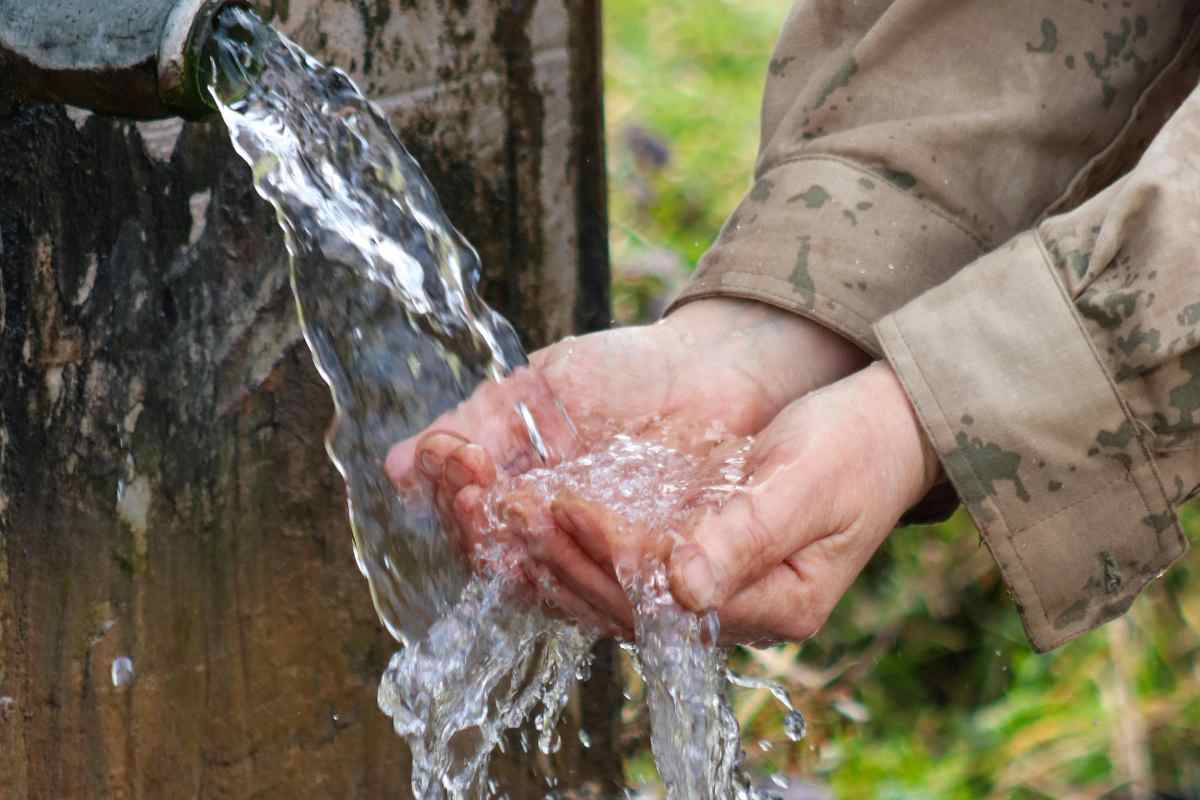
Rain barrels are popular for a reason: they’re a straightforward way to store a chunk of rainfall and use it when the weather turns hot.
Set up a basic rain barrel system
Connect to a downspout.
Add a screen to keep debris and mosquitoes out.
Use a spigot or hose connection for easy filling of watering cans.
Don’t skip the overflow
A full barrel needs a safe place to send extra water. Direct overflow:
Into a mulched planting bed
Toward a rain garden
Into a gravel-filled infiltration area
Pro tip: If you use more than one barrel, link them so they fill evenly, and plan overflow from the final barrel.
4) Slow, Spread, and Sink With a Rain Garden (A Beautiful “Water Sponge”)
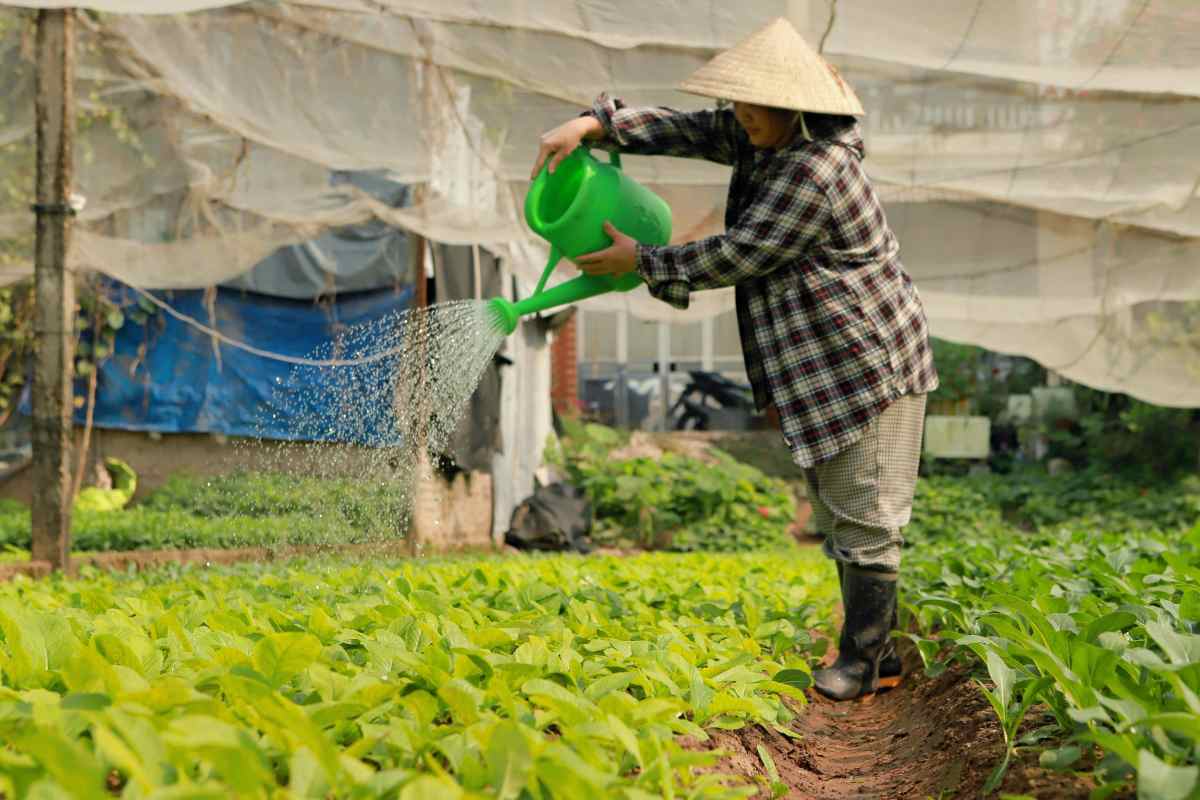
A rain garden is a shallow planted basin designed to capture and infiltrate runoff from roofs, patios, and compacted lawn areas. It’s one of the prettiest ways to manage water because it looks like a normal garden—just smarter.
Where rain gardens shine
At the end of a downspout (with overflow control)
Below a slight slope where runoff concentrates
Along the edge of a driveway (if you can direct flow safely)
Key design moves
Make it shallow and wide so water spreads out.
Build soil structure with compost and organic matter.
Choose plants that handle both wet feet and dry spells (depending on your region).
Practical checklist:
Identify runoff source (roof/patio/driveway)
Pick a basin spot away from the foundation
Create a gentle bowl shape
Mulch heavily to protect soil and reduce evaporation
Plant in layers (taller center/back, shorter edges)
5) Build Soil Like a Reservoir: Mulch + Organic Matter + Living Roots

If you do only one thing, do this: improve soil water-holding capacity. Healthy soil acts like a sponge—absorbing water when it’s available and releasing it slowly to plants.
Mulch for water retention
Mulch blocks sun and wind from drying out soil, reduces weeds (which steal moisture), and prevents splash erosion.
Use 2–4 inches (5–10 cm) of mulch in beds
Keep mulch a few inches away from stems and trunks
Add organic matter consistently
Compost, leaf mold, and well-aged manure (where appropriate) improve soil structure so water infiltrates deeper instead of running off.
Keep living roots in the ground
Bare soil loses moisture fast. Cover crops, groundcovers, and “chop-and-drop” plantings help keep soil shaded and biologically active.
Big payoff: Better soil means you water less often, plants handle heat better, and you’ll see fewer stress-related pest issues.
Common Mistakes (and How to Fix Them)
Putting water features in the wrong spot
Mistake: Directing runoff too close to the house or where it creates soggy, unhealthy soil.
Fix: Keep infiltration areas safely away from foundations and use overflow routes that steer excess water to planted zones.
Over-digging and creating steep-sided basins
Mistake: A deep “pit” collects water but doesn’t spread it—plus it can become a mosquito zone if it holds water too long.
Fix: Aim for shallow and wide. Water should infiltrate within a day or two in many settings.
Forgetting overflow and erosion control
Mistake: Water concentrates and carves channels, washing away mulch and soil.
Fix: Add rock/gravel at inflow points, use mulch, and build gentle spillways where overflow is expected.
Mulching incorrectly
Mistake: Mulch piled against stems/trunks (“mulch volcanoes”) encourages rot and pests.
Fix: Pull mulch back a few inches and keep the base of plants dry and breathable.
Expecting instant results without observation
Mistake: Installing something once and never adjusting.
Fix: After the next rain, observe. Small tweaks—like reshaping a berm or redirecting a downspout—often make the biggest difference.
Tips You Can Apply Today (Quick Wins)
Add 2–3 inches (5–8 cm) of mulch to the driest bed.
Make one micro-basin around a thirsty shrub or young tree.
Redirect a downspout with a simple extension to a mulched bed (with overflow in mind).
Start a “water map” note on your phone after the next rain.
Closing
Saving water in the garden isn’t about deprivation—it’s about design. When you catch rain, store what you can, and slow runoff to soak into healthier soil, your plants become more resilient and your garden stays greener with less effort. Pick one idea to start this weekend, then build from there as you learn how water moves through your space.
— Emily
More Gardening Tips 👇🏼👇🏼