
The Easiest Way to Grow Oyster Mushrooms


Have you ever wanted to grow your own oyster mushrooms at home without spending much or needing special equipment? These mushrooms are among the easiest and fastest varieties to cultivate, making them perfect for beginners.
They grow on a wide range of materials, require minimal care, and can reward you with fresh harvests in just a few weeks.
In this complete guide, we’ll walk you through everything you need to know to grow oyster mushrooms successfully — from preparation to harvest — along with practical tips to keep your setup thriving.
What You’ll Need

Before you start, gather these basic materials:
Oyster mushroom spawn (the mycelium that starts the growth)
A substrate such as chopped straw, sawdust pellets, or used coffee grounds
Plastic grow bags or containers
Water for soaking or pasteurizing the substrate
A clean space with moderate temperature and humidity
Optional: a small humidifier or spray bottle to keep moisture levels stable
Step-by-Step: How to Grow Oyster Mushrooms
1. Prepare the Substrate
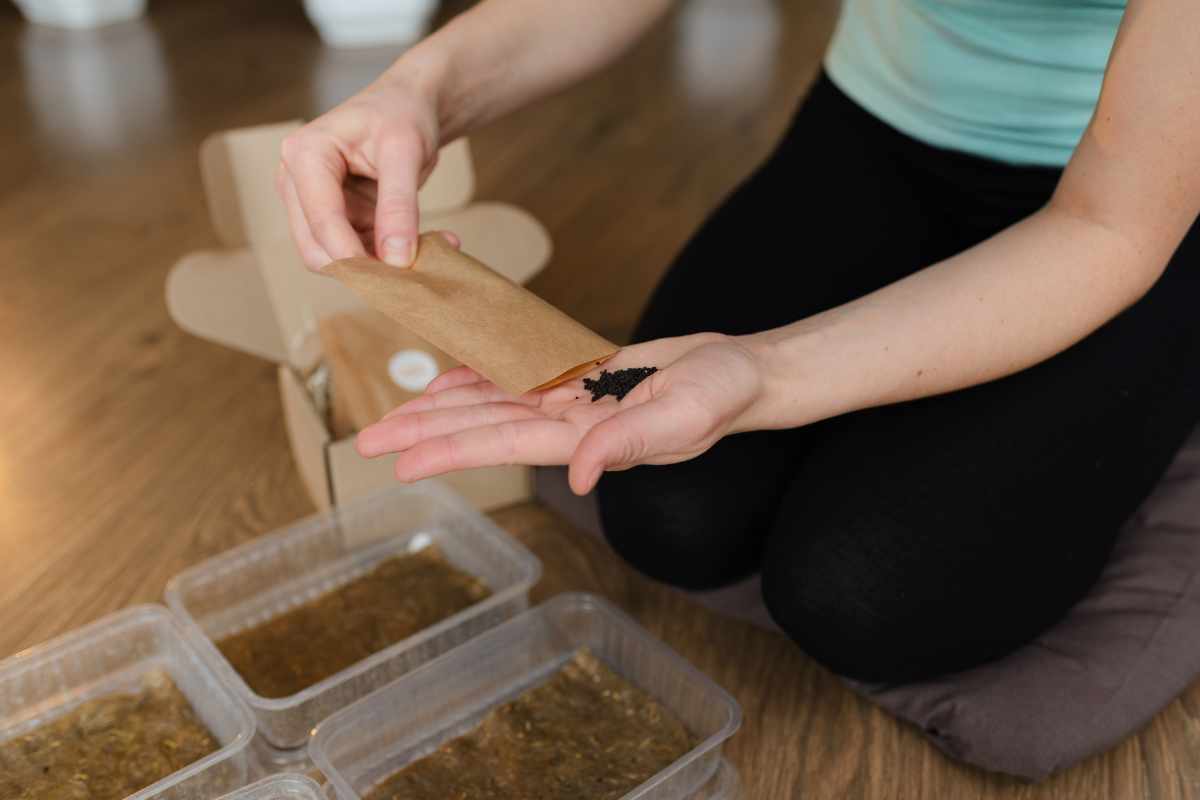
Chop the straw or mix your chosen growing material and soak it in hot water for an hour to reduce unwanted microbes.
Drain well — it should be damp, not dripping. This step helps the mushrooms colonize the material quickly.
2. Mix with Spawn
Once the substrate has cooled slightly, mix it evenly with the oyster mushroom spawn.
Distribute it well so the mycelium can spread evenly through the bag or container.
3. Incubate in the Dark
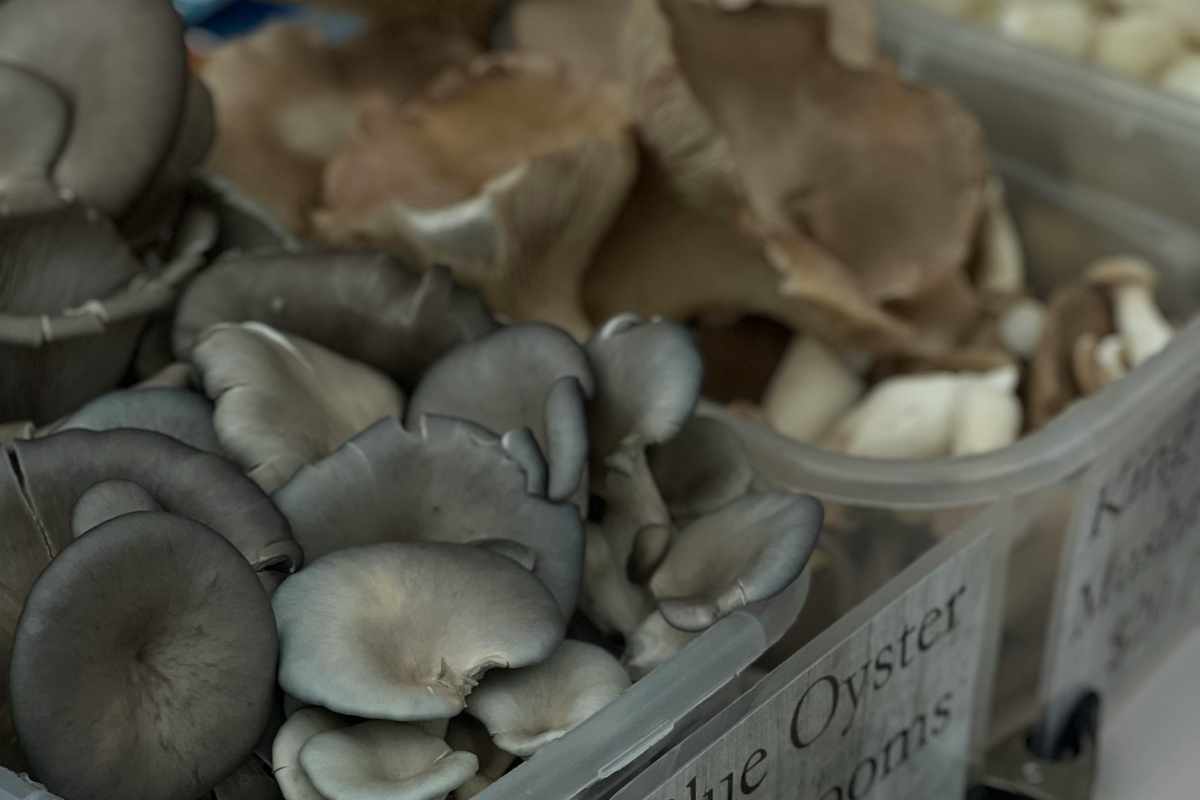
Place the filled bags in a warm, dark spot between 75–80°F (24–27°C).
Over the next two to three weeks, the white mycelium will spread throughout the substrate, turning it into a solid white block. This is called the “spawn run” phase.
4. Initiate Fruiting
When the substrate is fully colonized, it’s time to “wake up” the mushrooms.
Move the bags to a bright area with indirect light and cooler temperatures (around 65–70°F / 18–21°C).
Cut small slits in the plastic to allow mushrooms to grow out. Keep humidity high by misting daily or using a humidifier.
5. Harvest and Enjoy
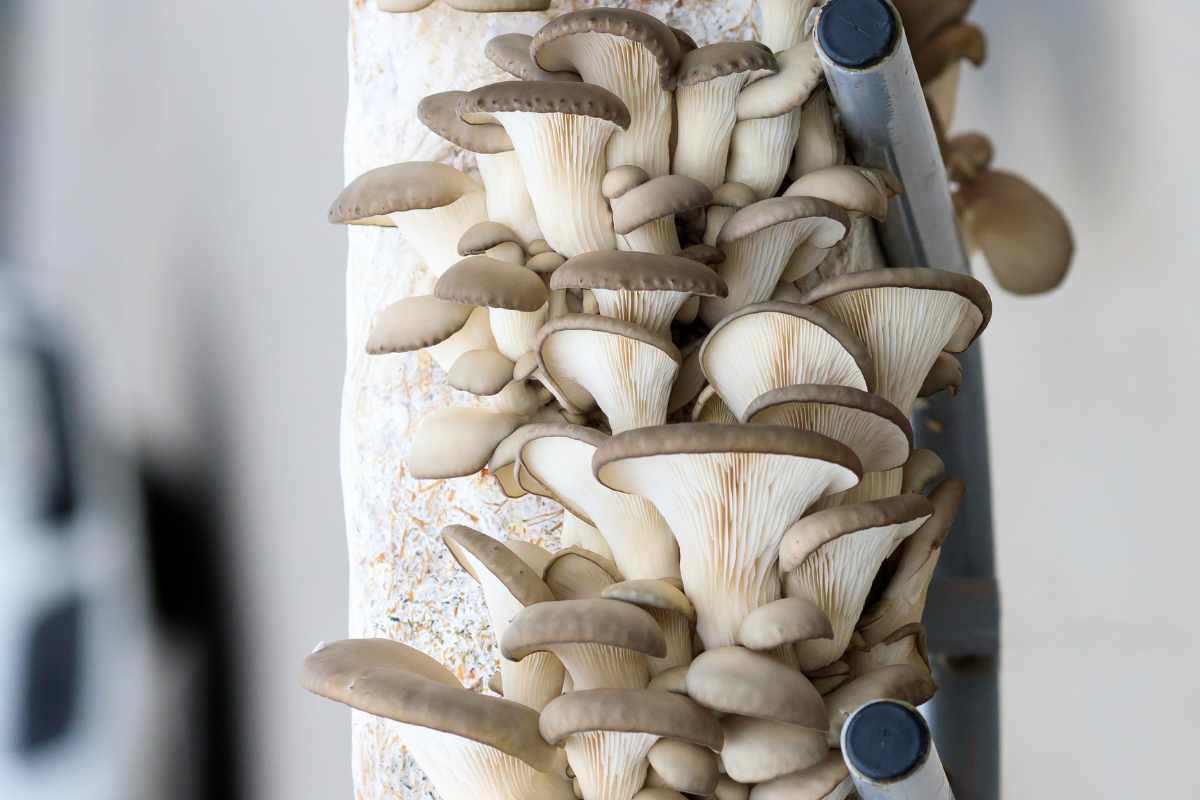
In a few days, you’ll notice small pins forming — baby mushrooms! They grow quickly, so check them often.
Harvest when the caps flatten slightly and before the edges curl upward. Cut them gently at the base and enjoy them fresh in your favorite recipes.
You may get several flushes from one bag if you keep the humidity up and remove spent mushrooms promptly.
Common Problems and Fixes
| Issue | Likely Cause | Simple Solution |
|---|---|---|
| Substrate not colonizing | Too dry or contaminated | Keep the substrate moist and ensure it is pasteurized properly |
| Mold appears | Poor hygiene or no airflow | Remove infected bags and increase ventilation |
| Mushrooms not forming | Low humidity or too much light | Increase moisture, use indirect light only |
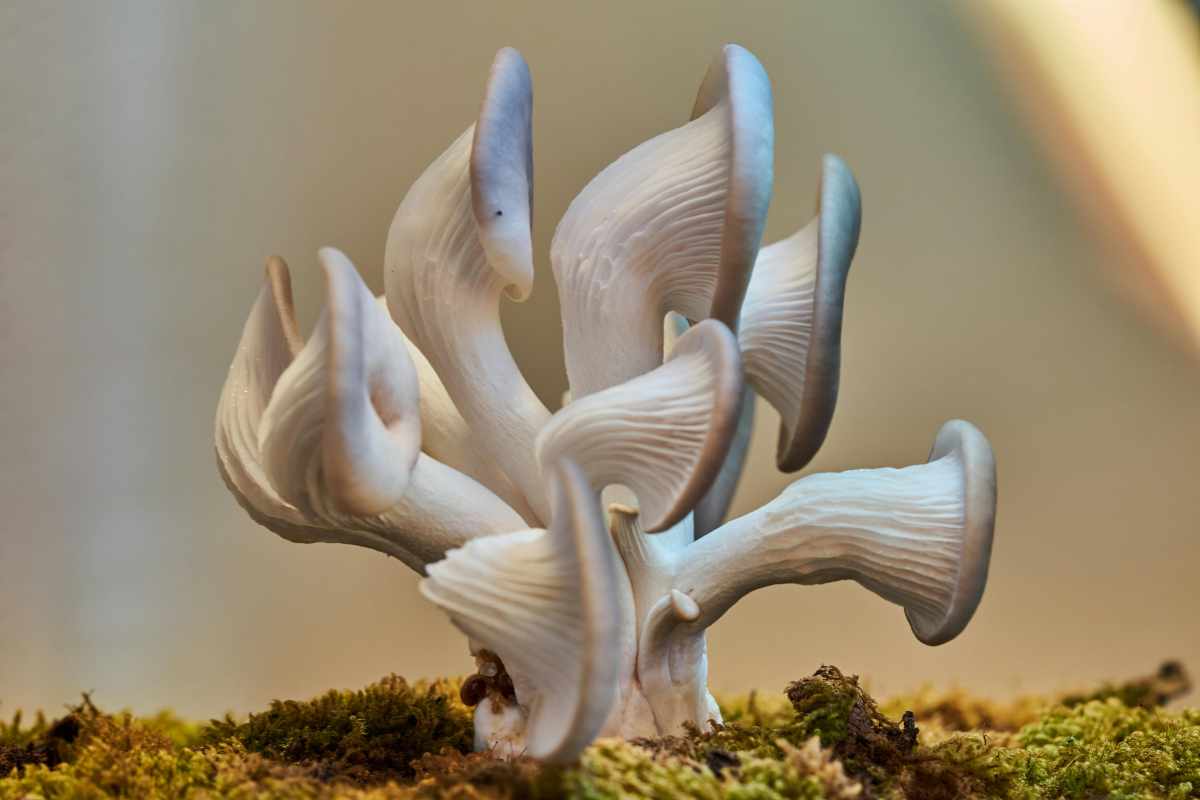
| Small or misshapen mushrooms | High CO₂ or low airflow | Improve ventilation and mist lightly |
Bringing It All Together

Cultivating oyster mushrooms at home is one of the simplest ways to experience the magic of mushroom growing.
With just a few materials, some patience, and a bit of daily care, you can harvest fresh, flavorful mushrooms straight from your own kitchen or garden.
Whether you’re looking for a sustainable hobby, a way to reduce waste, or simply fresher ingredients, oyster mushrooms are the perfect place to start.
Once you’ve mastered this easy method, you might find yourself exploring other exciting mushroom varieties too.
Enjoy The Video Tutorial
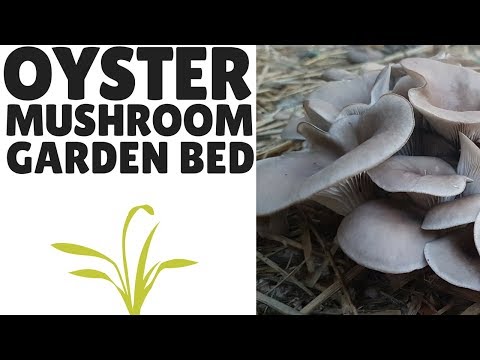
Source: FreshCap Mushrooms
Don’t forget to Subscribe to our Newsletter to receive amazing tips and tricks about Gardening and the FREE Ebook Green Living Strategies!
Did you find this post Useful or Inspiring? Save THIS PIN to your GARDENING Board on Pinterest! 😊

Once again, thank you for visiting our website!
We hope you've enjoyed exploring the content we've created for you.
Give yourself the chance to learn, get inspired, and have even more fun, keep browsing...
More Gardening Tips 👇🏼👇🏼