
The Best Techniques for River Crossings While Hiking
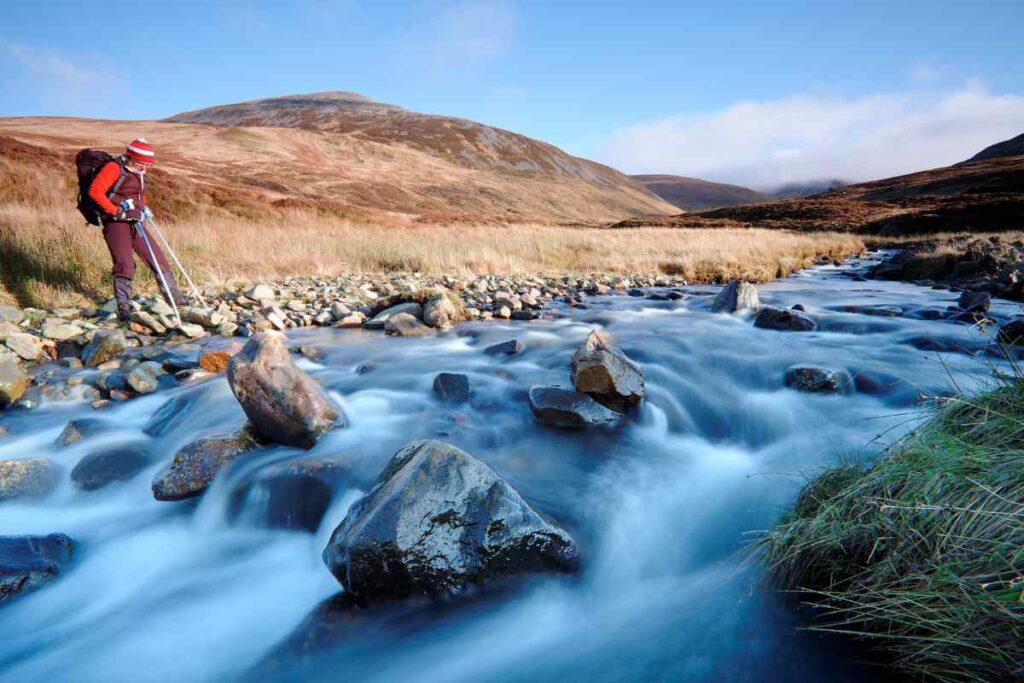
Crossing rivers while hiking can be both an exhilarating and challenging experience. River Crossings While Hiking requires careful planning, awareness, and the right techniques to ensure a safe passage.
Whether you're traversing a gentle stream or a fast-flowing river, mastering the best techniques for river crossings can significantly enhance your hiking experience and safety.
River Crossings While Hiking: An Essential Skill
River crossings while hiking are a crucial skill for any outdoor enthusiast. As you explore more remote trails, the likelihood of encountering a river or stream that needs crossing increases.
Understanding the dynamics of the water, knowing when to cross, and employing the right techniques are key to making it across safely.
Assessing the Situation
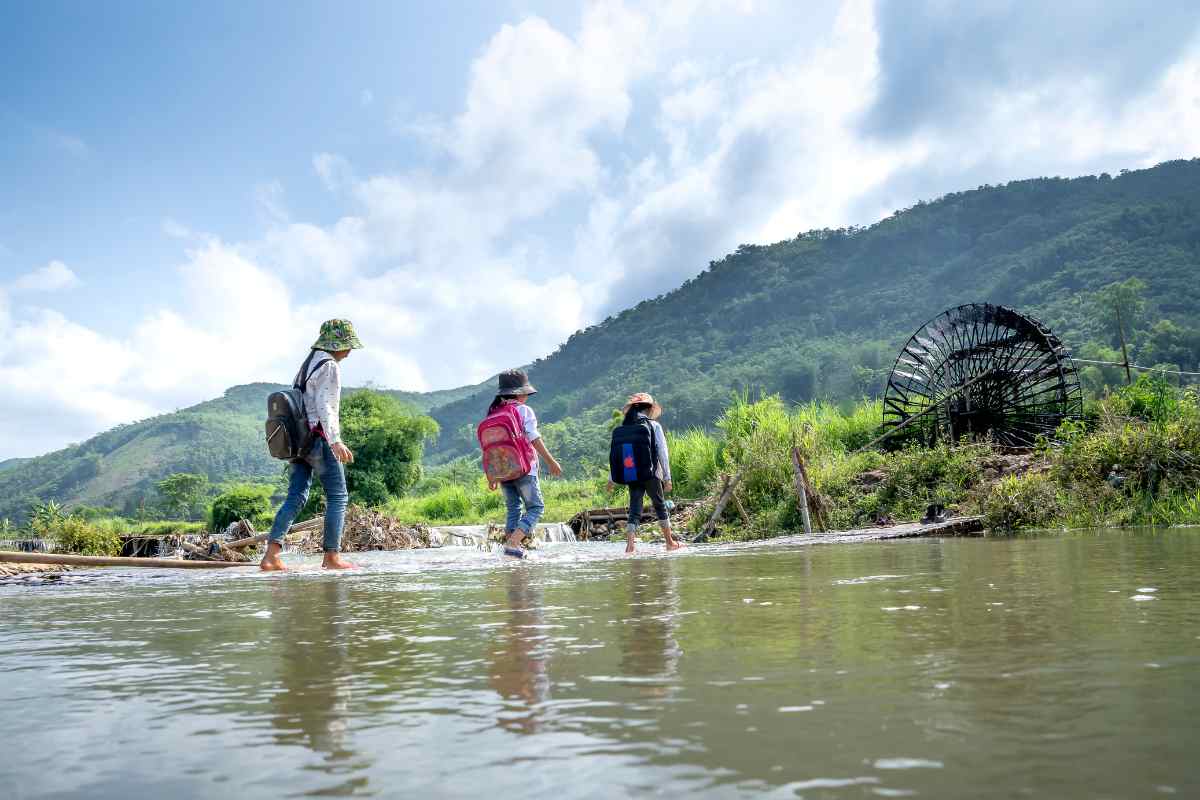
Before attempting a river crossing, it’s essential to assess the situation. Take a moment to evaluate the river's speed, depth, and terrain.
Look for signs of dangerous conditions such as fast currents, deep sections, or slippery rocks. If the water appears too hazardous, it’s better to turn back or find an alternative route.
Water Depth and Speed
Water depth and speed are the two most critical factors to consider when crossing a river. Fast-moving water, even if shallow, can easily knock you off your feet.
Conversely, deep water may hide underwater obstacles or strong currents. Use a stick or trekking pole to gauge the depth and test the speed of the current before stepping in.
Terrain and Footing
The terrain underfoot is just as important. Look for areas where the riverbed is rocky or sandy rather than muddy or slippery.
Solid footing is essential to maintain balance during the crossing. Avoid areas with large, loose rocks or where the ground appears unstable.

Choosing the Right Crossing Point
Finding the safest crossing point is critical. The ideal spot will have shallow water, a slow current, and a stable riverbed. Take your time to scout upstream and downstream for the best location.
Natural Bridges
Look for natural bridges, such as fallen trees or large rocks, that can help you cross without getting wet.
These natural formations can provide a safe passage if they are stable and not slippery.
Wider, Shallow Sections
In many cases, wider sections of the river will have shallower water and slower currents, making them safer for crossing.
However, always double-check for hidden deep spots or strong currents that could be dangerous.
Techniques for Safe River Crossings

Once you’ve chosen your crossing point, it’s time to employ the best techniques to ensure a safe passage.
The One-Person Technique
The one-person technique is suitable for smaller rivers with a moderate current. Face upstream and move across the river diagonally, leaning slightly into the current.
Use a trekking pole or stick for extra balance. Move one foot at a time, ensuring each step is secure before lifting the other foot.
The Two-Person Technique
For stronger currents, the two-person technique can provide additional stability. Stand side by side, with the upstream person slightly ahead.
Link arms or hold onto each other’s packs for support. The upstream person breaks the current while the downstream person helps stabilize the team.
The Line Crossing Technique
In a larger group, the line-crossing technique can be very effective. Form a line by holding onto each other’s shoulders or packs, with the strongest hiker at the front.
Move together slowly, ensuring everyone has a secure footing before progressing. This technique distributes the force of the current across the group, reducing the risk of someone losing balance.
Additional Safety Tips for River Crossings

Even with the best techniques, river crossings can be unpredictable. Here are some additional tips to keep in mind:
Unbuckle Your Pack
Always unbuckle your backpack before crossing a river. If you fall, you can quickly shed the pack to avoid being dragged under by its weight. A floating backpack can also act as a buoyancy aid in deeper water.
Wear Appropriate Footwear
Footwear plays a crucial role in maintaining stability during a crossing.
Sturdy boots or water shoes with good traction are ideal. Avoid crossing barefoot, as sharp rocks or debris can cause injuries.
Use a Safety Line
In particularly difficult crossings, consider using a safety line. Secure one end of a rope to a stable anchor on the bank and the other end to yourself or your group members.
This line can provide a lifeline if someone slips or is swept off their feet.
When to Turn Back
Not every river can be crossed safely. If the water is too deep, the current too strong, or the riverbed too unstable, the best decision is often to turn back.
Safety should always be your priority, and there's no shame in choosing a different path.
Practicing River Crossings

Like any skill, practicing river crossings can help you build confidence and competence.
Look for safe environments, such as shallow streams or controlled settings, where you can practice the techniques mentioned above.
The more experience you gain, the more prepared you’ll be when you encounter a river crossing on a challenging hike.
Final Thoughts
Mastering the best techniques for river crossings while hiking is an essential part of becoming a skilled and confident hiker.
By understanding the risks, choosing the right crossing points, and employing the appropriate techniques, you can safely navigate rivers and streams on your adventures.
Remember, safety always comes first, and there’s no need to rush. Take your time, assess the situation, and cross with care to enjoy your hike to the fullest.
Did you find this post useful or inspiring? Save THIS PIN for later in your Outdoor Board on Pinterest! 😊

Explore these outdoor tips too